Tractor and Co.

I used this fun tractor and Christmas tree die set to make a kiwi Christmas card. Tractors are a common sight around NZ but our Christmas time is always in summer so I wanted a Christmas card that showed that, and this is what I came up with.

I chose green and yellow to be like a John Deere tractor. These tractors also have a yellow stripe along the side, so I used the thin piece that makes the roof to die cut the side stripe.

Aren’t the Christmas lights cute? They are die cut from the heads of corn die (which is part of this same tractor set). They’re the perfect shape to make little lights!!!

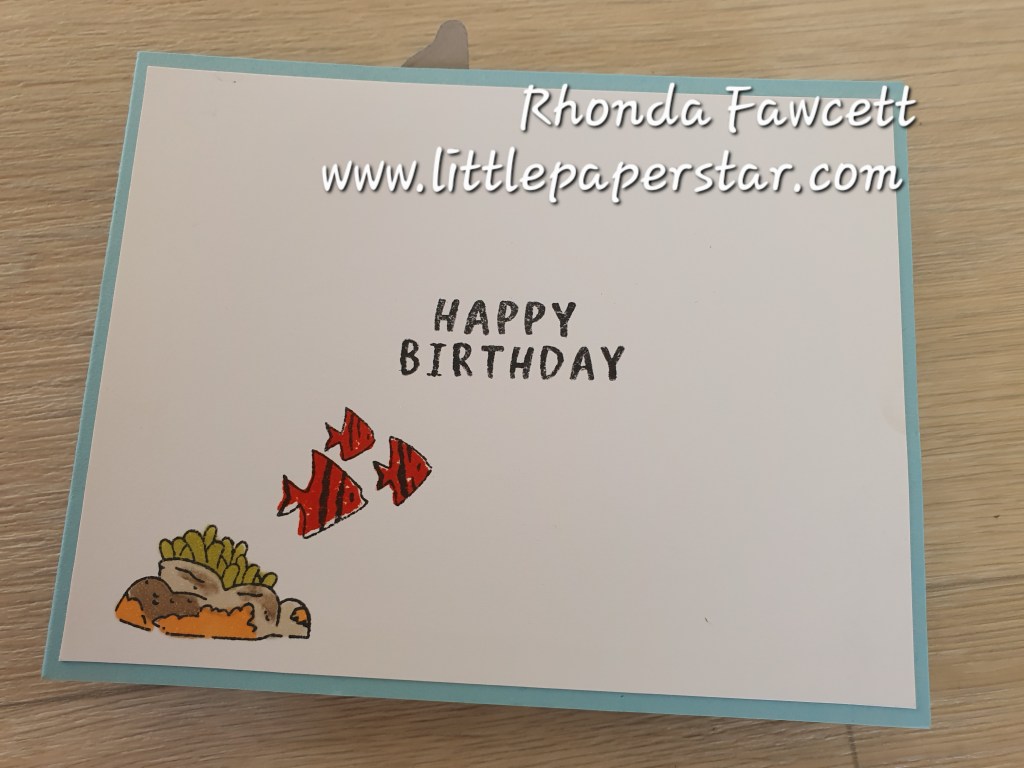
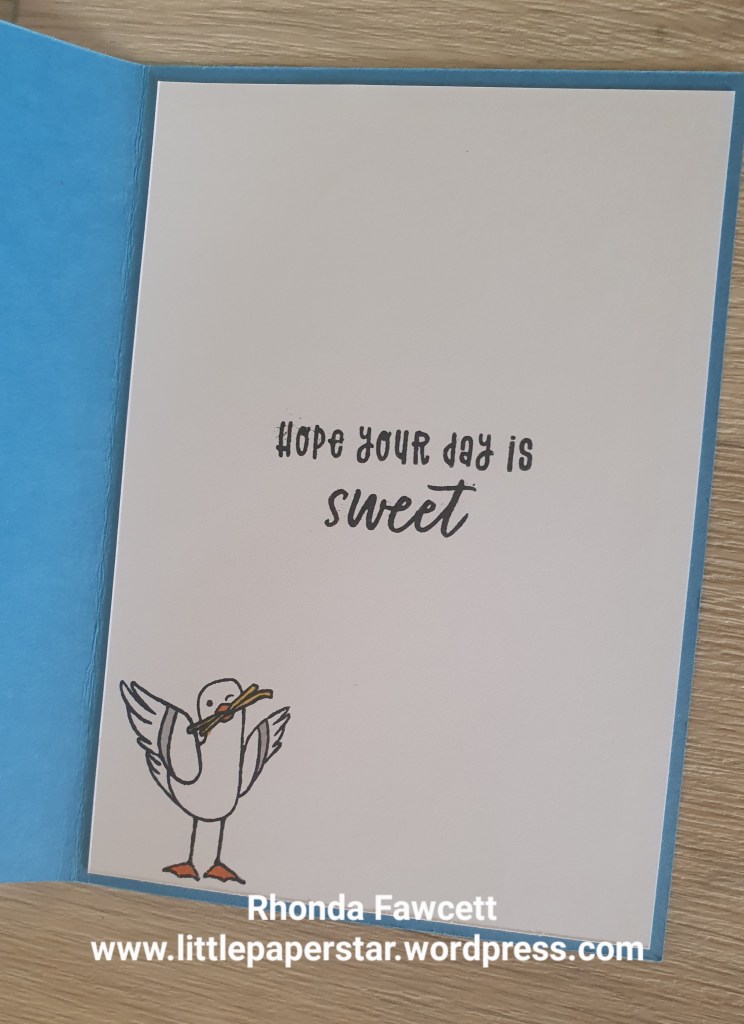
Inside the card, I used the sentiment from the Notes and Totes stamp set and I sponged a bit of yellow on first to keep it looking bright and summery.

What do you think? Does it still look like a Christmas card even though it’s a summer Christmas?

Friendly Fins Wiper Card

This was a fun fold to do. My grandkids loved it.

It uses the Friendly Fins bundle, which has many fish images including some I haven’t used like a happy stingray. I also stamped the back of the card.

When you hold the card at the front and pull the sides, a wiper arm pops up to reveal a jumping dolphin!

Party Piggy in the sun

I’m in love with the Party Piggy stamp set. This happy smiley, pig makes me smile too!

For this card, I sponged on some sun rays, hand drew a shadow then I glued on the pig. I paired the Party Piggy bundle with the Notes and Totes bundle and was excited to find the Notes and Totes sunglasses fit the pig perfectly. I popped the glasses on dimensionals.

The sun stamp, the sentiment and the inside words (relax and enjoy) are also from the Notes and Totes bundle.

Beach Buddies

Here is another card made using the free Sale-a-bration stamp set called Friendly Seagulls.

For this card, I was teaching the technique of water spray on sponged background. We started with a basic white panel 10.5 x 8 cm and used a blending brush to sponge on Azure Afternoon ink. Then we used a water spritzer to spray on one good spray of water. The spray creates fine water drops which you can’t see straight away but as the card dries it becomes apparent.

We then matted our panel onto Lemon Lolly card (10.5 cm square) with the top and bottom edges torn.

We cut a piece of Pecan Pie card for the wharf piles. 9.5 x 2.2 cm. We embossed with the timber embossing folding and sponged with Pecan Pie ink. We cut into two portions. One 5.5 cm long and one 4 cm long. Corner the ends and tied Crumb Cake baker’s twine around. Our Seagulls were fussy cut to sit on top.

Friendly Seagulls Card

I made this card to show my team how to use the sketches on page 22 of our annual catalogue as inspiration for them to make their own cards.

You can see the full video where I show the original sketch here. https://youtu.be/G3Yk0k3HP4o?si=zV14k70dyrQ2k8bX

The inside of my card has a stamp from the Ice Cream Swirl stamp set.

Reach for the stars

I had fun making these birthday cards using the Reach for the stars bundle of products. The patterned designer series paper makes the perfect background for these two cards.

Do you like the rocket ship? It is stamped on holographic paper.

This bundle and the holographic paper are all retiring this month. April 2024. So if you like what you see, make sure you contact me to place your order.

Fluffiest Friends

I love the cute animal stamp set, Fluffiest Friends You may not have noticed this set before as it is not in any printed catalogues. Instead it is available exclusively as an online offering from Stampin’ Up!

.I decided to do a card with a cat for my granddaughter and I thought that the little hamster also would make a great cat.

First I inked up the hamster stamp, then I used a blender pen to remove the ink from the hamster’s face and paws. If you are going to try this technique make sure you take a few goes at removing the ink from each part, wiping the blender pen clean between each go, to ensure you remove all traces of ink from the portion of stamp where you want it gone.

Because this took more than a few seconds and the ink may have dried on the stamp, I huffed on it, to moisten the ink with my breath. Then I stamped the image. I used a black stampin write marker to add in the face and whiskers to match the larger cat. I added cat paws and a tail.

Beautiful Balloons

This was a pretty easy card to make with the Beautiful Balloons bundle.

First I stamped some banners across the top of my DSP (Designer series paper) and heat embossed with white embossing powder.

Then I sponged over a bit more colour using Highland Heather, Bubble Bath Lemon Lolly and Lemon Lime Twist inks. I only blended the colour on lightly so you could still see the pattern show through but it took away the stark white and it showed up the banners better.

Then I added the balloons and the greeting. I hand drew in the balloon string with a ruler and Stampin’ Write marker.

Finally I added some little stars cut with holographic paper.

It’s a science

Here is a fun birthday card for the science geek in your life. It’s made with “It’s a science” stamp set which has a few science images such a seen in my card below, plus atoms, clipboard and molecule strands. The words in this set are great for birthdays, anniversaries and valentines.

The images would also be good for scrapbooking if you wanted to do some school themed pages.

I used basic gray ink to stamp my images and coloured them with Gray, Pool Party, Starry Sky and Lemon Lime Twist Blends. The wood bench top is a strip of DSP from the Earthen Elegance paper pack. The tag and stars are from the Beautiful Balloons dies. The ribbon is Orchid Oasis metallic woven ribbon. If you gently pull the edges apart. It gives a nice open weave and a curve to it. I love this ribbon because it has a subtle sparkle to it

I brushed Wink of Stella over the chemistry beakers which add some more sparkle. It’s not easy to capture in a photo but I promise you, it looks great in real life!

Ten Pin Bowling Card

This was a card that I made on commission for someone who is obsessed with ten pin bowling. I used the Rays of Light big background stamp on Daffodil Delight card and embossed it with clear embossing powder.

I used the Alphabest stamp set for the word “Strike”. The It’s your special day greeting is from the Sweet Songbirds stamp set.

I then made the bowling pins. I used my grid paper to draw a pin the size I wanted. I made sure it was symmetrical by folding the grid paper in half and cutting out one half of my sketch. When the paper was unfolded. It was a perfect pin. I glued this to a piece of thick white card and made a heavy template that I could then trace around on basic white card. I drew in extra lines and highlight curves with my stampin write marker.and fussy cut them all out. I had a couple of dots on my template at the neck of the pin so I knew where to place the neck stripe. I used a real red marker to colour in the stripe.

The bowling ball is a from a retired 1 1/4″ circle punch with 3 small holes punched out of it. I mounted it on another punched circle of basic gray card so that the gray showed through the holes.