Sharing my love of all things paper-craft: Card making, Scrapbooking, Gift Boxes, Invitations, Party Favours, Craft Supplies and more. (Formally Stampin'Fantastic)
This is a fun pop up card using the free SAB designer series paper and the Hues of Happiness bundle.
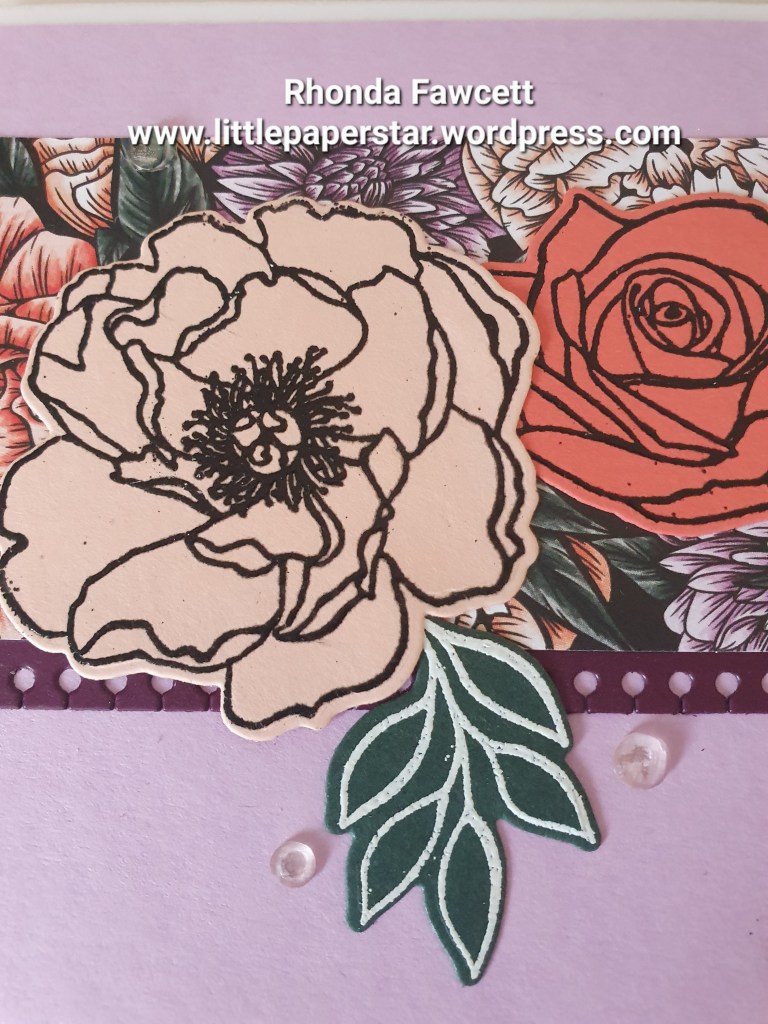
The flowers are all stamped with versamark and heat embossed with either black or white embossing powder.
I embossed them on various pieces of coloured cardstock so I had the colours I wanted without needing to colour any in. It is a quick and effective way to add colour.
Here is a card that I taught recently. It is made using a sheet of A4 white card, cut in half lengthwise and scored at 14.4 and 28.8 cm. The small section left over beomes a tab to attach a coloured card to. I also attached a coloured Balmy Blue card to base.
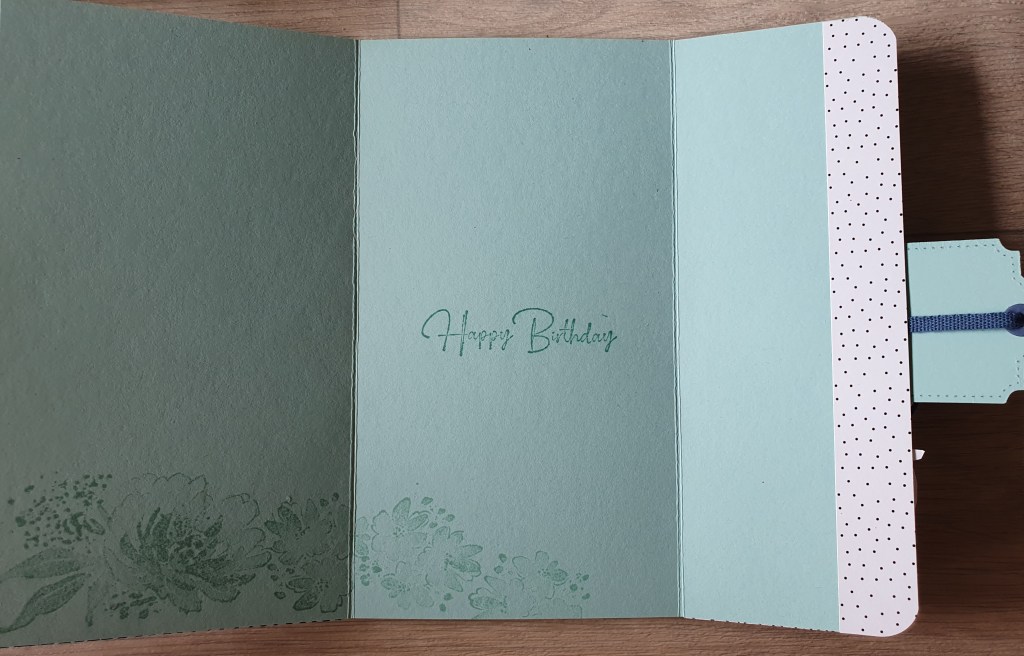
This is a fun card that opens up with plenty of space for writing. Great for everyone at work to add their own message or just if you have a lot to share with someone special. You can then decorate the front however you want. I used the Simply Succulents stamps and dies and the printed layering vellum design paper.
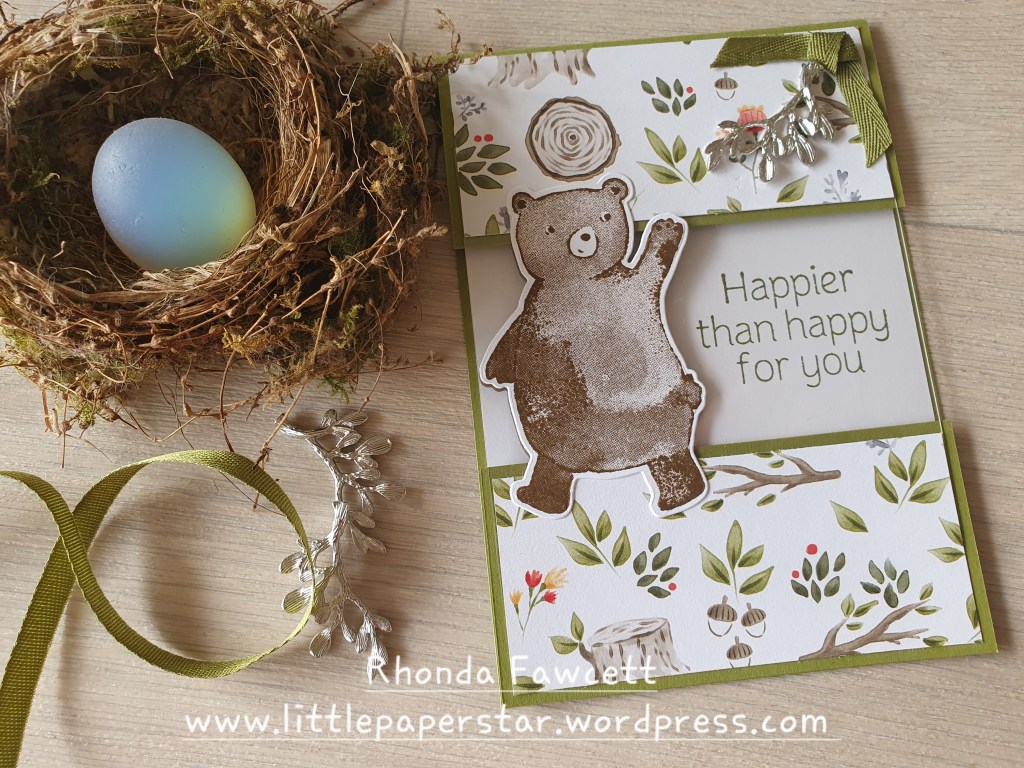
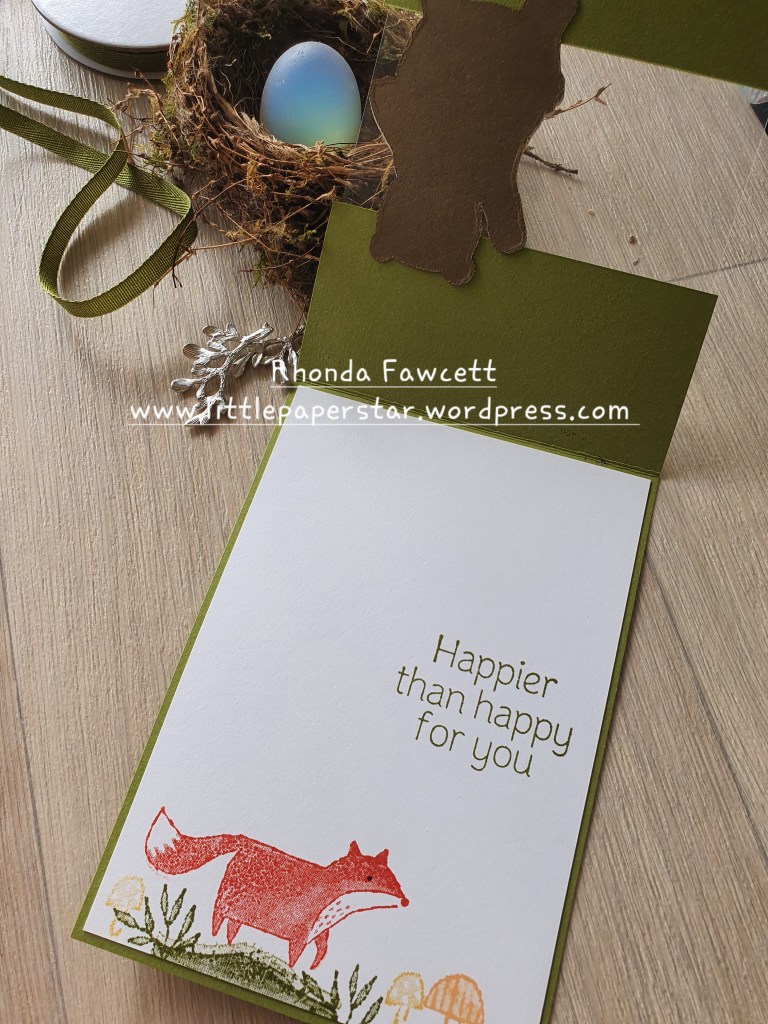
This is an easy fun fold card to make. Just cut a sheet of Old Olive A4 card in half lengthwise and fold in half. Then cut at 4.5 cm from the fold. Trim the cut off piece to measure 5 cm wide and discard the rest. Cut two pieces of DSP (Designer series paper) one at 10 x 4 cm and the other at 10 x 4.5 cm. Also cut a piece of window sheet to 10 x 11 cm. Lay the cut off Olive piece at the bottom of the folded Olive card so the bottom edges line up. There will be a gap in the middle. Glue or tape the window sheet to the Olive card to bridge the gap. Then glue DSP on top
Decorate with the stamps and dies from the Happier than Happy bundle. Glue bear onto window sheet to the left hand side. Die cut a second bear shape from Soft Suede card and glue it on the underneath side of the window sheet to line up with the bear on the front. When you stamp the greeting inside, take care to position it so that it shows through the window at the side of the bear.
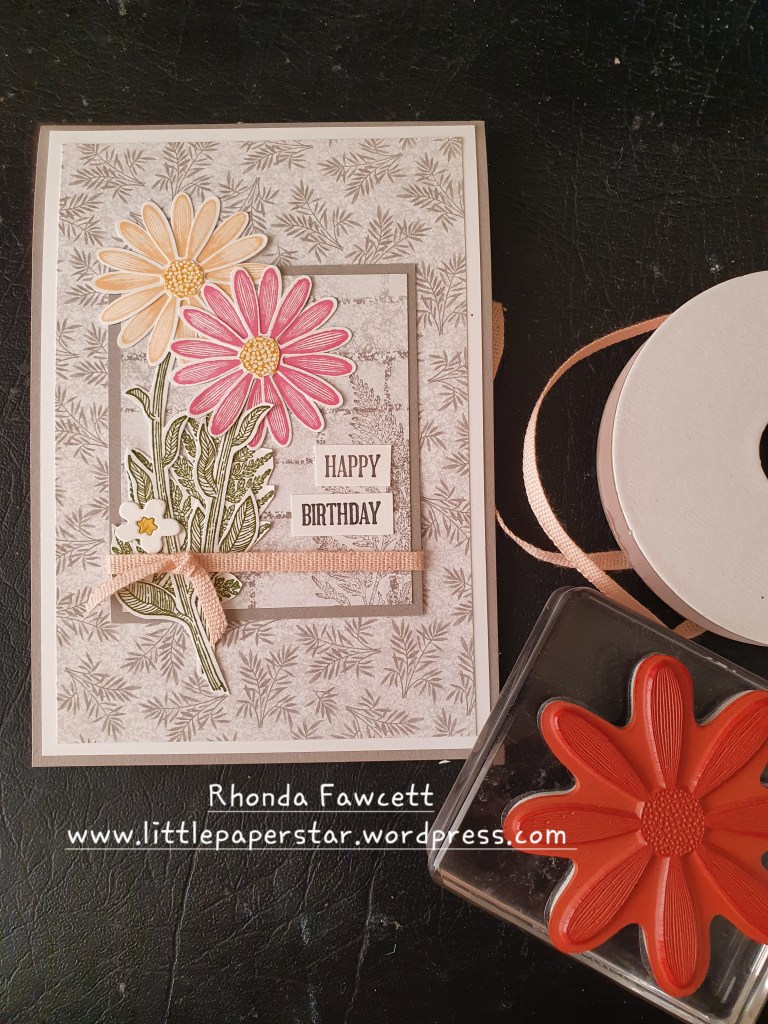
I used the Daisy Lane stamp set and Bloom where you are planted DSP. (Plus a bit of In Good Taste DSP for inside the card).
I taught this card in a class last week and gave the ladies the option of what sentiment they wanted on the front, using A wish for everything stamp set. Some chose to do a Mother’s day card and some chose to do an Easter card.
We added a small white flower die cut from the Cherry Blossoms dies and for those who chose the Easter card, they added a small chicken die cut from the Birthday Chick dies.
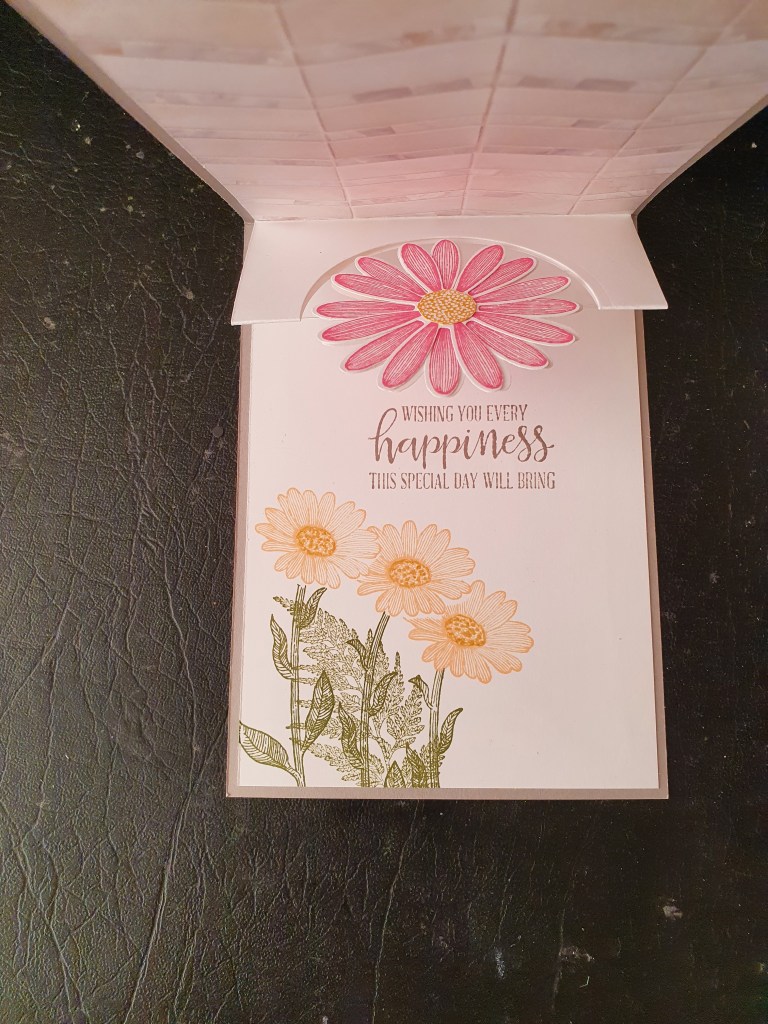
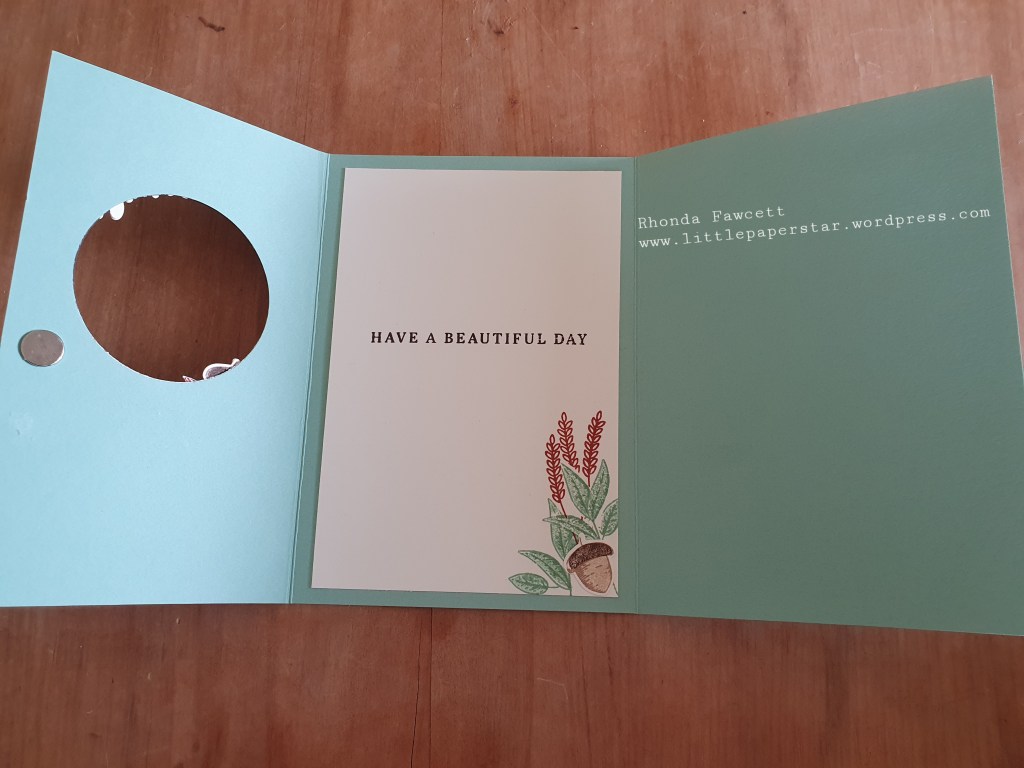
The special thing about this card is that it has a surprise pop up with a floating daisy inside.
I followed a tutorial from Julie Davidson to create the pop up piece inside. It is basically a circle cut out of a piece of white card and folded in the centre of the circle. There is a piece of window sheet inside the half circle which the daisy adheres to.
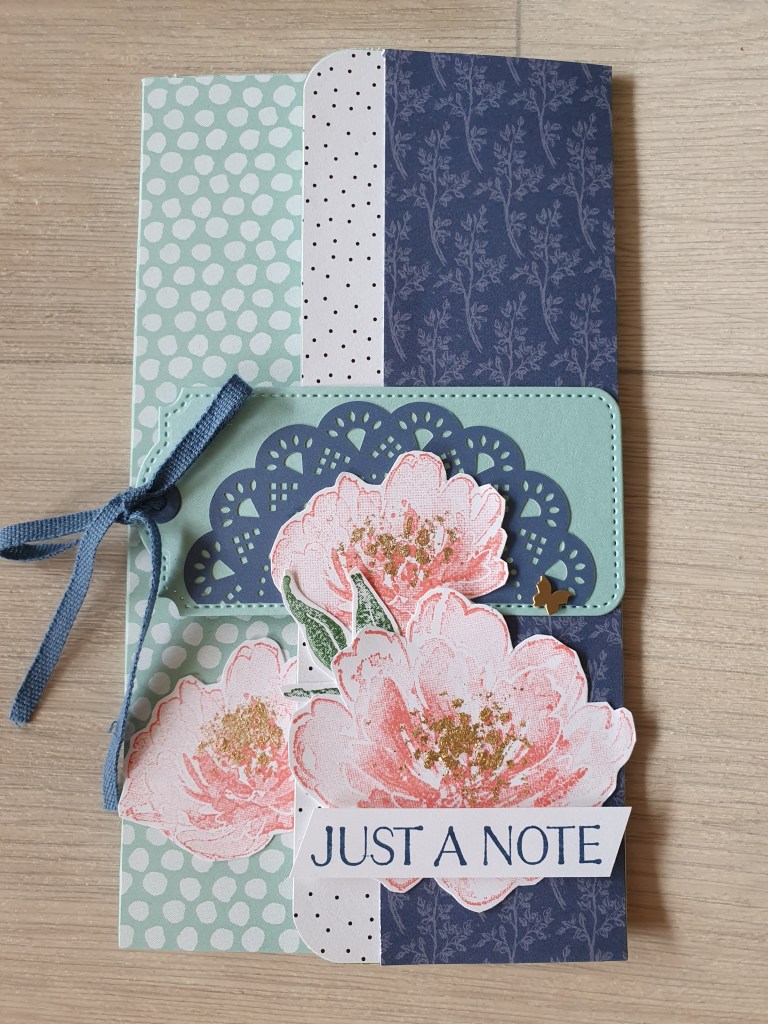
Here is a different type of fold that I taught at a recent event. I first saw this fold in a card Jacque Williams had made and I have used it a few times now. This one features the Flowing Flowers stamp set which is in the new mini catalogue.
I have also used cotton ribbon, a brushed brass butterfly embellishment and a doily all from the new mini catalogue as well.
The papers are called Pattern Party and they are a hostess reward paper pack from the Annual catalogue.
Inside card
One technique we used was to apply gold foil leafing which really added a touch of elegance to these pretty flowers.
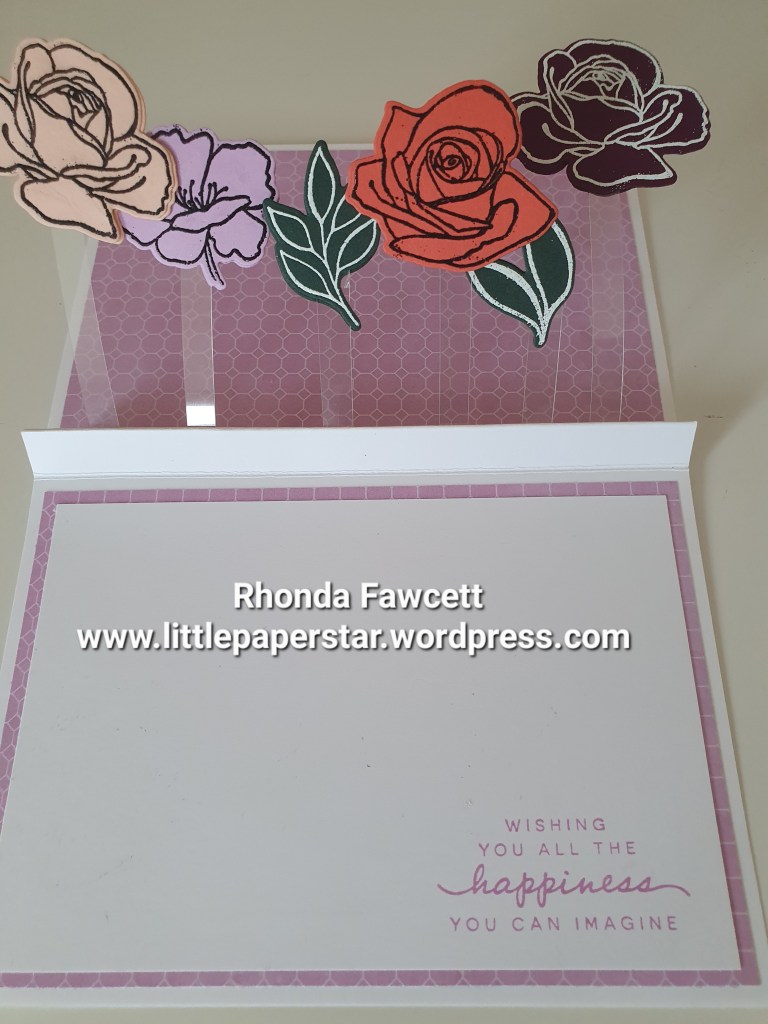
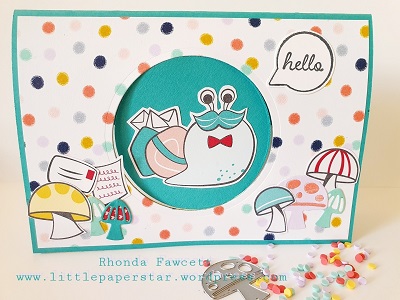
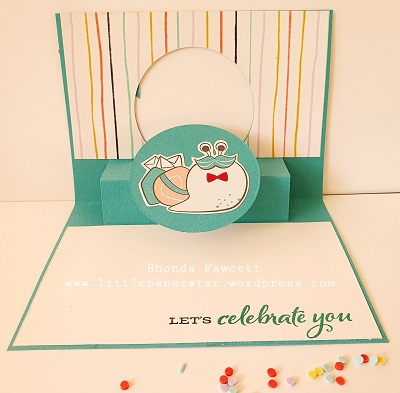
This fun pop up card is super easy to make. Here are the instructions: Fold A5 card in half and cut a shape out of the front for the window in which to insert the flip piece. Save the piece that was cut out as this is used again to sit inside the window. Decorate front as desired. If you want to add a piece of DSP (Designer Series Paper), add it first before cutting out the window shape. Cut your DSP to 14.4 cm x 10 cm.
Pop Up Mechanism: Cut a strip of coloured card to match the front card colour to measure 10 cm x 8 cm. Score at 2.5, 5 and 7.5 cm. Fold along all score lines in the same direction. Adhere this mechanism inside the card, butted up against the fold line so that it makes a box shape as demonstrated in class. Flip Mechanism: Cut a strip of card same colour as before to measure 6.5 cm x 2 cm. Score at 2.5cm. Adhere the longer fold section onto the pop-up box piece. Fold the score line back on itself and close the card then reinsert the cut-out shape back into the window and adhere to the smaller folded back section of the flip mechanism.
Decorate the inside of the card by cutting a piece of white card to 14.4 cm x 7 cm and stampin your chosen sentiment.
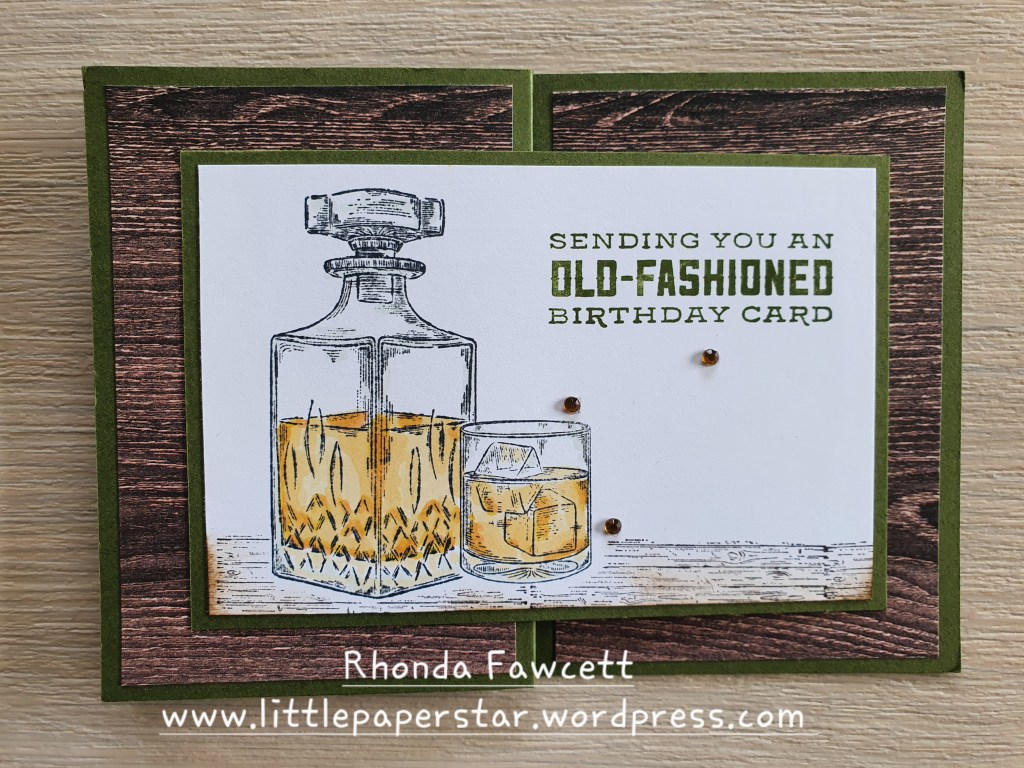
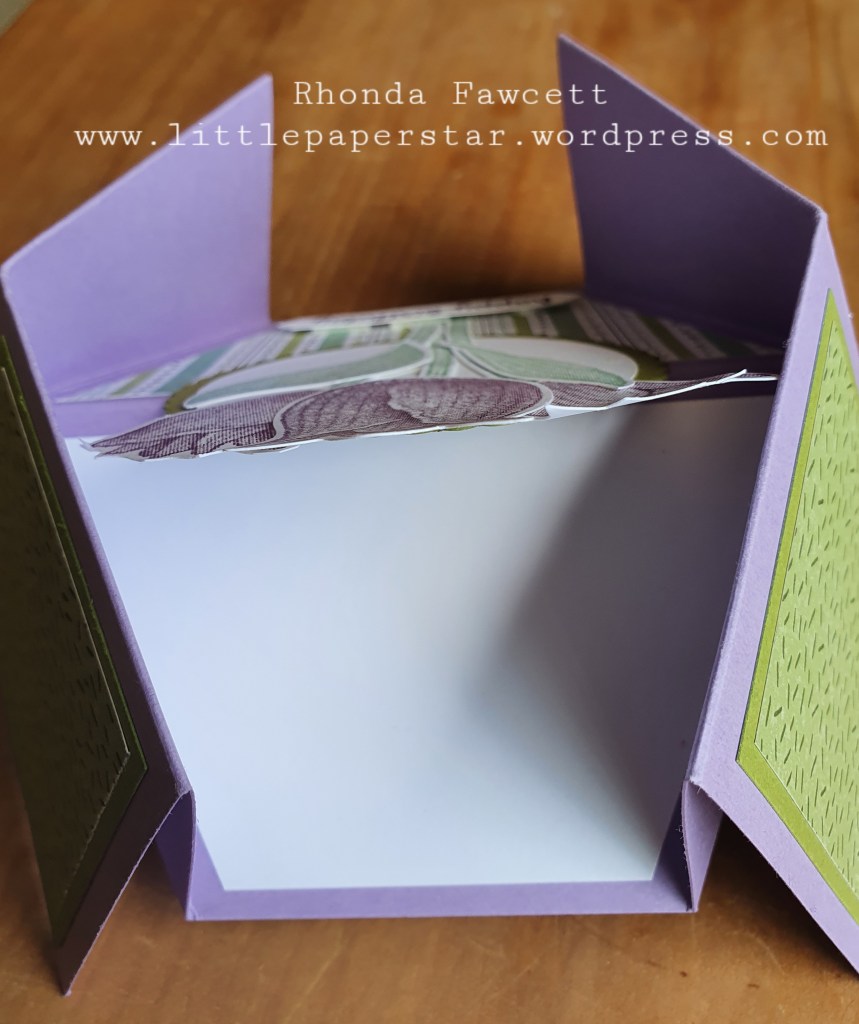
Today I want to show you a Double Diamond fold card. The tricky bit is getting your score and folding lines right. I found it easiest to practice on copy paper first.
I adapted this card from one I saw online and made it so it would work using our A4 cardstock that we use in NZ. I started with a piece of card measuring 29 x 13 cm. Then I scored in half (in portrait position) at 6.5 cm. Turn to landscape for more scoring and marking. Score length of card at 6.5 cm. Move to 9 cm, do not score but instead make a mark at the centre score line at 9 cm. Move to 11.5 cm. Make a mark at the top and bottom of your card. Move to 17.5 cm. Make a mark at the top and bottom of your card. Move to 20 cm. Make a mark on the centre score line. Move to 22.5 cm. Score down the length of your card.
Now take a ruler and bone folder and score from the 11.5 mark to the middle 9 cm mark. Do this top and bottom. Then the same on the other side; score from the 17.5 mark to the middle 20 cm mark on both the top and bottom. You will have a diamond shape in the middle
The two outside panels are mountain folds. The diamond shape you made last is all valley folds but the score line in the centre of the diamond is a mountain fold.
The best way is see how this works to watch a YouTube video on a diamond fold card. It folds together like origami that you did as a kid.
I then cut panels and decorated it using the Timeless Tulip stamp set.
You can also put a white panel on the back to write your message.
This tri fold card features the Beautiful Autumn stamp set and coordinating papers, wooden elements and the dog punch.
It has a peak a boo window through which you can see the Chocolate Labrador. When you open the card, you get to see the dog completely as well as our beautiful gold flecked paper.
This unique fold card is my give away prize this month. All you have to do to go into the draw is to leave a comment with who you know that would like a Chocolate Labrador card.