Sharing my love of all things paper-craft: Card making, Scrapbooking, Gift Boxes, Invitations, Party Favours, Craft Supplies and more. (Formally Stampin'Fantastic)
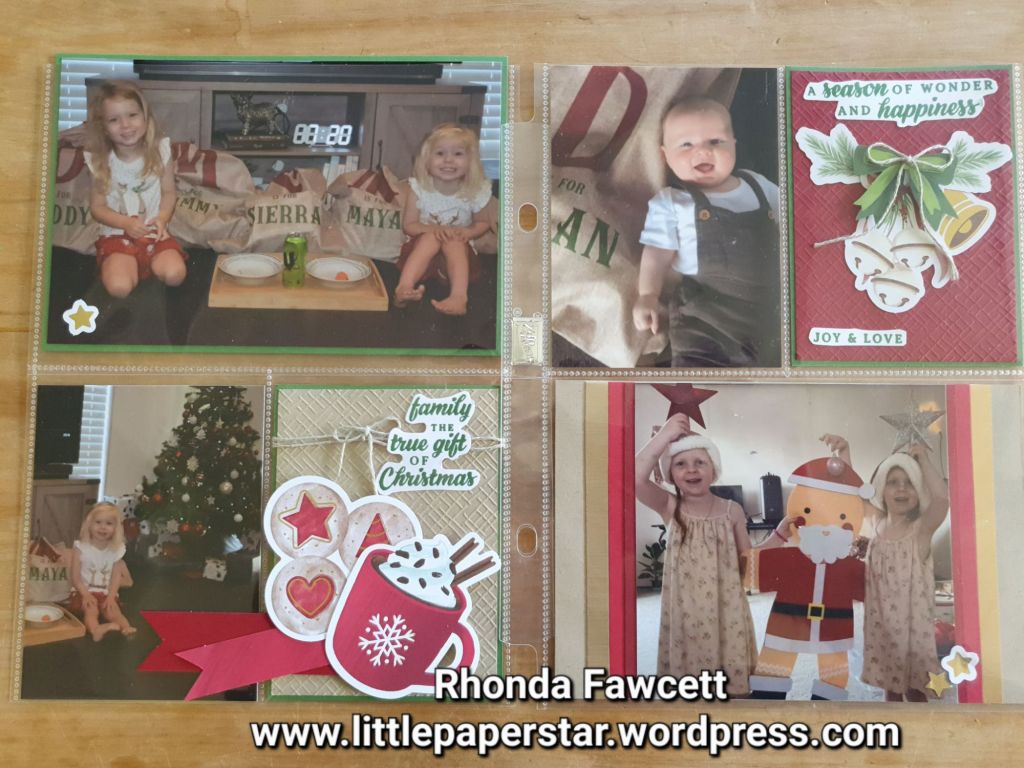
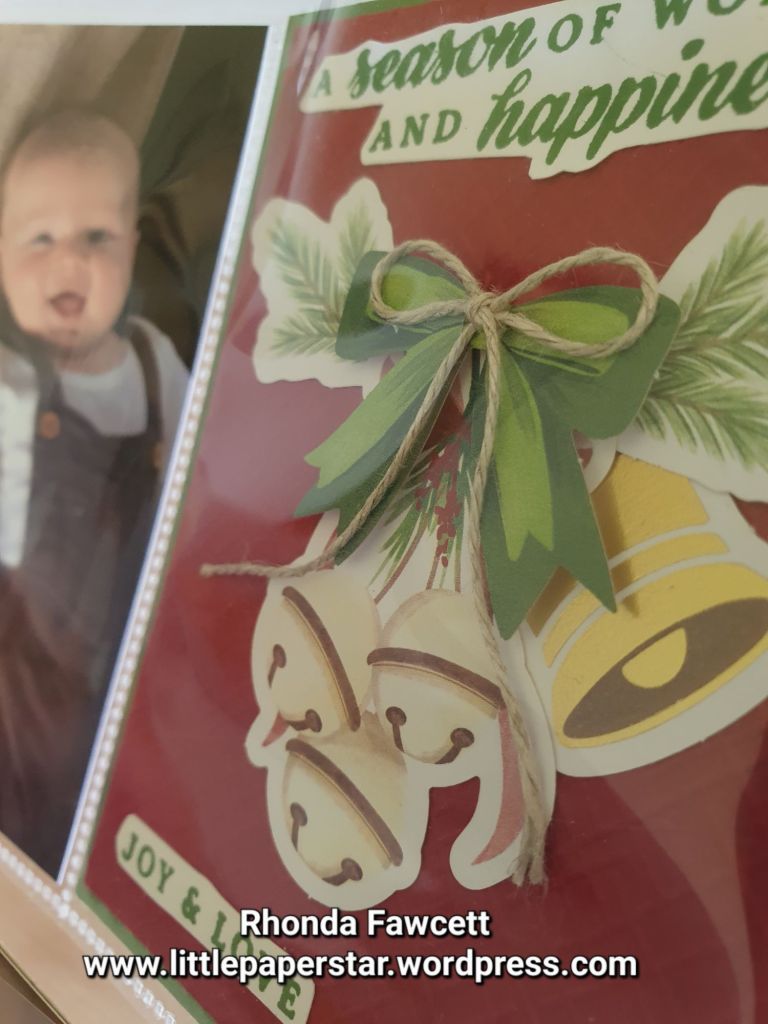
I recently purchased the Joyful images ephemera pack from Stampin’ Up! and I used it to create a layout for my Memories and More album.
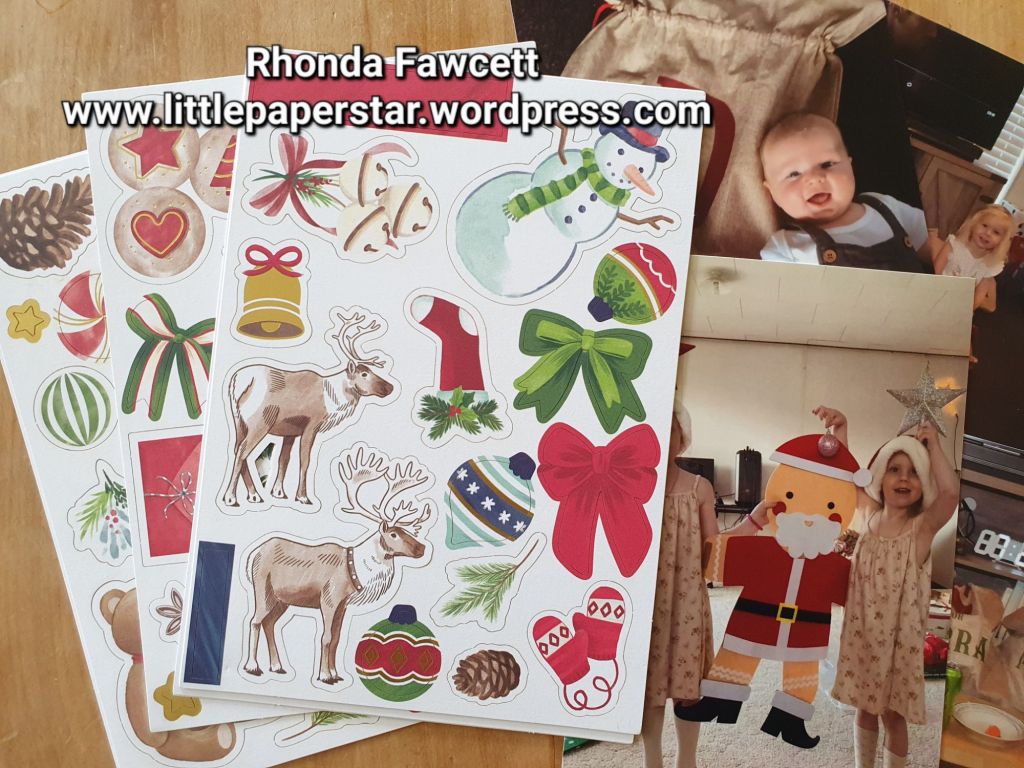
There were so many printed and die cut images to choose from. Each pack contains 8 sheets of 4 different designs.
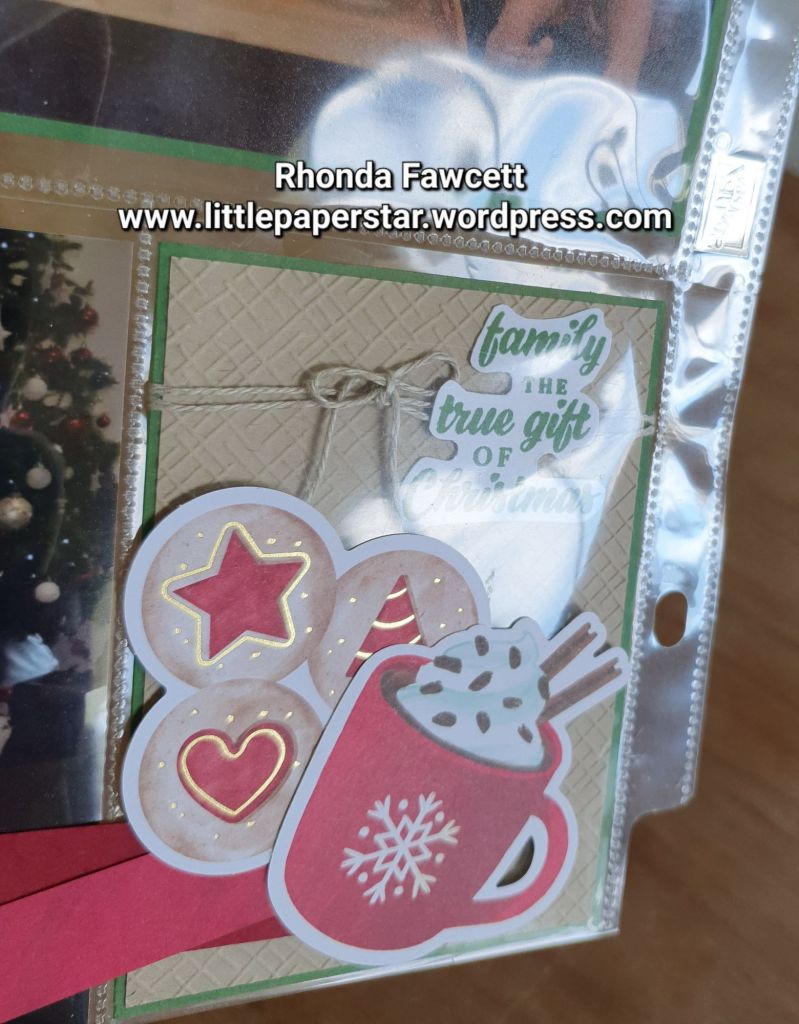
I combined a few images together to create filler cards for the pockets in my Christmas Memories and More album.
I love the touch of gold on some of the images. Some images came cut with a white border and some without. I used both in my layout.
The words I used were from the Peaceful Season stamp set and inked with Garden Green ink to match the card and photo mats.
Did you notice the Real Red and Cherry Cobbler banners on the photo above? They lay across two pockets so I had to adhere them to the outside. Have you ever done this? Do you think it’s okay or do you prefer to have everything adhered down and safely contained inside the pockets?
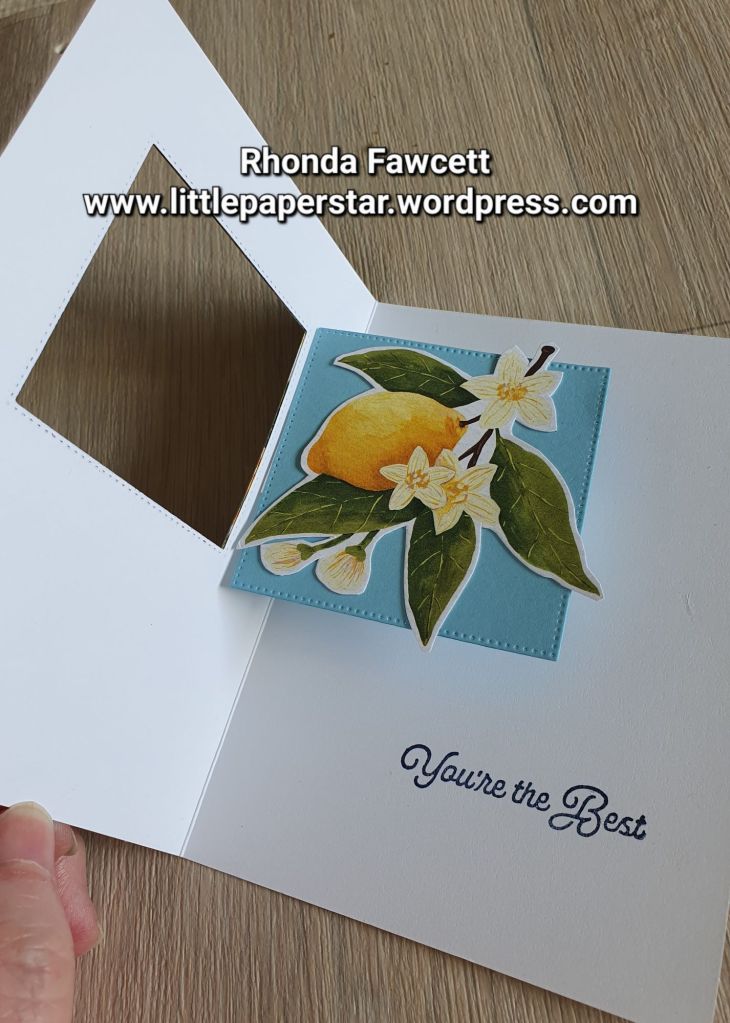
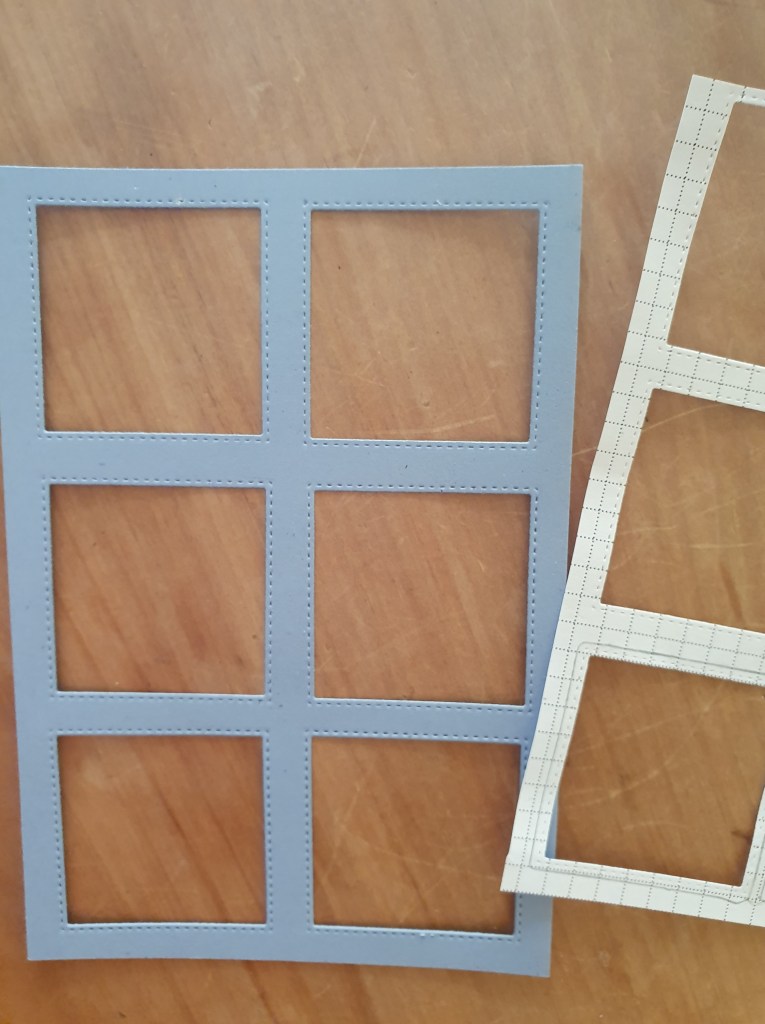
I wanted to use some scraps of this very pretty paper (it’s a freebie when you spend NZ $110 on Stampin’ Up! products. This Sale-a-bration freebie ends on 29th of February). Anyway I was playing with my Stylish Shapes dies and noticed that they all have double stitching. This means the shape you die cut out plus the negative where you cut the shape from, both have stitching lines. I really wanted to showcase both sets of stitching lines and so I came up with this “window frame” card.
I had a bit of trouble initially keeping the squares even, so I made a template from grid paper first which really helped.
I glued the window frame to a thick white card base. I die cut some squares of Designer series paper (DSP), to go inside each window. Then I added a sentiment from the sending smiles stamp set. This was also die cut using a die from the stylish shapes die set and placed on dimensionals. Finally I added some neutral sequins to finish.