Sharing my love of all things paper-craft: Card making, Scrapbooking, Gift Boxes, Invitations, Party Favours, Craft Supplies and more. (Formally Stampin'Fantastic)
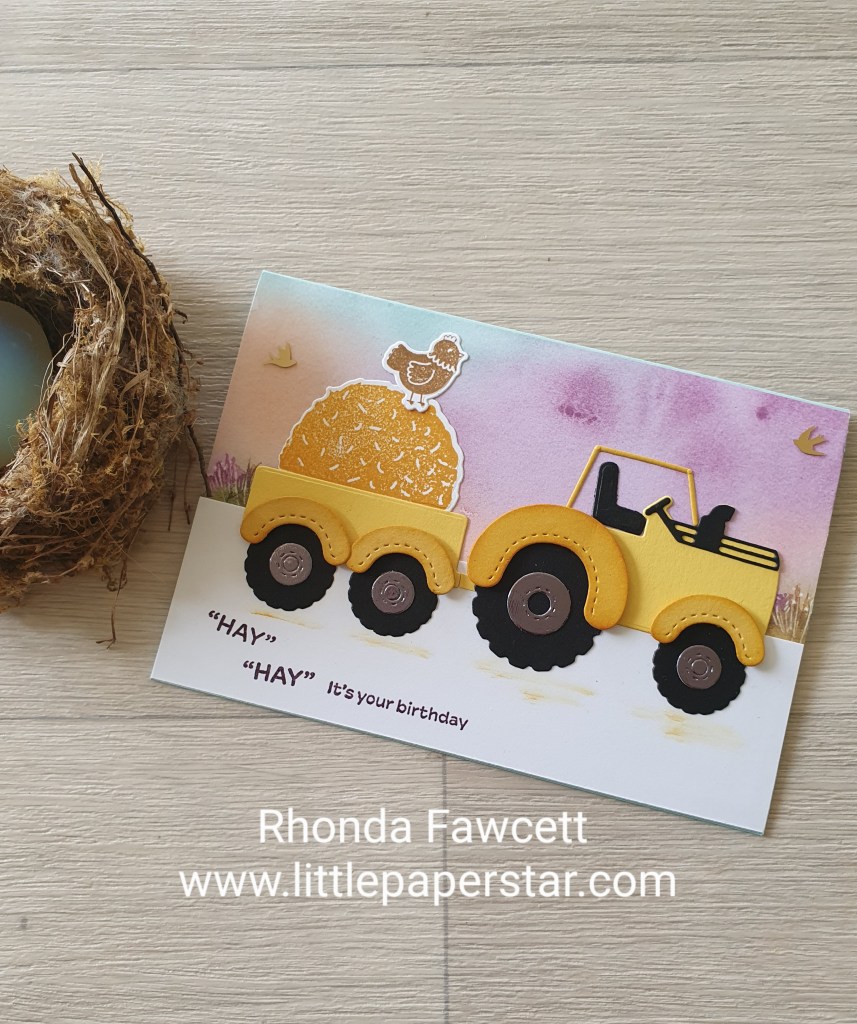
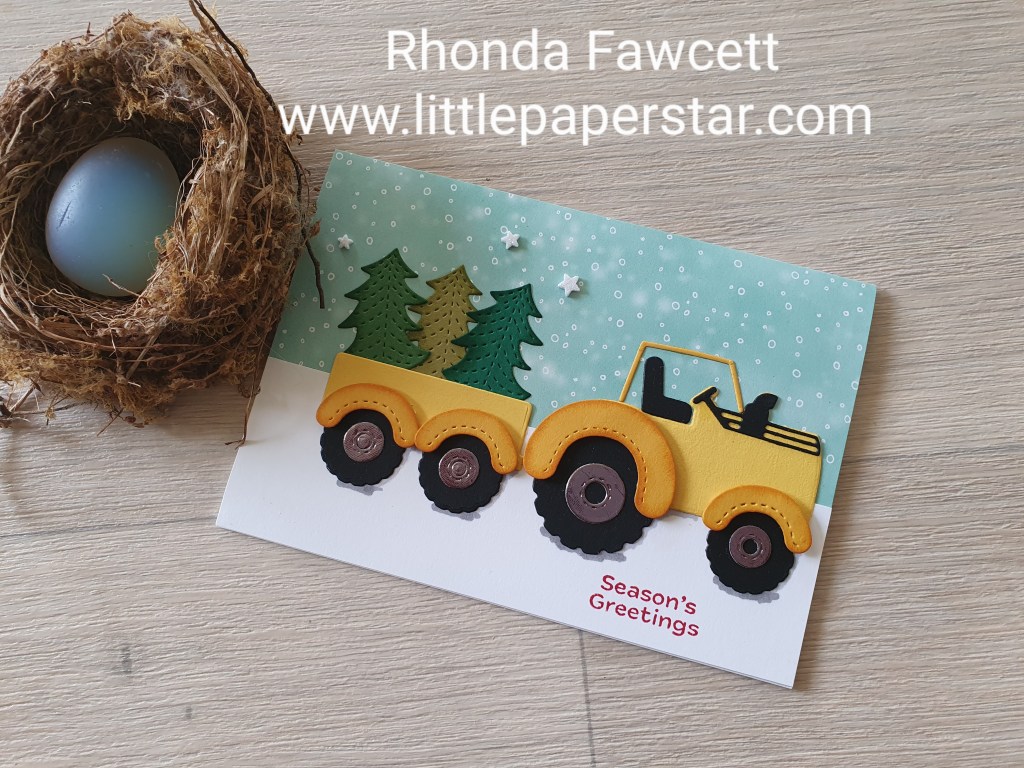
This birthday card was fun and easy to make using the Tractor and Co Bundle from Stampin’ Up!The Christmas version was taken from the Stampin’ Up! website and the birthday version was adapted from that.
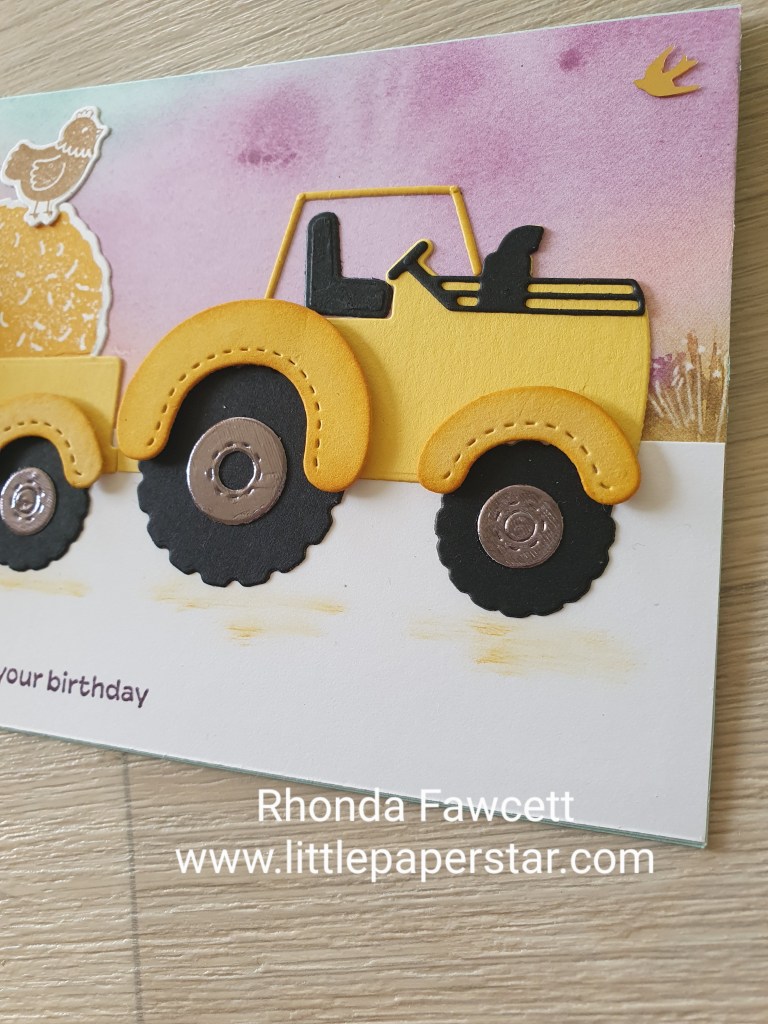
The Thoughtful Journey DSP made the perfect sunrise background for the feeding out of the hay. The Christmas version had glitter foam star embellishments so for the birthday card I decided to use the brushed brass birds instead.
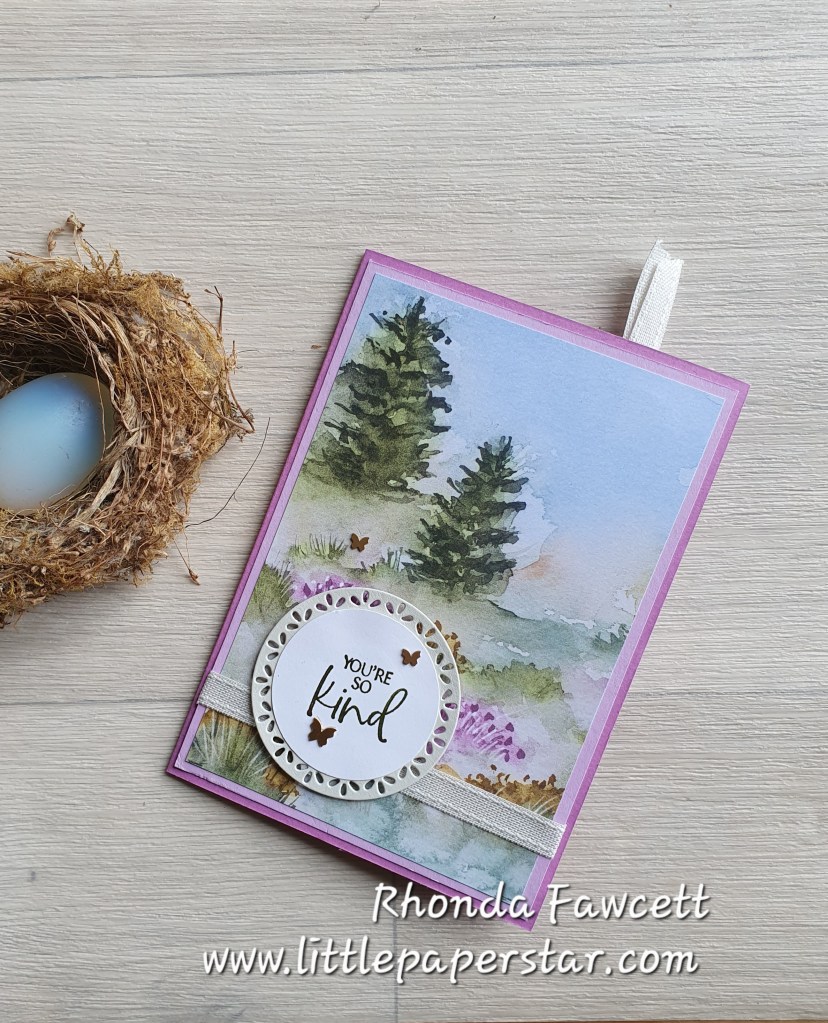
This is a card I made for a recent card swap. The pretty paper is called Peaceful Garden Designer Series Paper. I matched it up with the Peace on Earth dies.
Aren’t those little die cut envelopes cute? The sentiment is from the Notes and Totes stamp set. I used the new Black and White and Gold baker’s twine for a touch of elegance.
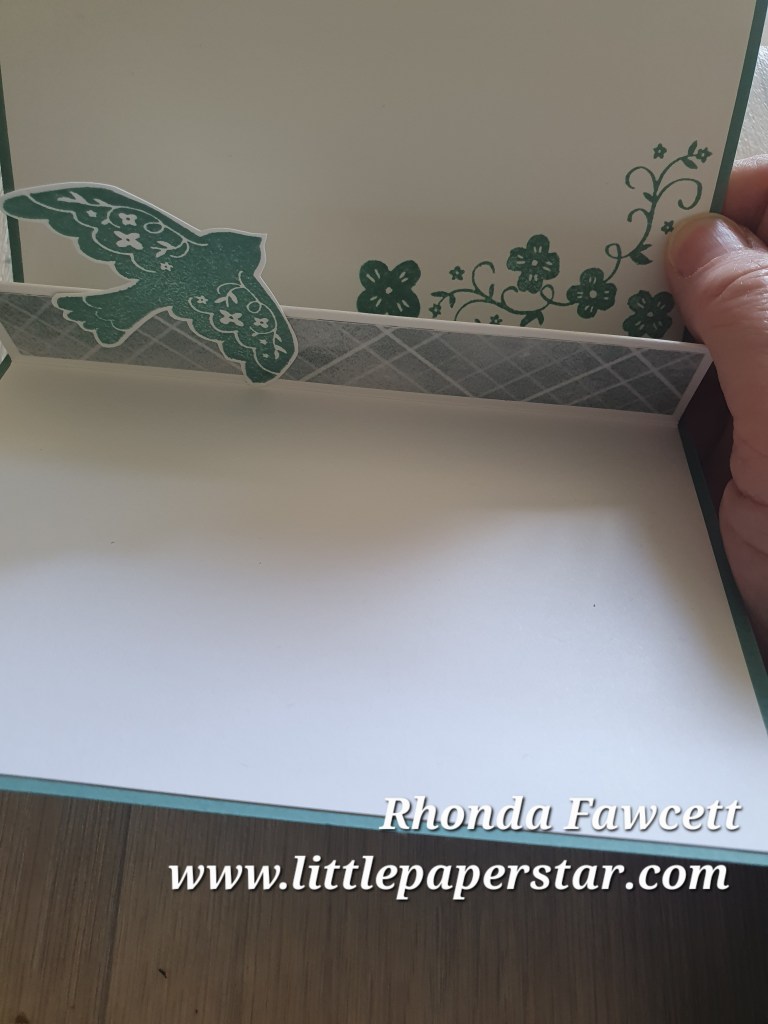
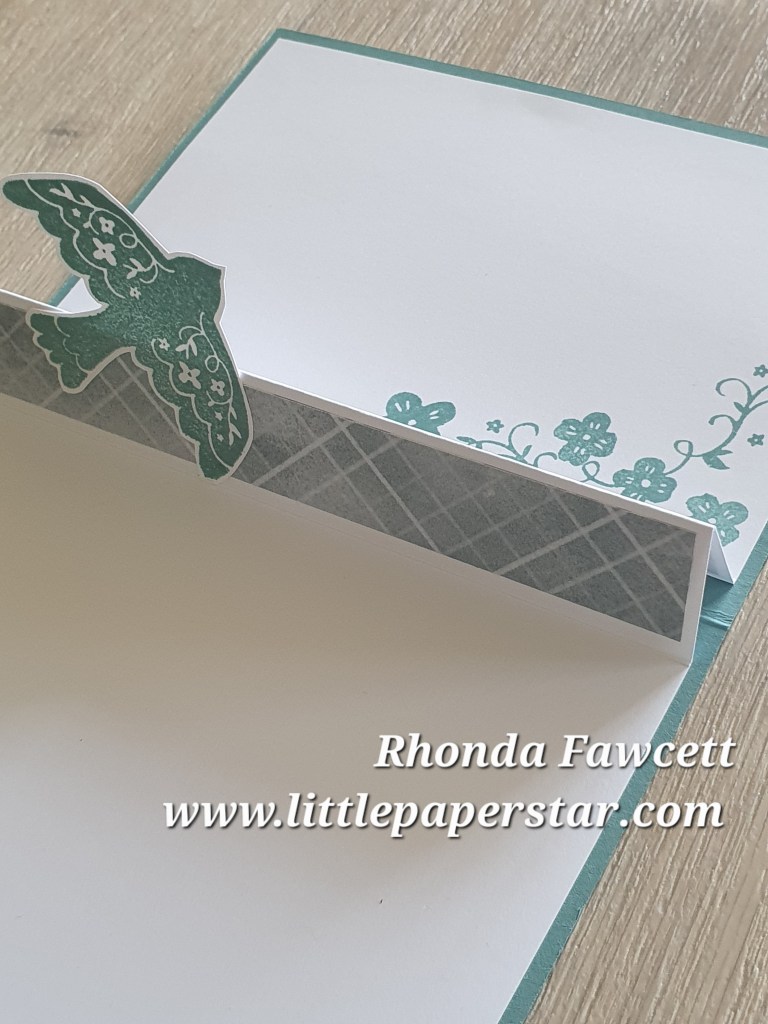
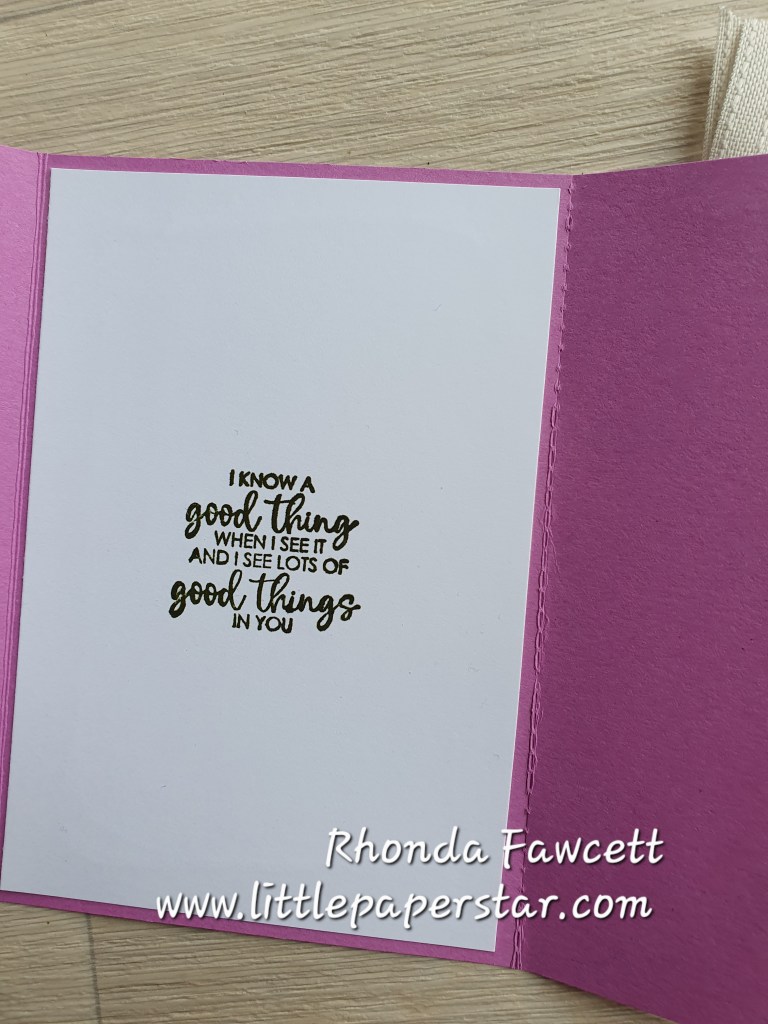
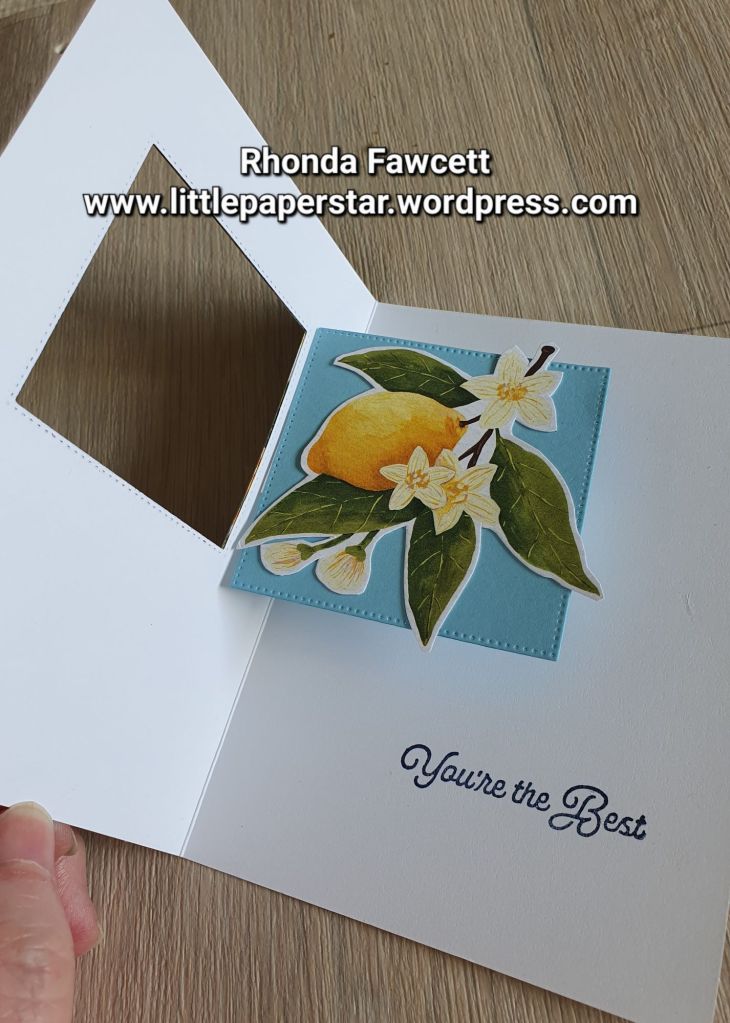
There is a pop up surprise inside…
I don’t know what the name of this type of pop up card would be. It’s quite small and triangular.
I glued on a stamped dove from the Peaceful Days stamp set to the pop up middle .
I added some extra stamped flowers too. These flowers match the DSP ones on the front.
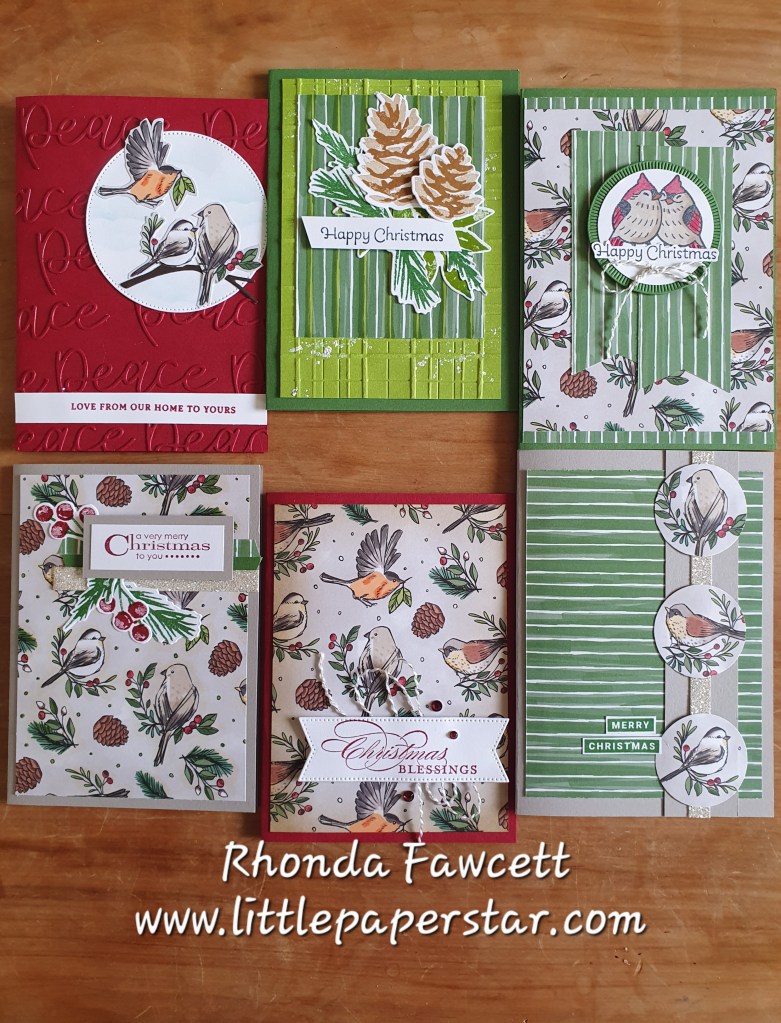
I recently participated in a demonstrator online event which showed us how to get the most out of one sheet of Designer Series Paper. (DSP). We made 6 cards, all using different techniques and using sketches from page 52 of the new Christmas mini catalogue.
We cut our DSP into the separate sections that we needed for each card, then using different colouring and cutting techniques we made our 6 basic cards. Once we completed the 6 templates we went back and added sentiments and embellishments.
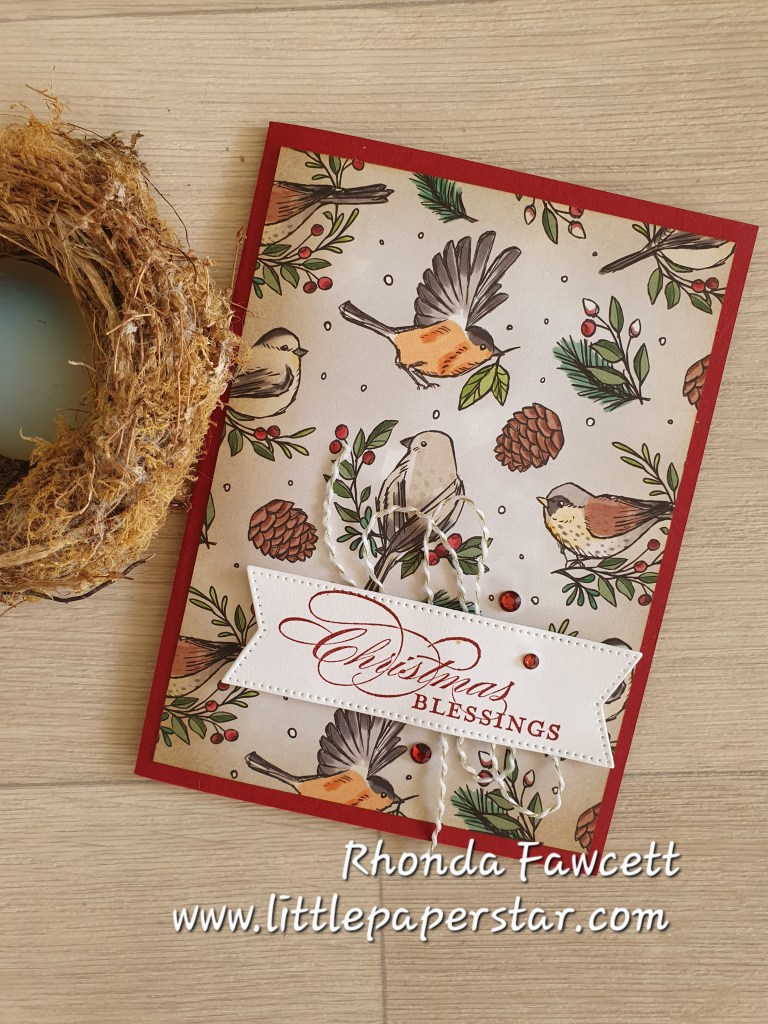
For this card, I used a retired Christmas greeting and cut it out with a Stylish Shape die. I matted it on top of the new gold and white twine.
The technique used here is sponging ink over the DSP for a different look. I chose to just sponge the edges with Crumb Cake ink. It gave a antique look for this card which I really loved.
Here are the rest of the cards I made using the sketch guide and techniques on page 52. If you want to learn what I did, follow me on Friday the 3rd of October where I will be doing a Facebook live demonstration of this One Sheet Wonder.
I had a bit if a dilemma when I was decorating my album cover. I had put off doing it for so long but my album was full. It was finally time to finish it properly.
Originally, I kept it simple. Just stamps and ink.
I love the words from this new Peaceful Days stamp set. They are perfect for scrapbooking.
Then I decided I wasn’t completely happy with how plain it was, so I got out my Memories and More Mixed Media Floral card packs and some Stampin Up ephemera, plus retired ribbon and trim to create this cover.
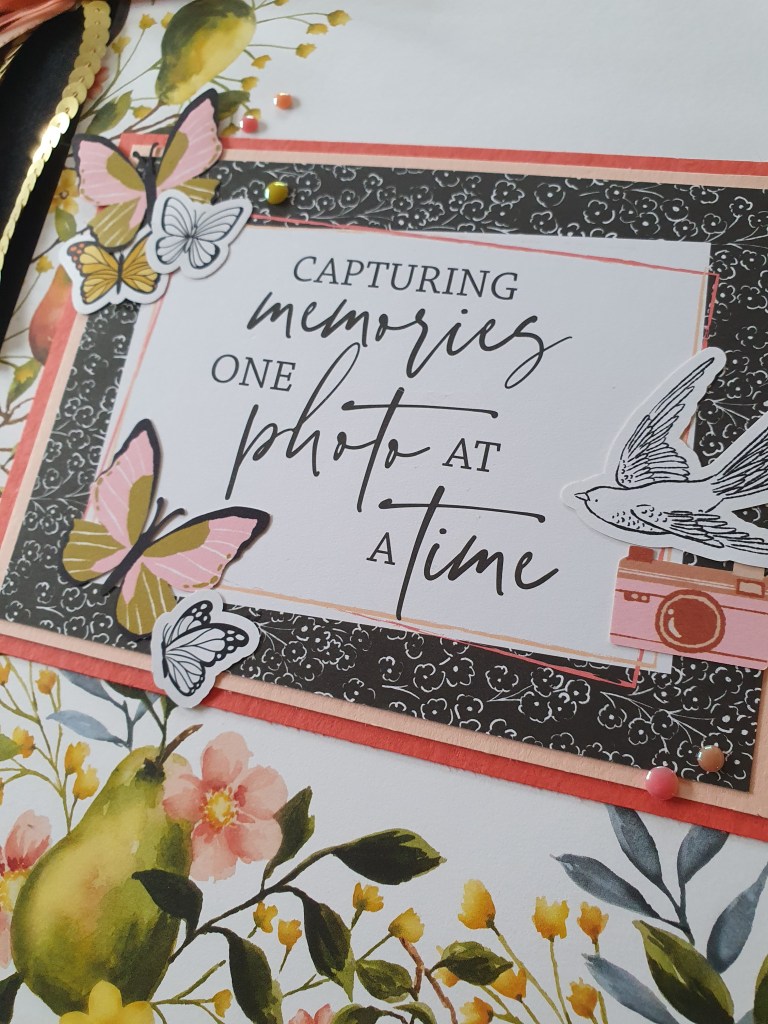
The Designer series paper for the front was a perfect base. Plenty of colour but not too busy, with the pattern only around two edges. The paper is called Painterly Pears and is a new Online Exclusive.
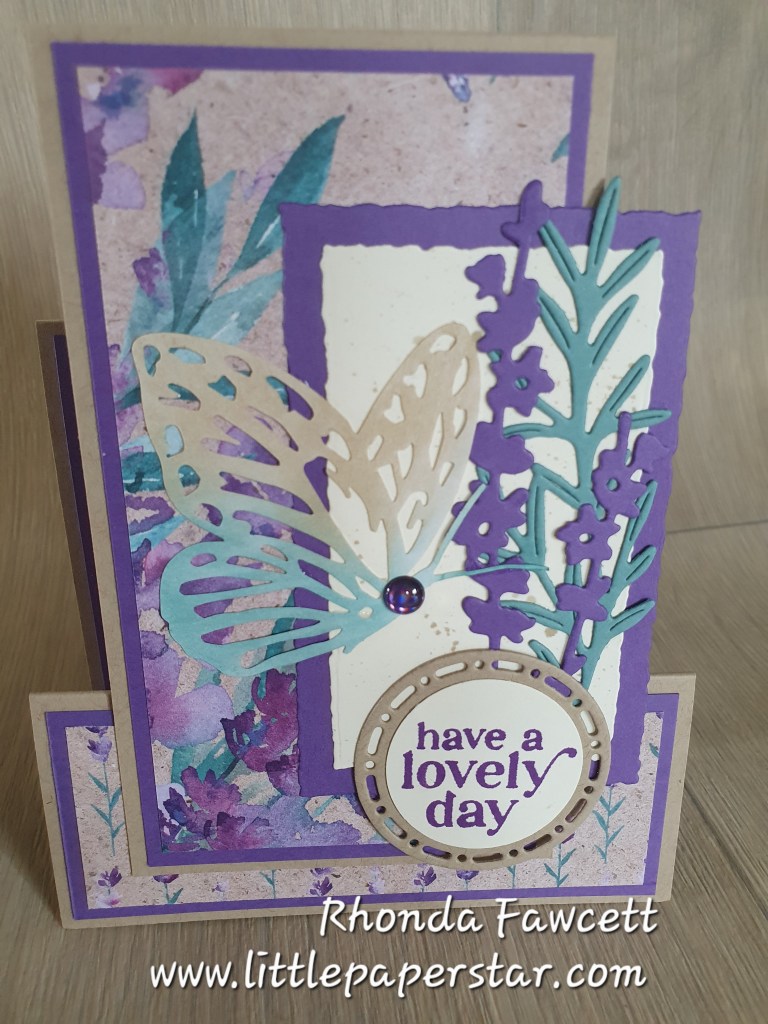
This is the easiest stepper card I have ever made. The base is folded to resemble a lopsided letter M and then a second piece is glued on to provide the focal “stepped up” piece.
I used the popular Perennial Lavender Designer series paper to decorate the step and centre piece. The dies are from the same Perennial Lavender suite and are still available for purchase on Stampin’ Up’s! Last Chance list.
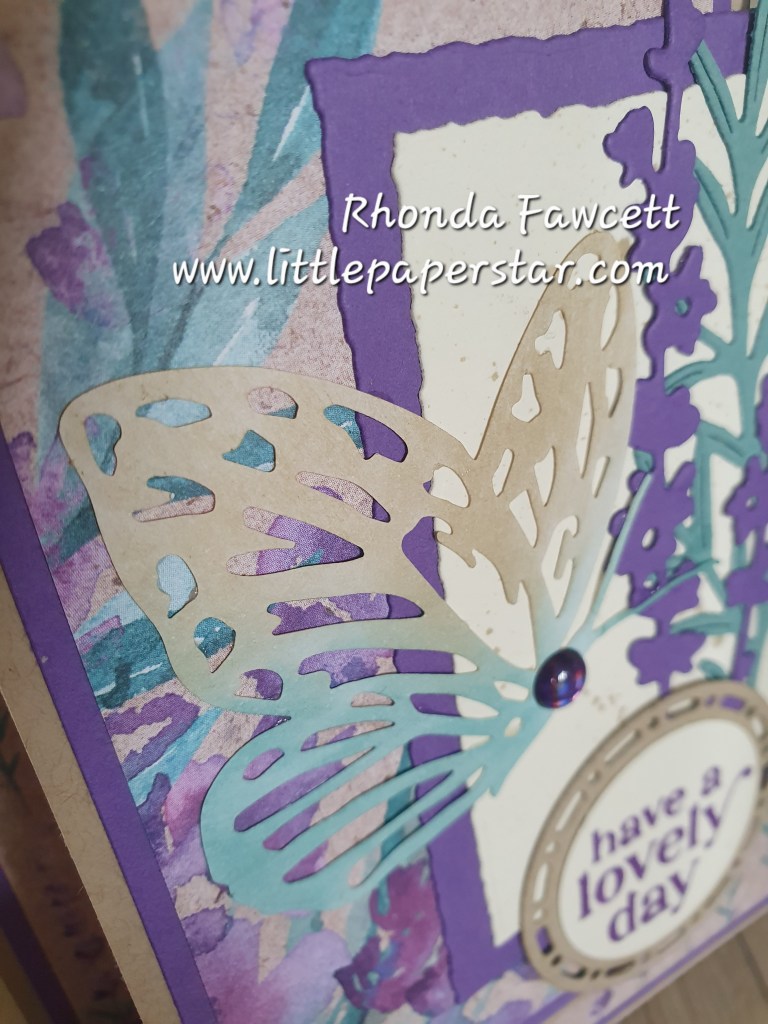
The paper butterfly accents are another favourite. They come plain white and I used our blending brushes to add colour. I love they way they turned out.
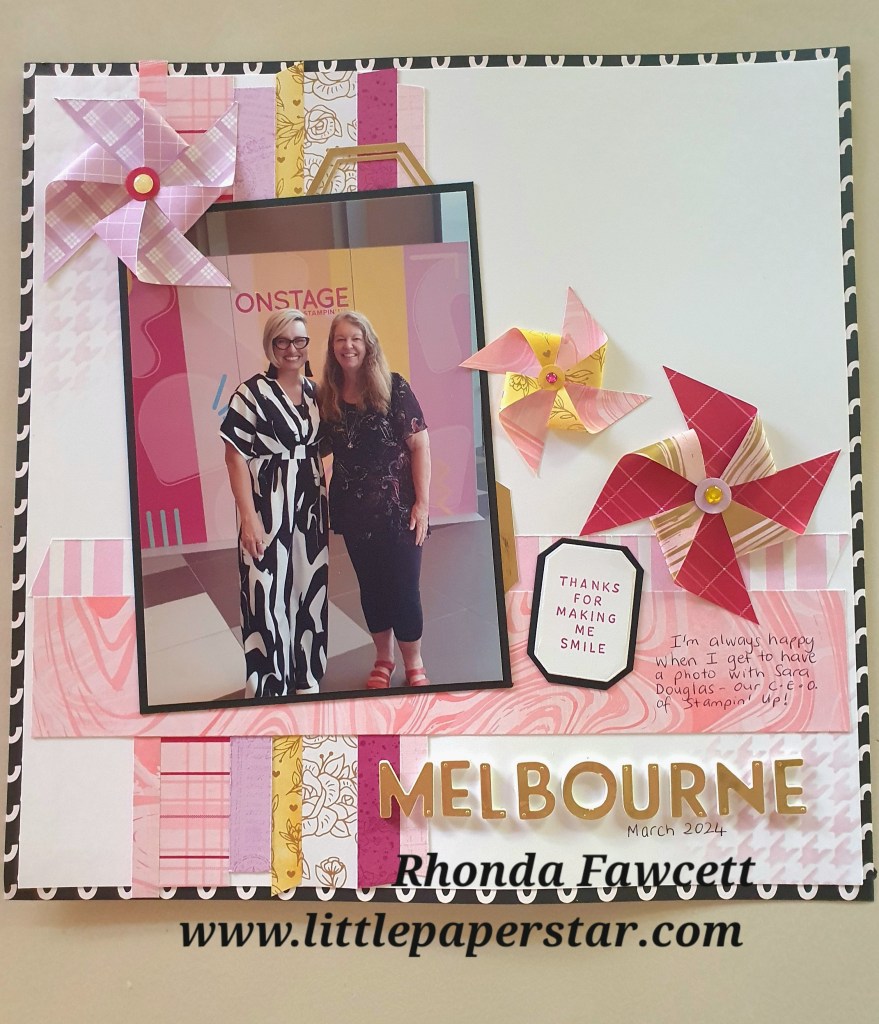
This was a fun page to do. Its been a long time since I have made paper pinwheels.
I have used adhesive foam sheets to raise the lettering
The paper is from the recently retired, “Most Adored” pack from Stampin’ Up! I loved the white gold foil designs on this pack. The reverse side was mostly pinks and reds but the white and gold side can be sponged with any colour to match your page colours. I used a blending brush to sponge on Lemon Lolly colour to one of the pinwheels and one of the strips. I added some strips of card stock (Fresh Freesia and Berry Burst) to bring in more colours from the photo.
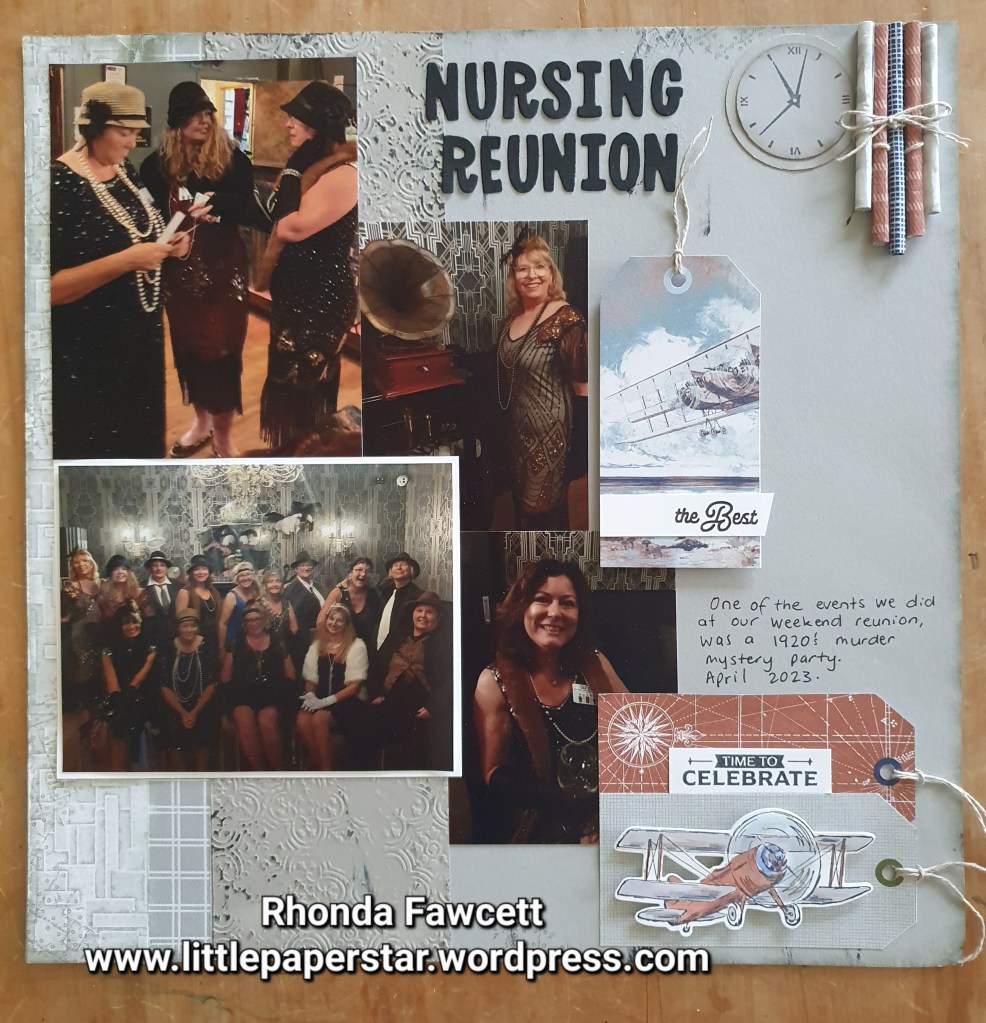
I made some paper tube embellishments for my vintage scrapbooking page.
They are easy to make. Cut DSP (Designer series paper) to 2.5 cm wide by as long as you want the tube to be. The gray tube are 6 cm long, the brown ones are 6.5 cm long and the middle navy one is 7.5 cm long. Use a bone folder to break the fibres and curl the DSP. Then roll it up on a kebab stick, gluing the side edge down before you take the tube off the kebab stick. Adhere to the page with the seam side down.
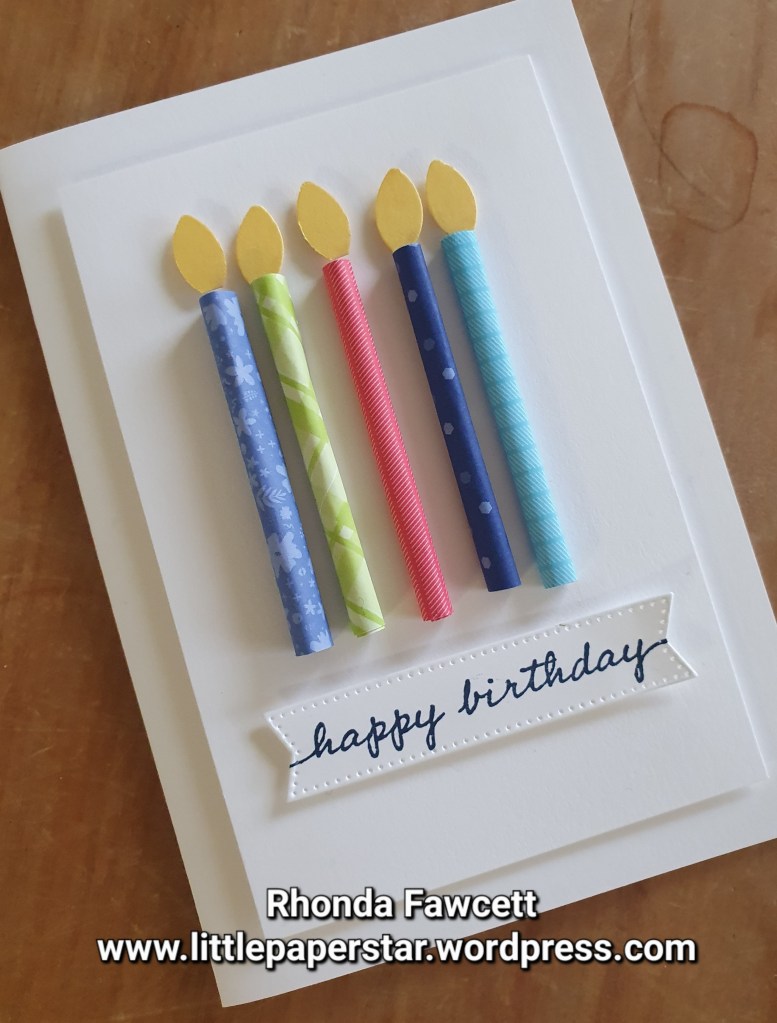
I wanted to show the ladies at the scrapbooking class that this type of embellishment could also be used for making a birthday card. I used some retired in colour paper for this simple card. The candle flames are made using a leaf from the bough punch.
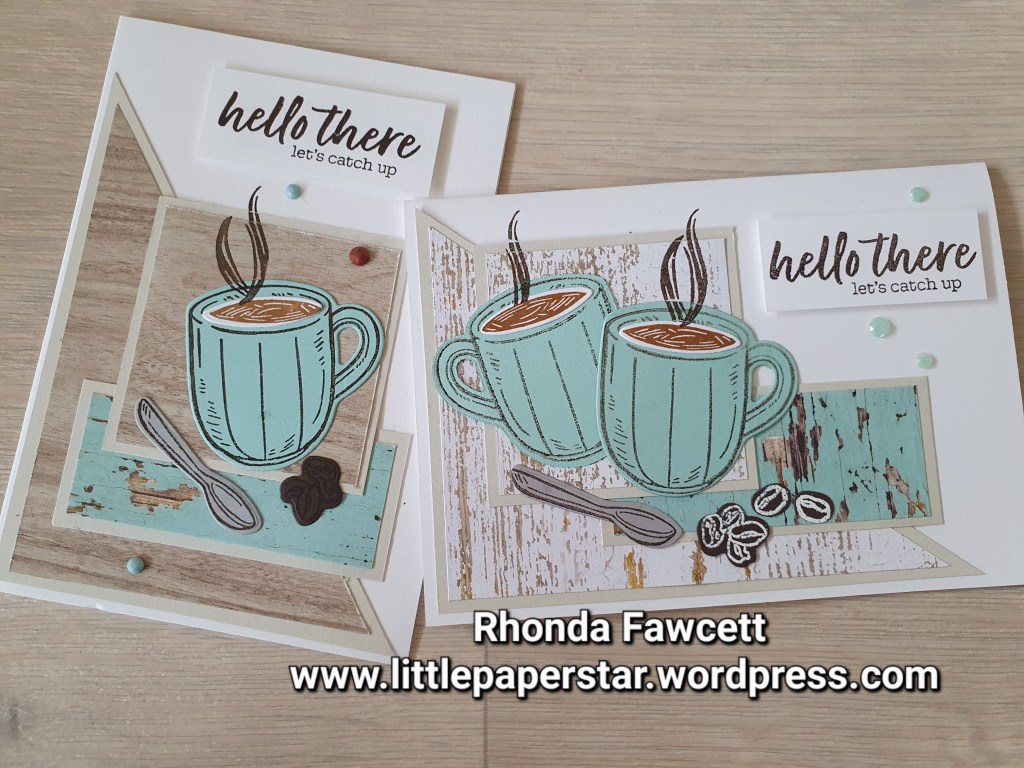
I love these coffee cards. We made them at a team day using a one sheet wonder, which gave us two cards from one sheet of Designer series paper. The paper we used is called Country Woods by Stampin’ Up!
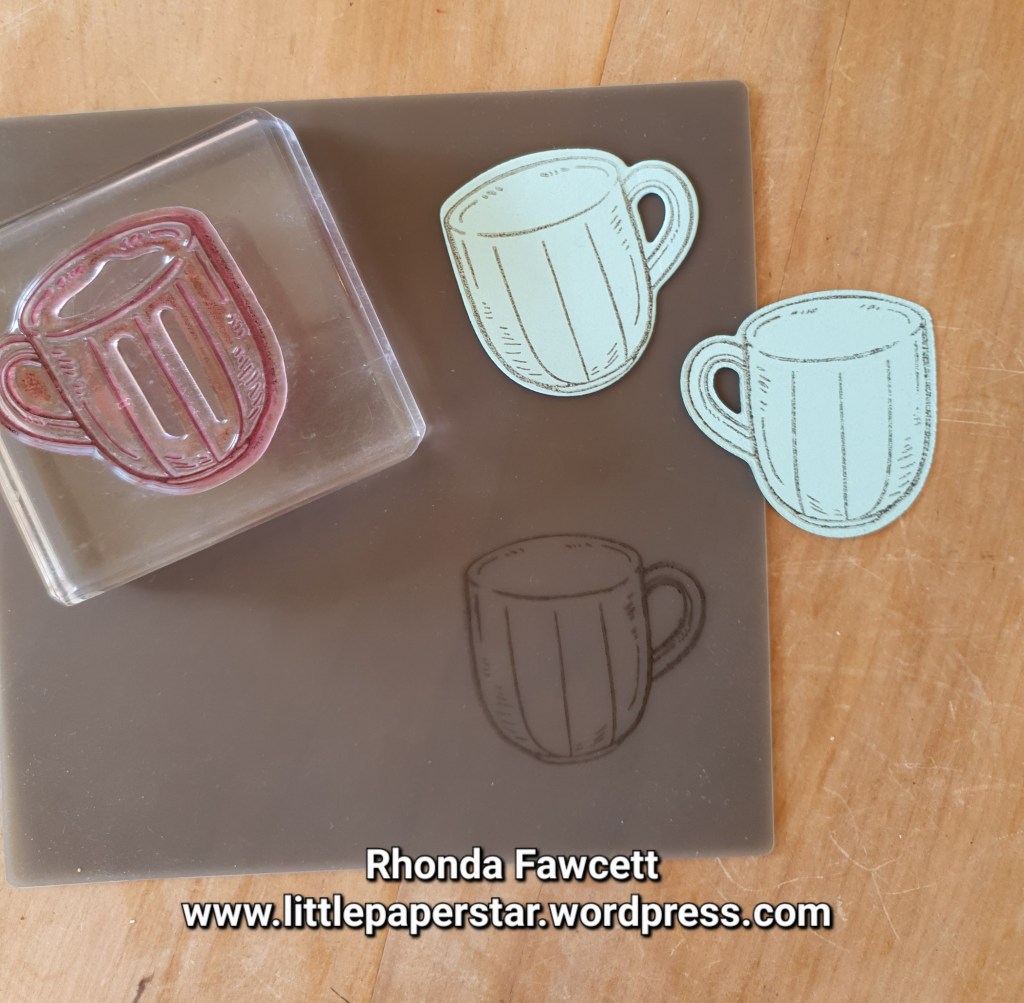
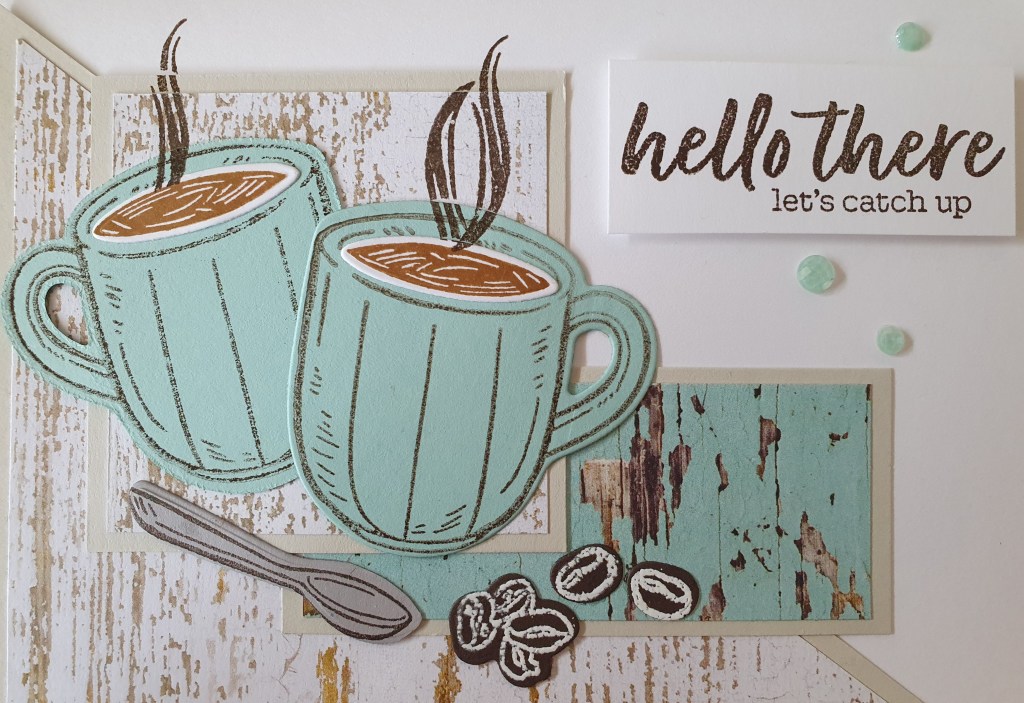
The layout is similar for both cards but the orientation has been changed. For the landscape orientation, I added two coffee cups. I wanted the handle on one of the cups to go the opposite direction, so I stamped it on my silicon craft sheet first, then pressed my Pool Party card onto the craft sheet to pick up the stamped image and voila, it is a reverse image. It’s that easy. The only thing is the image is lighter. I stamped off my right side facing handle coffee to make it lighter to match the one I did with the silicon sheet.
I used white embossing powder to do the coffee beans as they are hard to see on the Early Espresso card.
And of course, I had to stamp the inside. The stamped images are coloured in using Stampin’ Blends.