Memory keeping with ephemera packs

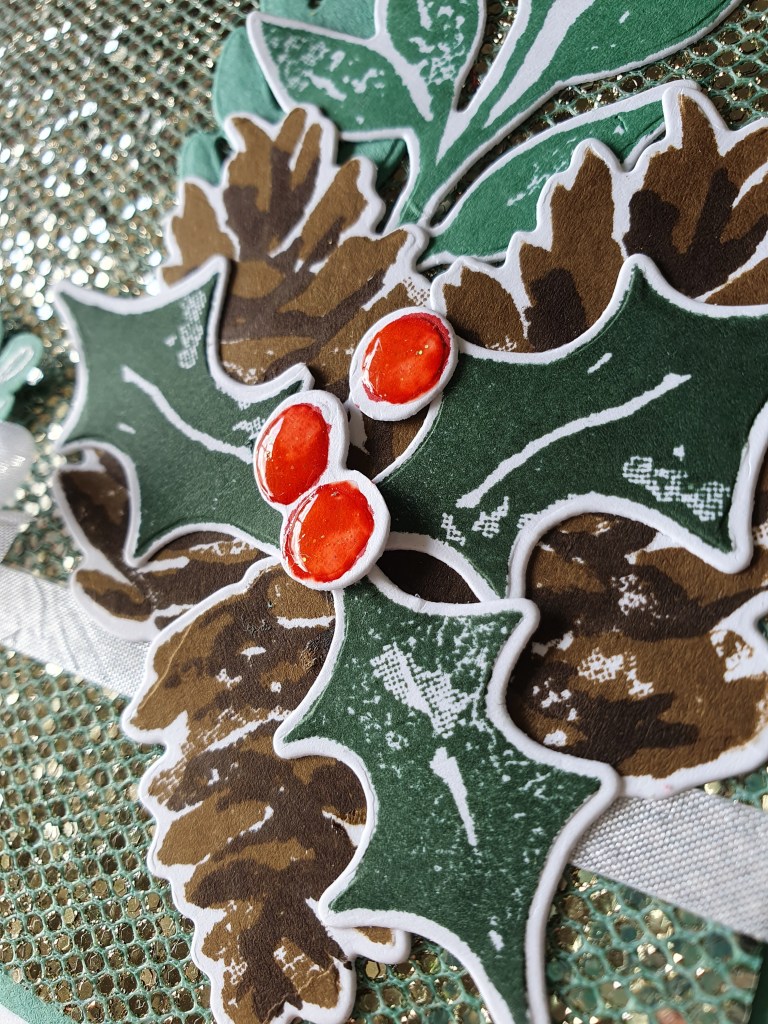
I recently purchased the Joyful images ephemera pack from Stampin’ Up! and I used it to create a layout for my Memories and More album.

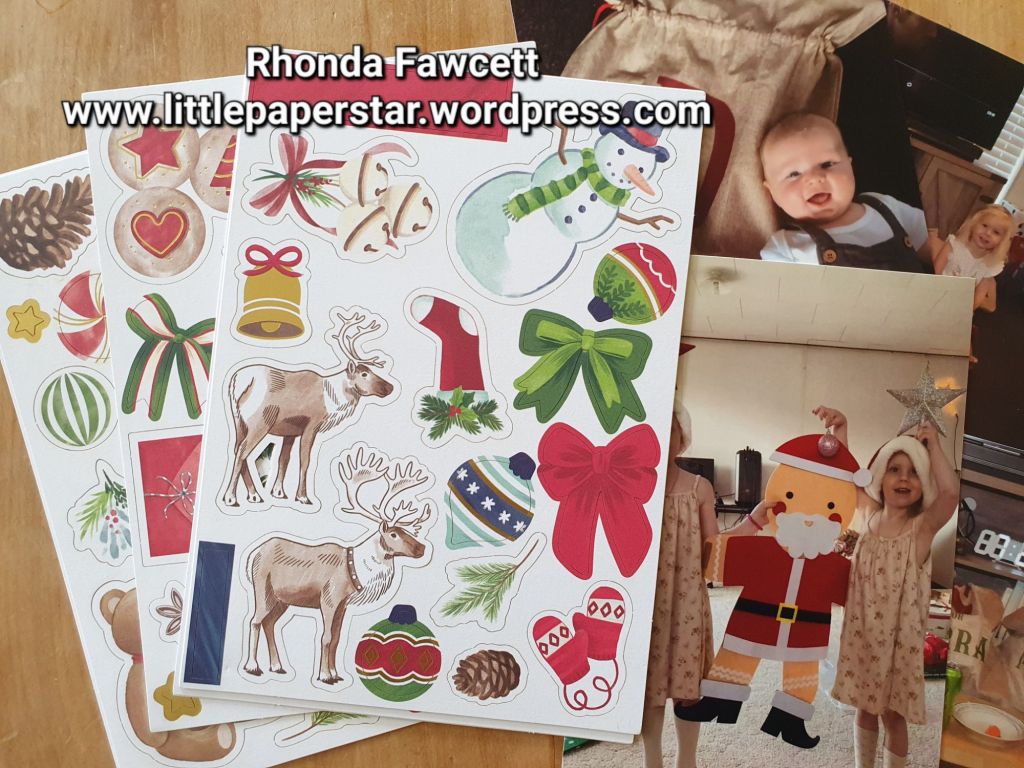
There were so many printed and die cut images to choose from. Each pack contains 8 sheets of 4 different designs.

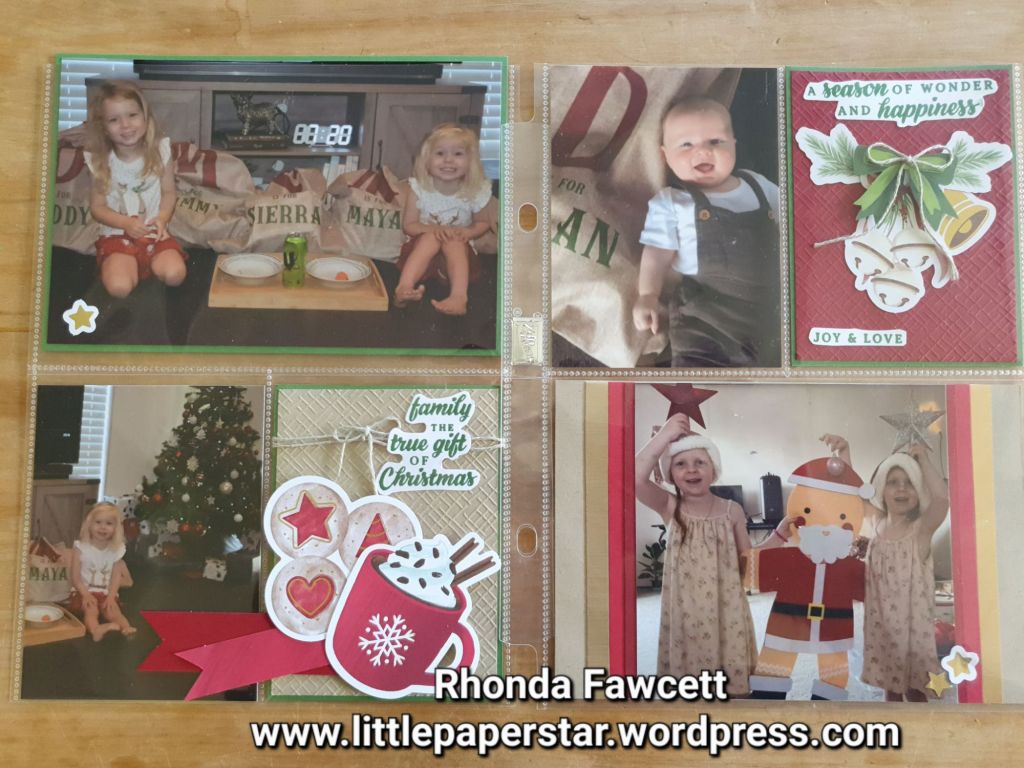
I combined a few images together to create filler cards for the pockets in my Christmas Memories and More album.

I love the touch of gold on some of the images. Some images came cut with a white border and some without. I used both in my layout.

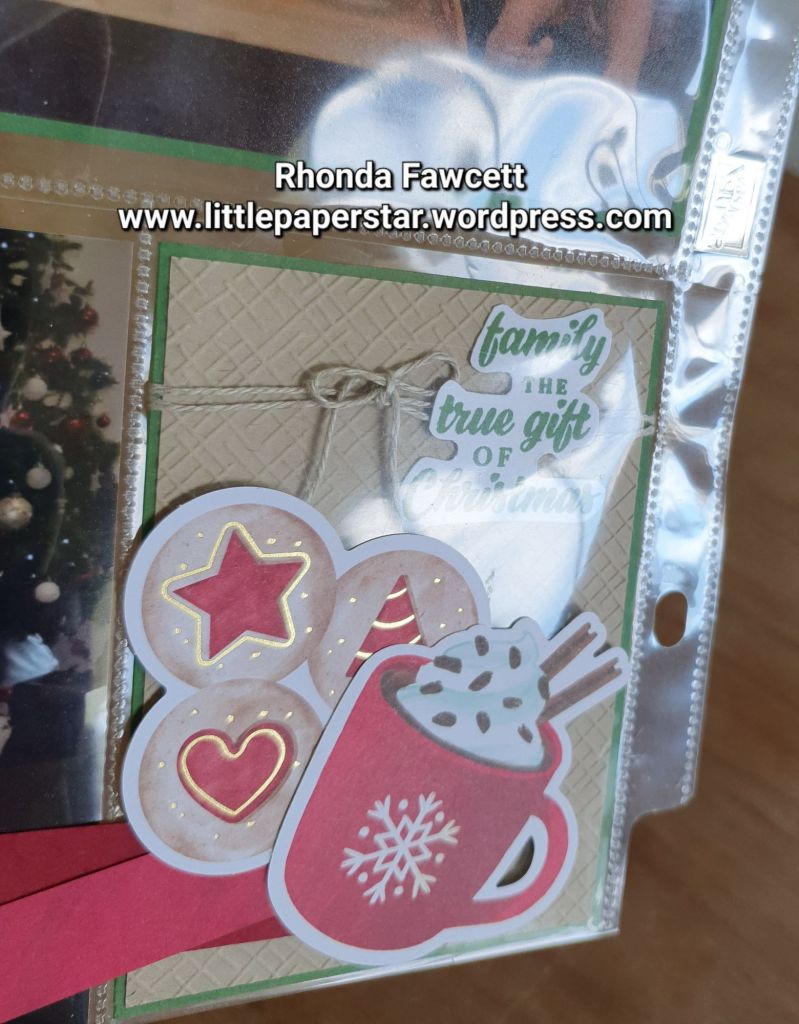
The words I used were from the Peaceful Season stamp set and inked with Garden Green ink to match the card and photo mats.

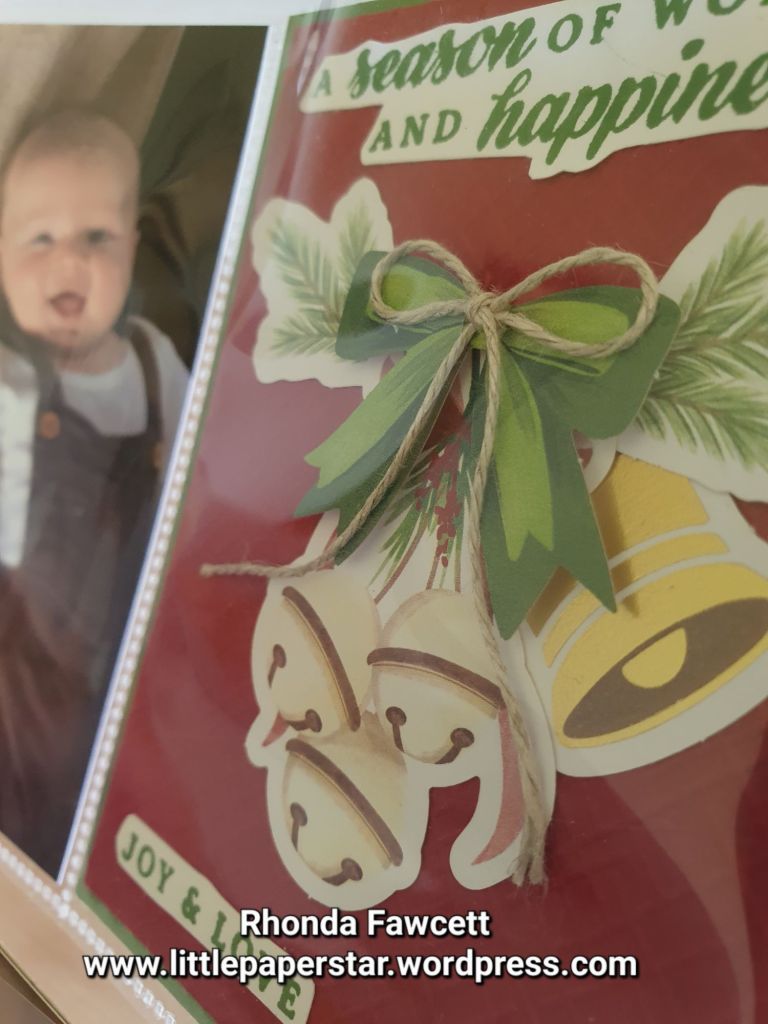
Did you notice the Real Red and Cherry Cobbler banners on the photo above? They lay across two pockets so I had to adhere them to the outside. Have you ever done this? Do you think it’s okay or do you prefer to have everything adhered down and safely contained inside the pockets?

Peaceful Deer Christmas Card

I taught a card in class recently using shimmer embossing paste over the top of the stamped and coloured image to add some sparkle. I decided to try it again on this Christmas card.
This is also my entry for the Just Add Ink Challenge #JAI632
The challenge was to choose two items from the list of Deers, Trees, Sparkle.
I chose Deer and Sparkle but there are trees in it as well. Bonus!

You only need a thin very layer of paste. You need to colour your image with Blends. I haven’t tried it with an image coloured with ink but I imagine the ink would run a little with the moisture from the embossing paste when you first spread it on.

If you live in New Zealand and want to recreate this card, you can order all the products from my online store rhondafawcett.stampinup.net

For this project, I used sunprints DSP for the blue circle. I stamped the trees from the Peaceful Deer stamp set in versamark and heat embossed with white embossing powder. I stamped the Deer in black memento ink and coloured it with Gray Granite Blends and a light Crumb Cake Blend. I then added a thin layer of shimmer embossing paste. Once paste was dry I punched it out and added it to the blue circle. I matted the blue circle onto a die cut Gray Granite scallop circle. (Layering Circle dies). I stamped the snowflakes in Navy ink. (Second generation to give a softer look to match the lighter blue on my paper). I adhered this to the bottom right corner of my thick white card base. I stamped a sentiment at the top with Gray Granite ink and finished the card with a strip of Gray Granite shimmer ribbon.

Christmas Season Home Decor Project

I found all these door hanging signs at a discount store. They had happy Christmas on in Grey felt and were very poorly glued on. I ripped off the felt and made my own decoration using the birch stamp on Soft Seafoam card.

This was one of the projects we made in class this week. We also made a small note card to match.

I stamped the berries in Fresh Fushia ink as I thought they were mistletoe, which is either white or pale pink or mauve. But my husband said they should be red for Christmas and he thought they were holly berries, so I had to make another one for him. 😊

Which colourway do you like best?

The bunches of Christmas leaves, cones and berries are made using the Christmas Season bundle. The words are from the playful alphabet and are cut out using the adhesive foam sheets.

Christmas Season

It’s time to get all your Christmas cards done. Who is all organized this year? 🤔 Let me know if you have finished your Christmas cards already.

Did you know that you can cut your stamps?
I frequently use the words “Christmas Cheer” from the Perfectly Plaid stamp set but I don’t always use the rest of the sentiment. So I got out my paper snips and cut the stamp in half. Now it’s so easy to stamp just what I need. If I decide to use the whole stamp, the two halves fit nicely together (like a jigsaw) on my block and the whole sentiment stamps perfectly.

Stamps Perfectly Plaid and Christmas Season

Christmas Card

I got some lovely glitter paper as a free Sale-a-bration gift and coloured it to use for different projects.

see how I coloured it here: https://youtu.be/2hjy8k87HyQ

This card uses the Just Jade coloured Be Dazzling paper as it’s background and the Christmas Season stamp set.

I added shine to the berries with fine tip glue. You have to start with just a small amount of glue and when it is dry, you can add a second layer. It will change the colour of the ink a little.

The berries at the top are stamped in Real Red ink. The look more like a Poppy Parade colour once the glue has been added.

Peace on Earth

I love this bright and shiny Christmas card that was taught to our group of demonstrators by Shona Edmonds. It uses the new green and red foil card, Joy Dies and the Sweetest Border Dies. It is finished off with assorted rhinestones and gems.

Inside of card. Holly stamped in Shaded Spruce ink and berries stamped in Real Red ink.
Close up of bling!

Rudolph Punch Art Christmas Card

I have been making a lot of punch art cards lately. This one was fun to make. I could have used any punches in my stash, I have a lot, but I deliberatively chose to just use current Stampin’ Up! punches.
They are listed here:

Pretty label punch for the face.
Leaf punch for the ears.
Sprig punch for the antlers.
1/2″ circle punch for the white of the eyes.
Vase builder punch (small tulip) for the black pupils and nose. Cut off the jagged frill
Decorative ribbon border for the small dot of white to highlight the eyes.
Large circle punch for the body, either 2″ or 2 1/4″ – I can’t remember now.
I used Crumb Cake card and dauber-ed all the edges. The antlers were punched from Soft Suede card.
The sentiment is from the Christmas Gleaming Stamp Set.