Sharing my love of all things paper-craft: Card making, Scrapbooking, Gift Boxes, Invitations, Party Favours, Craft Supplies and more. (Formally Stampin'Fantastic)
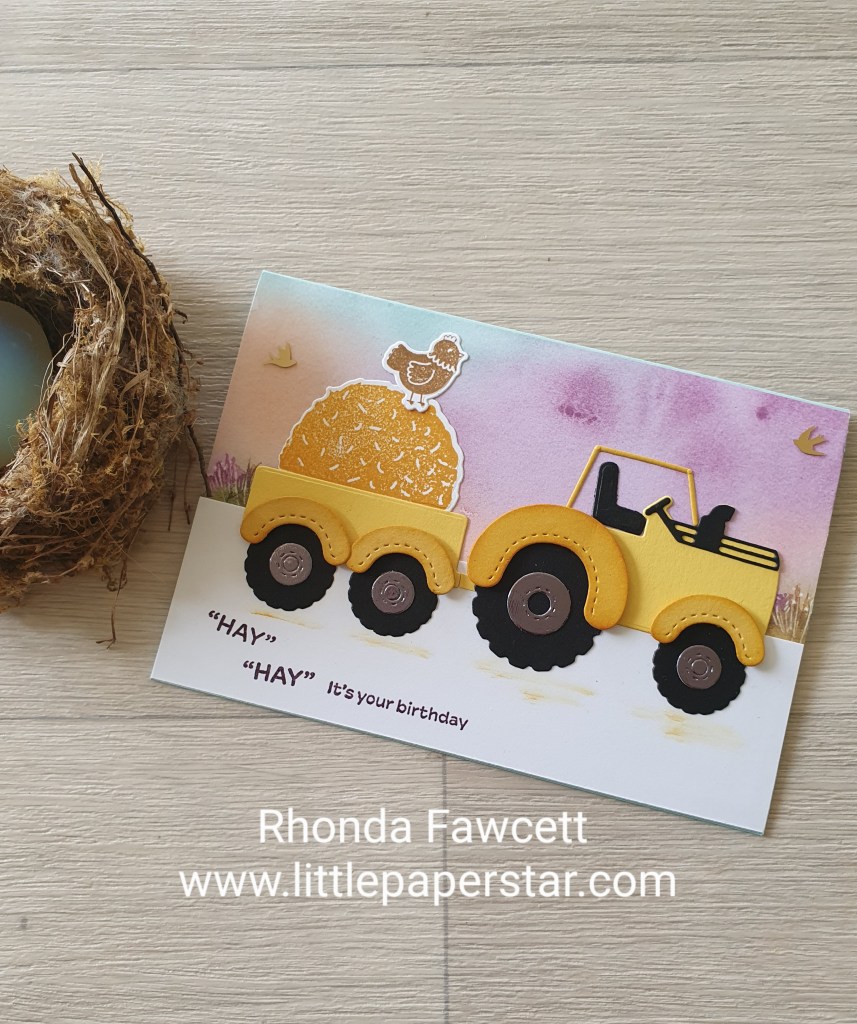
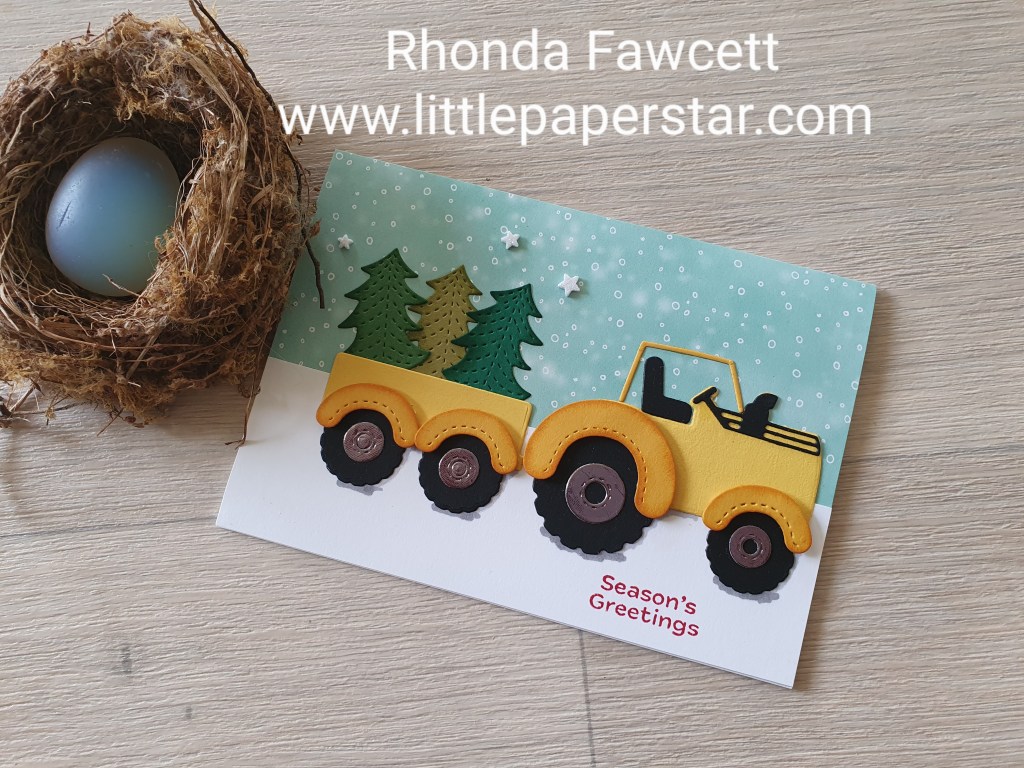
This birthday card was fun and easy to make using the Tractor and Co Bundle from Stampin’ Up!The Christmas version was taken from the Stampin’ Up! website and the birthday version was adapted from that.
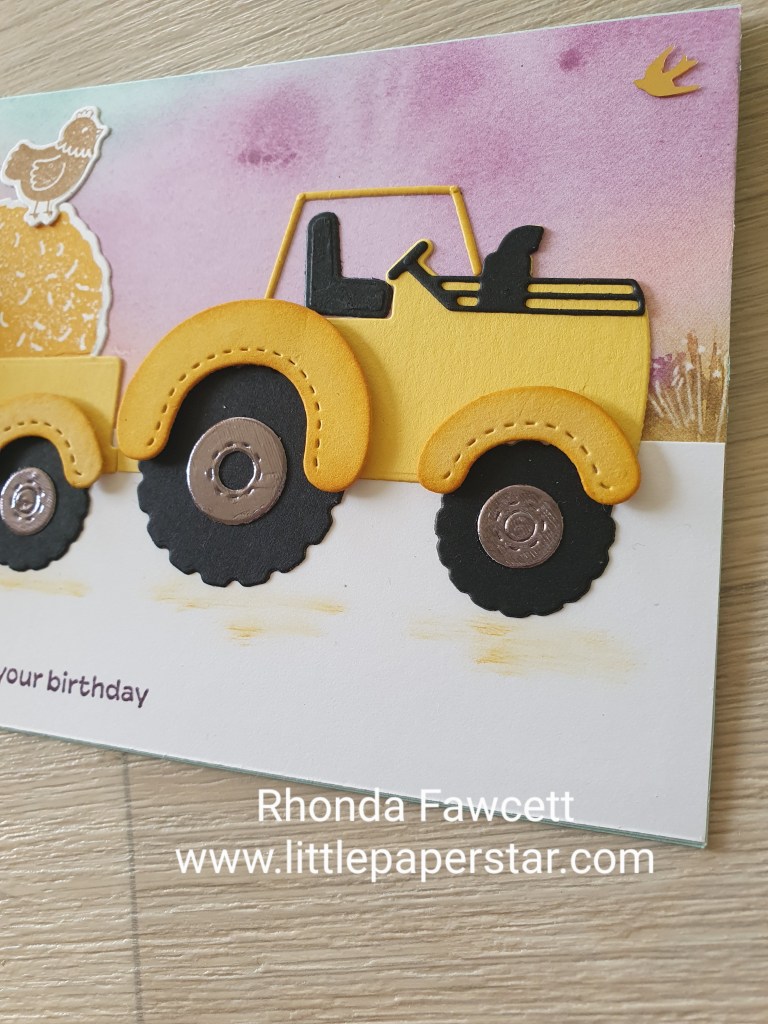
The Thoughtful Journey DSP made the perfect sunrise background for the feeding out of the hay. The Christmas version had glitter foam star embellishments so for the birthday card I decided to use the brushed brass birds instead.
I love this double z fold card, that was taught to me by Irene Wardlaw at our annual stamp camp earlier this year.
One of the great techniques is the use of the two tone paper. This paper has a white core, which once embossed can be sanded to bring out the textures even more, by revealing the white core.
The birch wood embossing folder was perfect to make waves for this card. Who would have thought a wood grain type of embossing folder would make such effective waves and clouds?
The stamps and dies used are from the Sunrise Sailing bundle. The sailboat dies reminded me of a punch I had a few years ago. The middle Sunrise Sailing die is very similar in size to my old punch. The retired punch is on the left with Basic Beige sails. The current die is on the right with white sails.
Another great thing about this card, is that it can be folded flat for posting.
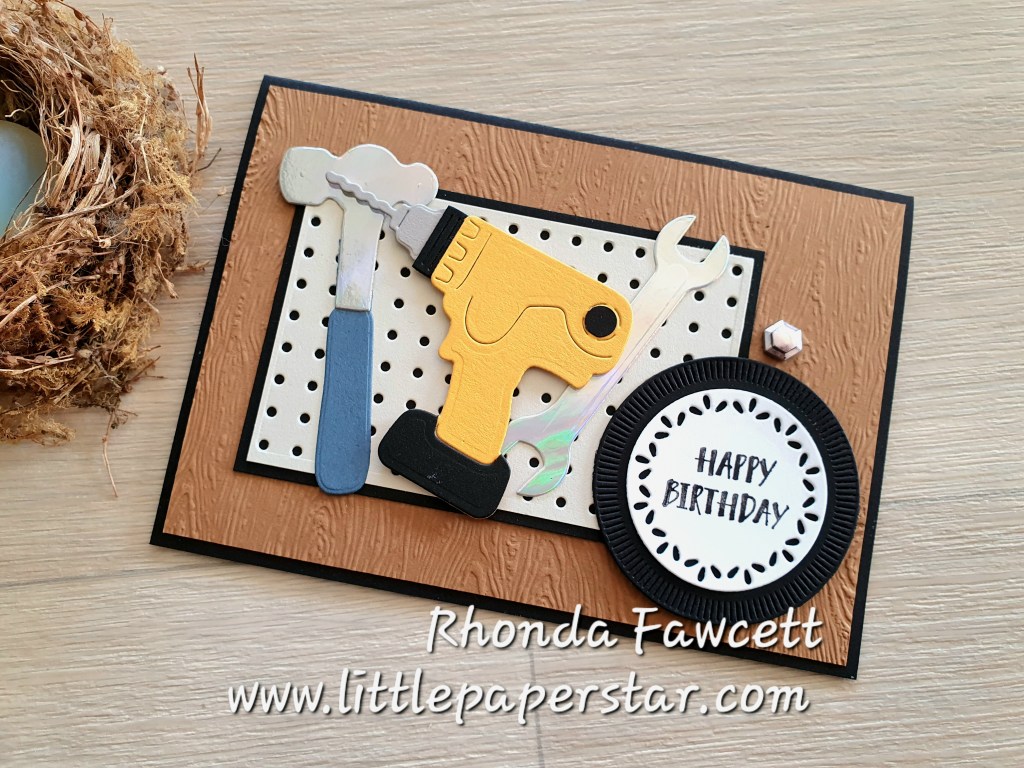
I’ve had several customers tell me they find it hard to make cards for men. So I decided to teach this one at my last card class. It was really easy using the Trusty Tools dies.
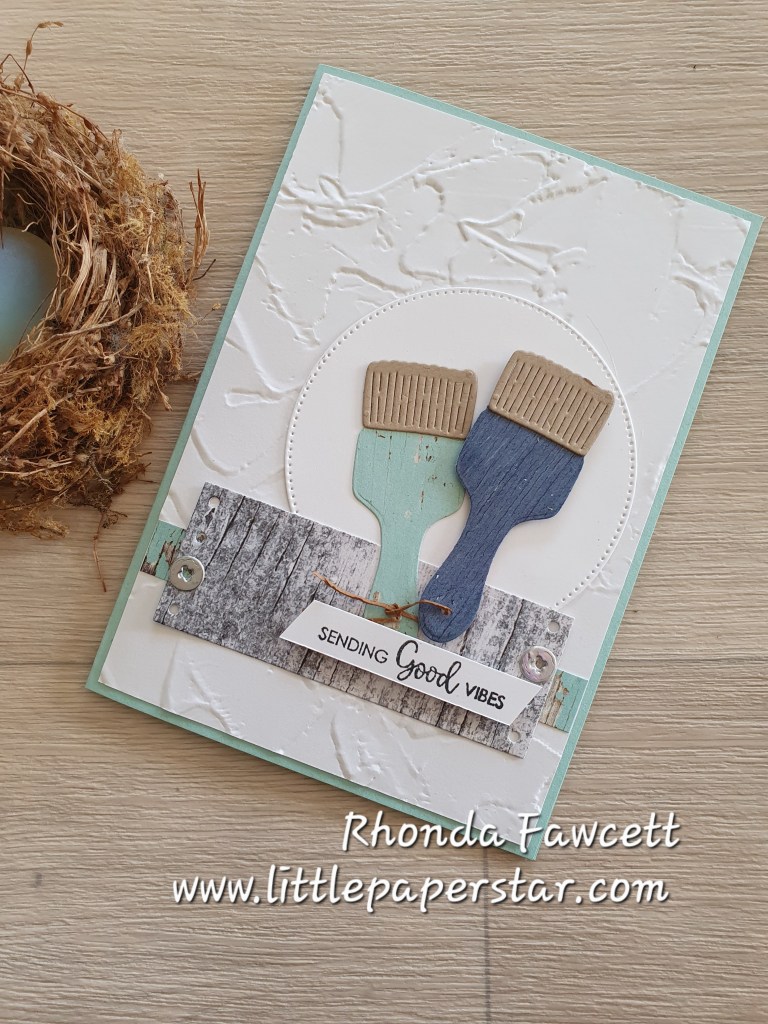
I made a second card using the paintbrush die. Both cards feature “The Right Words” stamp set.
Did you notice the faux leather tie on the blue paintbrush handle? It is made using a thin strip of Pecan Pie card.
Here is another card made using the free Sale-a-bration stamp set called Friendly Seagulls.
For this card, I was teaching the technique of water spray on sponged background. We started with a basic white panel 10.5 x 8 cm and used a blending brush to sponge on Azure Afternoon ink. Then we used a water spritzer to spray on one good spray of water. The spray creates fine water drops which you can’t see straight away but as the card dries it becomes apparent.
We then matted our panel onto Lemon Lolly card (10.5 cm square) with the top and bottom edges torn.
We cut a piece of Pecan Pie card for the wharf piles. 9.5 x 2.2 cm. We embossed with the timber embossing folding and sponged with Pecan Pie ink. We cut into two portions. One 5.5 cm long and one 4 cm long. Corner the ends and tied Crumb Cake baker’s twine around. Our Seagulls were fussy cut to sit on top.
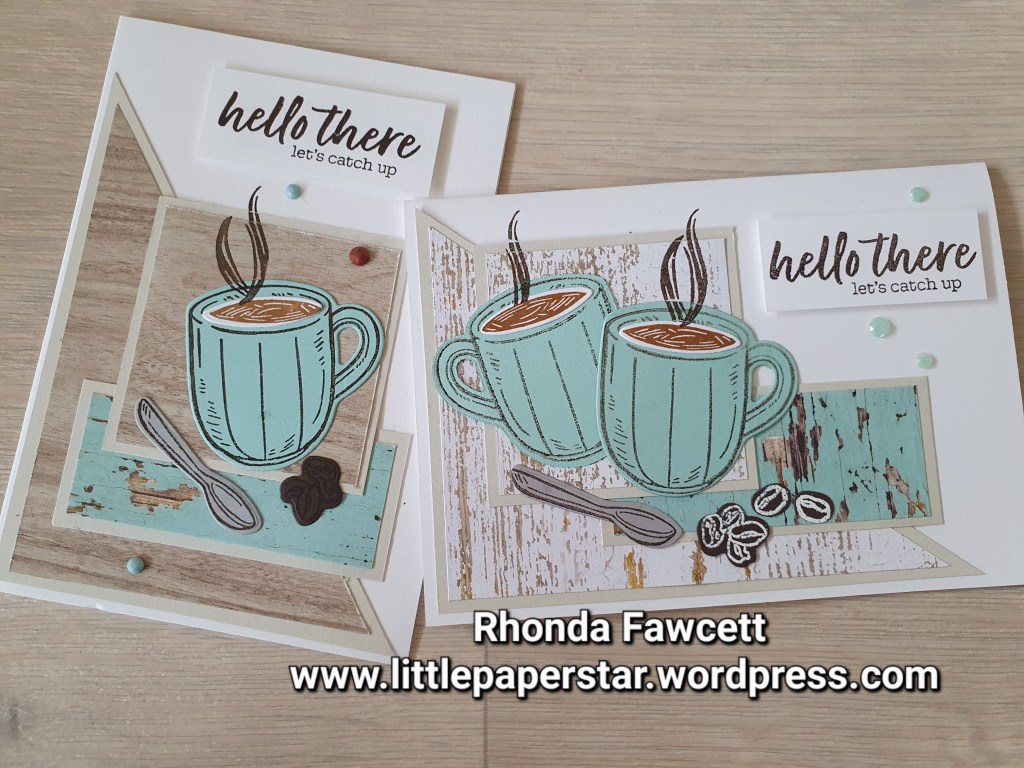
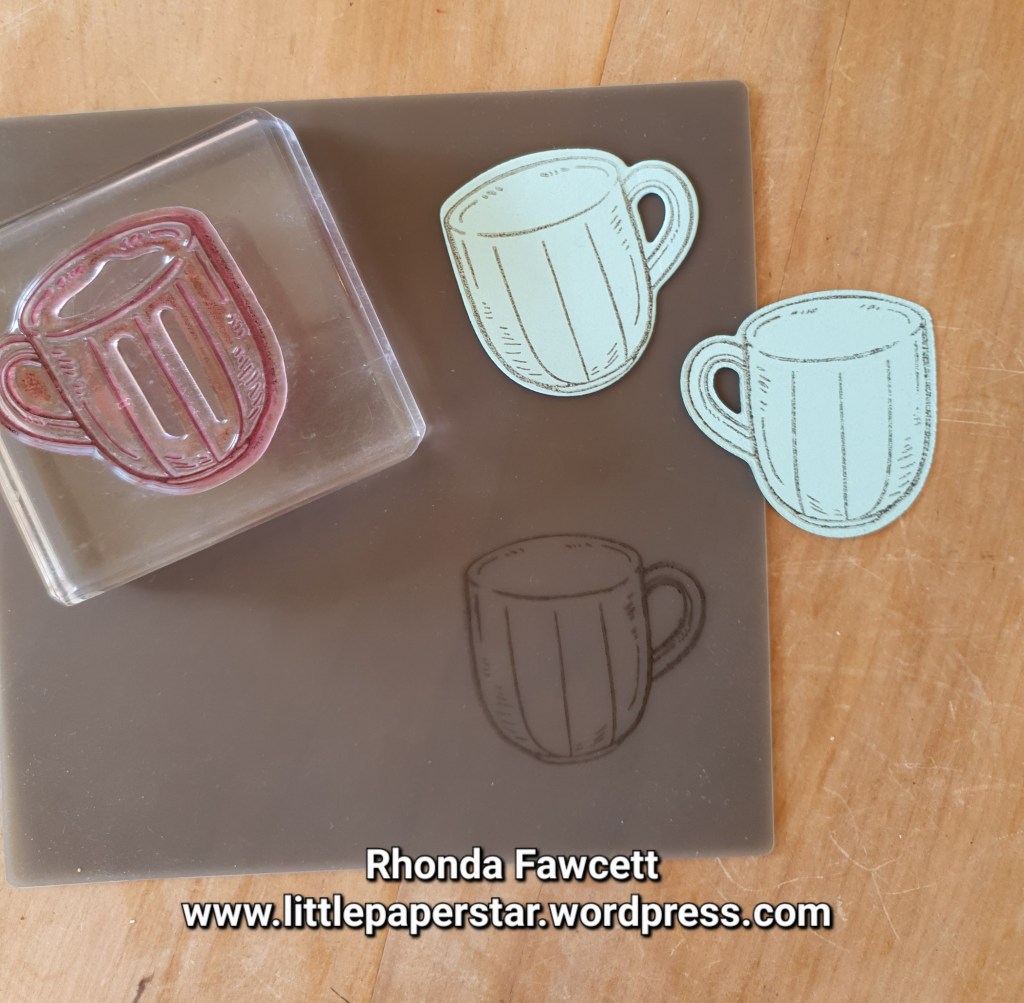
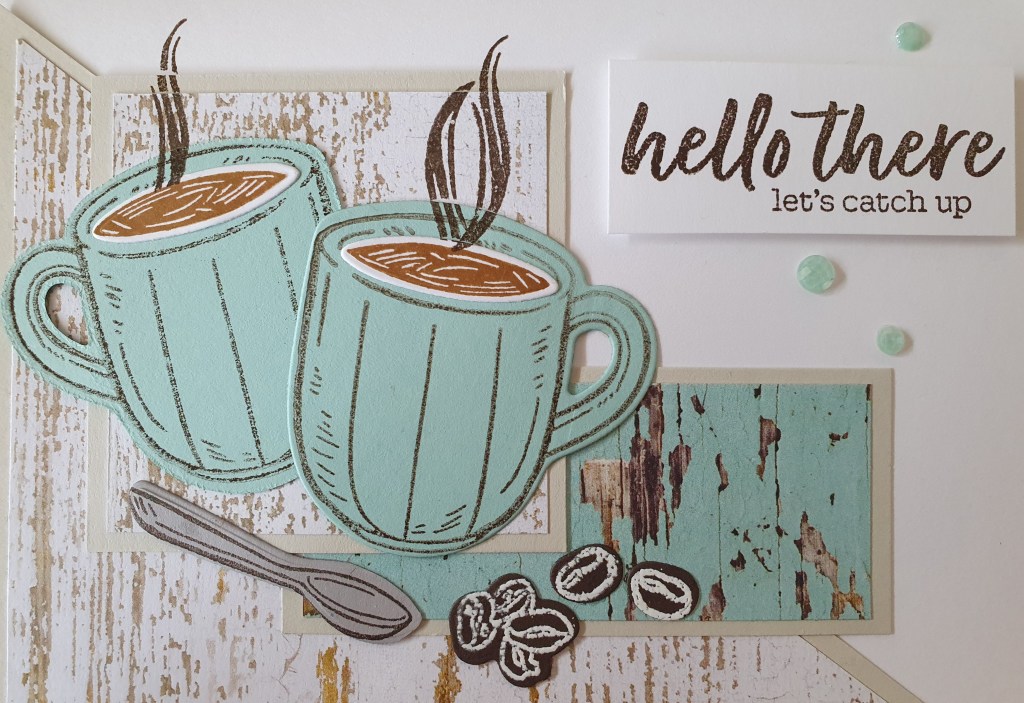
I love these coffee cards. We made them at a team day using a one sheet wonder, which gave us two cards from one sheet of Designer series paper. The paper we used is called Country Woods by Stampin’ Up!
The layout is similar for both cards but the orientation has been changed. For the landscape orientation, I added two coffee cups. I wanted the handle on one of the cups to go the opposite direction, so I stamped it on my silicon craft sheet first, then pressed my Pool Party card onto the craft sheet to pick up the stamped image and voila, it is a reverse image. It’s that easy. The only thing is the image is lighter. I stamped off my right side facing handle coffee to make it lighter to match the one I did with the silicon sheet.
I used white embossing powder to do the coffee beans as they are hard to see on the Early Espresso card.
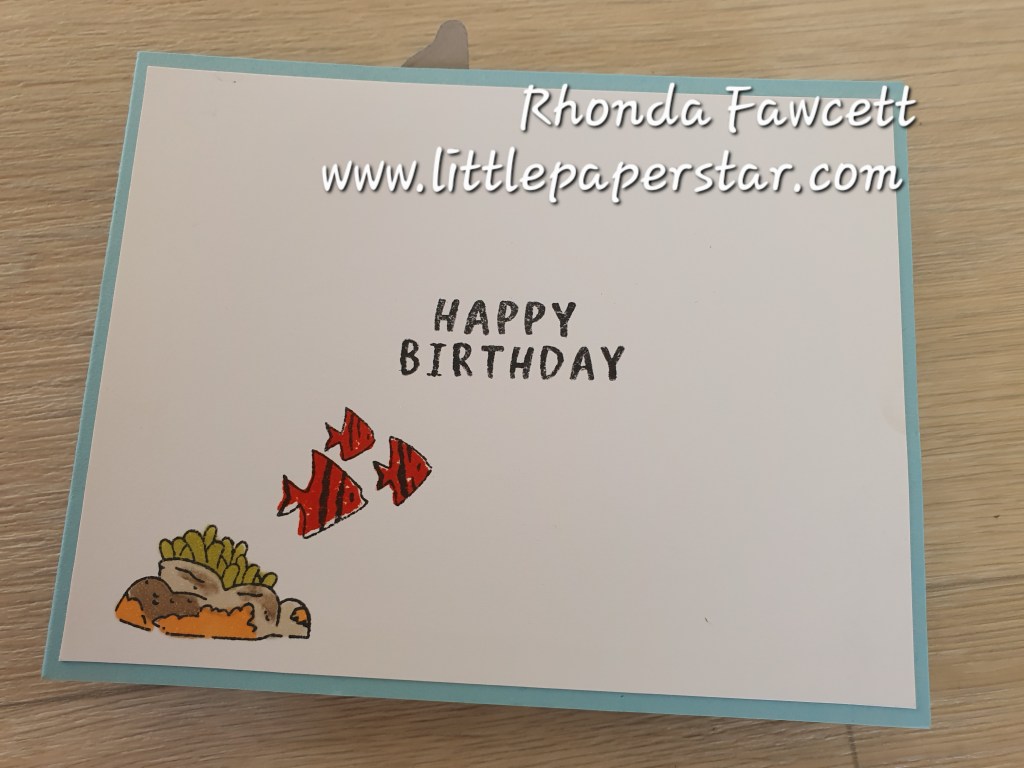
And of course, I had to stamp the inside. The stamped images are coloured in using Stampin’ Blends.
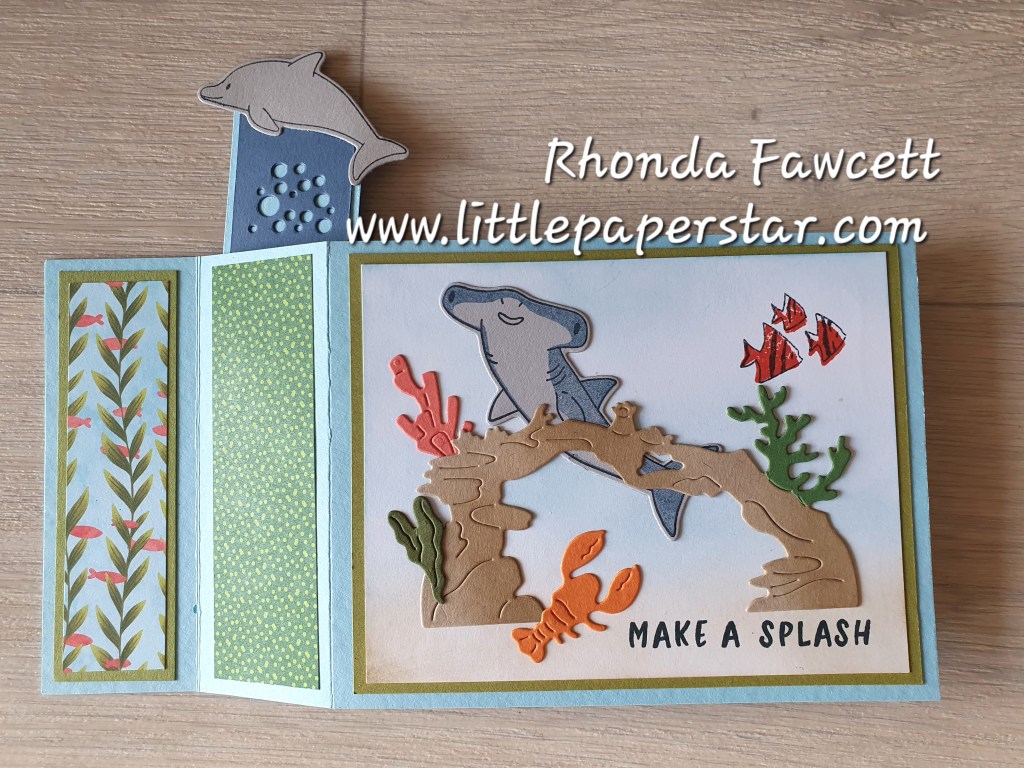
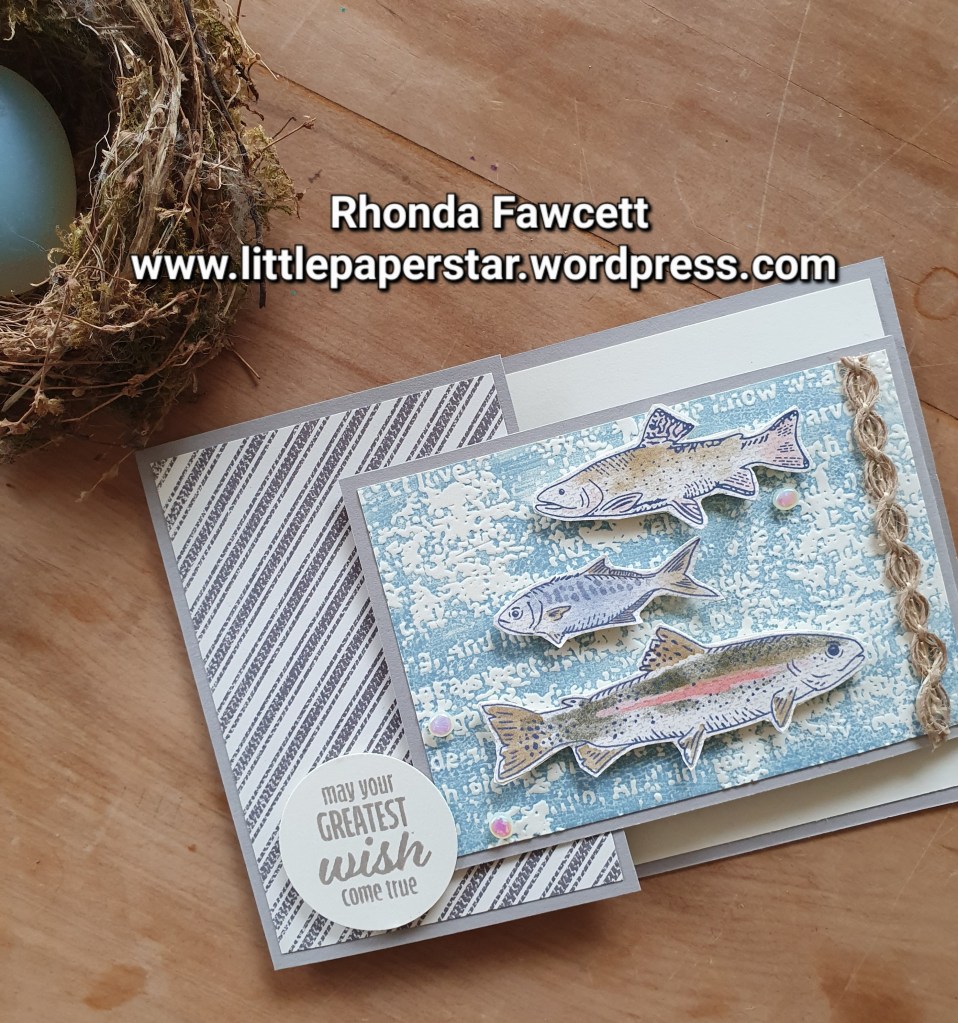
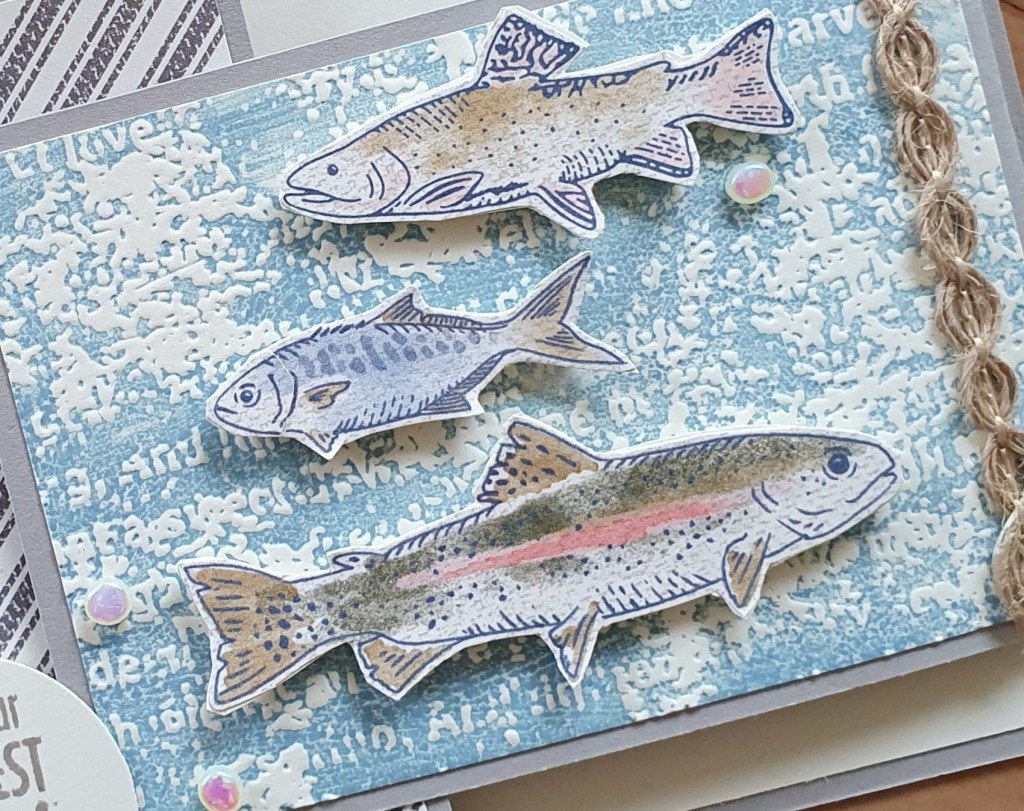
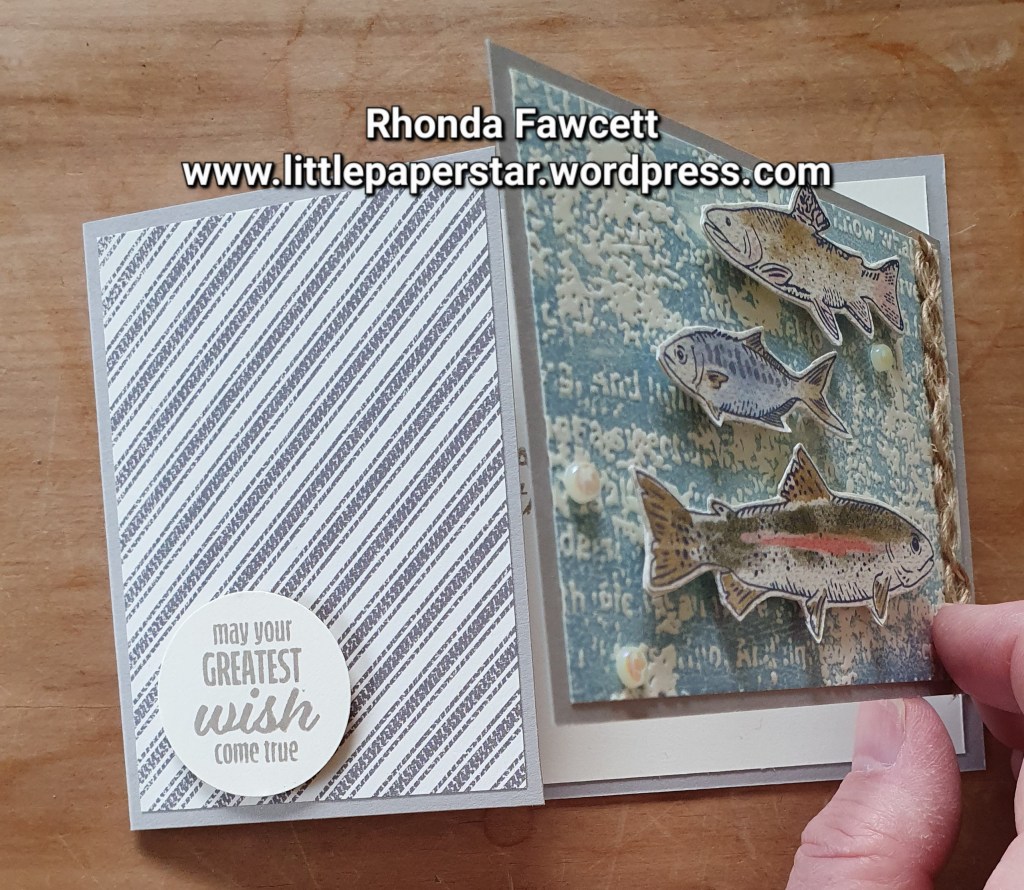
This is called a Joyfold card. It was one made for a recent class. We used Let’s go Fishing designer series paper (DSP).
The paper has great fish images which we fussy cut out to use as our focal point. We placed them on a dry embossed background made by swiping the embossing folder with Boho blue ink before rolling it through the Stamp and Cut Emboss machine.
This is a great technique to use with embossing folders as it really highlights the textures.
The joyfold card is tucked under the sentiment circle at the left hand side to close. When it opens you have plenty of space to write inside.
All the layers and textures on this card combine to give it a deep richness.
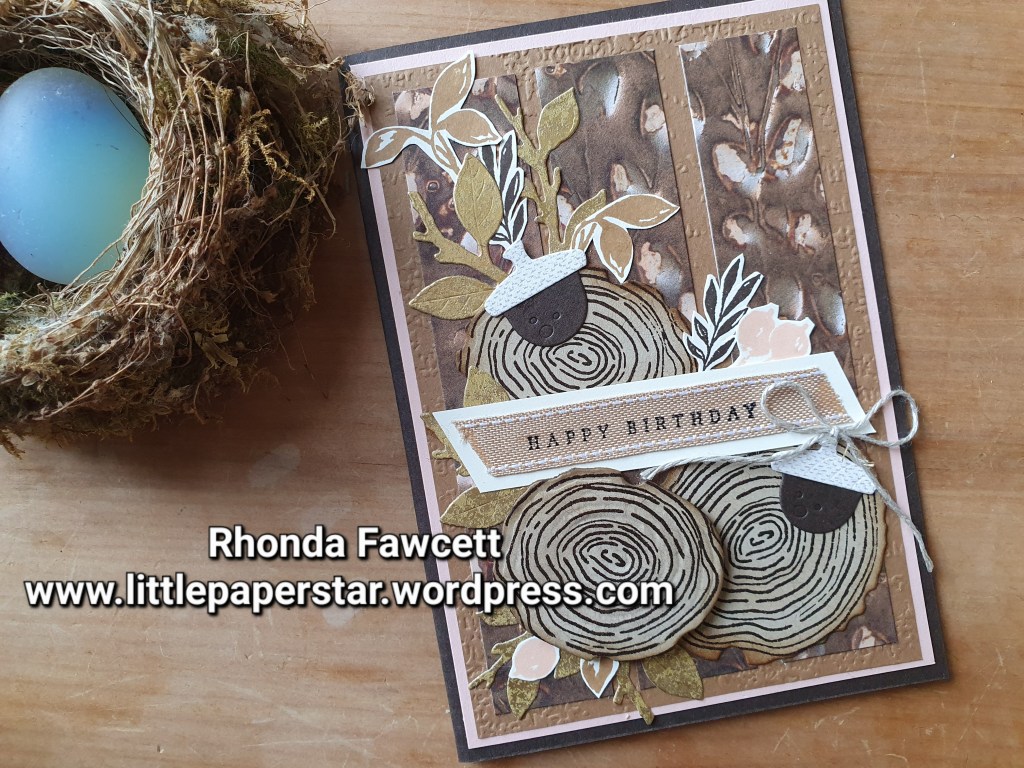
I used Early Espresso as my card base, then matted it on Petal Pink card 14.4 x 10 cm. I next added a 13.9 x 9.5 cm layer of Pecan Pie which I embossed with the timeworn type embossing folder.
Now it was time to decorate… I added distressed gold card diecut leaves. A few stamped leaves and stamped tree rings, and some diecut acorns. One of the tree rings, I mounted on a foam adhesive sheet and coloured the white foam with a blend pen so it gives the appearance of a wooden shape. I also used the small ball embossing tip on my Take your Pick tool to draw in deep grooves in between the stamped ring lines. This all added more texture. I sponged the edges of my tree rings with Crumb Cake ink.
I stamped my sentiment on Ribbon using Black Staz on ink. I think the Saddle brown Staz on would have worked even better. The ribbon looked lost on the brown background so I mounted it on to a piece of Very Vanilla card.
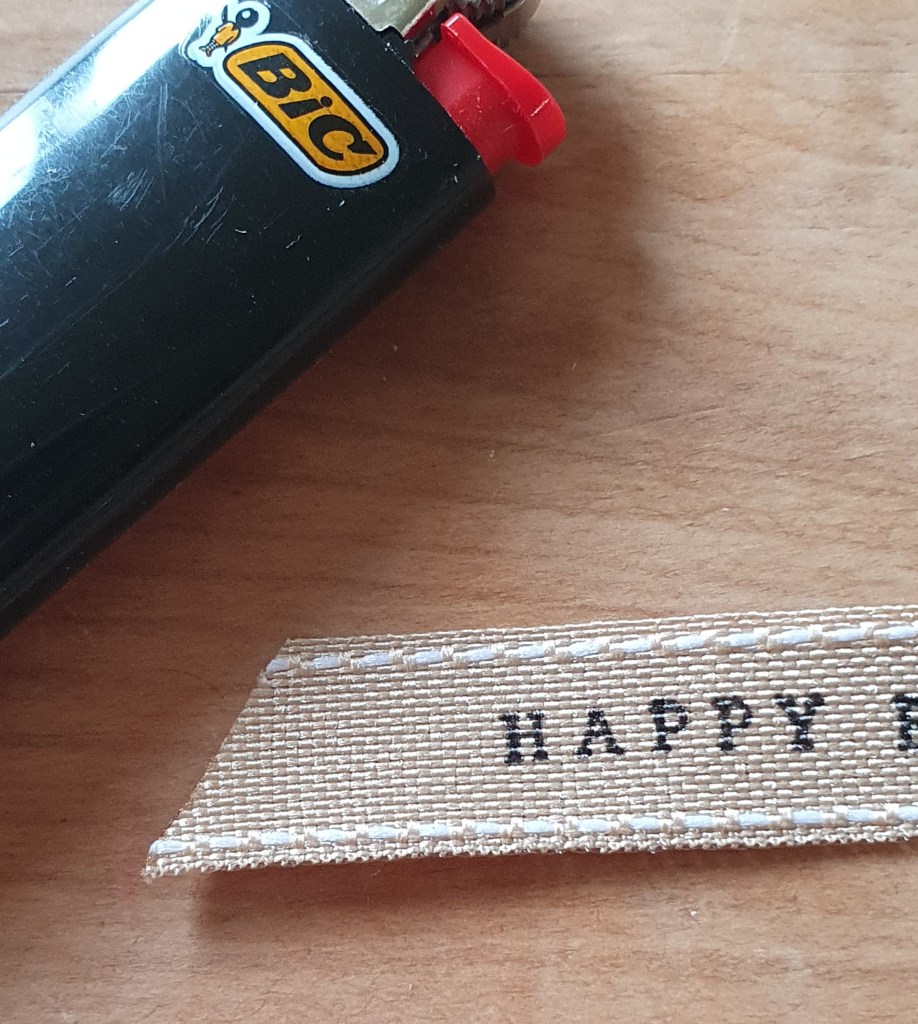
You may notice the burlap ribbon (this comes in a combo pack with real red), frays on the edges. In my sample, I used a thin smear of tombow glue to seal the edges but it did stain the ribbon, so when I taught this in class, I held a flame by the edges of the ribbon and this melted and sealed of the ends nicely.
I used 2.5 cm strips of Earthen Elegance DSP to give a rich background for the tree rings and foliage. It came together well and would be suitable for a male or female birthday or thank you, or a sympathy card if you changed out the words.
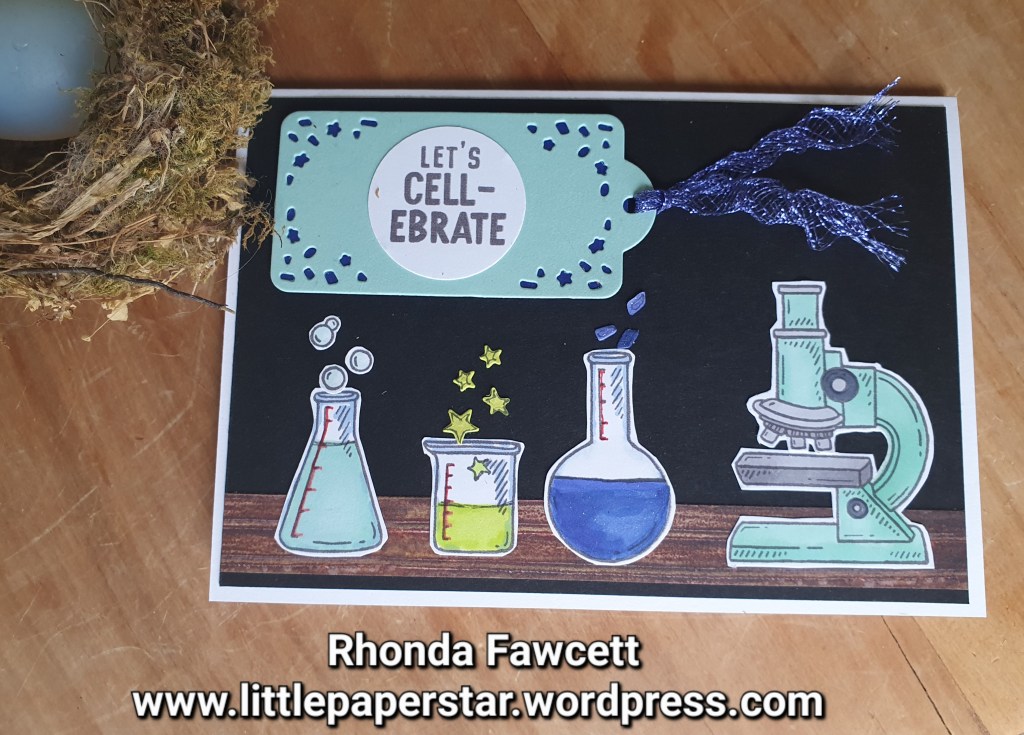
Here is a fun birthday card for the science geek in your life. It’s made with “It’s a science” stamp set which has a few science images such a seen in my card below, plus atoms, clipboard and molecule strands. The words in this set are great for birthdays, anniversaries and valentines.
The images would also be good for scrapbooking if you wanted to do some school themed pages.
I used basic gray ink to stamp my images and coloured them with Gray, Pool Party, Starry Sky and Lemon Lime Twist Blends. The wood bench top is a strip of DSP from the Earthen Elegance paper pack. The tag and stars are from the Beautiful Balloons dies. The ribbon is Orchid Oasis metallic woven ribbon. If you gently pull the edges apart. It gives a nice open weave and a curve to it. I love this ribbon because it has a subtle sparkle to it
I brushed Wink of Stella over the chemistry beakers which add some more sparkle. It’s not easy to capture in a photo but I promise you, it looks great in real life!