A little Easter Treat

I made these little chocolate treat holders for a team online event plus some extras to give to my travel buddies at On Stage in Melbourne.

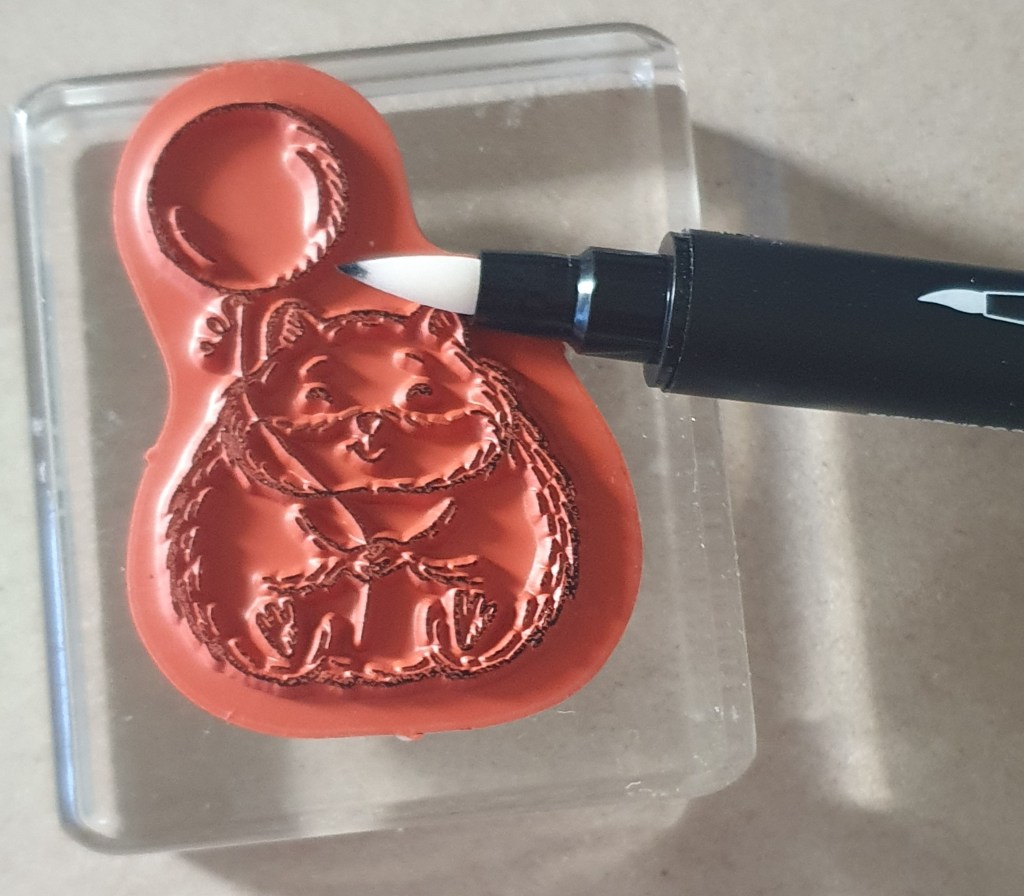
They use the Fluffiest Friends stamp set (for the rabbit), the Bee my Valentine stamp set (for the little heart stamped randomly over the box) and the Charming Sentiments bundle.

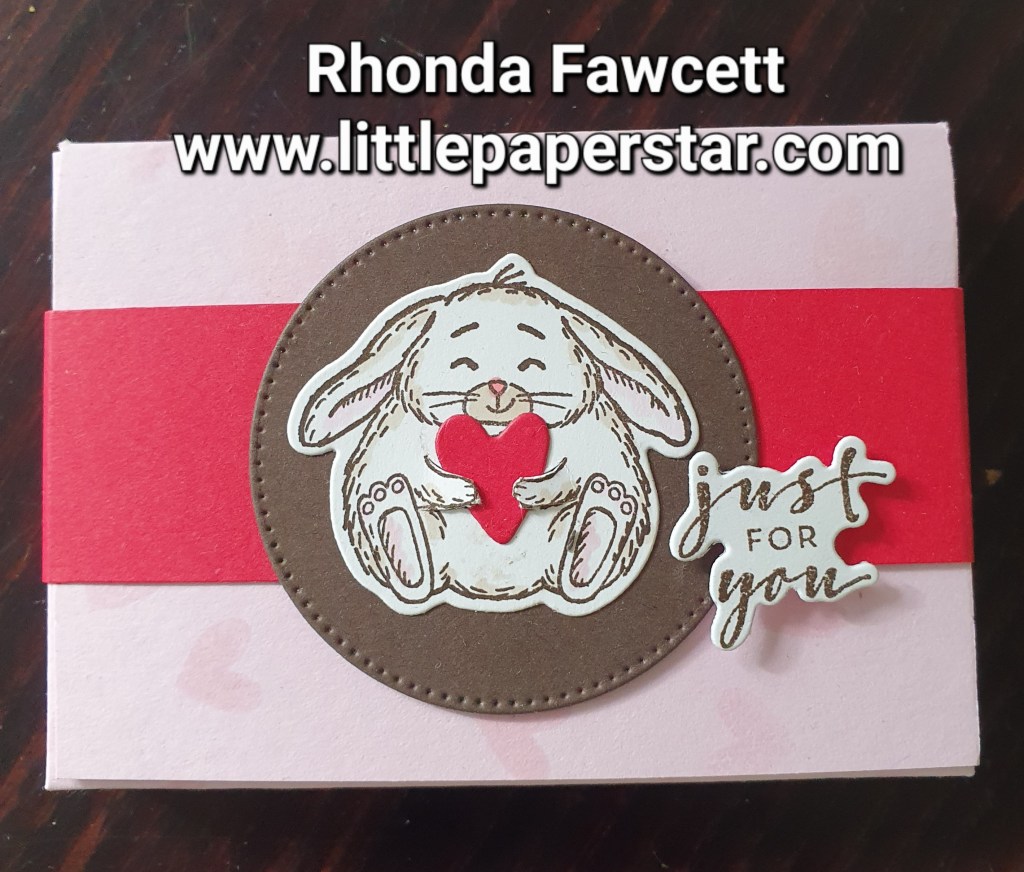
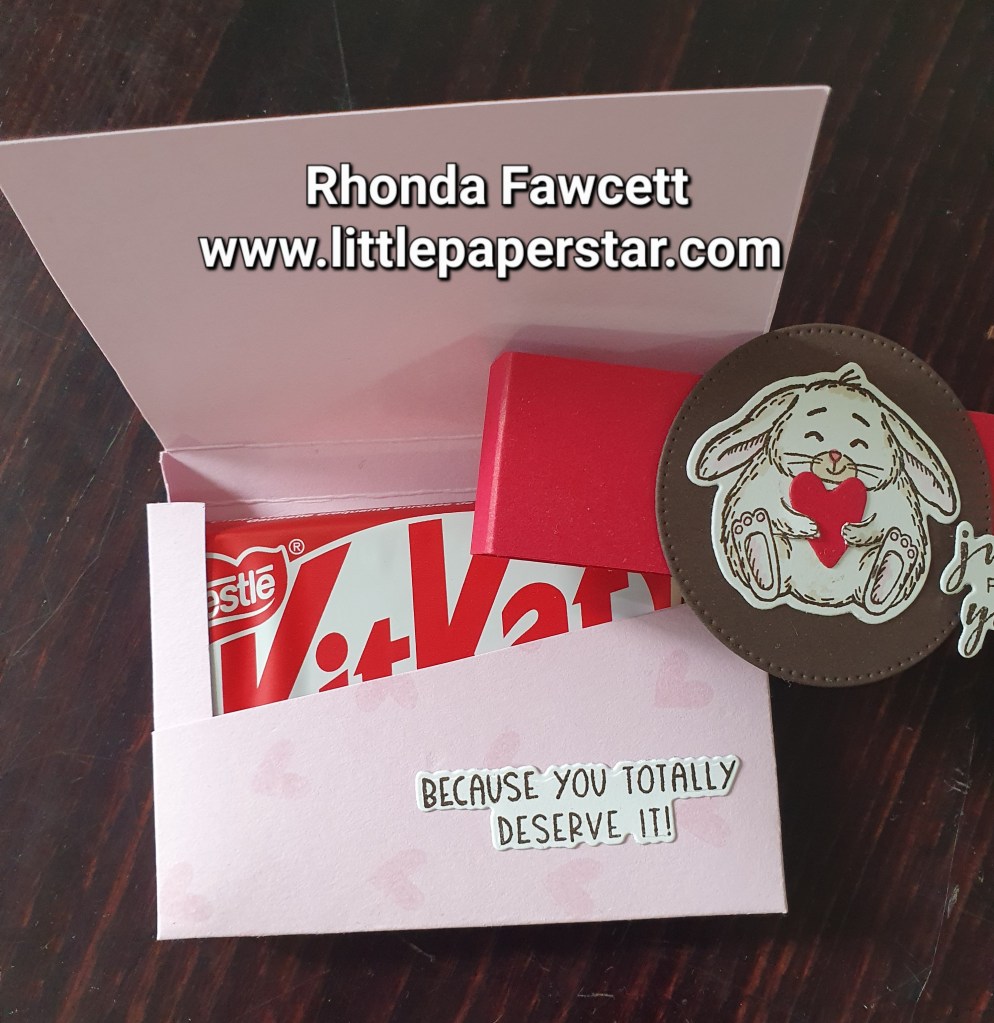
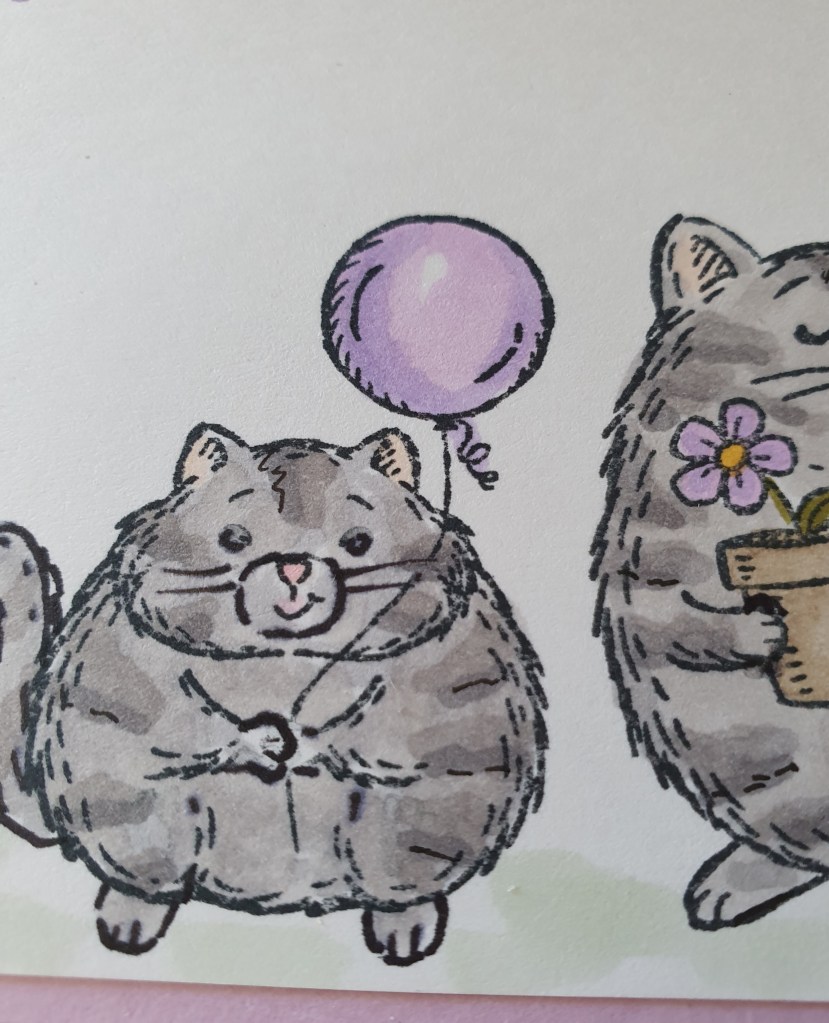
The little rabbit was originally holding a cupcake but because it was Easter I wanted to change it to something else and I chose a heart, die cut from the charming sentiments dies.. I used the cutting blade on my Take Your Pick tools accessories to cut around the rabbits arms, then I slotted the diecut heart inside.

Flight and Airy Card

I wanted to use some scraps of this very pretty paper (it’s a freebie when you spend NZ $110 on Stampin’ Up! products. This Sale-a-bration freebie ends on 29th of February). Anyway I was playing with my Stylish Shapes dies and noticed that they all have double stitching. This means the shape you die cut out plus the negative where you cut the shape from, both have stitching lines. I really wanted to showcase both sets of stitching lines and so I came up with this “window frame” card.

I had a bit of trouble initially keeping the squares even, so I made a template from grid paper first which really helped.

I glued the window frame to a thick white card base. I die cut some squares of Designer series paper (DSP), to go inside each window. Then I added a sentiment from the sending smiles stamp set. This was also die cut using a die from the stylish shapes die set and placed on dimensionals. Finally I added some neutral sequins to finish.

Here is a close up of the double stitching.

Spotlights Technique

I have been revisiting some old techniques and decided to make a card using the Spotlight technique.

This card uses the Dainty Delight stamp set, the tailor made tags dies and the stylish shapes dies.

I stamped a mix of flower stamps on my white card, then die cut a circle out of the middle. I coloured the circle with Blends and also added a bit of blue with a blending brush. I matted the circle on a larger one diecut from black card. Finally I glued it back in place to cover the hole it originally came from. By leaving the rest of the card in black and white, this brings the spotlight to just the coloured circle piece. I think it is quite effective despite being a simple card to make.

Fluffiest Friends

I love the cute animal stamp set, Fluffiest Friends You may not have noticed this set before as it is not in any printed catalogues. Instead it is available exclusively as an online offering from Stampin’ Up!

.I decided to do a card with a cat for my granddaughter and I thought that the little hamster also would make a great cat.

First I inked up the hamster stamp, then I used a blender pen to remove the ink from the hamster’s face and paws. If you are going to try this technique make sure you take a few goes at removing the ink from each part, wiping the blender pen clean between each go, to ensure you remove all traces of ink from the portion of stamp where you want it gone.

Because this took more than a few seconds and the ink may have dried on the stamp, I huffed on it, to moisten the ink with my breath. Then I stamped the image. I used a black stampin write marker to add in the face and whiskers to match the larger cat. I added cat paws and a tail.

Anniversary card

I made some swaps for backstage using the Ringed with nature bundle. The swap group that I was in had to make wedding or anniversary cards. I chose anniversary.

The colours are quite soft in real life with Petal Pink and Crumb Cake being the two main colours used.

The ringed with nature stamp set is so versatile. I have made birthday cards, welcome to your new home and get well cards using it. Now here’s an anniversary one. If I took the hearts off and added some Pebbled Path gray numbers, I could make them into cards for my team members who reach milestone years with Stampin up!

Adding simple embellishments like the Petal Pink ribbon from the Ribbon duo pack (there is a lovely Lemon Lime Twist ribbon in this pack too) and the enamel effects paint on the berry branches gives the card a little lift.

I hope my swap partners liked this card as much as I enjoyed making it!

Beautiful Balloons

This was a pretty easy card to make with the Beautiful Balloons bundle.

First I stamped some banners across the top of my DSP (Designer series paper) and heat embossed with white embossing powder.

Then I sponged over a bit more colour using Highland Heather, Bubble Bath Lemon Lolly and Lemon Lime Twist inks. I only blended the colour on lightly so you could still see the pattern show through but it took away the stark white and it showed up the banners better.

Then I added the balloons and the greeting. I hand drew in the balloon string with a ruler and Stampin’ Write marker.

Finally I added some little stars cut with holographic paper.

Let’s go Fishing Card

This is called a Joyfold card. It was one made for a recent class. We used Let’s go Fishing designer series paper (DSP).

The paper has great fish images which we fussy cut out to use as our focal point. We placed them on a dry embossed background made by swiping the embossing folder with Boho blue ink before rolling it through the Stamp and Cut Emboss machine.

This is a great technique to use with embossing folders as it really highlights the textures.

The joyfold card is tucked under the sentiment circle at the left hand side to close. When it opens you have plenty of space to write inside.