Sharing my love of all things paper-craft: Card making, Scrapbooking, Gift Boxes, Invitations, Party Favours, Craft Supplies and more. (Formally Stampin'Fantastic)
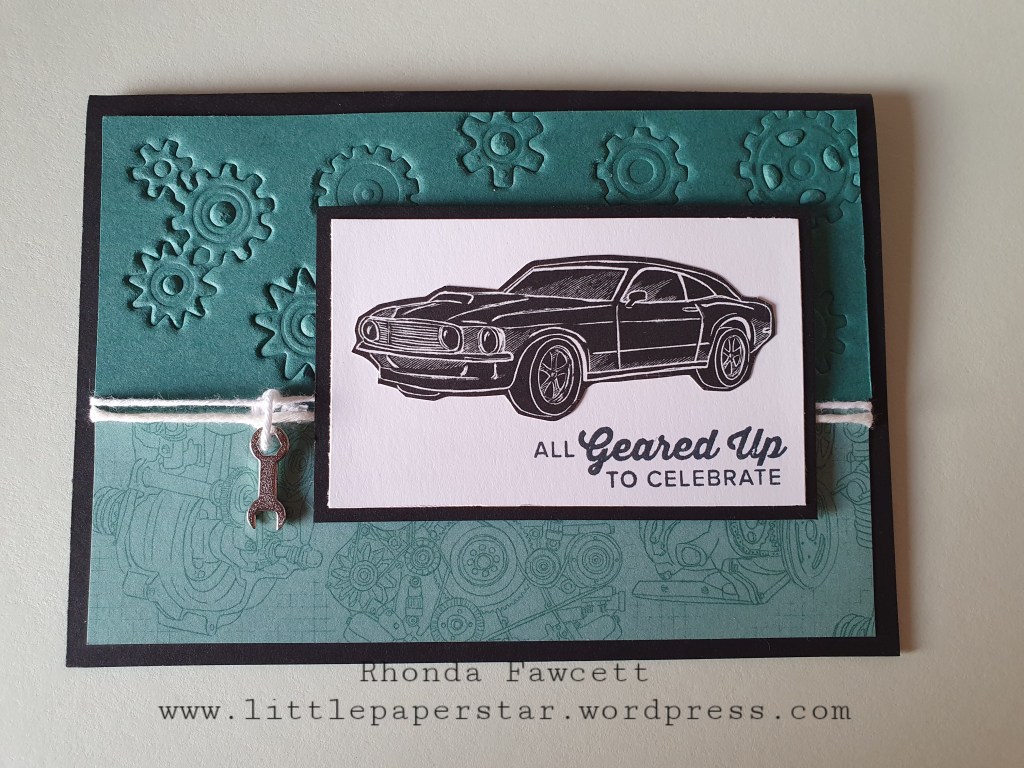
If you are wanting a particular pattern for an embossed background like on my Geared Up Garage card. I really wanted a embossed gears background and so decided to use my dies. To do this so that the shape is embossed into the card but not cutting the card, you need a rubber mat. The one I had (Stampin Up! used to sell them) is 2mm thick. I used the standard embossing plate plus tab one, then an acrylic plate, then the rubber mat with my card on top and finally the dies and the second acrylic plate. If the impression is not as deep as you want, then just add a paper or card shim. It is all trial and error to find what works well with your machine but when you do find the right combination, you have a whole new area of crafting possibilities opening up.
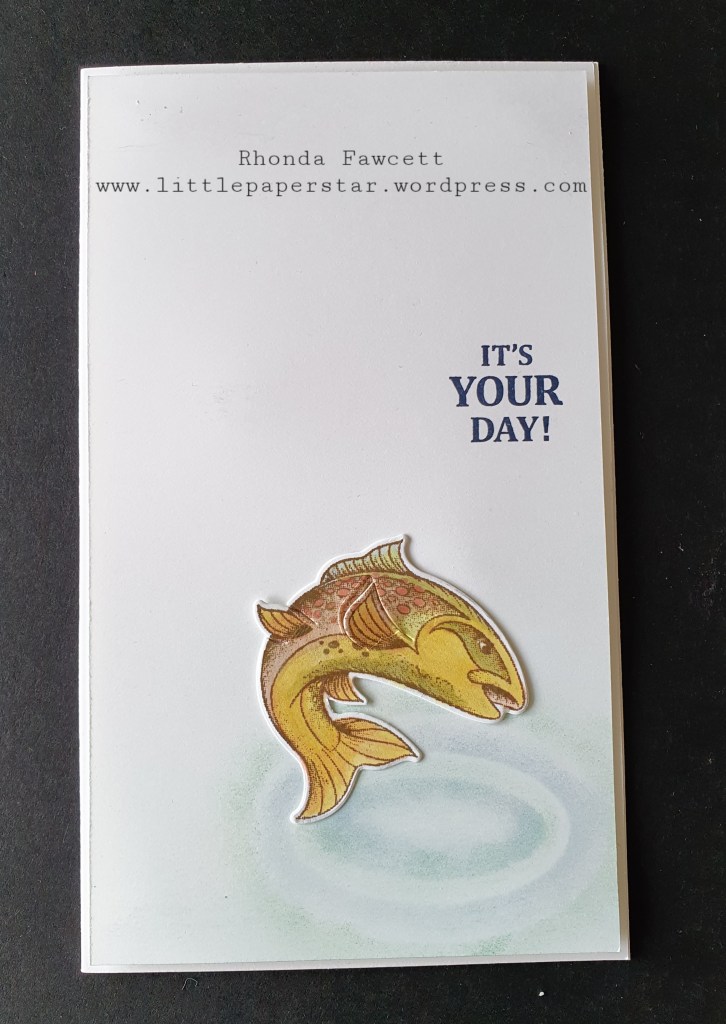
Over the next few days I will be giving out tips on different ways to use your dies. Tip # 1 USE DIES AS STENCILS There are two ways to do this. Either directly sponge into or around your die as I have done on the fish card or create a stencil from your die and then sponge with that.
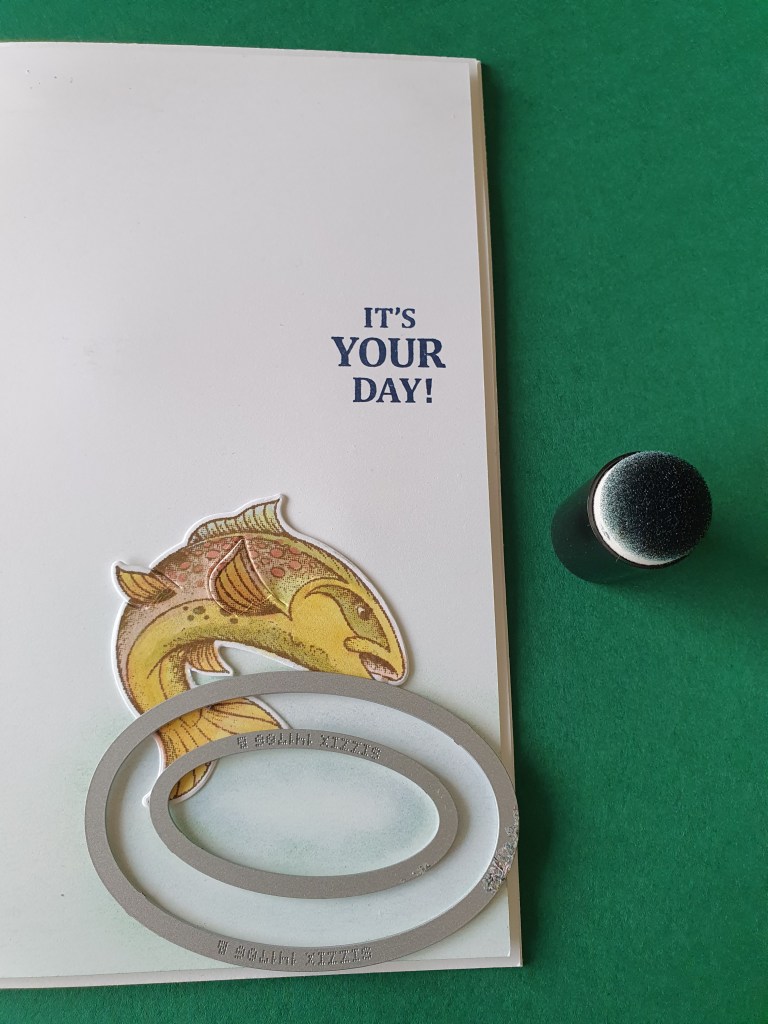
Fish card: To create rings of water, I used the smallest layering oval die and daubered balmy blue around the oval so I had a ring of colour both sides of the die. When I lifted the die off, there was stark white where the die had been, but then I lay down the next size up oval die and repeated the process by lightly daubering garden green ink. This filled in the white space and added extra rings of colour.
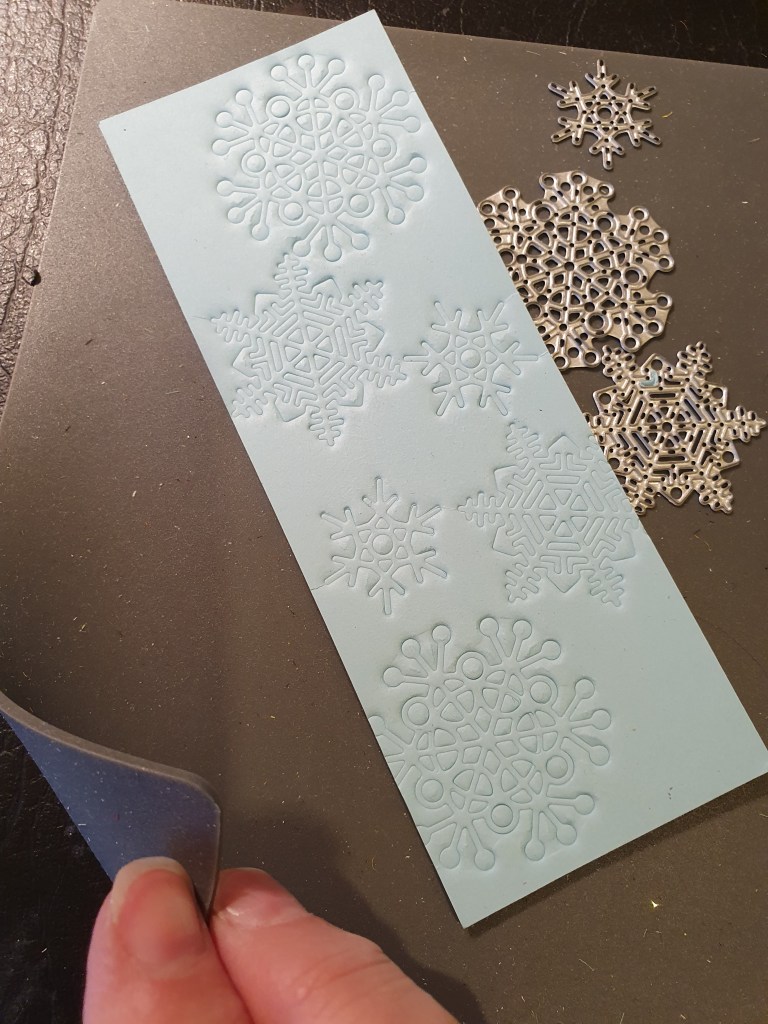
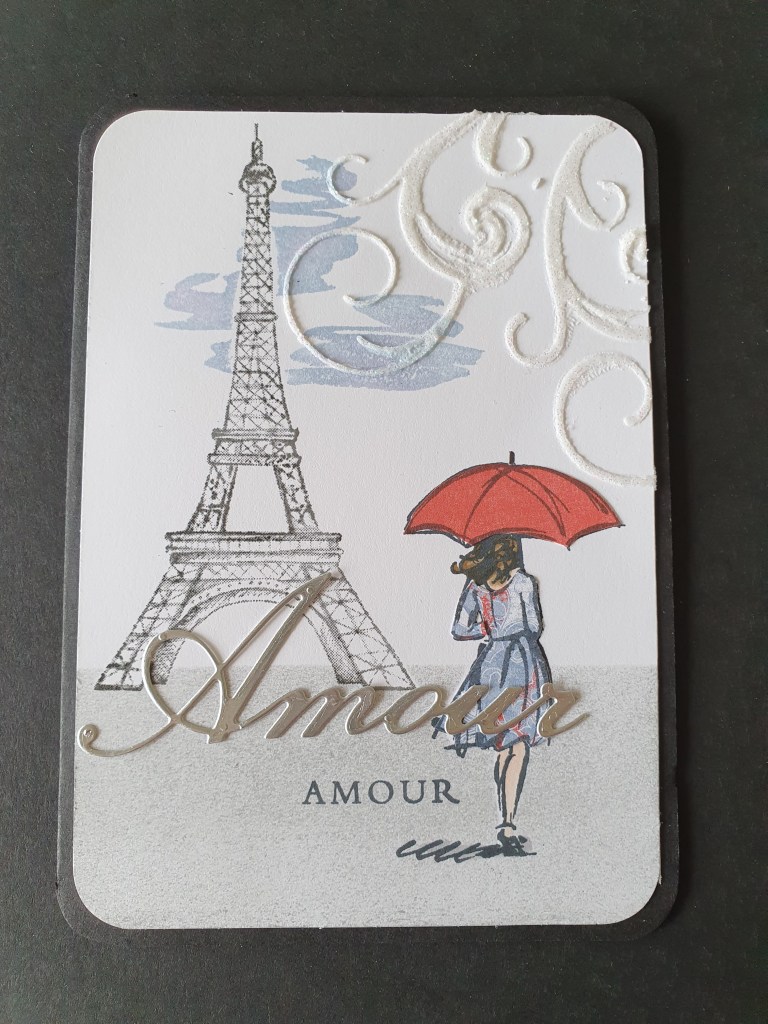
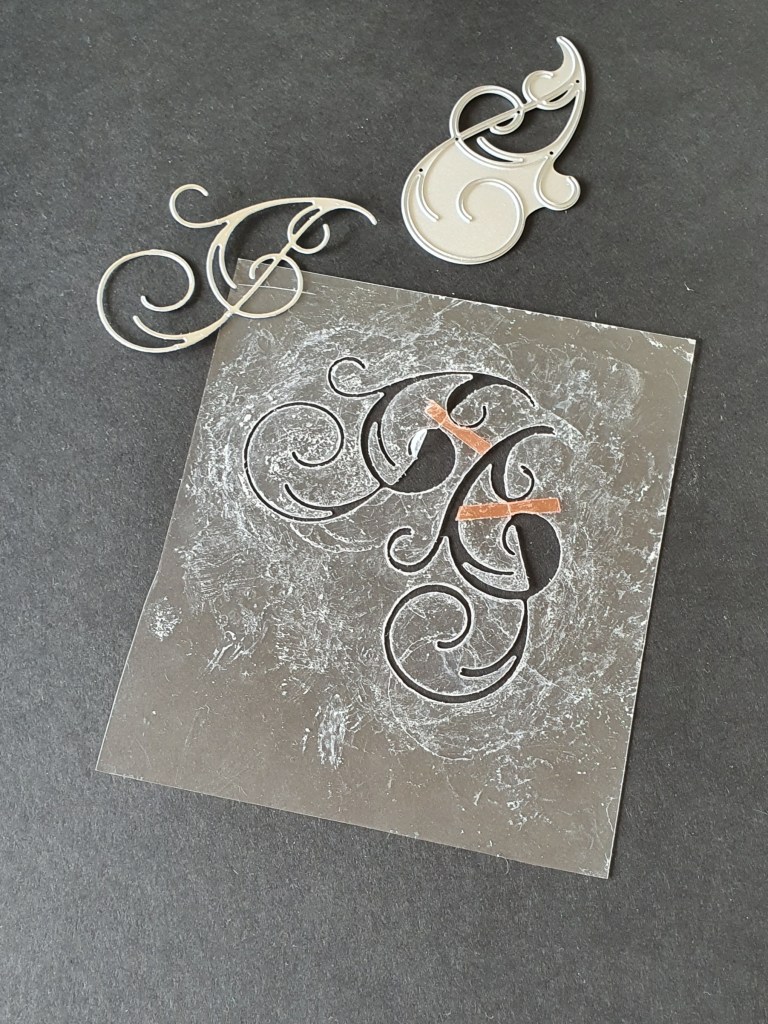
Paris card: I made a stencil by diecutting the swirl shape out of window sheet. (A couple of the inside swirls I had to add back in with red sticky tape.) I have used this stencil for several classes now and it is still holding up well! I used white shimmery embossing paste to press into the stencil. I think it gives a great look to this wintery day card. The basic card layout minus the swirls came from a card made by UK demonstrator, Mikaela Titheridge.
Making some home decor for my granddaughter with Stampin’ Up! punches. Keep reading to find out which ones I used.
I used I also used The gangs all meer and The waterfront stamp sets.
Feet= Perennial flower, one petal for each foot. Round off the pointed end. Lower body= 2 1/4″ circle punch. Trim top and bottom. Upper body= Hot air balloon. Trim off balloon neck. Buttons= Vase builder flower. Trim of zigzag flower edge. Head= Tailored tag. Round the corners on one end. Nose= Tulip builder punch. Punch leaf, then reinsert back into punch to punch again to trim more off the side. Eyes= various circle and hole punches that I had in my stash. Some are retired stampin up punches. Mouth and Eyebrows= hand drawn. Twiggy hair= Seasonal layer dies. Arms= Seasonal layer dies.
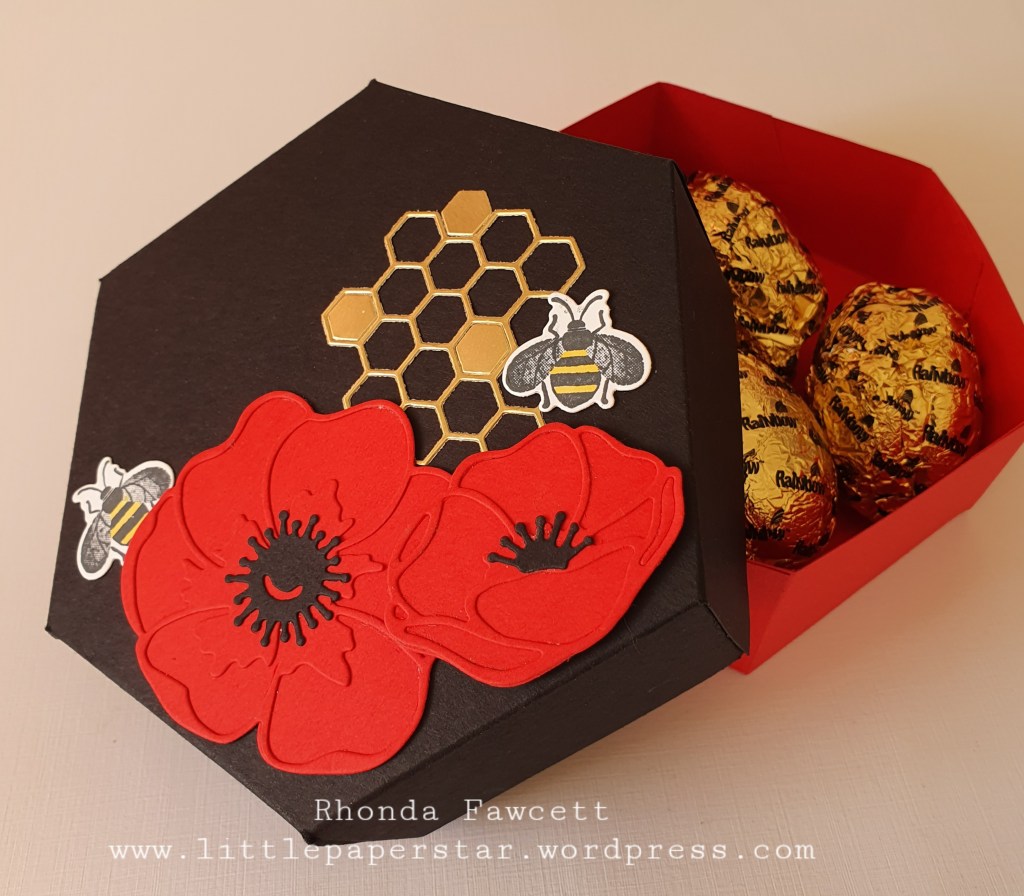
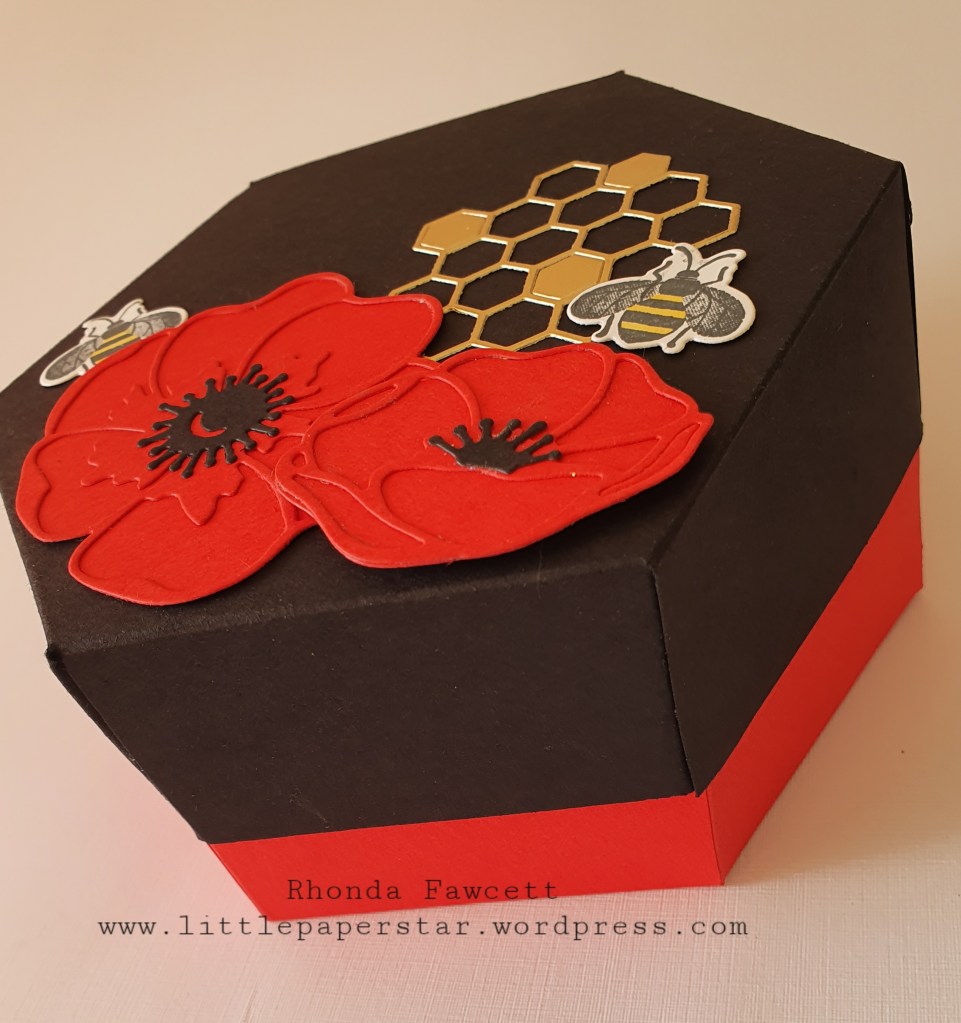
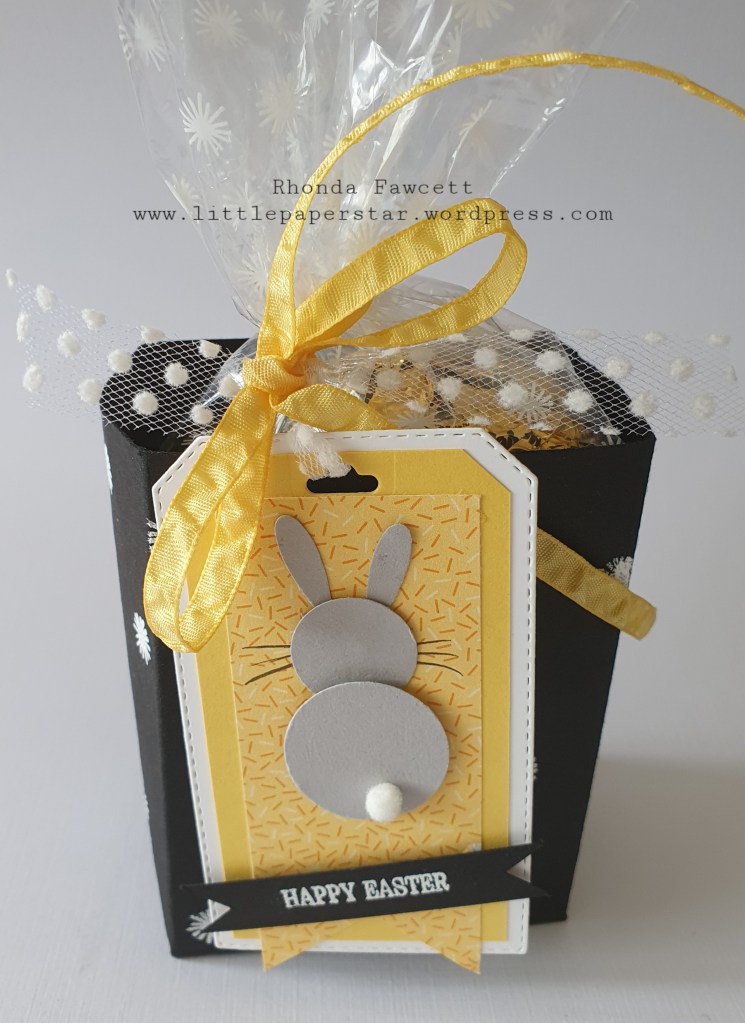
I designed this box by drawing a hexagon on my grid paper. That was the easy bit. The hard bit was getting the cut and score lines accurate on the sides. While it is okay and it does work, it needs a little more fine tuning yet.
Anyway it does hold quite a few chocolate eggs and it looks lovely decorated with our honey bee stamps and dies and the popular poppy dies.
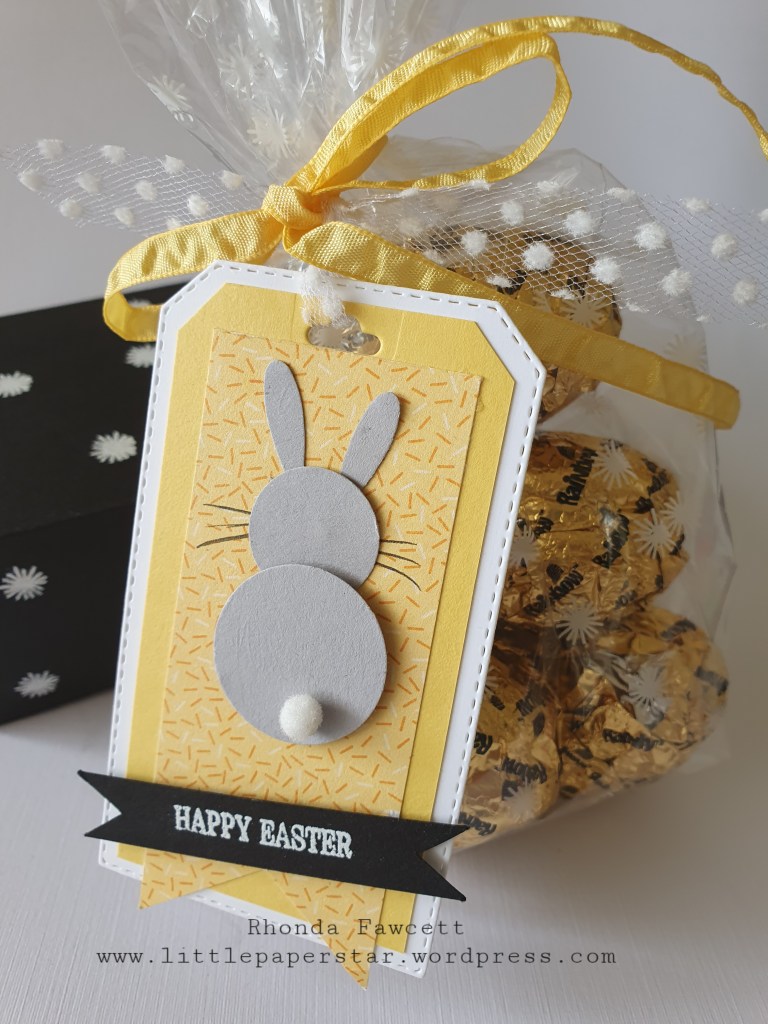
I made this Easter gift using the lovely soft cellophane bags from Stampin’ Up! They are nice and tall (22.9cm) and are pre printed with white stars. They would easily hold seven of the marshmallow eggs that we get in New Zealand, however I have only put five in my bag.
I also made extra packaging with the black gift box. It measures 15 cm x 26 cm. Score in landscape position at 7.5, 12.5, 20 and 25 cm. Turn 90 degrees to portrait position and score at 5 cm. Cut up bottom scoreline and fold into a box shape. I decorated mine with matching stars using a stamp from the birthday Buddies stamp set and white embossing powder.
The tag is from the bonanza dies. The bunny uses a 1 ” circle punch, a 3/4″ circle punch and the small daisy punch for the ears. The tail is a pompom from the birthday bonanza suite.
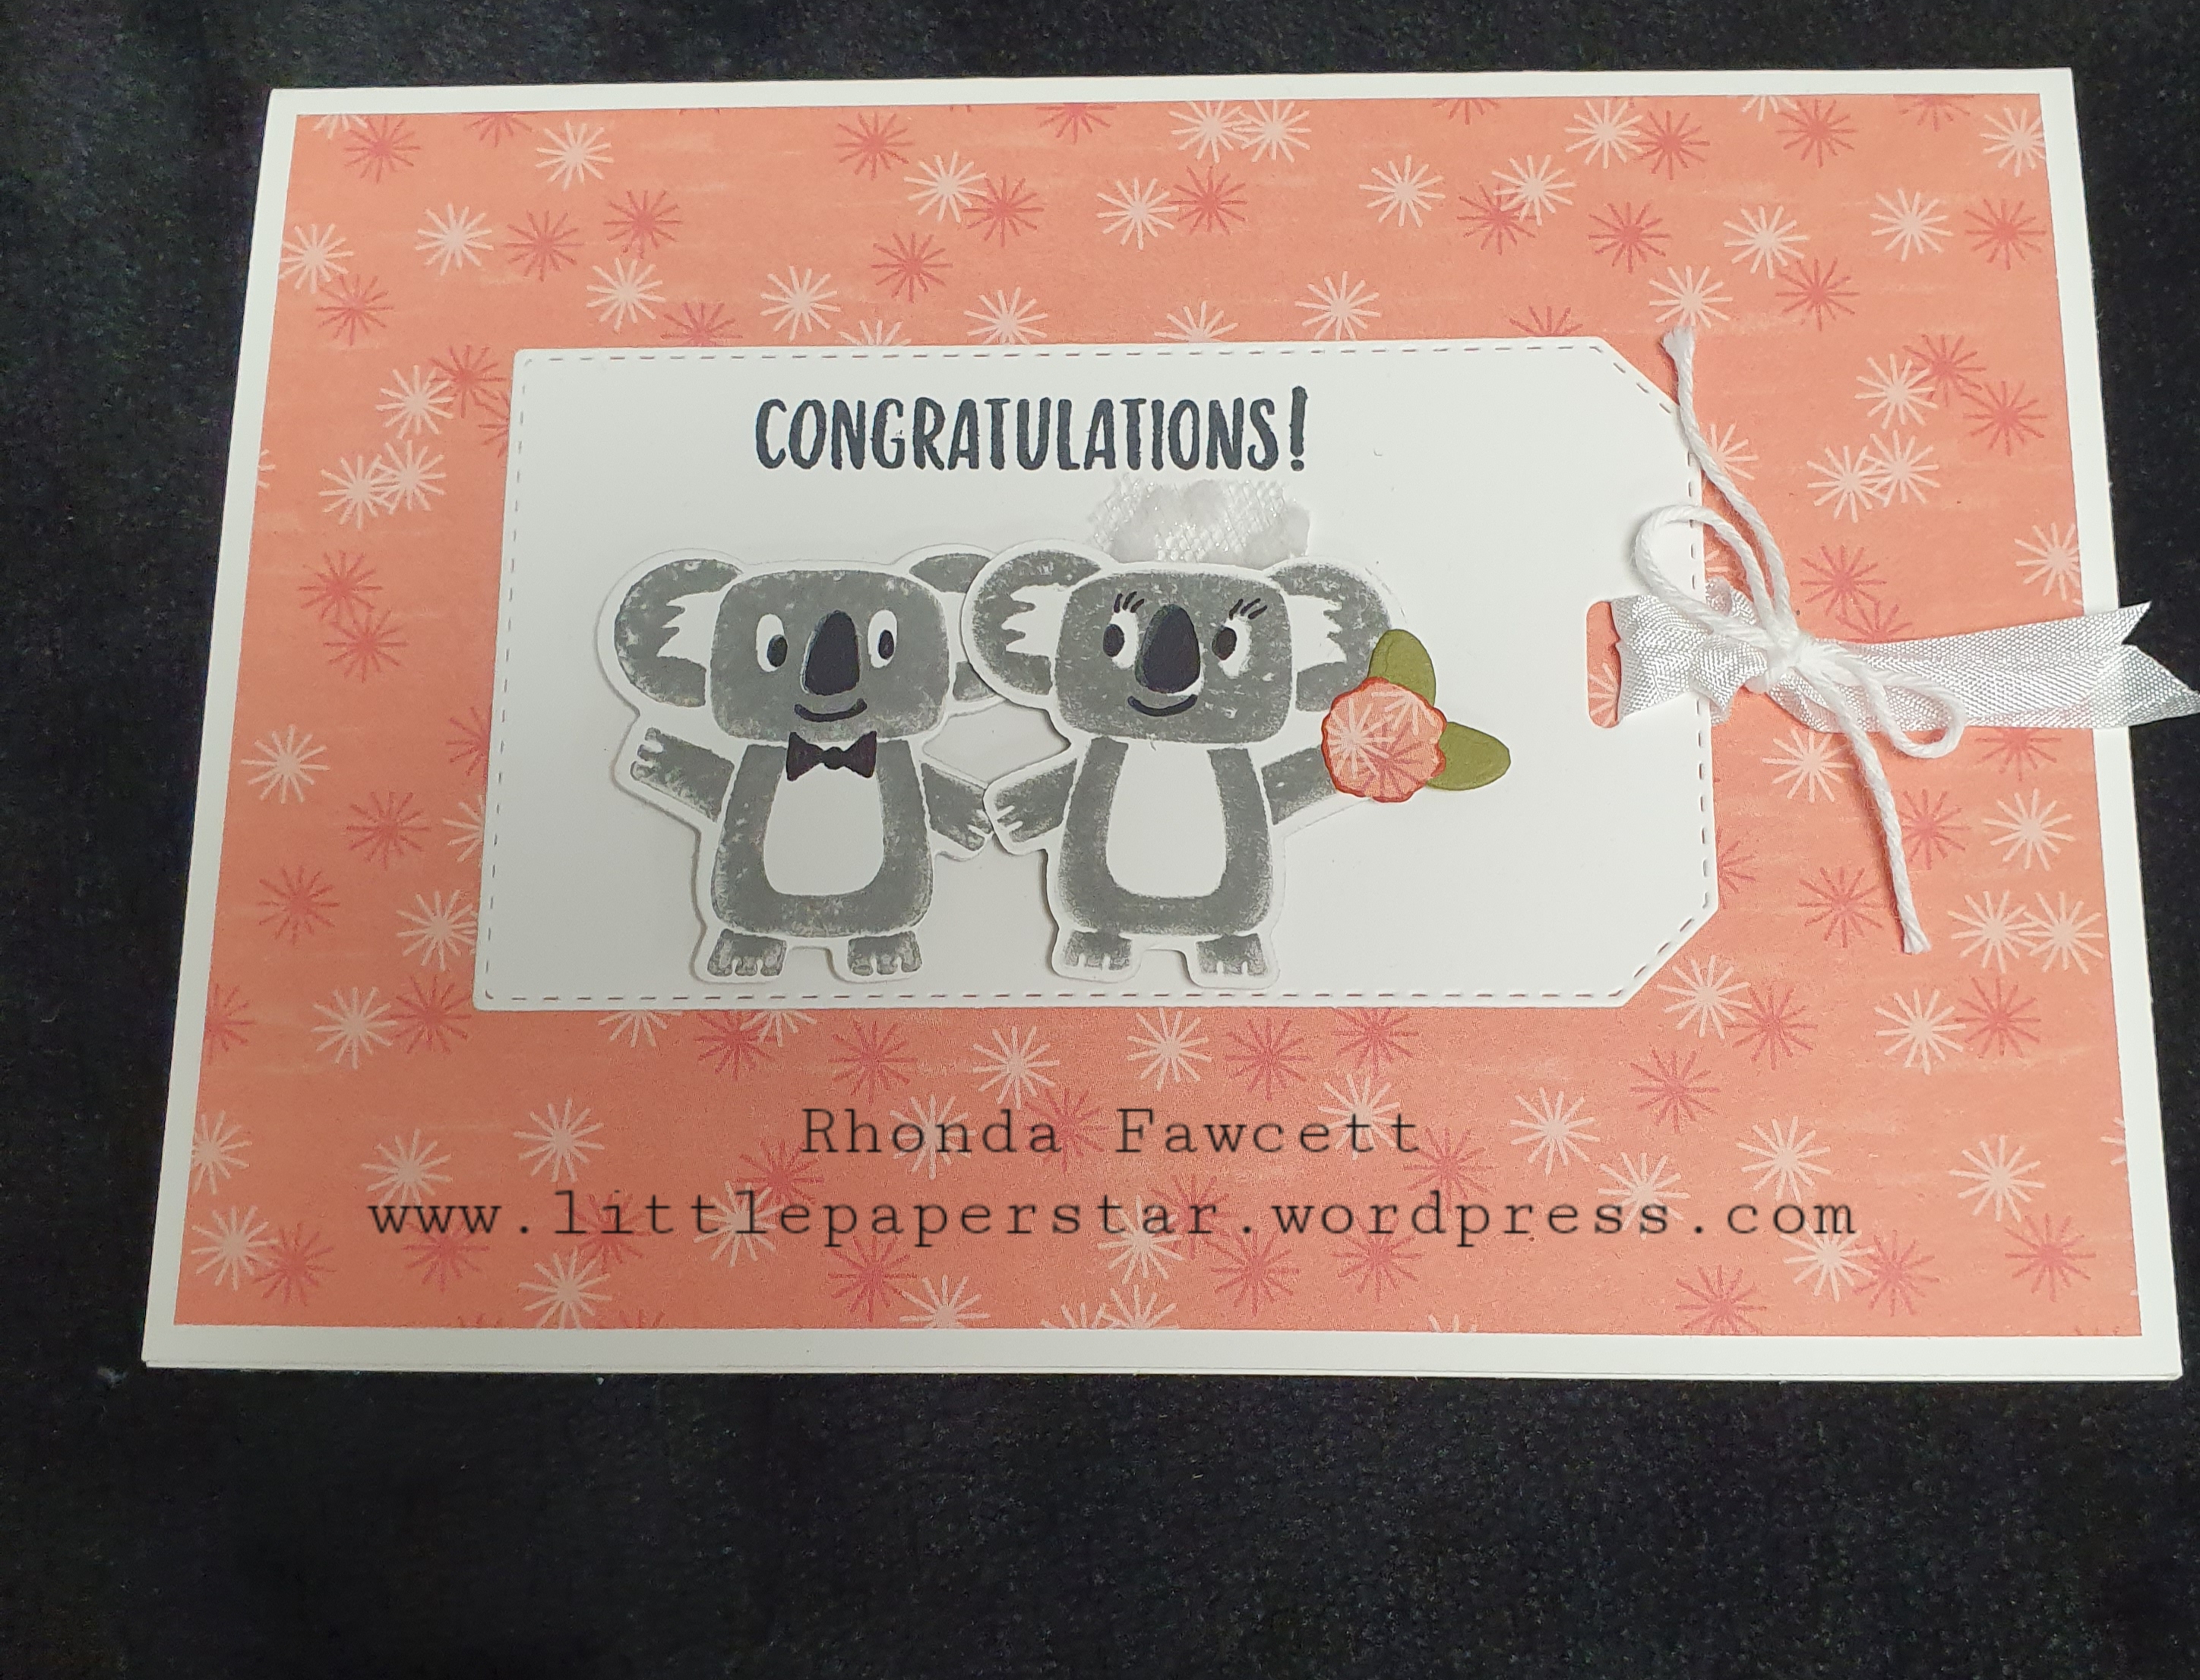
Do you know that you make more than just birthday cards with the Birthday Buddies stamp set?
This wedding card uses the koala stamp plus the lion body to give two different looks to the koalas.
I used a small piece of white dotted ribbon for the veil. The flower bunch is cut out using the pompom or sparkle die and the leave are cut out from the lion’s tail die.
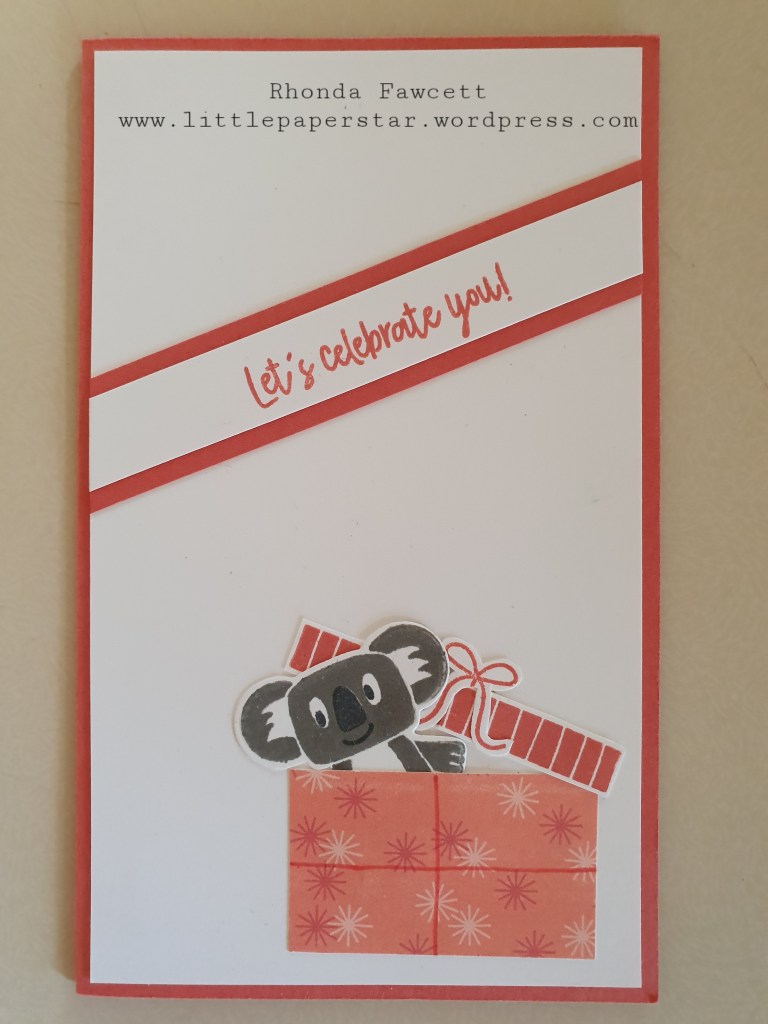
Here is another card using the Birthday Buddies stamp set. This one has a present made from Designer series paper measuring 4.7 cm x 3 cm. The top of the present is the “candle” stamp, stamped twice. Where the stamp overlapped, I covered the join with the koala.
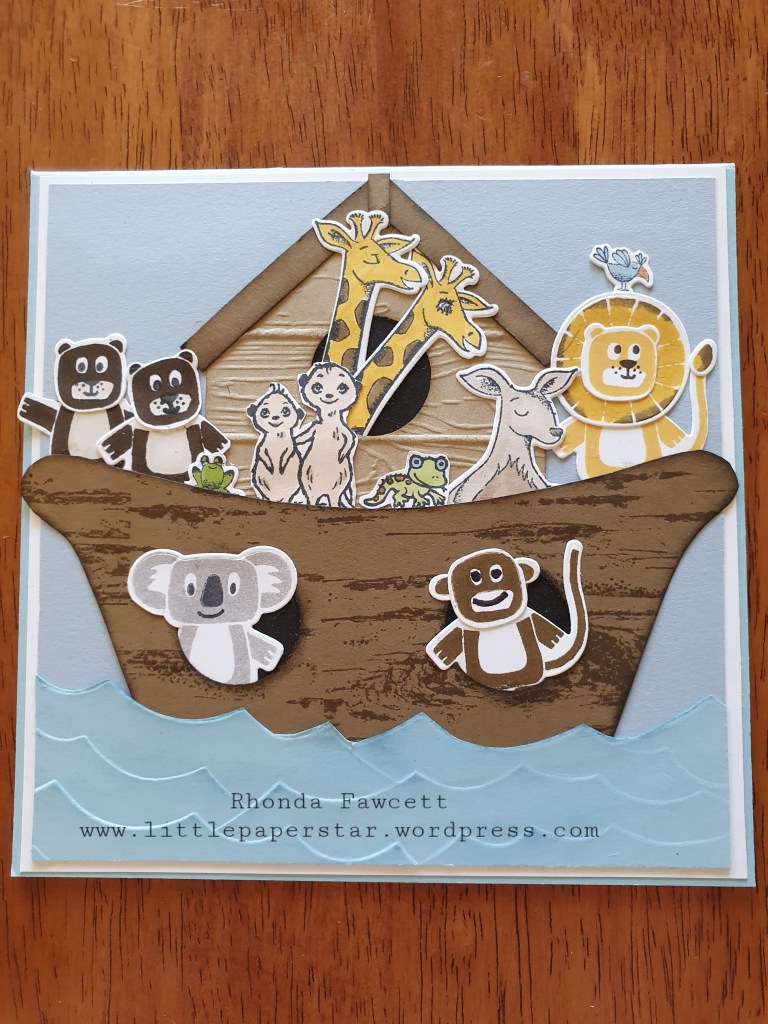
This is a 15 cm square card made with a combination of animal stamp sets from Stampin’ Up!
The giraffes, kangaroo, frog and bluebird are from the Animal Outing set. The meercats and chameleon are from The Gang’s All Meer set and the lion, monkey, koala and bears are from the Birthday Buddies set.
The birthday Buddies set only has 3 creatures, a bird, lion and koala but it is easy to make other animals from them. The bears are just the lion stamp, minus the tail and stamped in brown. The monkey is the same but it’s face is hand drawn and it’s ears are cut off. I have given it new ears using the tip of the lion’s tail.
The base of my card is Balmy Blue 15 cm x 30 cm and scored in half at 15 cm. A whisper white square is Matted on top, measuring 14.6 cm square. I then stamped and die cut or fussy cut out all the animals I wanted. I took a 14 cm x 4 cm piece of balmy blue card and embossed with the high seas embossing folder and lightly dauber-ed the waves for more definition. I created a template by sketching on the metric grid paper and cutting out with it folded in half so that it was symmetrical. (As the template is complete now, all you need to do is download it and trace around it, to cut out your 2 pieces). I made the top of the ark first. The top of the ark is crumb cake embossed with pinewood planks embossing folder and lightly dauber-ed. Punch a 1″ circle as indicated by the template. Glue two giraffes poking through the circle. Add a piece of black card from behind the giraffes to full in the circle. Adhere strips of soft suede card either side of the ark “cabin”. These strips are both 6 cm x 0.7cm. They are dauber-ed. Mitre the ends where they meet at the top and cover the join with another very small strip of card. Glue this piece to a 14 cm square seaside spray card at the top. Position the rest of the animals where you want them to go but wait until you have the bottom of the ark ready before you glue in place.
The bottom of the ark is soft suede and stamped with the Birch background stamp and dauber-ed around the edges. Punch two 1″ circles as indicated by the template. Place koala and monkey through the circles and glue in place. Add a strip of black card behind the animals, (from the back). Adhere bottom of the ark over the top piece, but take care not to put the glue too close to the top edge as you want to be able to tuck the animals just under the top edge. Glue the rest of the animals in place. Some animals had their legs cut off as it made it easier to tuck them under. Cut along the embossed wave on the balmy blue piece you did earlier and adhere to the bottom of the ark.