A quick and simple card using the Walk in the Woods and Beautiful Autumn stamp sets.

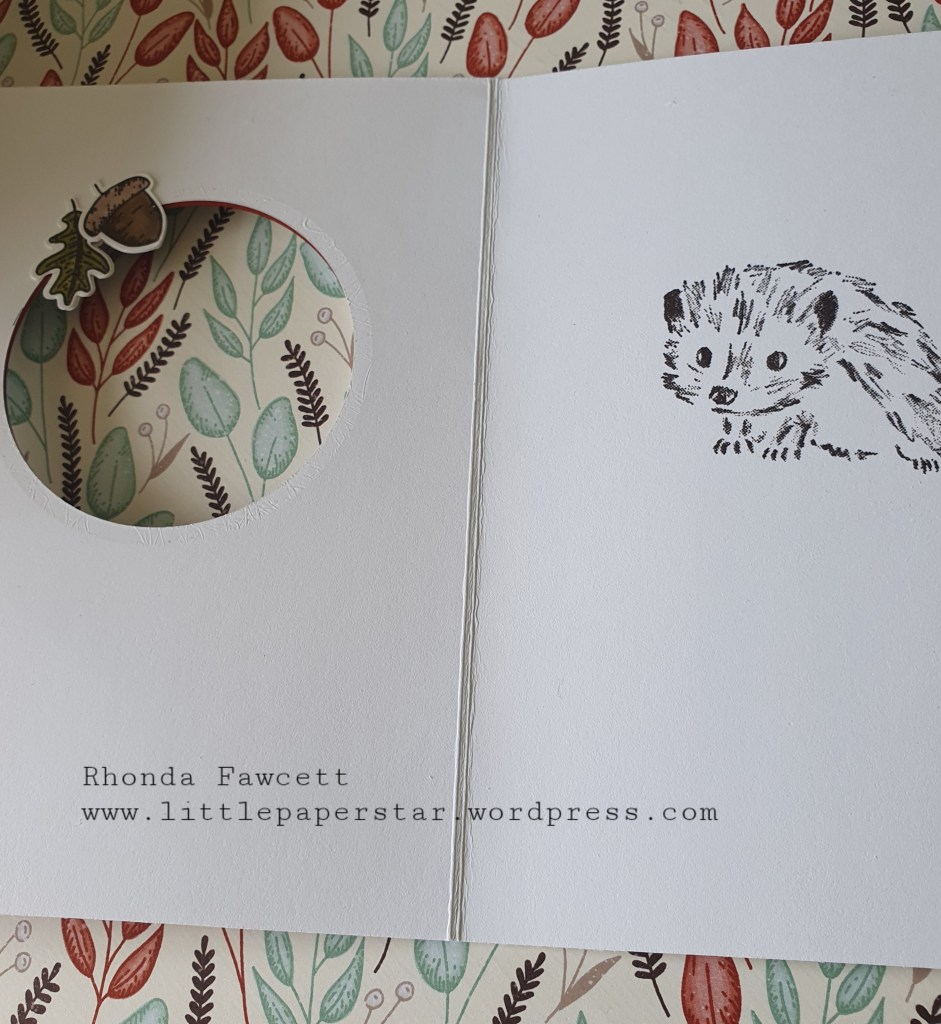

A quick and simple card using the Walk in the Woods and Beautiful Autumn stamp sets.

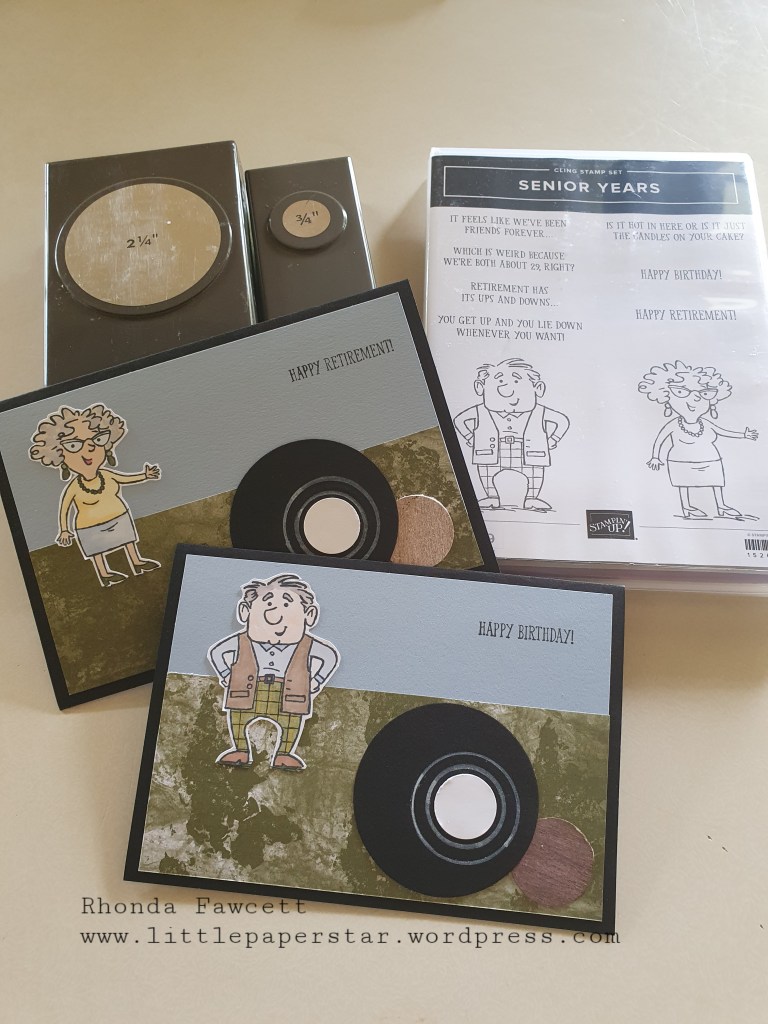
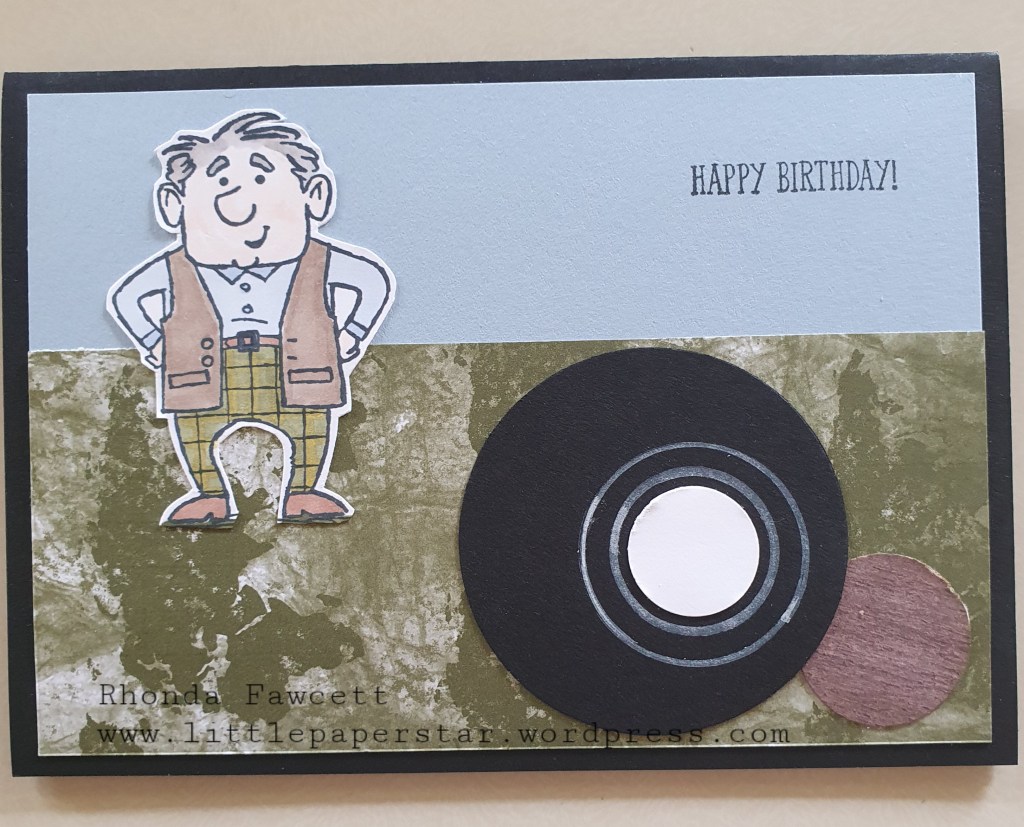
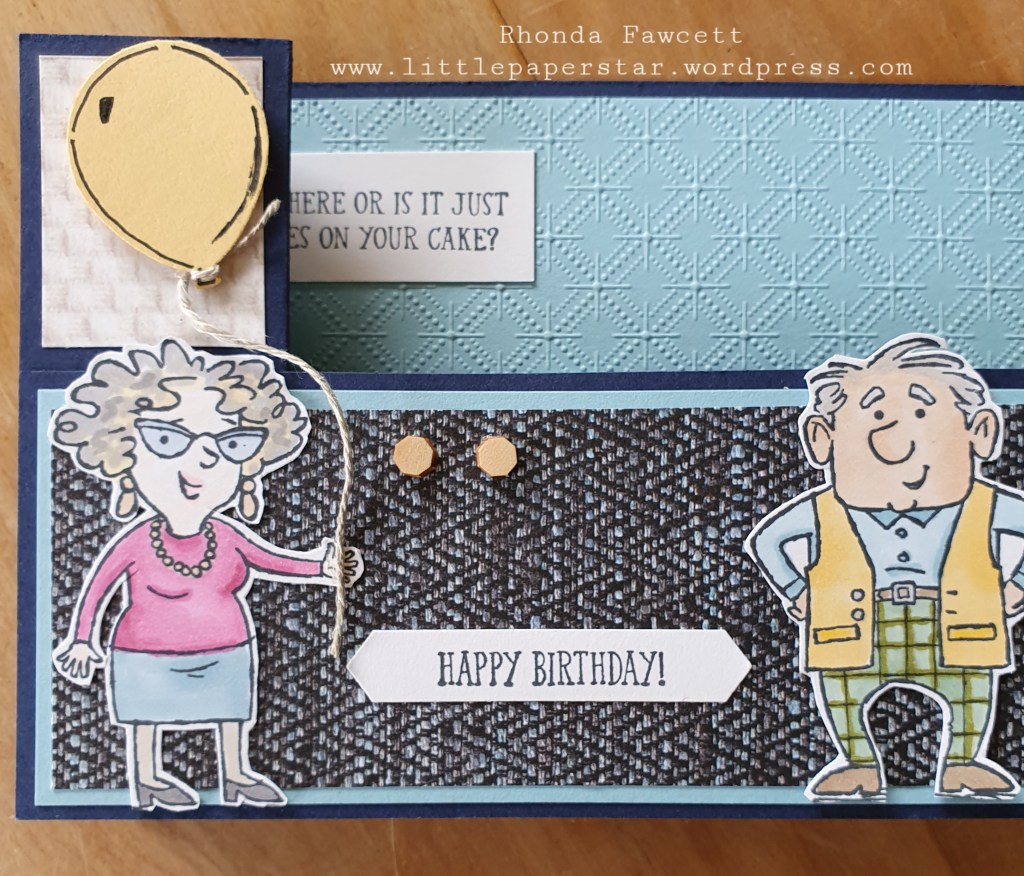
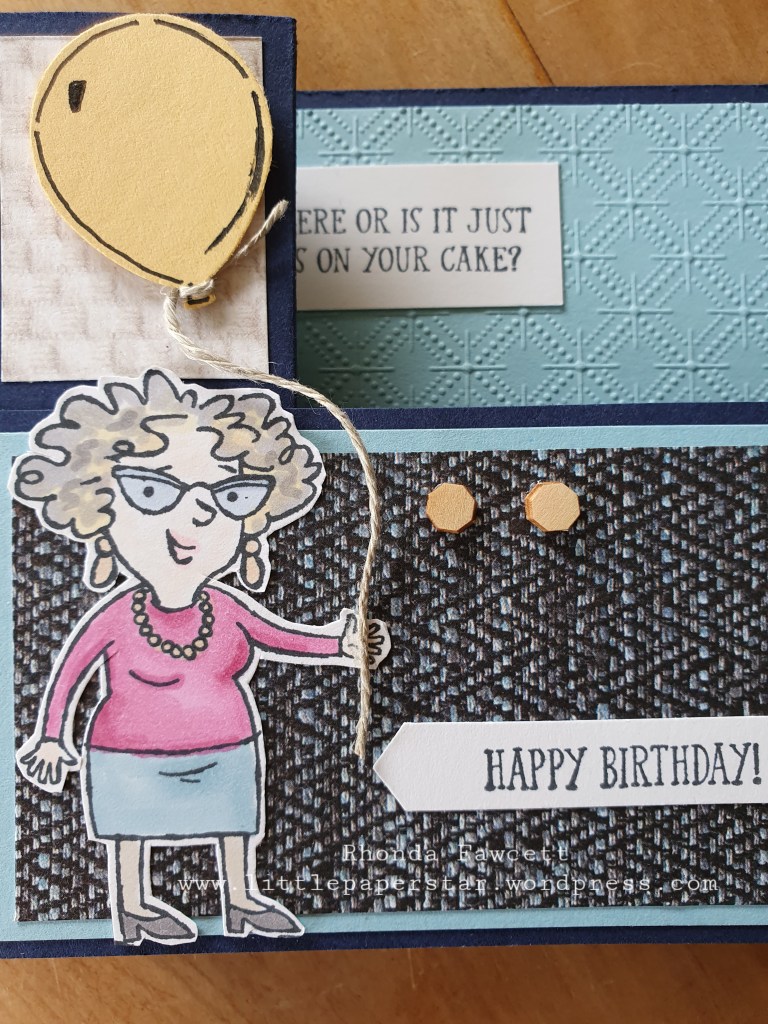
This was an easy card to make. It just uses the Senior Years stamp set and some circle punches.
The DSP is called World of Good. It is a world map pattern but I thought it made great grass. The blue card is Seaside Spray.
I also used a chalk marker to draw circles on the lawn bowl.
I know these seniors are wearing their good clothes instead of their bowling whites but I figured they could if they were playing at a party and not at a tournament.

Let me know what you think of think of these cards. Do you know anyone who likes bowls that also might like to receive one of these cards?
Leave a comment and I will choose someone to send this card to.

I love this bright and shiny Christmas card that was taught to our group of demonstrators by Shona Edmonds. It uses the new green and red foil card, Joy Dies and the Sweetest Border Dies. It is finished off with assorted rhinestones and gems.


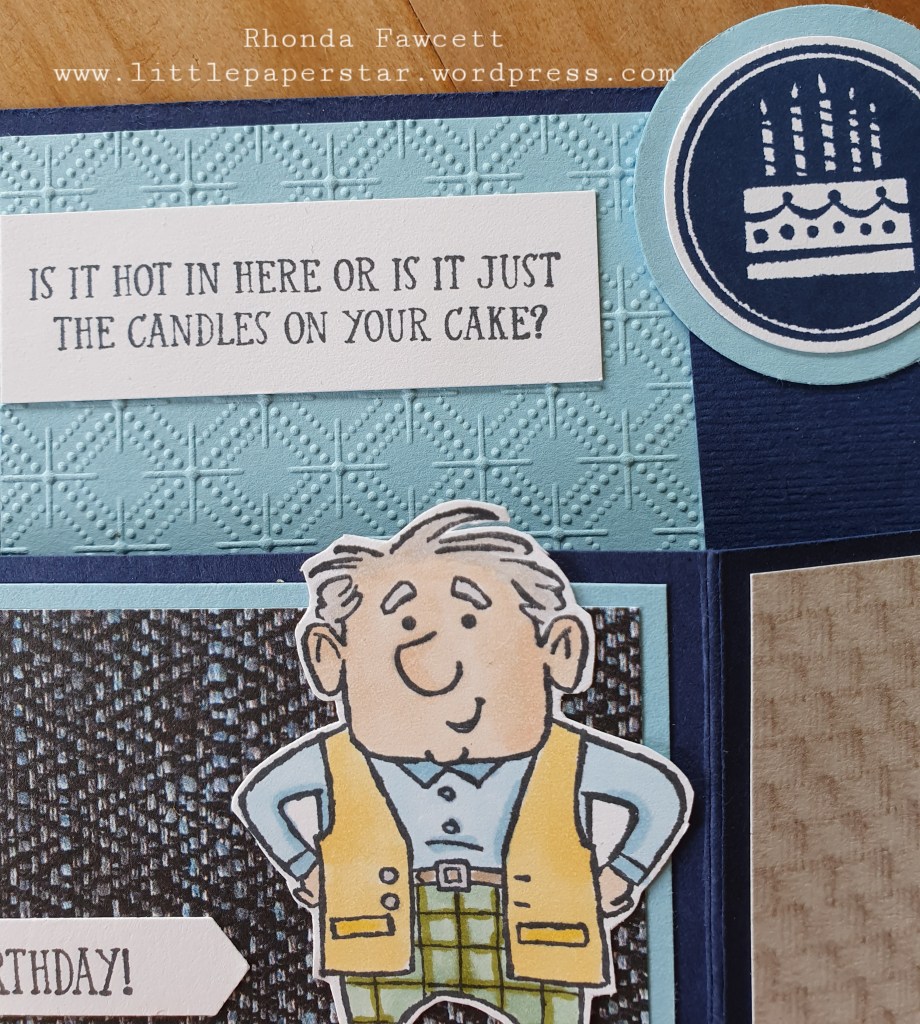
This interactive card is called a swiper card or sometimes a wiper card. It has an arm that pops up and swipes across the card. I wanted the arm on my card to reflect the words from the Senior Years stamp set, which read “Is it hot in here or is it just the candles on your cake?” So I used a retired stamp from the Amazing You stamp set which had a cake image with a lot of candles!
It is such a fun card, don’t you think? The designer series paper is called In Good Taste and the embossing folder is called Dainty Diamonds. If you want to purchase any of the products that you have you live in New Zealand, please contact me.

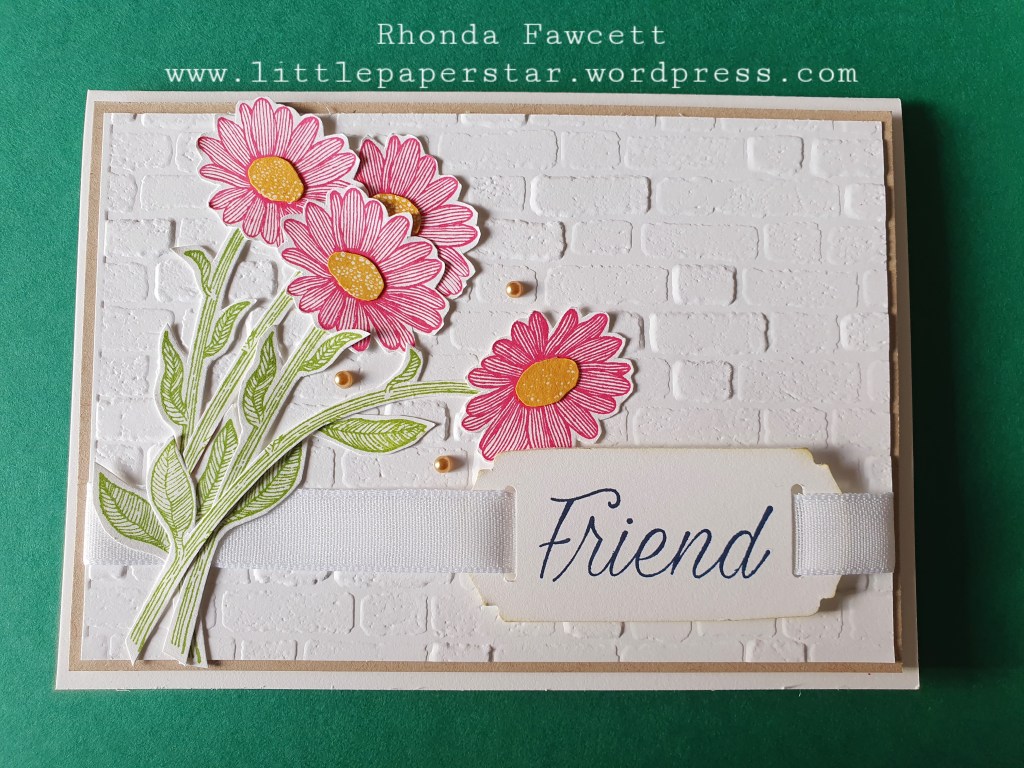
A simple friendship card, featuring the Daisy Lane stamp set and the Bricks and Mortar embossing folder. The ribbon is a soft faux linen ribbon from the flowers for every season combo pack. If you live in New Zealand and you want to purchase any of the products that you see here, please contact me.

Stampin’ Up! sells a packet of notecards and envelopes for NZ$14.75 which was perfect for me to use recently when I made 20 birthday cards for The Cake Dectective charity.
These cards are pre-scored and ready to use. You just needs ink and paper to decorate. If you want to buy a packet of 20 to make your own cards, please contact. You can choose from a vanilla option like I used or the more traditional white option.


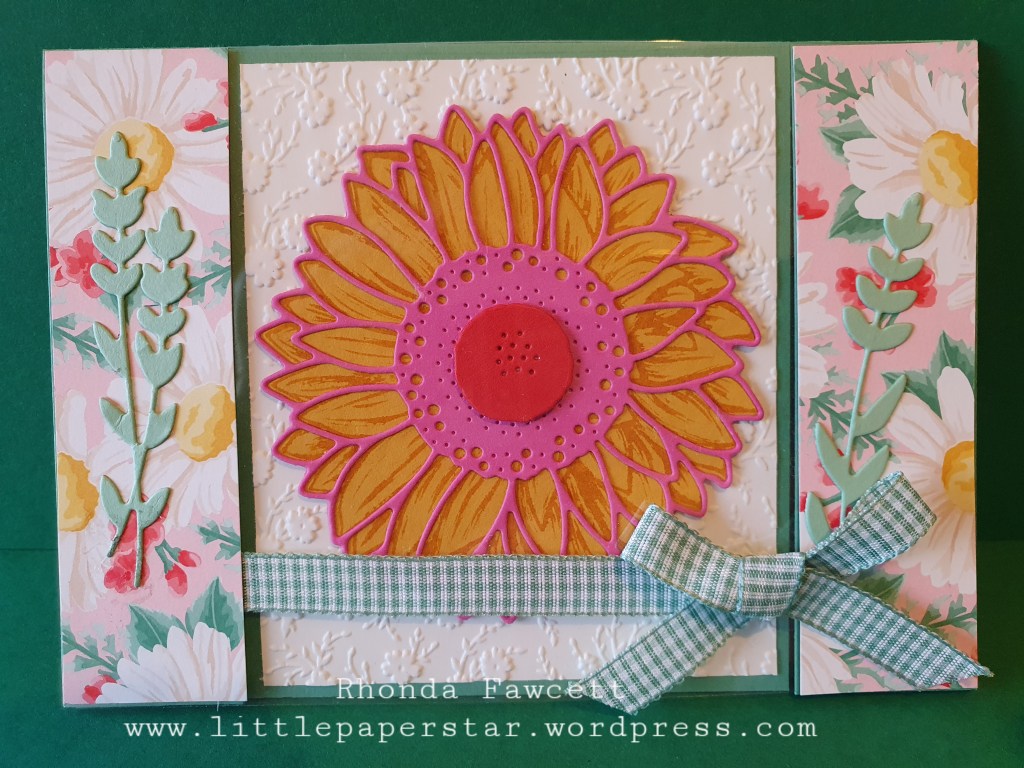
This colourful card features the Celebrate Sunflowers stamp set. It has two front openings. The first one to lift up or open up is the floral side panels with a clear window sheet between them. The second one to lift up is the centre sunflower piece.
To make this card, I started with an A5 piece of Just Jade card folded in half. I cut 3 cm in from each side to make the 2 side panels. Then I adhered a piece of window sheet on the front, attaching it to the side panels. The window sheet measured 14.5cm x 10.5cm. I added ribbon across the front and then covered the side panels with DSP measuring 10.5cm x 3cm.
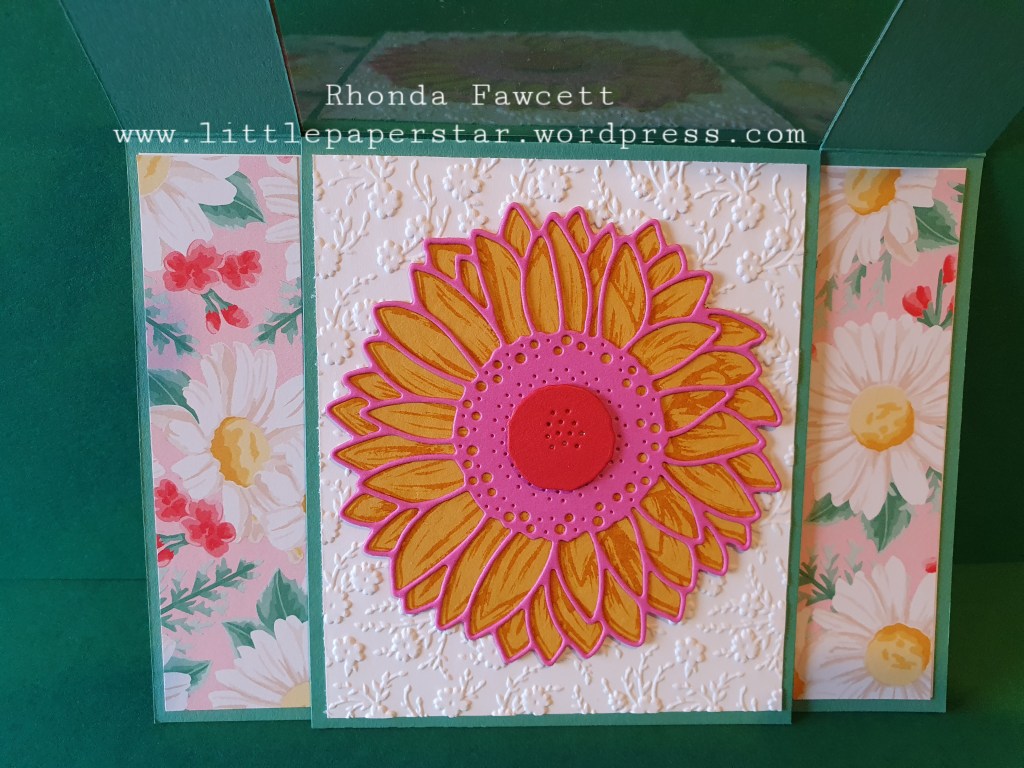
The second opening features a diecut sunflower on a white embossed card piece. The white card measures 10cm x 8.5cm and is embossed with the Ornate Floral embossing folder.
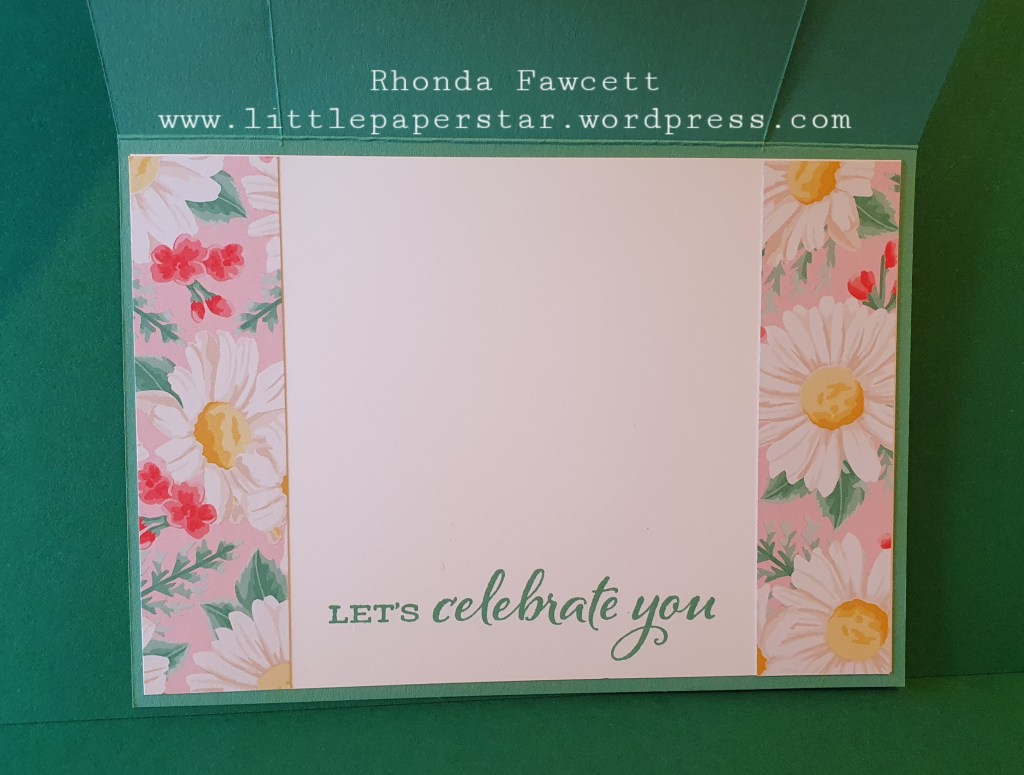
The inside of the card has a greeting stamped across the bottom and more DSP at either side. These strips of DSP measure 9.8cm x 2.7cm

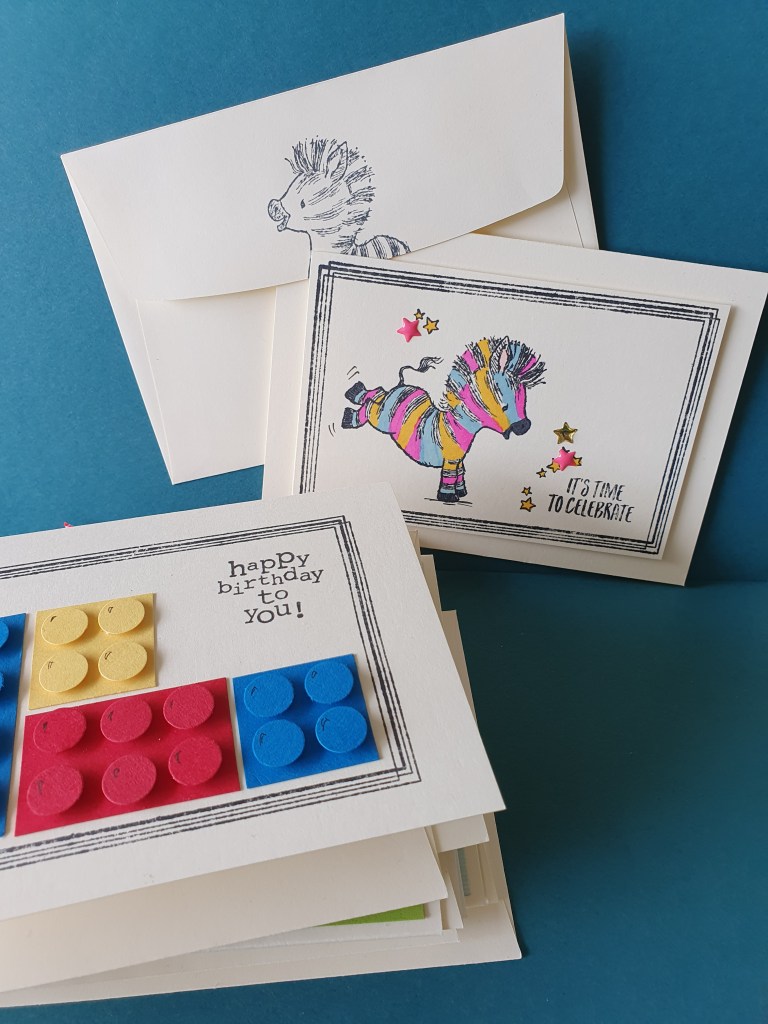
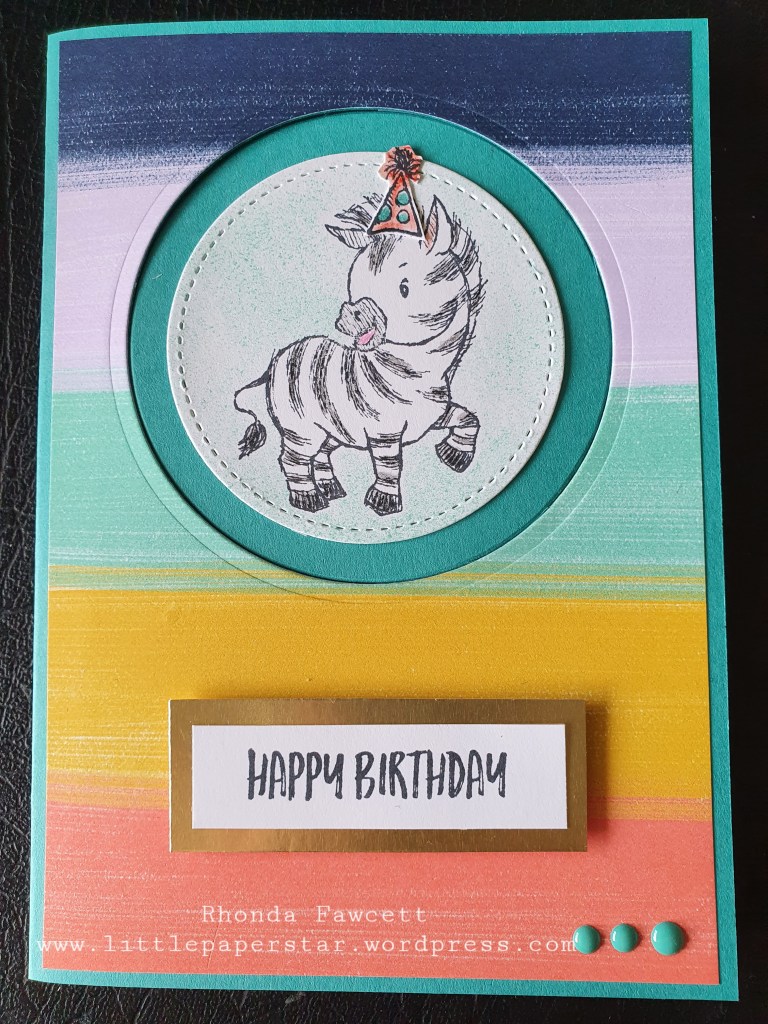
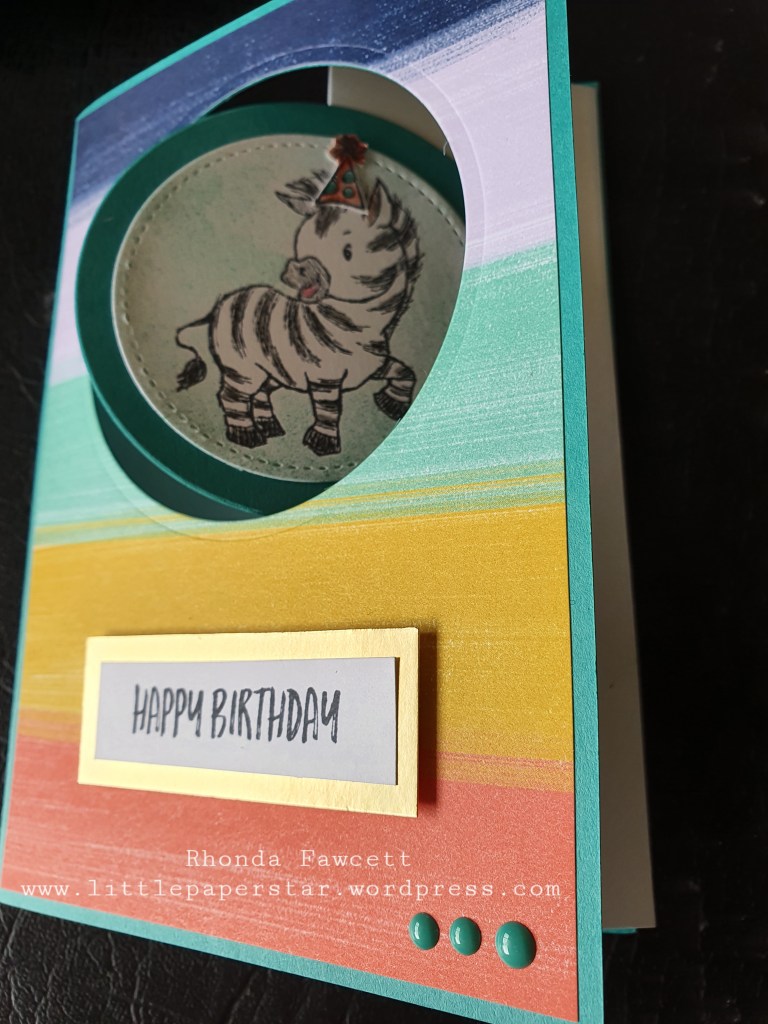
I saw this fun card fold on a YouTube tutorial by Rachel Tessman. She called it a tucked Z fold.
I have used Playing with Patterns DSP and the Zany Zebras stamp set for my card. The card base is an A5 Bermuda Bay folded in half .I used the largest layering circle die to cut the hole in the front. The folded piece inside is 20cm x 14.4 cm and is scored in landscape position at 10 cm and 15cm.


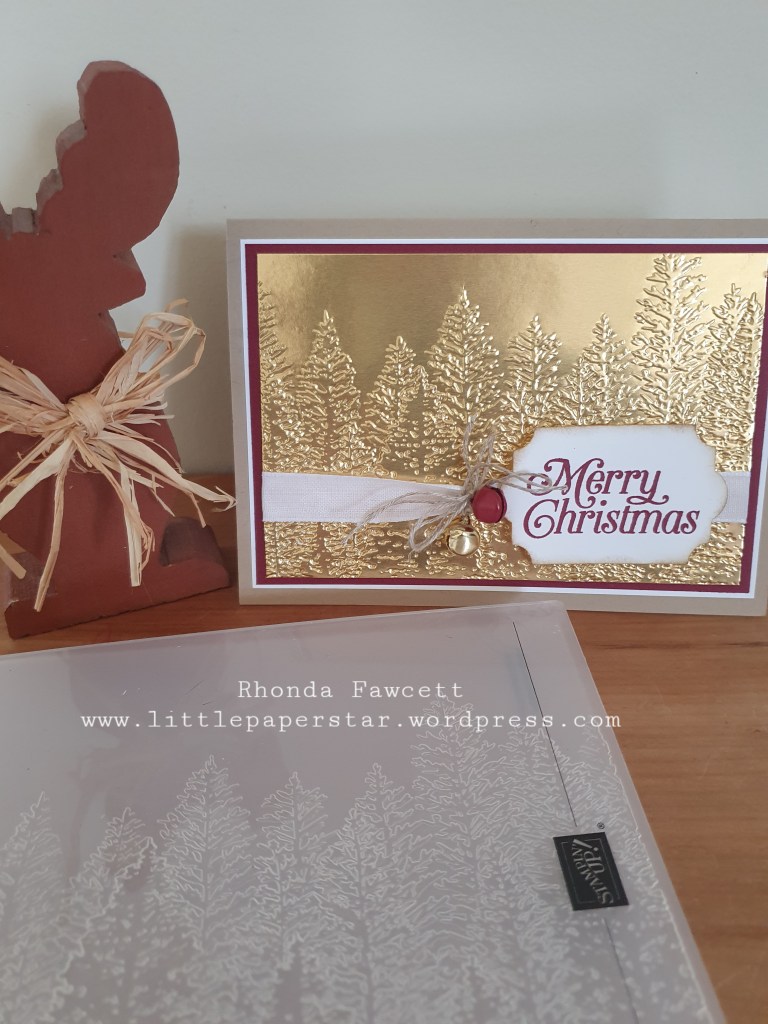
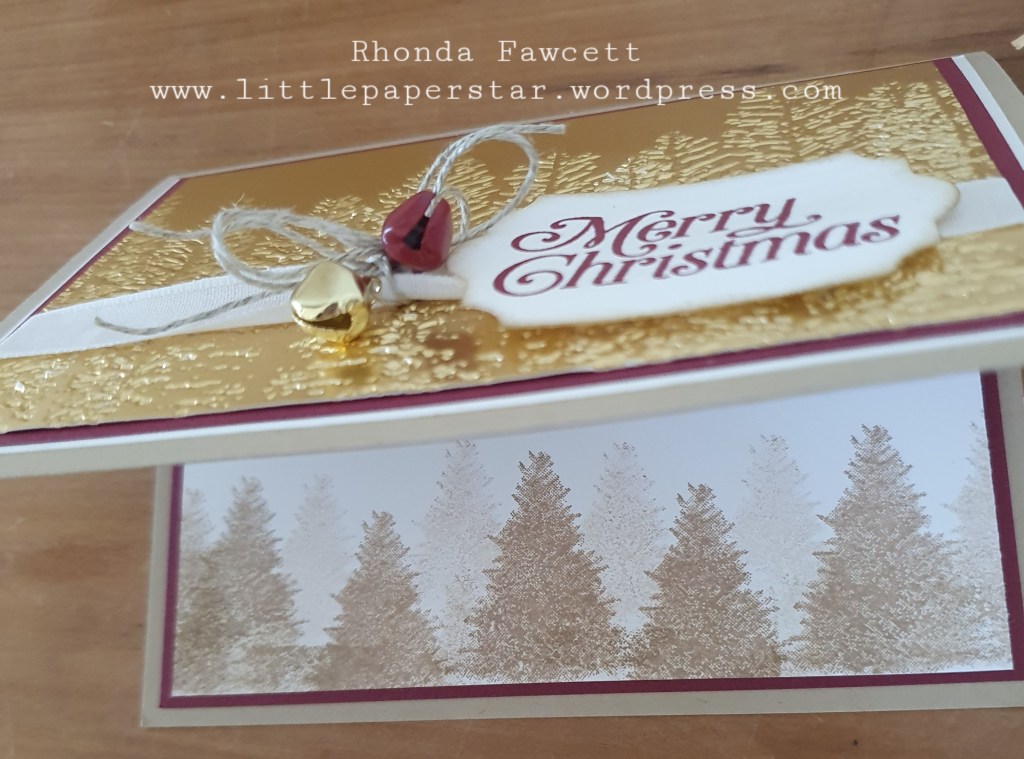
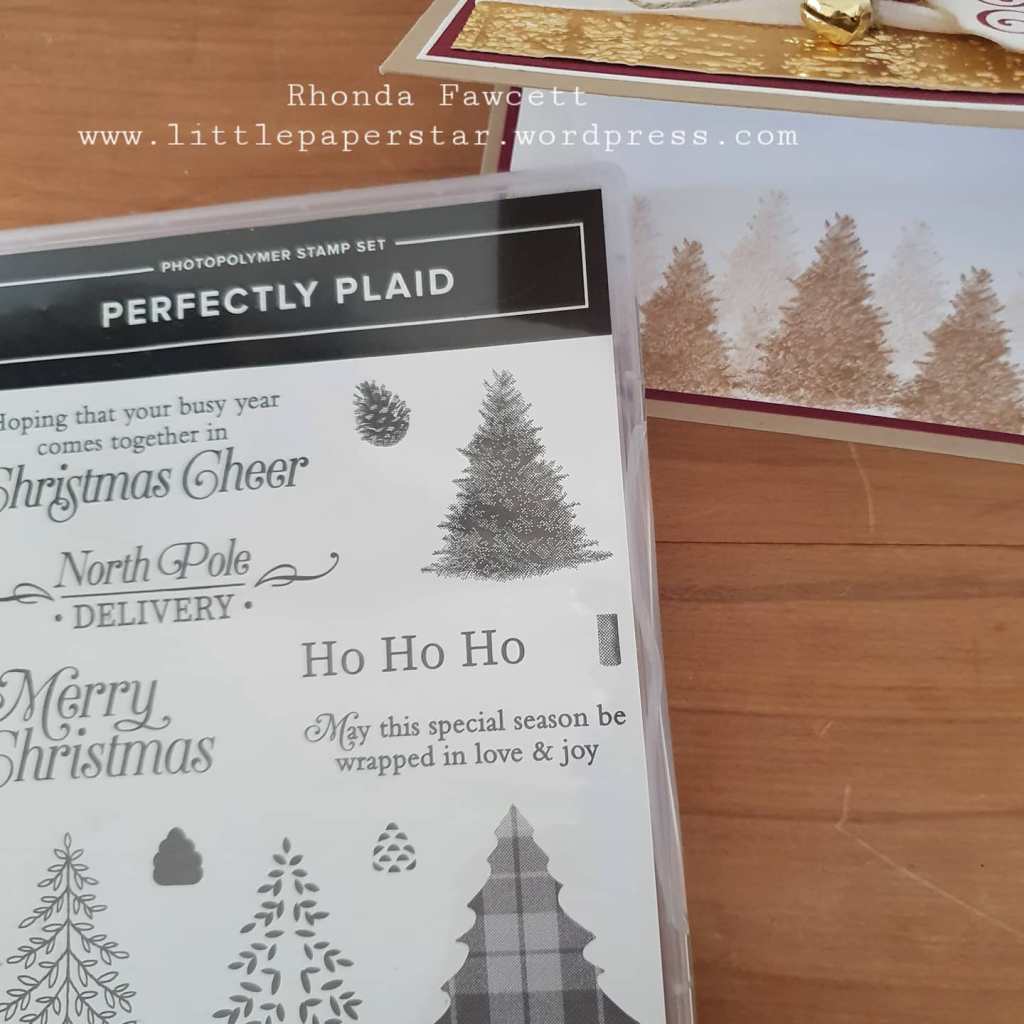
The new evergreen forest embossing folder is perfect to use as the main feature for your Christmas cards. I used crumb cake card as the base with a mat of whisper white, a mat of merry merlot and then gold foil card. The greeting for from the Perfectly Plaid Christmas stamp set


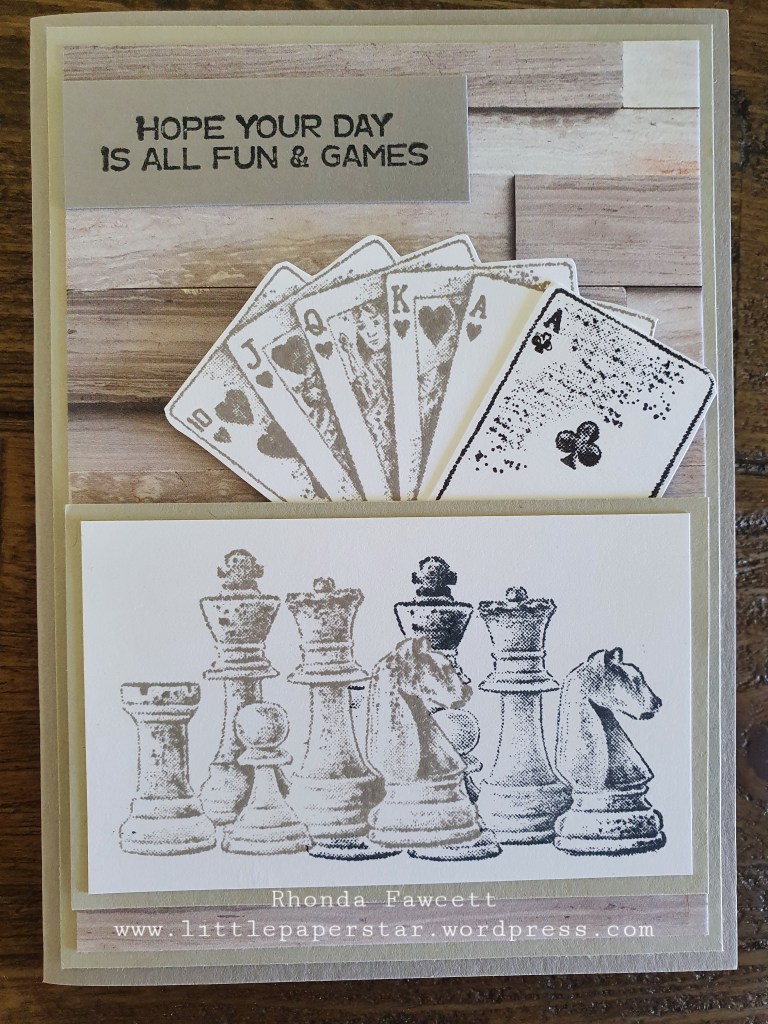
Making masculine cards is easy with the game on stamp set. Techniques I used were masking and marker to stamp inking.
To make the chess pieces, I stamped the whole image first in Gray granite ink, then placed a mask over the top of the image and stamped again in memento black.
To make the playing cards, I stamped the whole image first in Gray granite ink, then I cleaned the stamp and just coloured the Ace card with a black stampin’ marker pen. I took care to not colour the hearts. Once I had stamped my image, I drew in the little clubs under the A’s and I stamped the larger club image in the centre. The larger club image is part of the Game on stamp set.