Mini SCEM (Stampin’ Cut & Emboss Machine)

Stampin’ Up! have two of their own branded die cutting and embossing machines and they are both good value to own.

Not only are they sleek looking, compact and portable but they have some extra benefits which I talk about in my video.

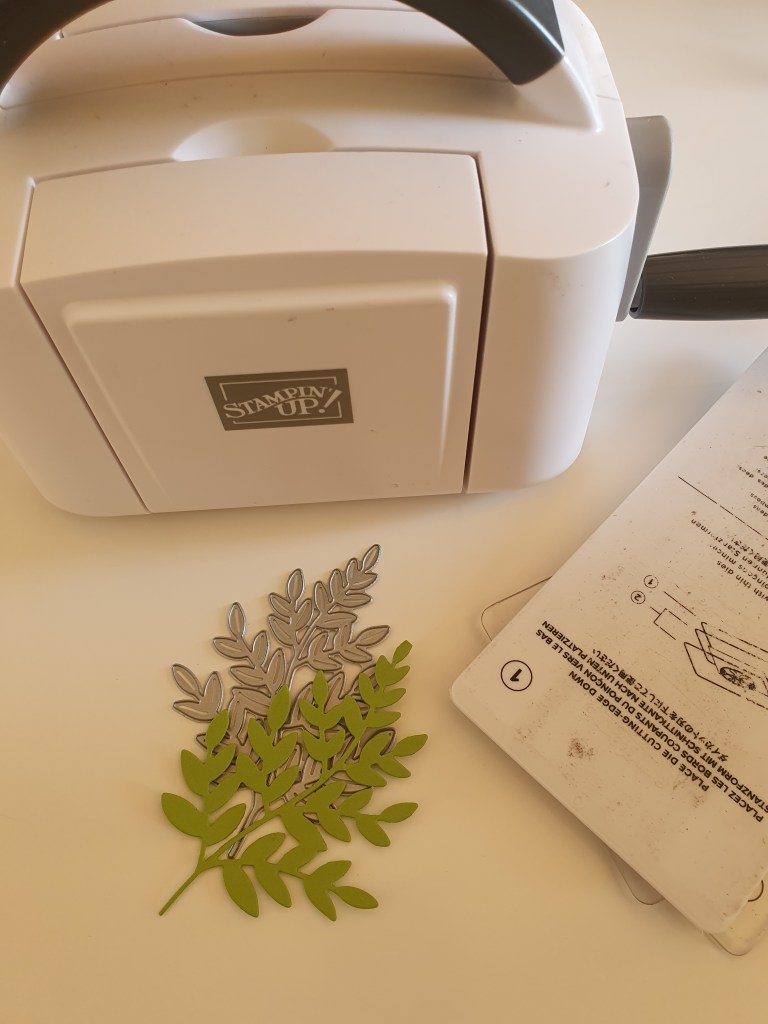
A couple of things to know… The die cutting adapter plate that I show for the mother machine that has the extra height in the middle, is not a cutting surface. You still need to place your die on a clear plate. All the sandwich layer instructions are printed on the plates.

The mini machine doesn’t have this adapter plate because the rollers are much closer together the pressure is more evenly distributed. It is handy on your desktop as the majority of your dies will fit through it as well as a few selected narrow Stampin’ Up! embossing folders.

This mini machine is 20% off during March 2022.

Shop here http://www.rhondafawcett.stampinup.net

Abstract Beauty Ephemera Pack

Stampin’ Up! has brought out this cute little ephemera pack which is perfect for scrapbooking. It has die cut shapes that you can stamp on, or use as frames or embellishments. Some are printed with gold foil. Some are even gold foil on vellum!

This little pack is my fave! AND it is only NZ $13.75 + shipping. It includes 60 diecut pieces.

Here is my finished 6 x 8 page.

I will be doing after school scrapbooking classes for kids, starting on Monday 28th February. Contact me for more information.

Awesome Otters

These cute little Otter stamps have been very popular and are one of the free stamp sets that you can earn when you spend NZ$110 on Stampin’ Up! products.

The background is made by inking up the embossing folder before embossing to highlight the pattern.

Free as a Bird

I was showing some of my lovely crafting ladies a little while ago how to get the most out of their stamparatus and I showed them this technique called Mirror image stamping.

You do need a stamparatus to achieve it and also a silicon mat. You place the bird stamp on your stamparatus plate and stamp the first bird on a silicon mat. Place your card face down on the silicon mat and press with stamp to transfer image from silicon mat onto your card. Turn card over to see transfered image. You can then stamp the second bird onto your card, next to the transferred mirror image bird.

To watch a short video. Click here…https://youtu.be/bc7eD1dtzMs

I decided to colour these birds to look like common garden sparrows sharing a worm. Only after I had finished the card, did I learn that sparrows don’t normally eat worms!

Summer Sketch Challenge

To get creative juices flowing for 2022, I decided to join a card challenge or two. I entered the TGIF sketch challenge # 351. You can see the sketch below.

I also entered the Just Add Ink challenge which is all about summer. I had in mind before I started, to use the “Nuts About Squirrels” stamp set but it was more geared to autumn than summer. So I played around with it, by using a black marker pen to ink just the parts of the stamp that I wanted and I drew in the rest. Now instead of a squirrel with an acorn, I have a mouse with a strawberry.🐭🍓🌞 That says summer right?

The products used are Nuts About Squirrels stamp set, Sweet Strawberry stamp set, Pattern Party DSP, Pretty Flowers embossing folder, Assorted Blends and a Stampin’ Write Marker.

Here is how I inked up the stamp. I used the wide brush end, the side of the brush tip and inked only the parts I wanted. I huffed on the stamp with my breath to moisten the ink as it dries fast and I wanted a nice black image, then I used the journal end of the marker to draw in the finishing touches after I had stamped the image onto Basic White Card.

Who else has done this technique before? I would love to know what stamps you have altered. Please leave a comment and also visit the challenge groups and see if there is a challenge you would like to do next week
https://just-add-ink.blogspot.com/
https://tgifchallenges.blogspot.com/

Memories and More

I have been making the most of my holidays to catch up on scrapbooking. Here are some pages that I have put together. It is super quick using our pocket albums from Stampin’ Up!

The card pack that I have used for fillers is called “What a year”. It comes with 3 sheets of stickers as well as the variety of cards that you can use for journaling, titles or just to add interest by filling in a pocket.

I love the “What a year” card pack because it comes with stickers that allow you to scrapbook a week a year.
What better way to start the new year?
Start scrapbooking your new year now. Include everyday things, like walking the dog, gardening, baking, going out for coffee etc. Use the weekly stickers to highlight each week. There are small arrow label for the odd weeks and larger circles for the even weeks. Stickers for all 52 weeks of the year!

Occasionally when there is not a card suitable to use include in a pocket, I will make my own, using stamps and dies.

Brighten someone’s day with a card

This is our class project this week. I am still trying to decide whether to use a Basic Black card base or Misty Moonlight. Leave a comment with which one you prefer.

I just love this stamp set, Hand-Penned Petals. It is so easy to colour the flowers in as it is a two step stampin set but not one that you have to line up perfectly. It is meant to give a watercolor look, with a swipe of colour on the flowers and leaves. Colours I used were Memento black, Granny Apple Green, Crushed Curry and Misty Moonlight. I used Pumpkin Pie and Poppy Parade markers to colour in the flower centres. The pretty paper is a hostess reward paper and is called Pattern Party.

The paper is embossed with a matching embossing folder which makes the flowers stand out even more. The embossing folder is called Pretty Flowers.

The greeting on this card is from the Dragonfly Garden stamp set. The embellishments are from the Expressions in ink ephemera pack and the twine is from the playful pets ribbon combo.

The inside of the card deliberately has no sentiment, so that you could use this card for a variety of purposes.

Pretty Flowers embossing folder

I had so much fun with my magnolia card that I decided to try it again with a different embossing folder. This time I used the Pretty Flowers embossing folder and coloured in the raised areas with ink and daubers. I used Flirty Flamingo, Granny Apple Green and Fresh Freesia.

The sentiment is from Friends are like seashells bundle and so is the leafy card that is tucked underneath. I included some folded ribbon for more texture and finished it off with a cute little bee embellishment.