Sharing my love of all things paper-craft: Card making, Scrapbooking, Gift Boxes, Invitations, Party Favours, Craft Supplies and more. (Formally Stampin'Fantastic)
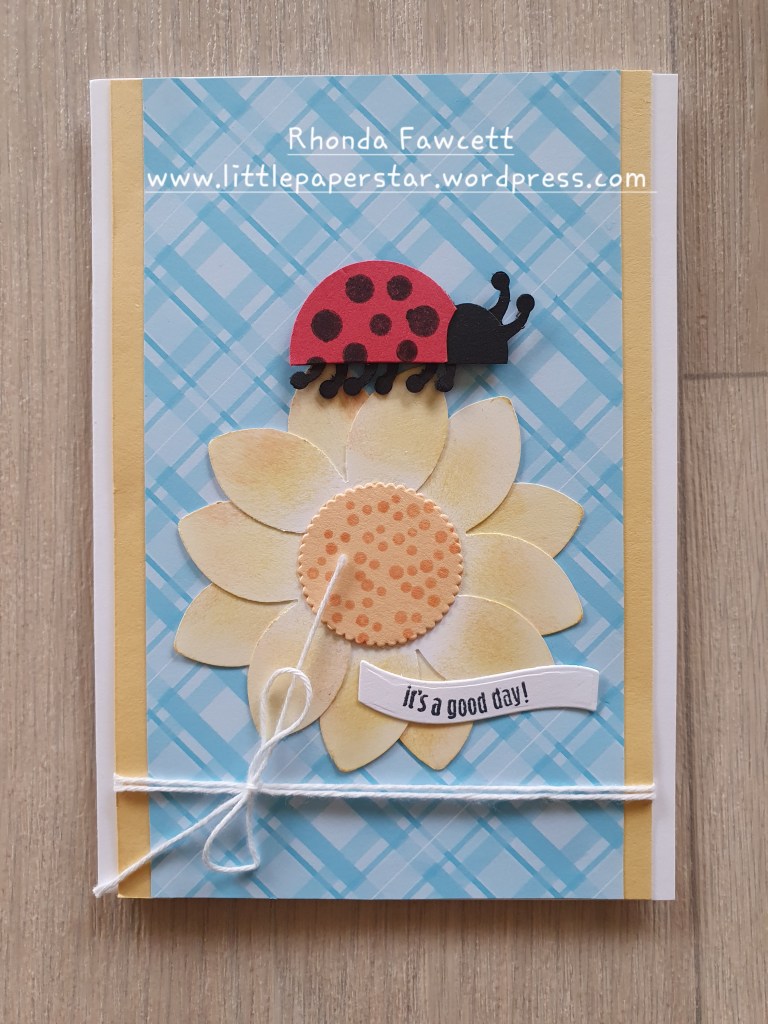
I woke up in the middle of the night thinking about the ladybug punch and wondering if I could create a punch art ladybug to match the one with the smiley face in the stamp set. I was excited to give it a go the next morning. And it worked! (Some of my night time ideas are not realistic!) 😬
I punched the ladybug body from black card and cut it in half. I punched a second body out of Sweet Sorbet card. I cut it in half also and cut off it’s head, I punched out more antenna to add a second one for the head and the rest to make feet.
The sunflower is made with the ladybug wings. Punch out six wings. Sponge with So Saffron ink. Make a square with four wings overlapping the edges. Cut the remaining two wings in half and adhere the single half wing in the centre of each double wing. Adhere a die cut scallop circle on top to finish.
The DSP is the new in colour Tahitian Tide. I love this shade of blue. I think it makes a nice happy card when it is matched with the So Saffron card. I hope you like it.
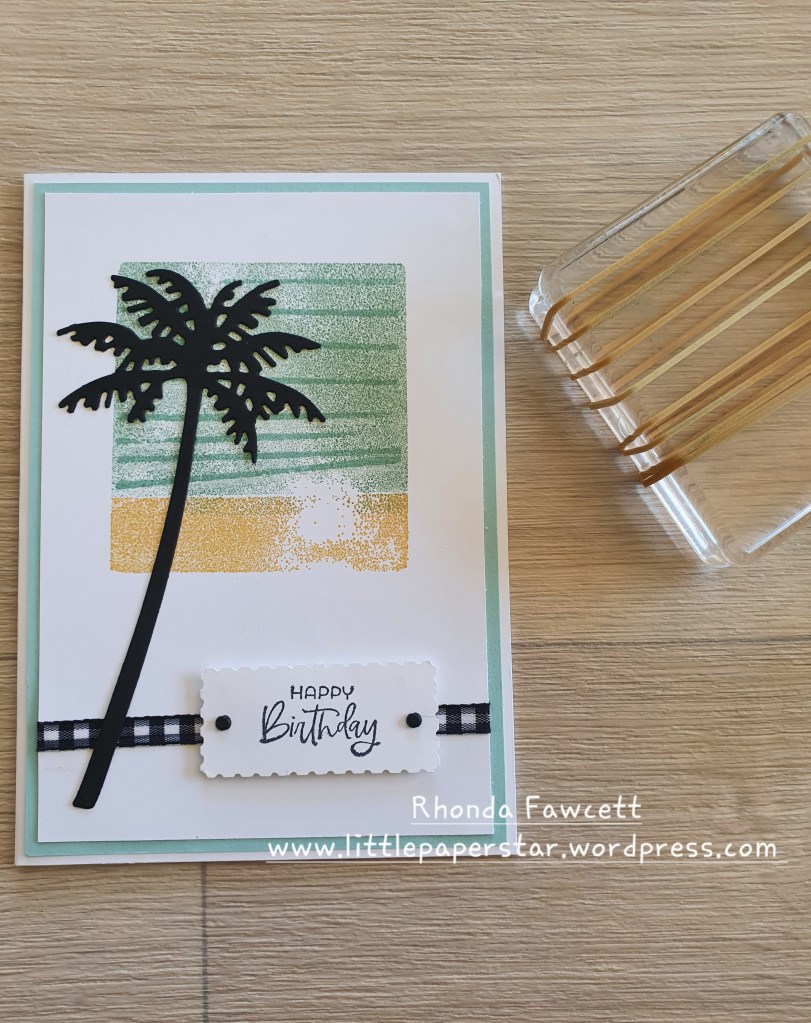
Here is an oldie but a goodie technique that I revisited this week. Stamping with clear blocks and rubber band stamping. By putting rubber bands on a clear block you can ink them up and stamp stripy lines onto your projects.
This first card, I inked up a D block with Mint Macaron and So Saffron inks and stamped the block directly onto my white card. Then I inked up my block with the rubber bands on using Pool Party ink and just stamped in the “blue” portion to create wave like lines.
I added a die cut tree from the Paradise Palms bundle.
Inside the card I used So Saffron to stamp the shore line and then I made a mask to cover it while I stamped over the image with an inked block (I size). I used Pool Party ink. Finally I stamped the trees.
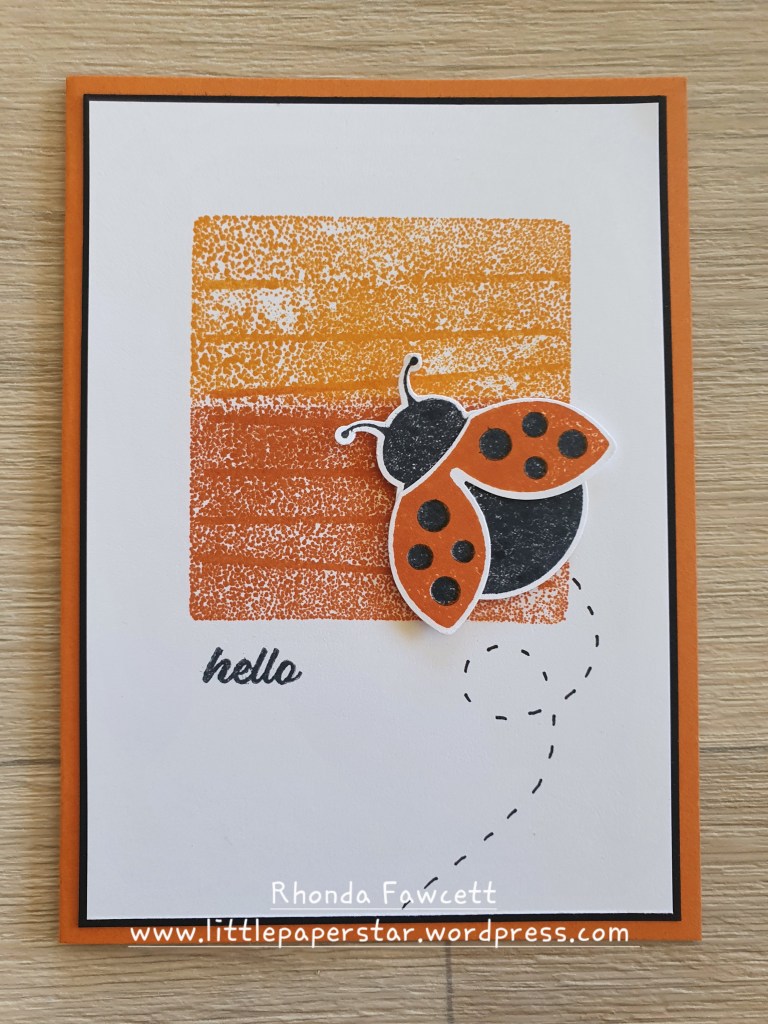
Here is another card I did with the same rubber band technique. Colours used are Pumpkin Pie and Cajun Craze
I was asked by someone the other day whether it was worth buying the Stampin’ Write markers. Yes I replied and this is why…
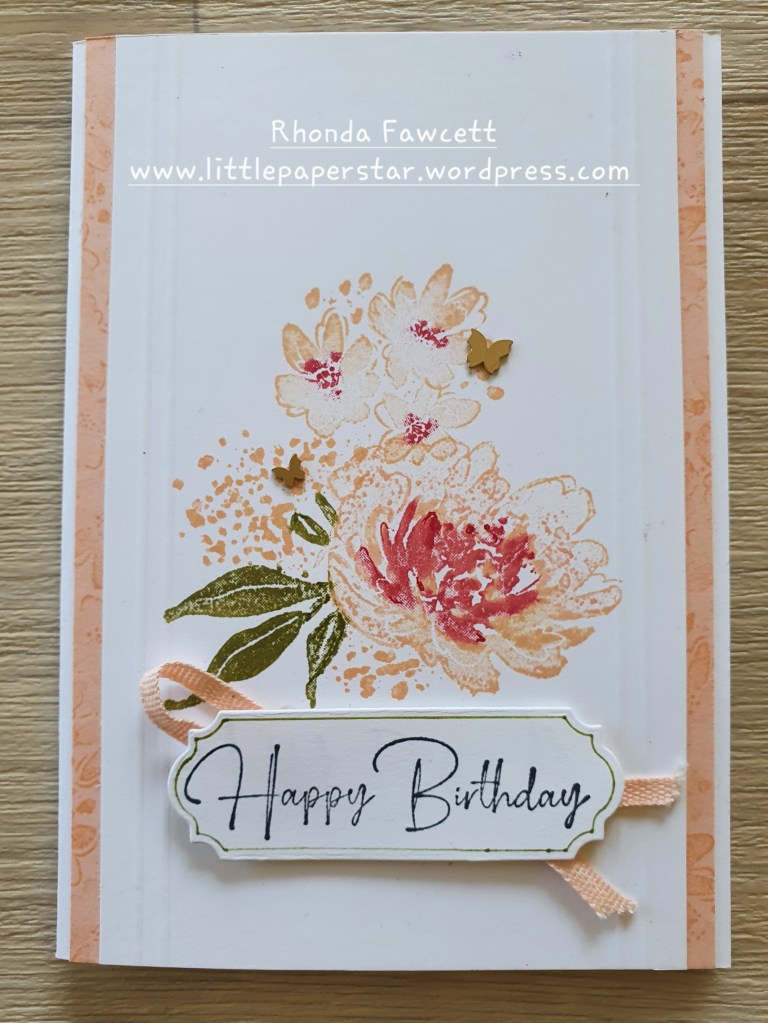
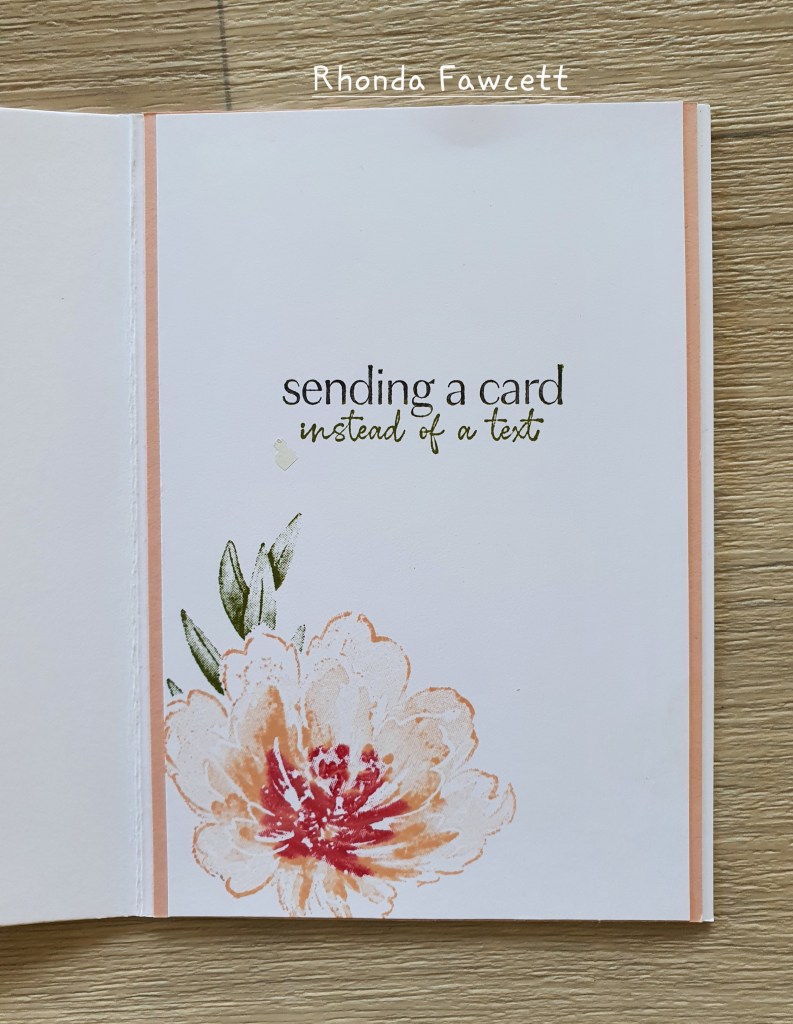
You can use them to create multi coloured images by colouring directly with your marker onto the rubber stamp like I did with this Flowing Flower card. I used Petal Pink, Real Red and Old Olive markers. I also used an Old Olive marker to trace around the inside of my die to give my diecut a thin border.
I used the same technique inside my card for the words, this time I used a black marker and Old Olive.
You can do this marker to stamp technique with the photopolmer stamps as well but the ink doesn’t always come out evenly using photopolmer. If you use a stamparatus you will be able to have more than one go to build up a depth of colour. Remember to huff on your stamp before pressing onto the card as the moisture from your breath will be enough to reactivate the ink if it has dried on the stamp.
I used Hello Ladybug bundle to create this fun card. The DSP on the front is from the Pattern Party hostess set and it is sponged with Granny Apple Green ink to make a softer background. The black and white was just too stark. The small curvy label from the Ornate Frames dies was perfect for the “It’s a good day” greeting.
Inside the card is a fun fold called a tunnel fold. It is really easy to do. I stamped in the centre of my A5 size card first, then scored and folded it. My DSP measured 14.9 x 10 cm. I scored in half at 5 cm and then again 1 cm in from each edge. I used a circle die to cut a circle from the centre of the DSP and folded it along the score lines. The centre line is a mountain fold the two outside 1 cm score lines are valley folds.
To attach, add adhesive to the outside 1 cm folded tabs only and adhere flat to inside of card, making sure that the centre fold of base card and centre fold of DSP line up perfectly.
I then added a strip of 14.9 x 6.5 cm piece of white card either side of DSP to secure the attached edges and make it look neater.
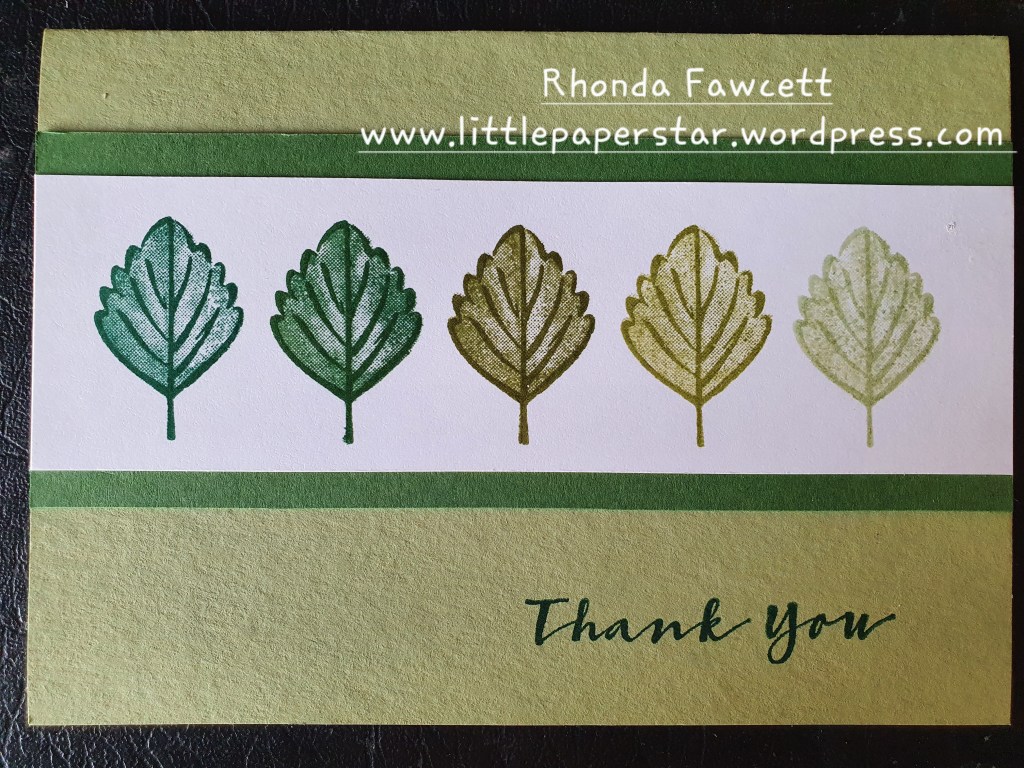
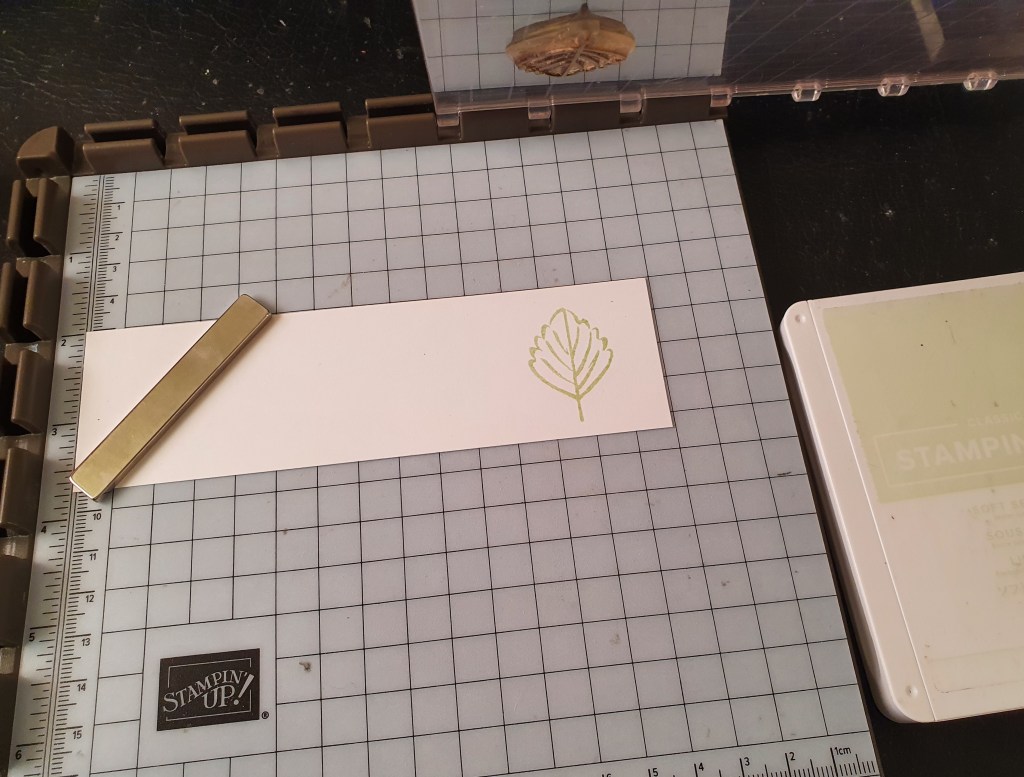
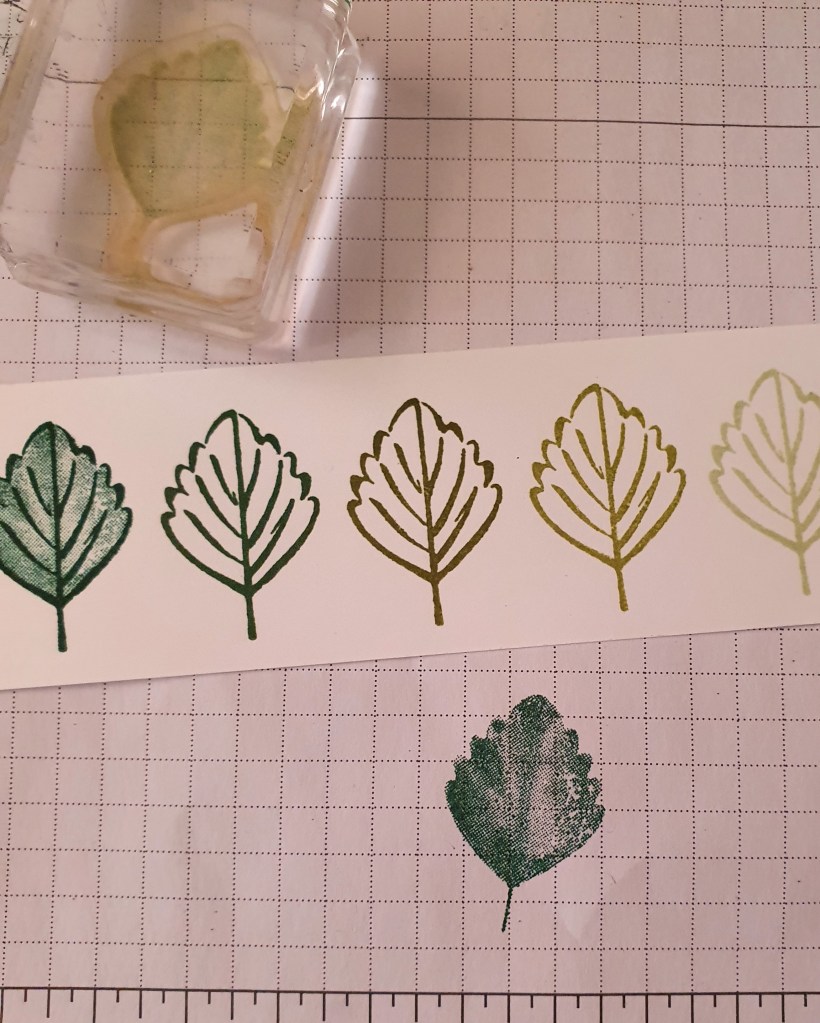
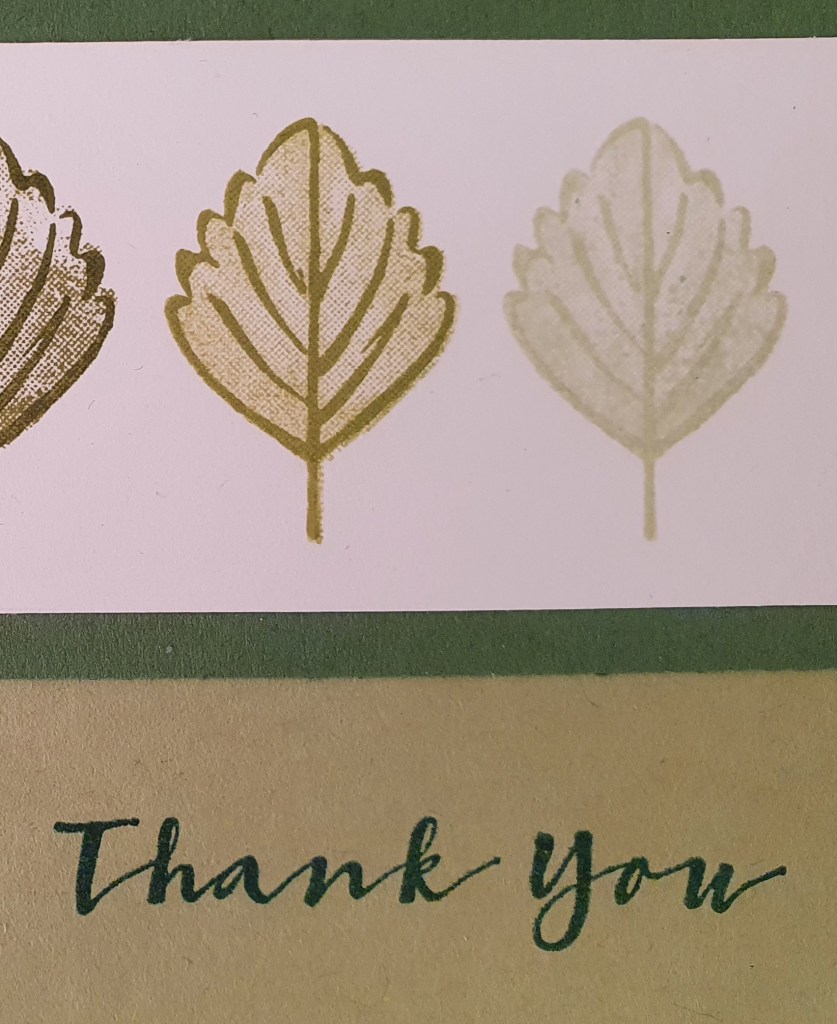
This card was made using a leaf stamp from the Sweet Strawberry stamp set and a Stamparatus.
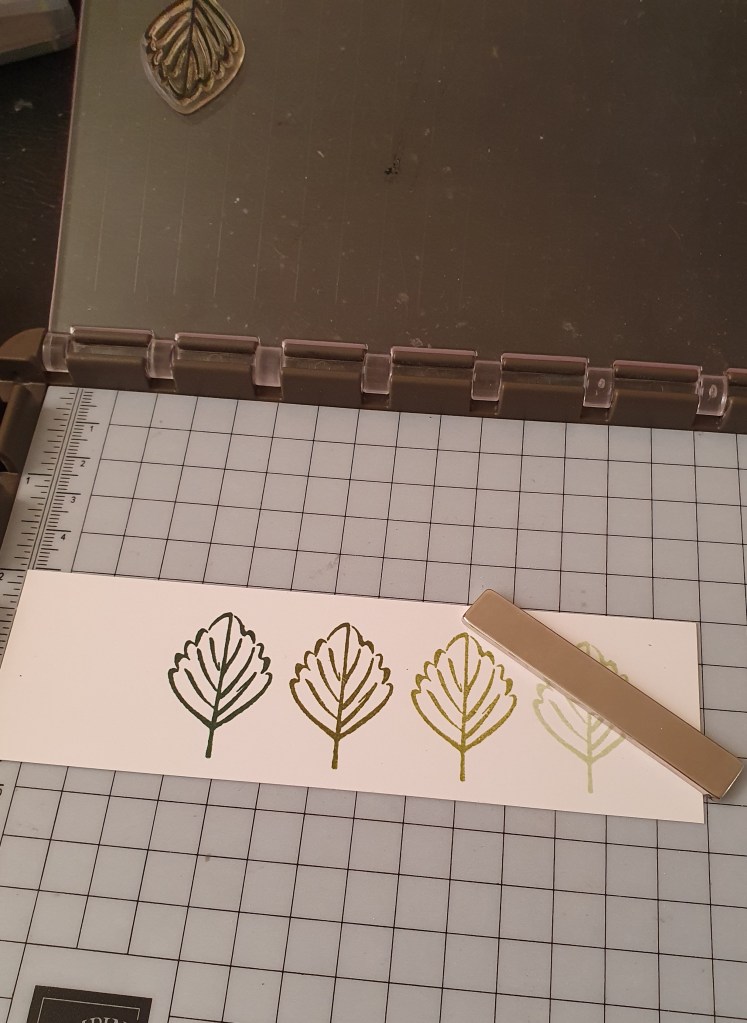
I started with a strip of white card, 14.9 x 4.5 cm. I put this in the Stamparatus and started stamping with the plate on the 5th position along from the corner. I did it this way and worked my way inwards as I wanted to start with the lightest green ink first and go darker with edge image I stamped.
My first colour was Soft Seafoam. Then I moved the plate one hinge closer to the corner and stamped again with Pear Pizzazz. I didn’t need to clean the stamp in between inking as I was going from a lighter colour to a darker colour each time. The next colours were Old Olive, followed by Garden Green and finally Shaded Spruce.
When I finished the row of leaves, I filled them in with another stamp from the same set. I used the corresponding ink colours to fill in each leaf with second generation stamping. (This is by stamping first on your scrap paper and second on the image). It gives a lighter shade by doing it this way and allows the veins of the leaves to still show clearly. I didn’t use the stamparatus for this as it is easy to line up with the photopolmer stamp.
I mounted the strip of white card onto a 6 cm wide strip of Garden Green. Then I adhered that to a folded A5 Pear Pizzazz card. I stamped Thank you in Shaded Spruce ink.
I made this fun card for my daughter in law, Holly. Her and I love doing the daily New York times wordle. We, along with a few others, have a group chat about our results each day. It is a bit of fun and so I thought this card would be perfect for her.
The colours I used were Garden Green, Basic Gray and Bumblebee. The letters are from Stampin’ Up!’s playful alphabet dies, which are now retiring and are available while stocks last. Contact me to place an order. (NZ only). The boxes aren’t quite square. I made them to fit our NZ card size of an A5 folded in half. They measure 2.5 x 2.8 cm.
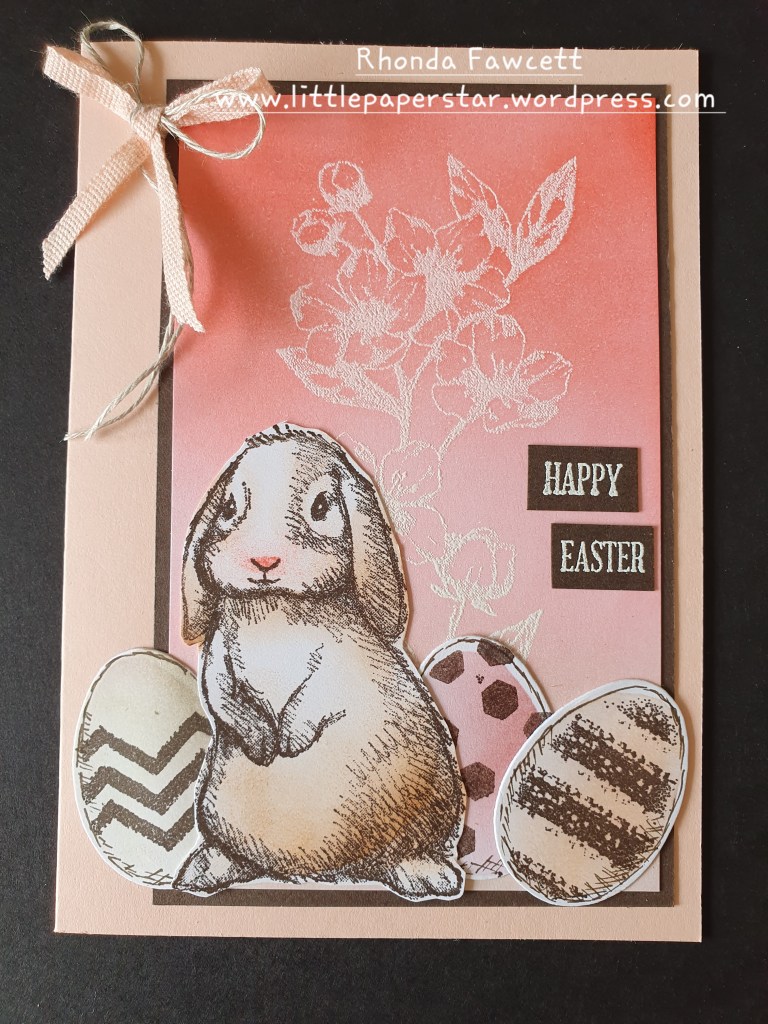
I made this Easter card using the gorgeous Easter Friends stamp set. It has three very cute animals. This bunny, a duckling and a wee chick.
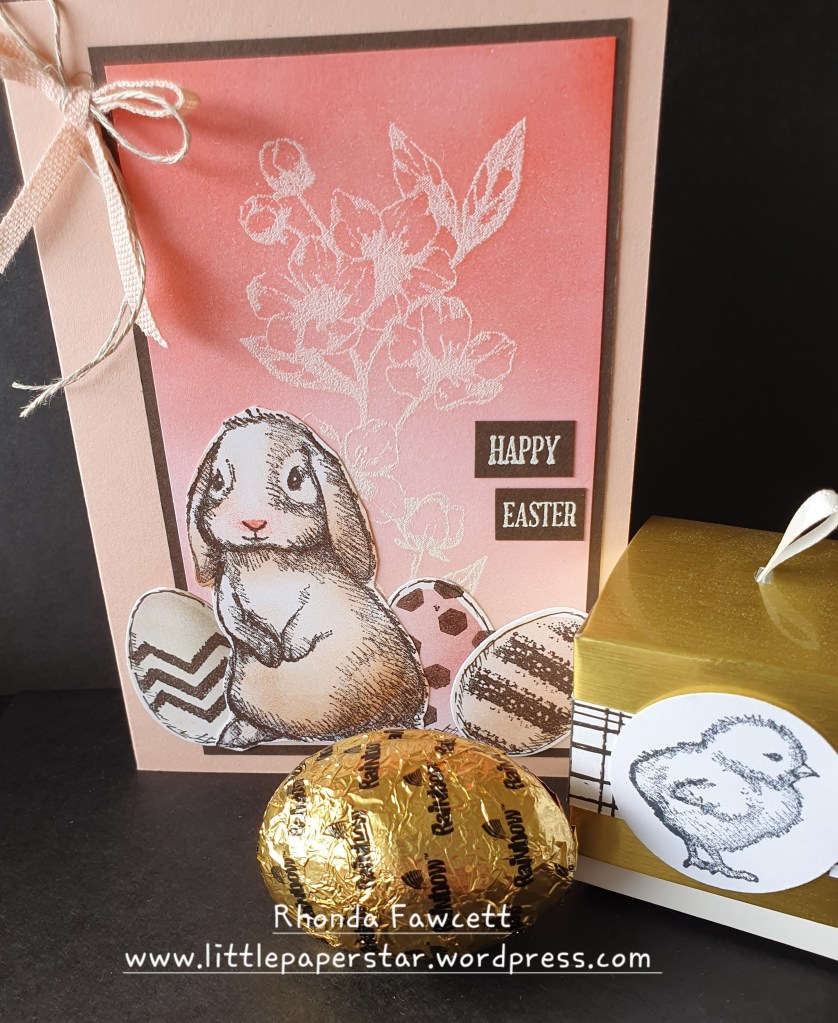
For this Happy Easter card, I used the flower image from Forever Blossoms and heat embossed with white embossing powder, then sponged over it with Poppy Parade, Flirty Flamingo and Crumb Cake inks. I stamped the bunny image in Early Espresso ink and sponged it lightly with a dauber using Cinnamon Cider ink and Flirty Flamingo for the nose and cheeks. The eggs are made with a retired die from the Backyard Basics dies. I stamped them with images from the retired Work of Art stamp set. The little hexagon egg is stamped using a mini dimensional. I adhered the dimensional onto the end of a marker pen and pressed it in to my ink pad and stamped.
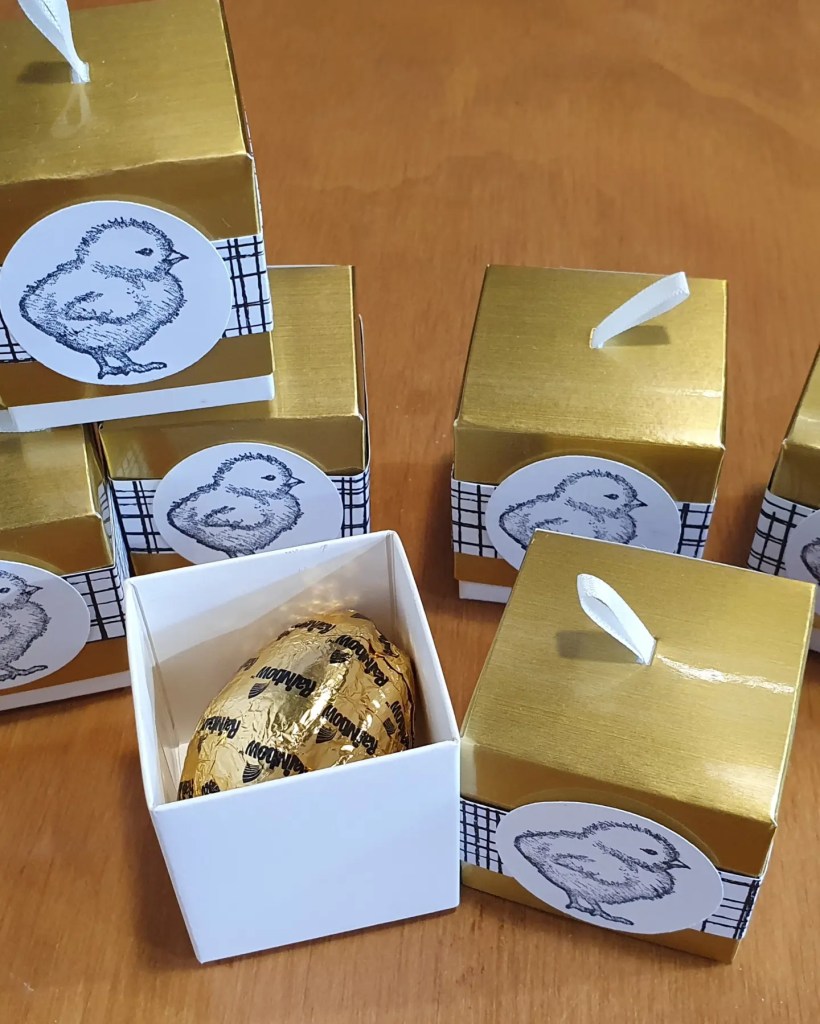
I also made some very quick Easter gift boxes using the Stampin’ Up! Gold foil mini treat boxes and strip of DSP and a punched circle with the chick stamped on it.
These were gifts at a recent Craft group that I taught at.
These little treat boxes are just the right size for my favourite marshmallow eggs. They have a hanging loop so if you had a little Easter tree, you could also hang them.
Any of the items you see listed here can be purchased through me. (New Zealand customers only). Check out my online shop here… http://www.rhondafawcett.stampinup.net
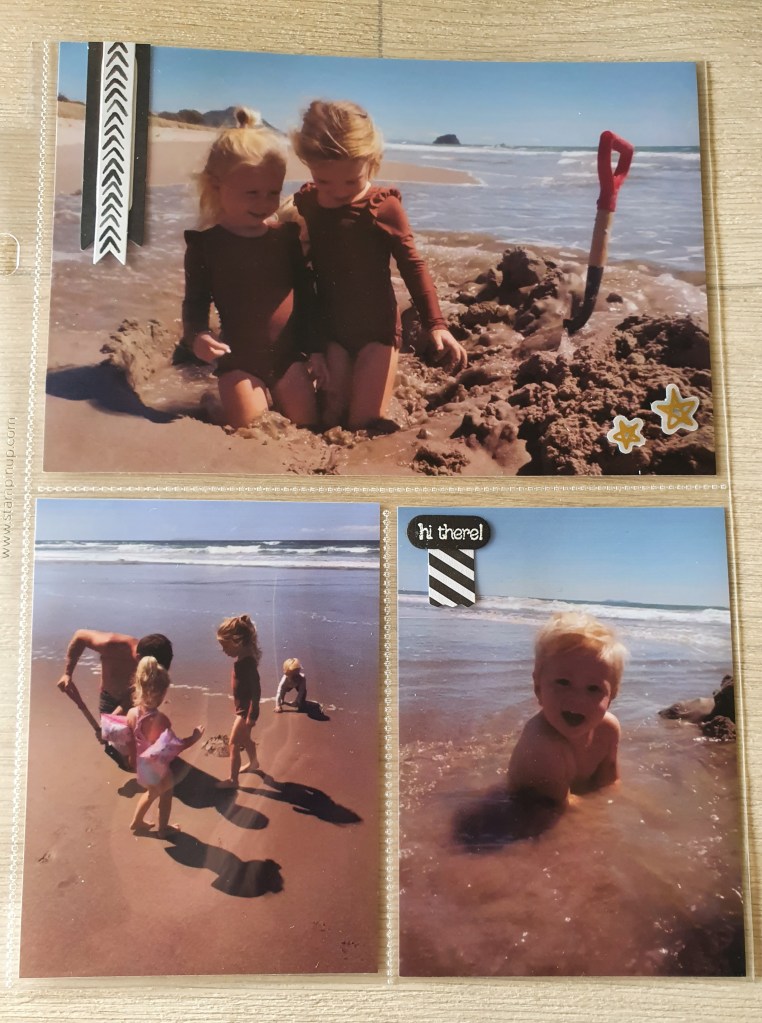
I have been doing some more simple scrapbooking by putting my recent holiday pics in an album. I am loving using the Stampin’ Up! mini 6 x 8 album with the pocket pages as it is super quick to get photos in.
I used the Many Messages bundle to add some wording and new Abstract Beauty Ephemera Pack to add some embellishment.
People have asked me how do I scrapbook the large portrait photos when our 6 x 8 albums don’t have pockets for them.
Well, I used to try and cut them down to fit into a small pocket or just put them in the large pocket sideways but neither of those options were ideal. But good news is that I have found a way to print two portrait size photos together on to one landscape 6 x 4 photo.
Here’s how: I use two apps on my Samsung phone. One is printicular which sends my photos straight to my nearest Warehouse Stationery to get printed. The kind staff at Warehouse Stationery loaded the app on my phone for me. The other app is Canva and this is where I edit my photos.
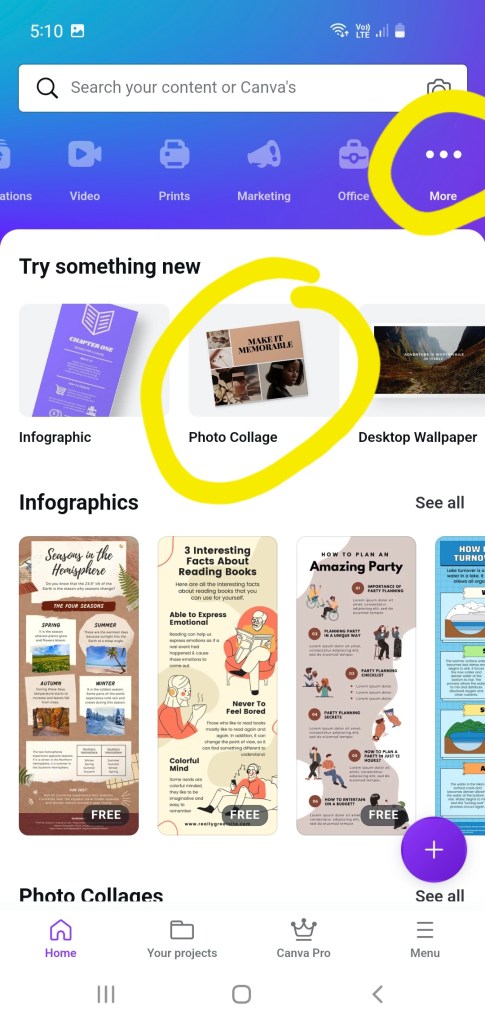
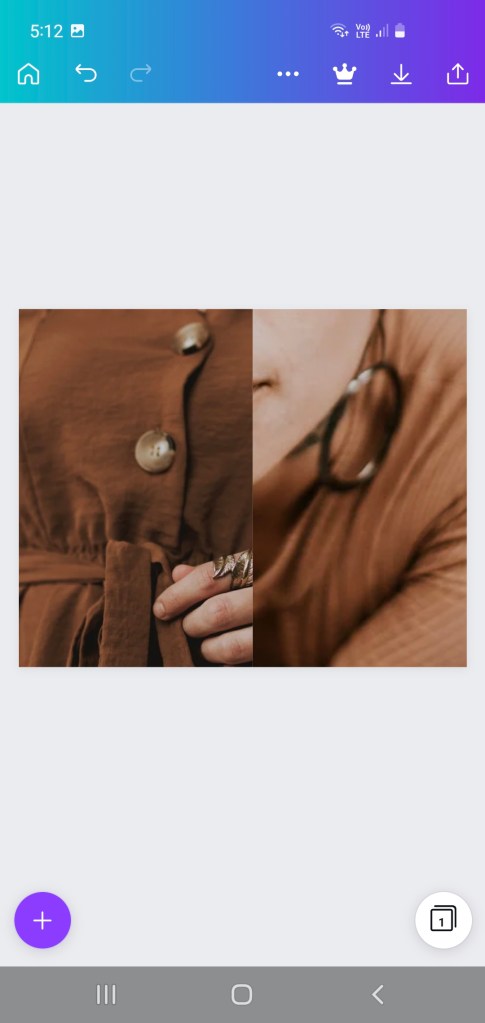
I open canva app. At the top blue banner, I go along until I find the … more button, then select photo collage.
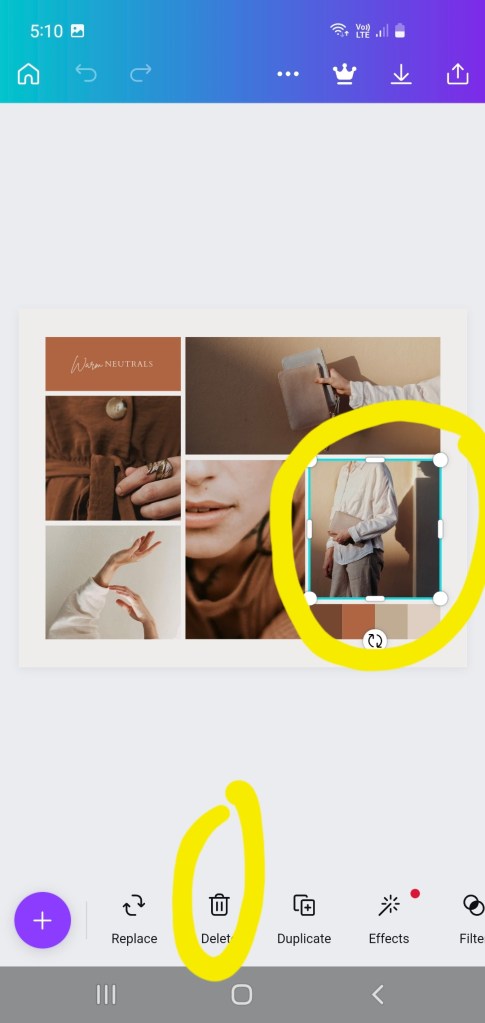
Select a free template that doesn’t have too many elements in it. Click on the photos and words and start deleting them, until you have only two photos left.
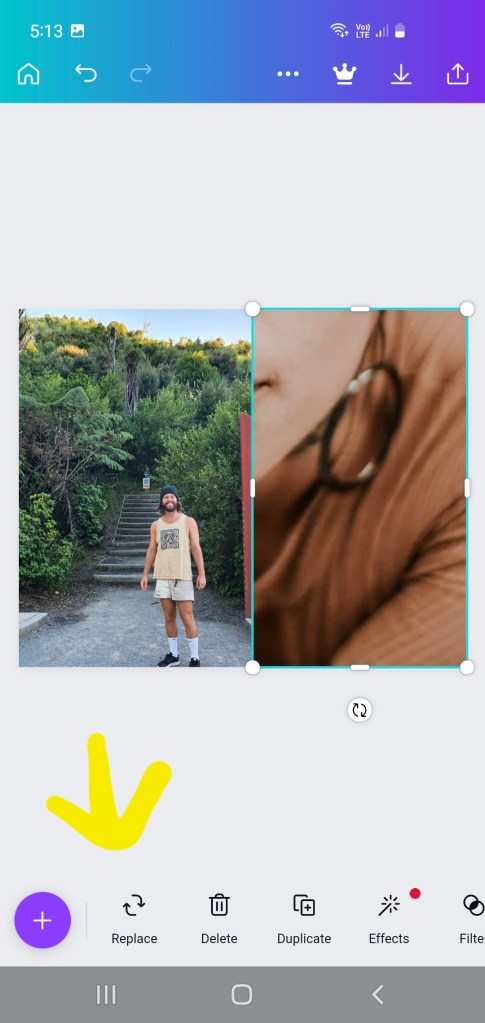
Click on the photos, one photo at a time and use the side bars and corners to move and enlarge both photos until they take up half the template each.
Then click replace, it should bring up photos from your phone’s photo gallery with which you can replace the photos, (one at a time).
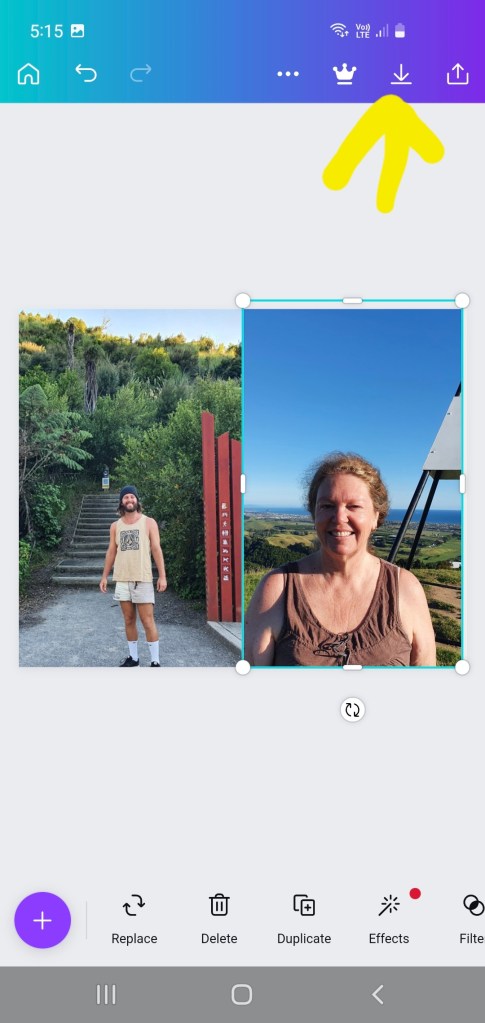
Then click download and save (see photo above).
It will say, preparing your design. Then it will say “saved to gallery”.
You will find it in your photo gallery app under canva category. You can then open your printicular app and select photos to print.
I selected the photo below and once it is printed, I get an email from Warehouse Stationery to go and collect it. I cut it in half to fit in my album pockets and save money as I get two photos for price of one! 😄
Once you have made up this and saved it in Canva, you can next time go directly to your projects and swap out the two photos for two new ones. You won’t need to go through the whole process again.
I made this card recently for a team challenge where we had to have a go at making a pop up flower box card. I was pretty happy with how it turned out.
The card folds flat for posting.
Here is a close up of the Hydrangea on the card front. I love the matching dies which add so much detail and allow the petals to lift up for a 3 D effect. I added a drop of shimmery crystal effects in each flower centre.
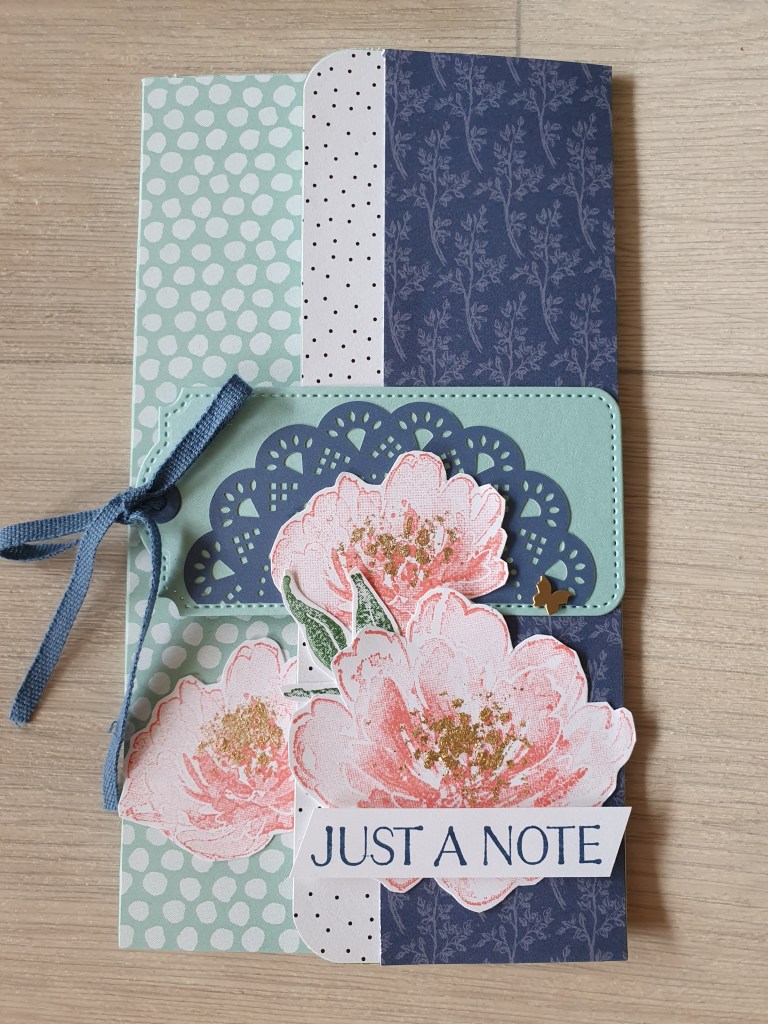
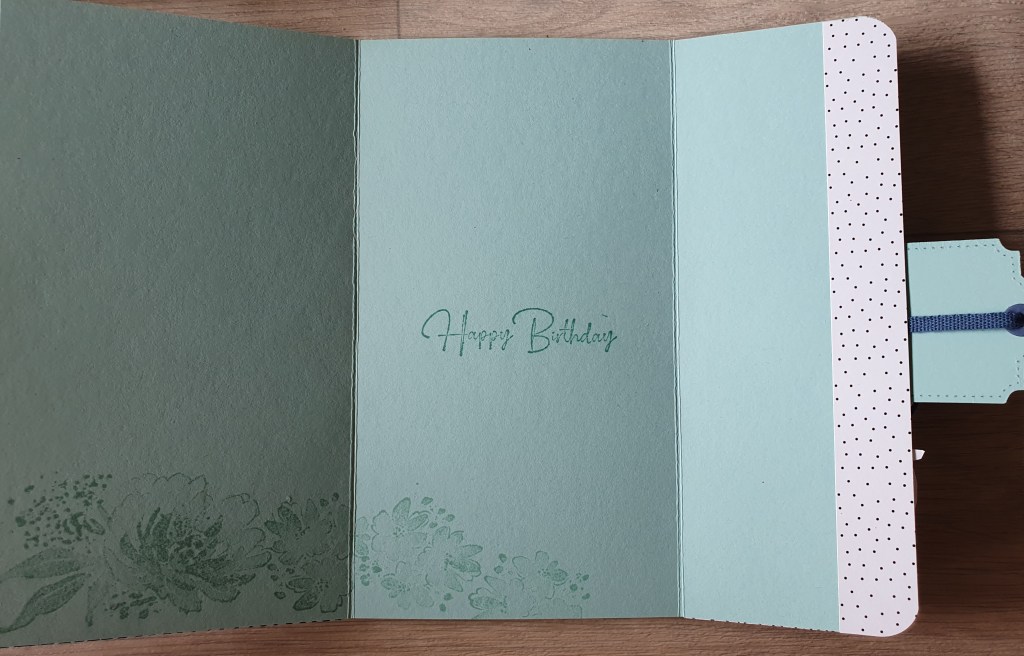
Here is a different type of fold that I taught at a recent event. I first saw this fold in a card Jacque Williams had made and I have used it a few times now. This one features the Flowing Flowers stamp set which is in the new mini catalogue.
I have also used cotton ribbon, a brushed brass butterfly embellishment and a doily all from the new mini catalogue as well.
The papers are called Pattern Party and they are a hostess reward paper pack from the Annual catalogue.
Inside card
One technique we used was to apply gold foil leafing which really added a touch of elegance to these pretty flowers.