Sharing my love of all things paper-craft: Card making, Scrapbooking, Gift Boxes, Invitations, Party Favours, Craft Supplies and more. (Formally Stampin'Fantastic)
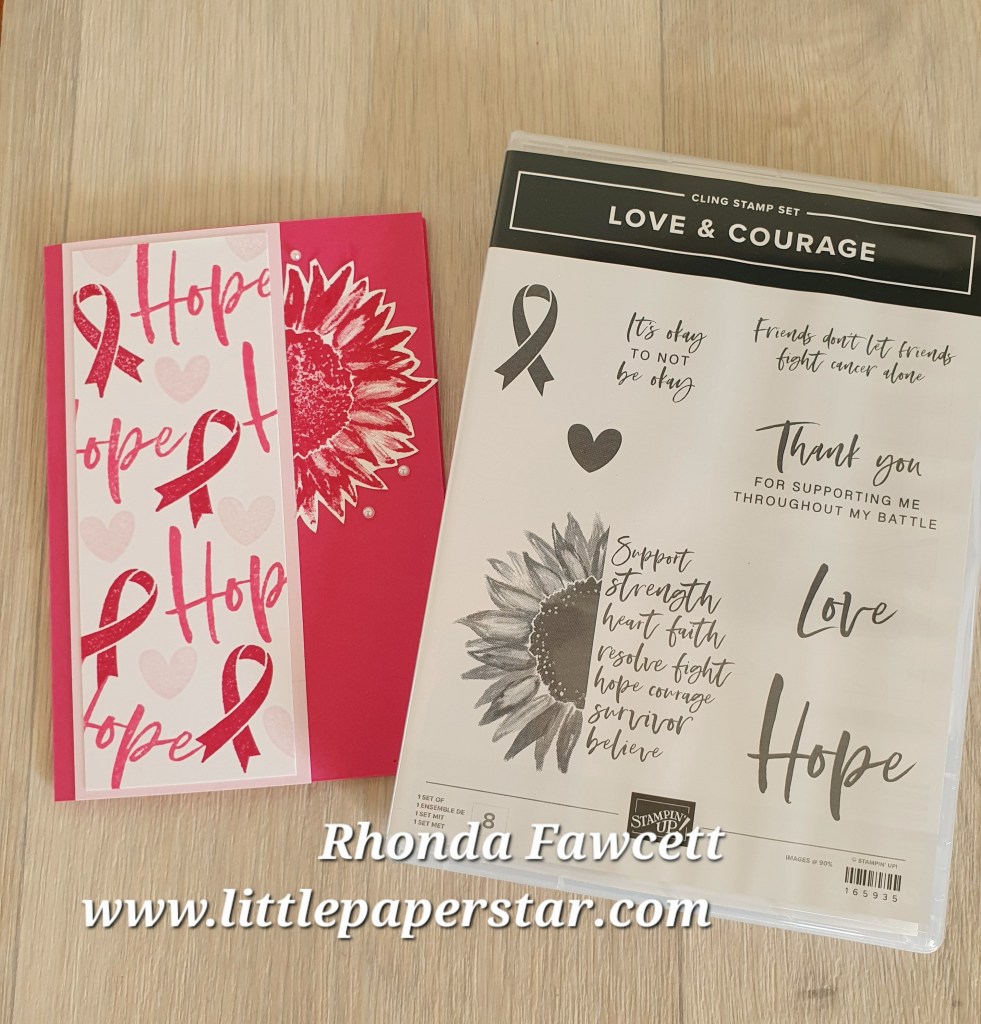
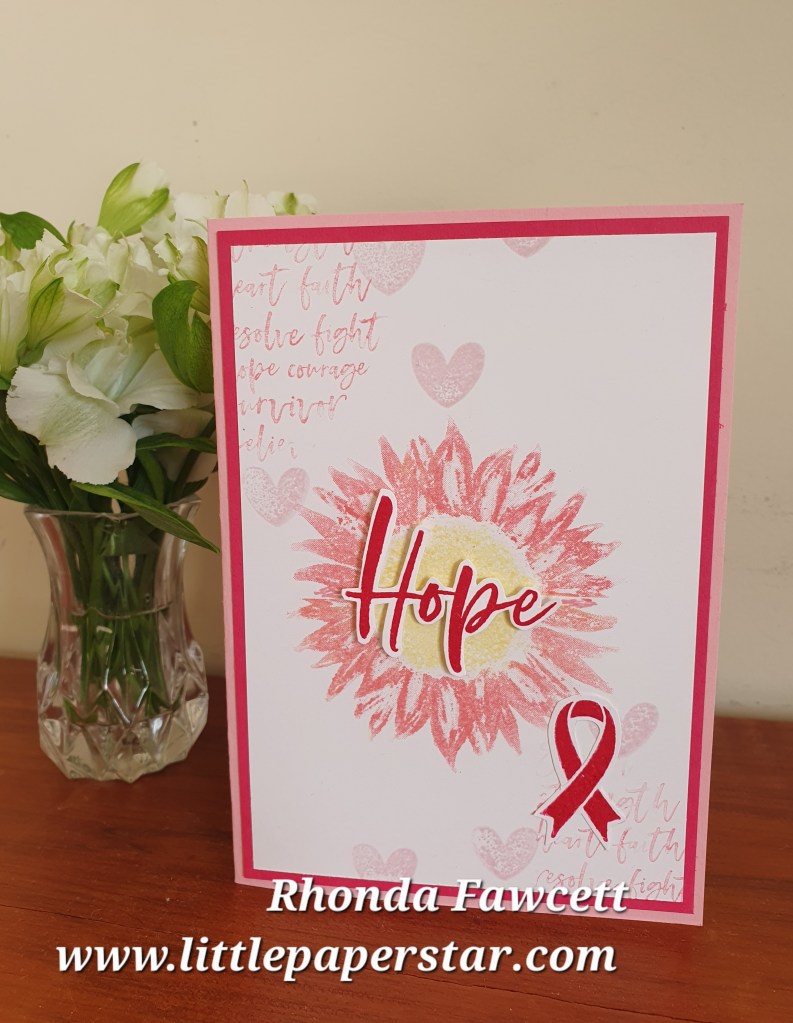
I have been busy lately with fundraising for Breast Cancer support. Some of my team and I have run a very successful fundraising night where we made cards using the Stampin Up kits. We also promoted the Love and Courage stamp set.
This stamp set is special because it is Pink Ribbon Month this month and Stampin Up are donating $4.25 from every one of these stamp sets sold to support the fight against breast cancer.
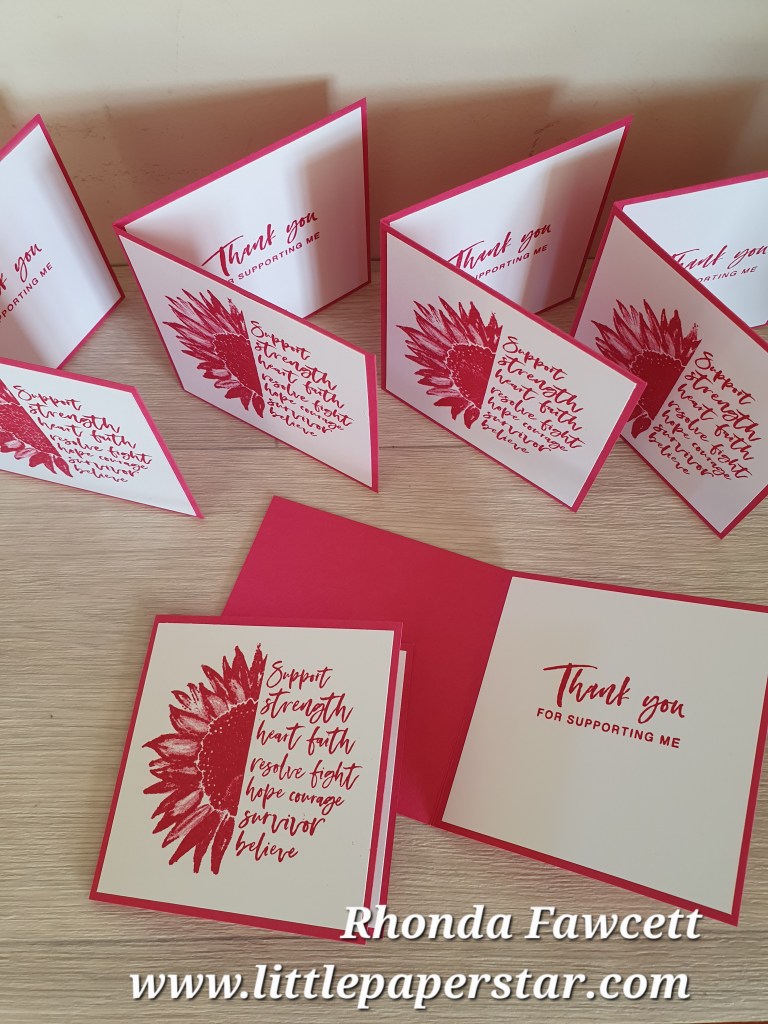
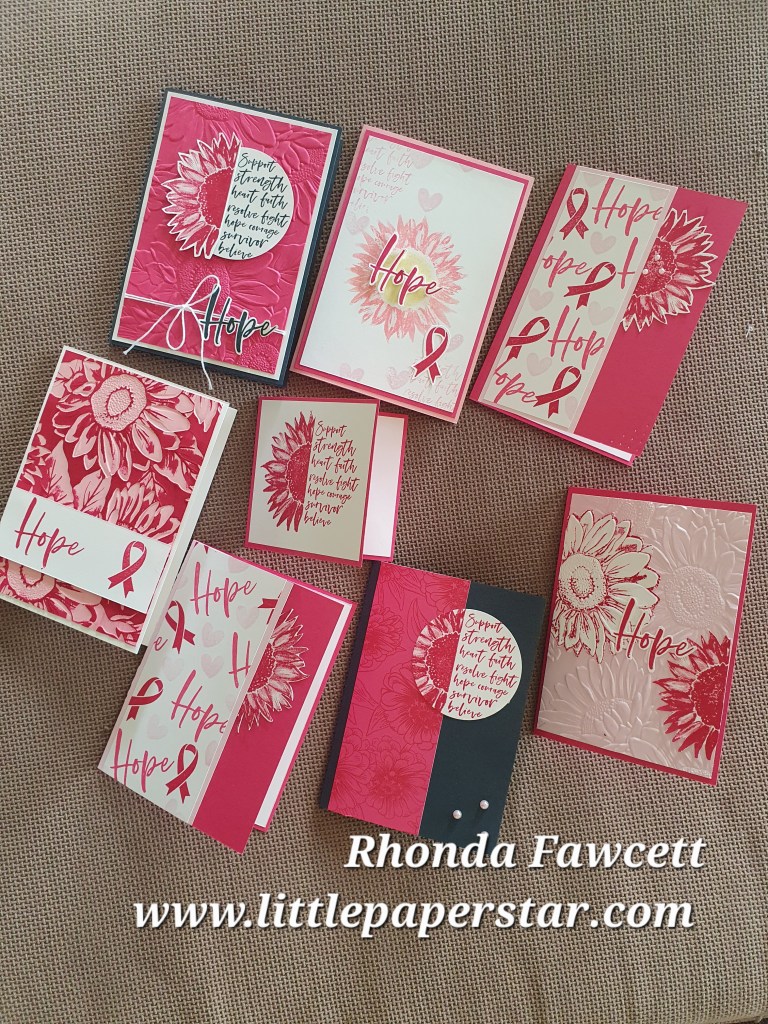
We made several cards to give away and a ton of thank you cards for the businesses who supported our event.
This is a beautiful stamp set,worth having in your stash as so many people today are affected by cancer either directly or indirectly and giving a card of support, hope and encouragement is a great way to show that you care.
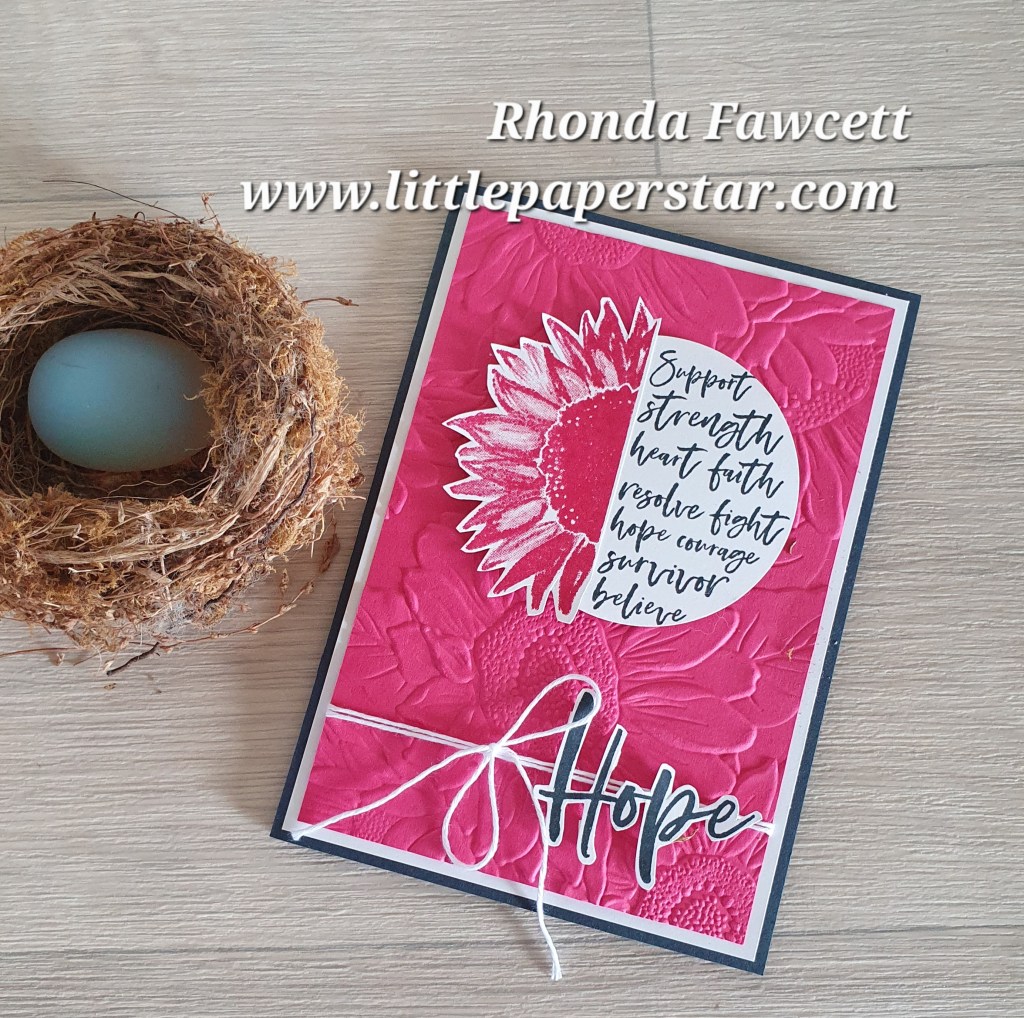
This was an easy card to make. We put white card through the Sunflower embossing folder, then swiped our Early Espresso ink pad over the debossed side. It filled in all the raised areas with brown ink and left the debossed flowers white.
We then coloured in the flowers using a mix of Blends and daubers.
The sentiment is from the Notes and Totes stamp set.
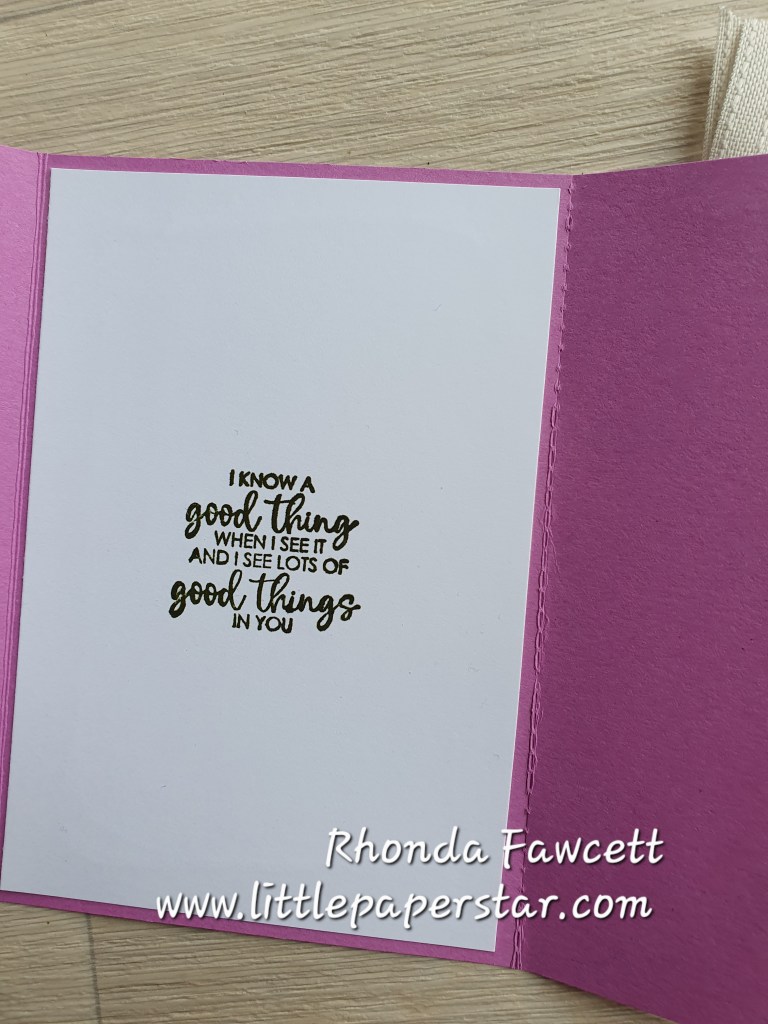
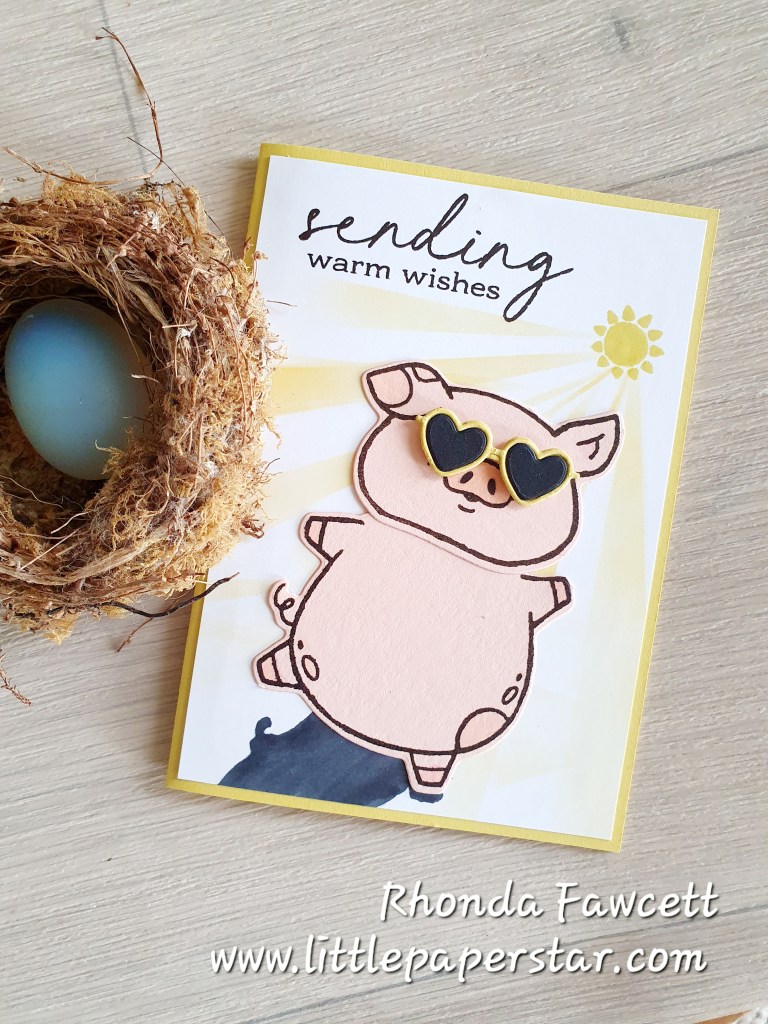
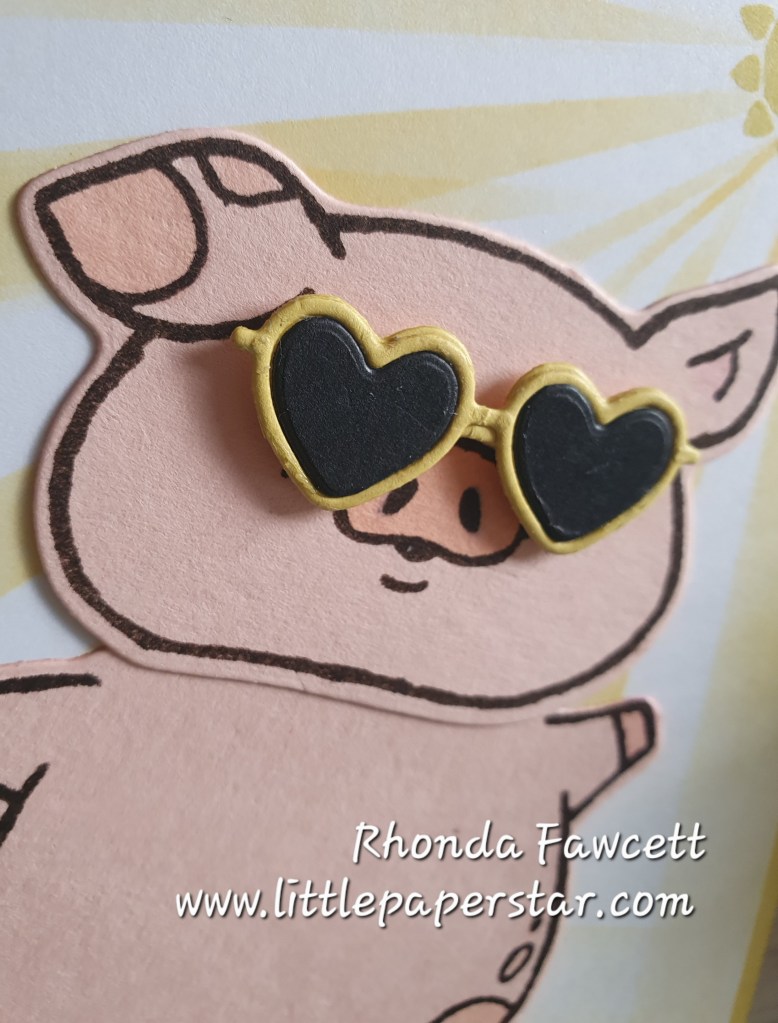
I’m in love with the Party Piggy stamp set. This happy smiley, pig makes me smile too!
For this card, I sponged on some sun rays, hand drew a shadow then I glued on the pig. I paired the Party Piggy bundle with the Notes and Totes bundle and was excited to find the Notes and Totes sunglasses fit the pig perfectly. I popped the glasses on dimensionals.
The sun stamp, the sentiment and the inside words (relax and enjoy) are also from the Notes and Totes bundle.
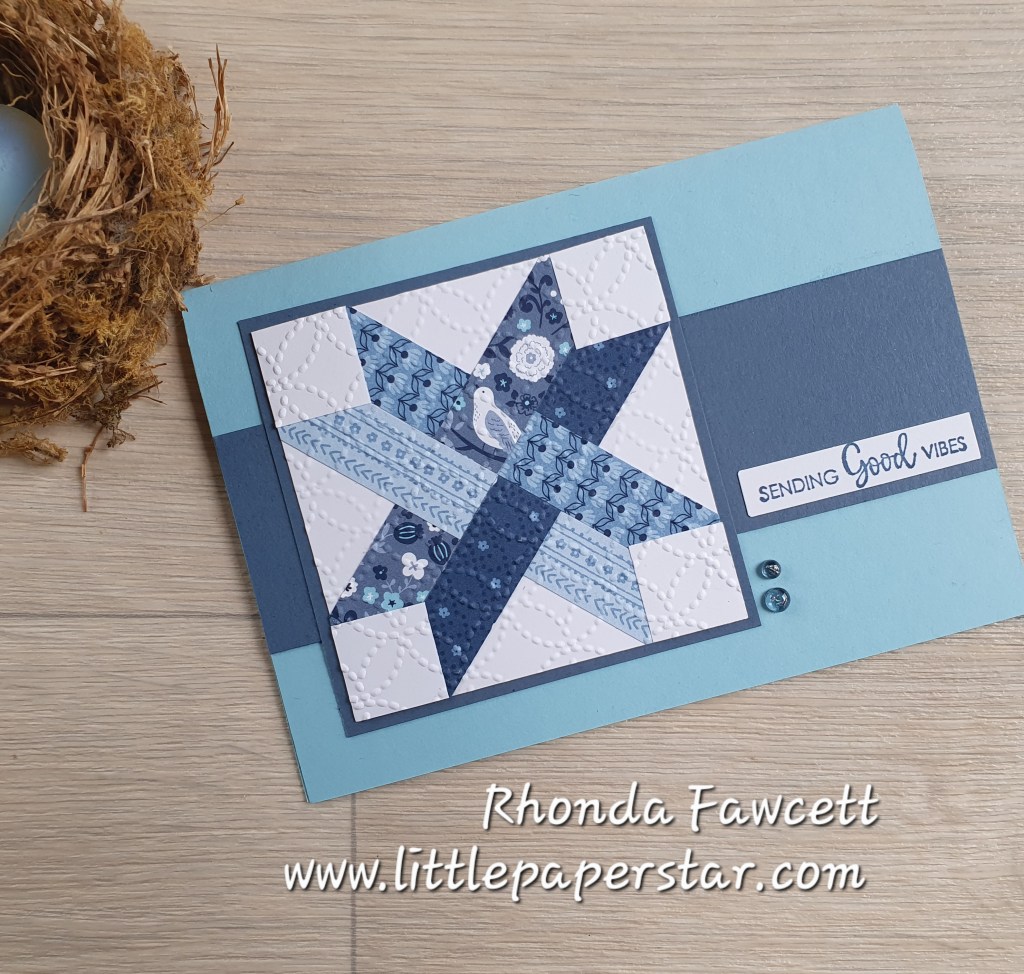
I used the recently retired Countyside Inn papers to make these two quilt look cards. Any patterned paper with a small design print would work well for cards like these.
The first card uses a Balmy Blue base with A Misty Moonlight panel in the centre. Once the strips were glued down on the white square, I put it all through an embossing folder to further enhance the quilting look. The sentiment used on both cards are from The Right Words stamp set.
The second card with the bird on is a book fold card. It is made using small squares and triangles. Colours used are Misty Moonlight and Night of Navy. Again, once the pieces are glued down onto the white card, it is then embossed using the eyelet embossing folder. Both these cards are easy to make and you will find instructions by doing a Google search for Stampin Up Faux Quilt Cards.
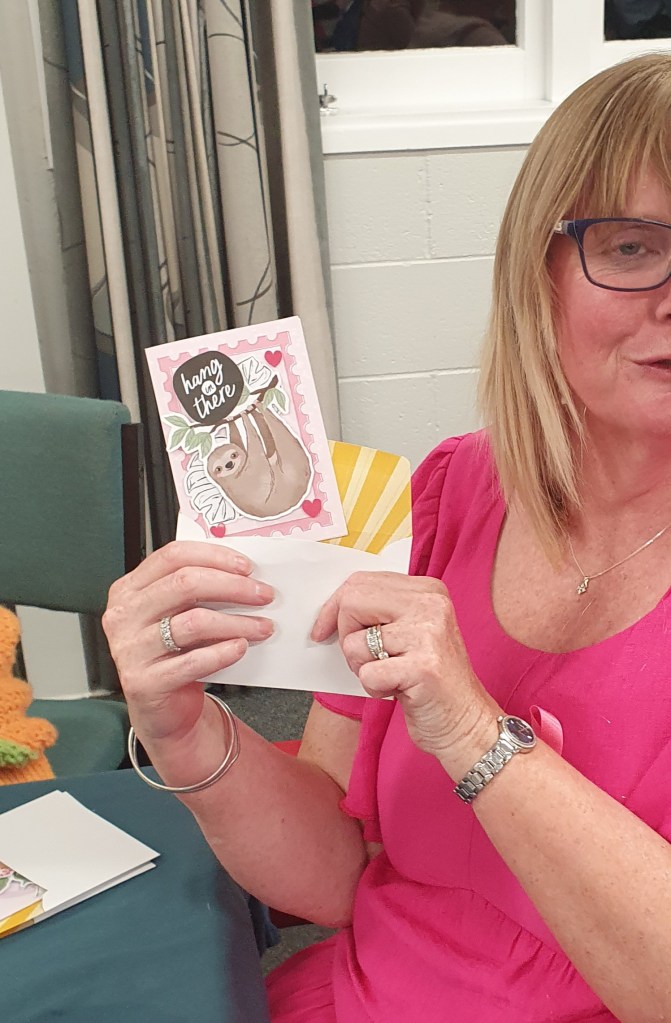
Here’s a recent card that I taught in my classes which is taken from a sketch challenge.
The challenge is to take an idea or sample from the Stampin’ Up! catalogue and use it as inspiration for your card. Here is the idea…
If you visit CASE-ing Tuesday Sketches you will be able to see more and take part in the current challenges.
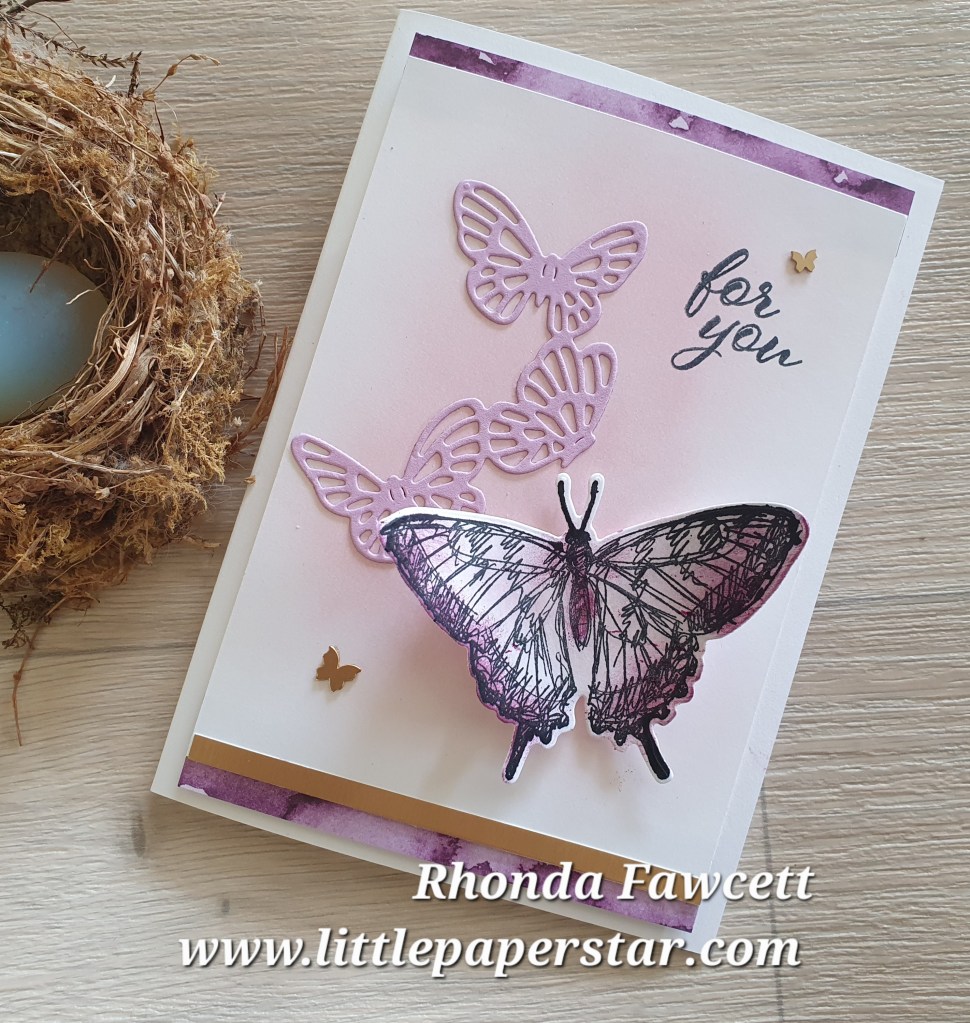
My finished card was inspired from one made by Jolanda Johnstone. If you visit the CASE-ing Tuesday Sketches you will see her card and find that I have changed mine up quite a bit from her original design. I kept the sponging elements, on the background and butterflies as I thought the casual colouring of the sponging worked well with the sketched look of these stamps. I wouldn’t want to colour these butterflies too precisely and lose that casual sketched look.
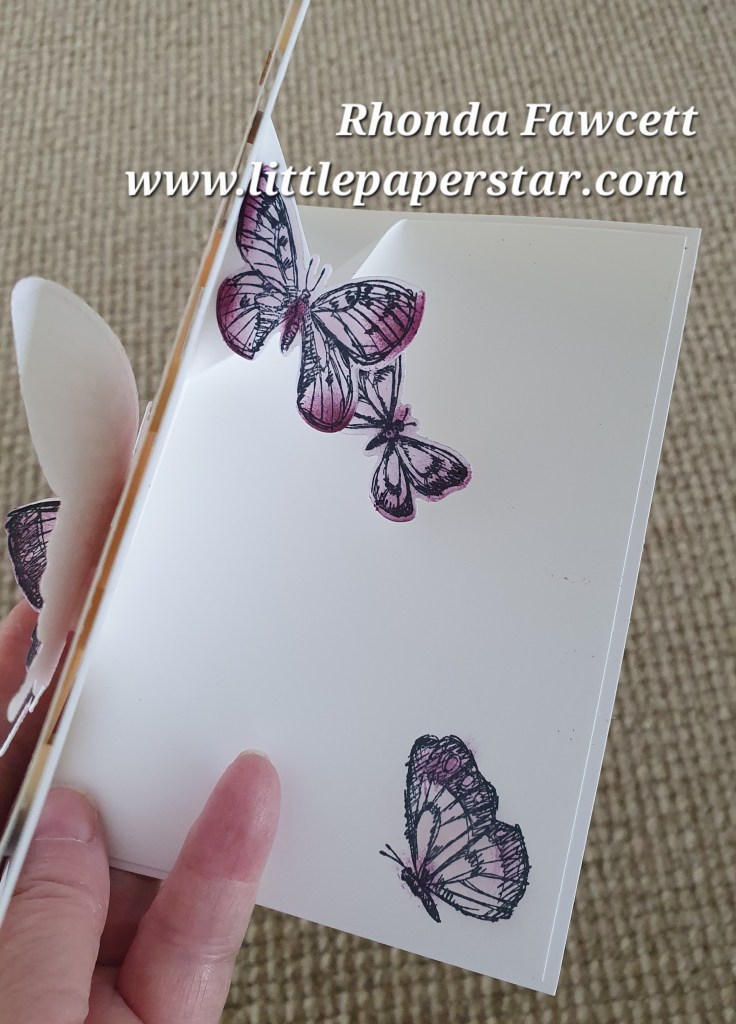
I decided to do something different for the inside of my card and I made a simple pop up card.
This is done on a insert card which is slightly smaller than the base card. I folded my insert card in half and made a pencil mark 4 cm mark on either side of the fold line at the top and another 4.5 cm down on the fold line. Then I scored down both sides to make the angled pop out piece. I added some butterflies to the left hand side. When the card is open the butterflies pop up but they fold back down when the card is closed.
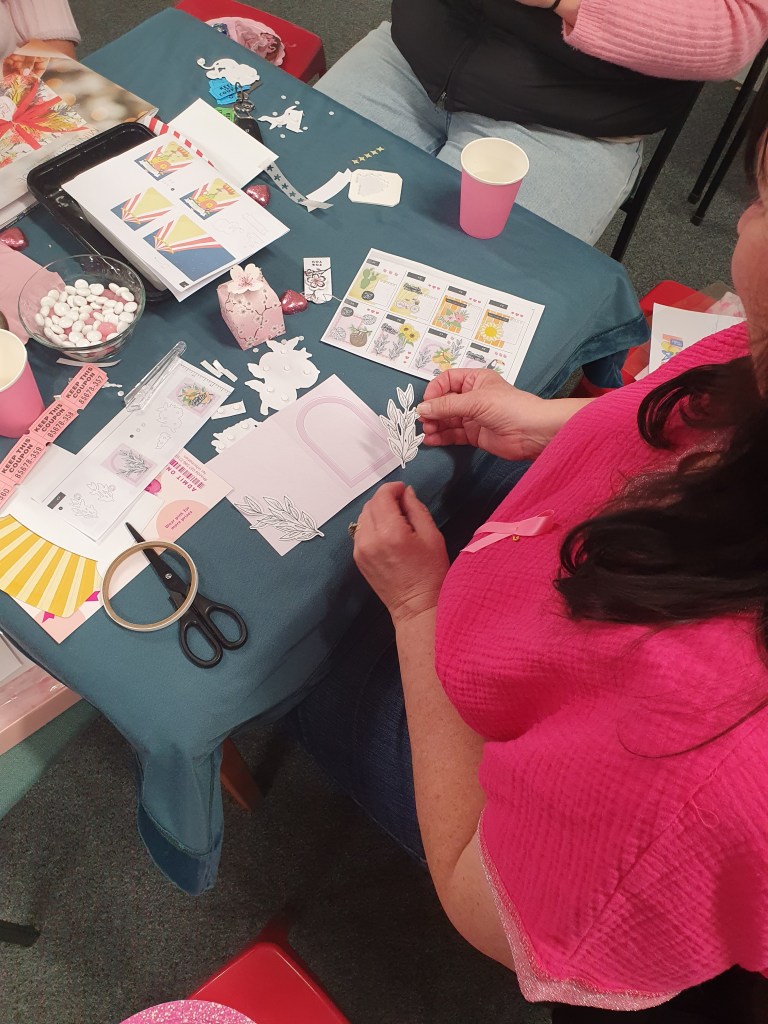
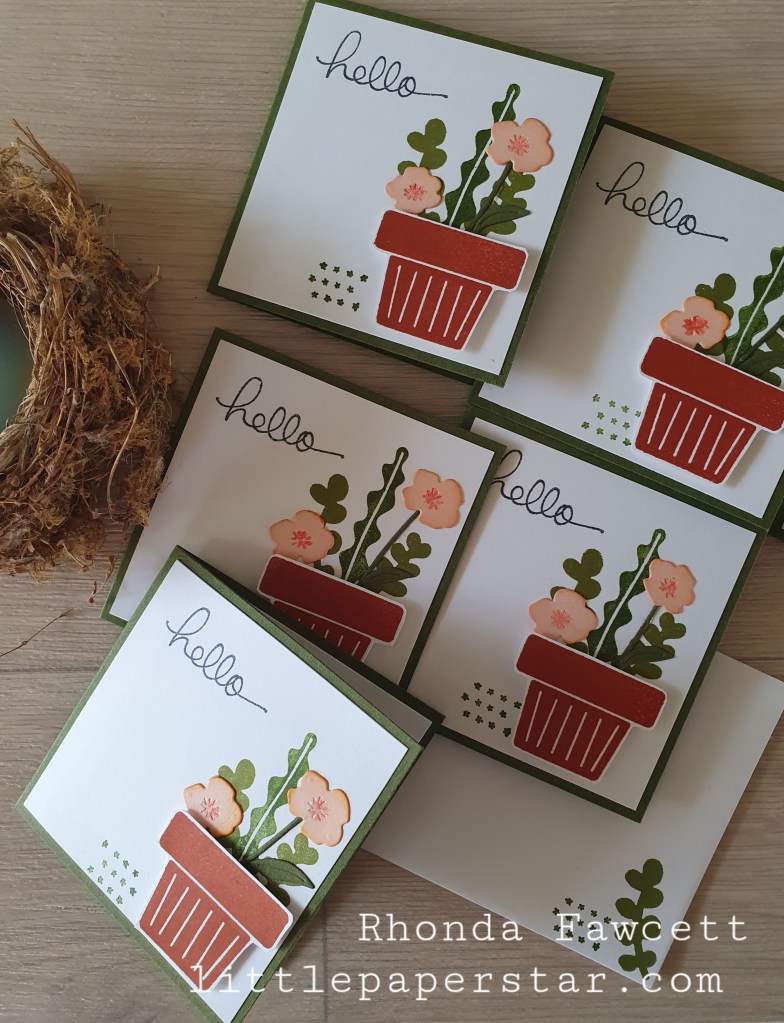
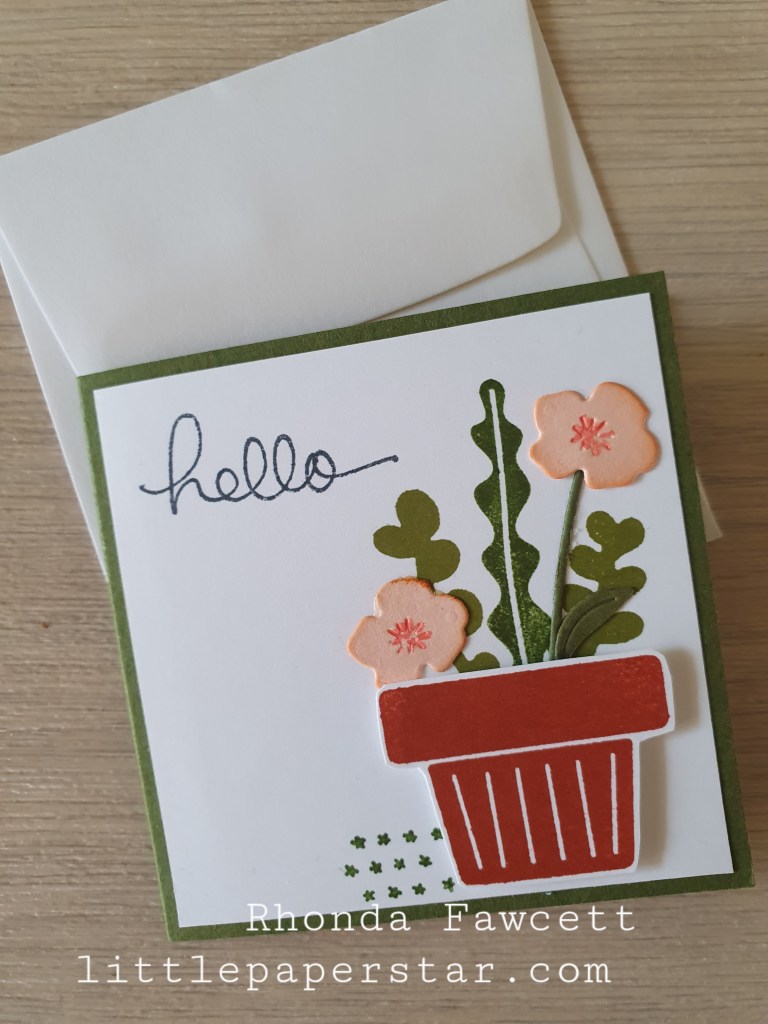
A quick project this week was to make some little gift cards for a garden centre that I teach classes at.
I used the Planted Paradise stamp set and added some little die cut flowers from my stash. (I think originally they were from the Dainty Delight die set)
I had the perfect size envelopes in my stash for these little gift cards too.
What is in you stash that you can make use of this week?
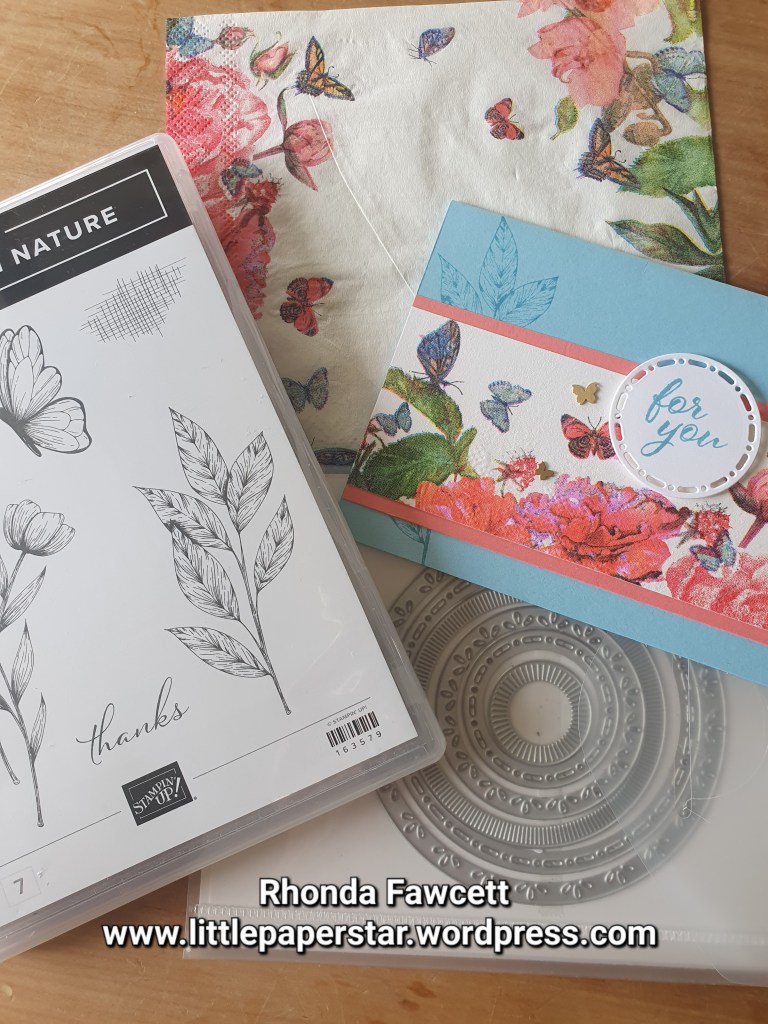
There are so many pretty serviettes out there. I wonder if any of you, have been like me and have picked up a serviette at a function, thinking this is too pretty to wipe my fingers clean, I am going to pocket it instead and use it for something someday – so others can appreciate its beauty too?
I have made some canvases (wall art) in the past with serviettes and a paper glue, but finding this easy way to transfer them onto card fronts was a game changer. (Way less wrinkles and way less mess!)
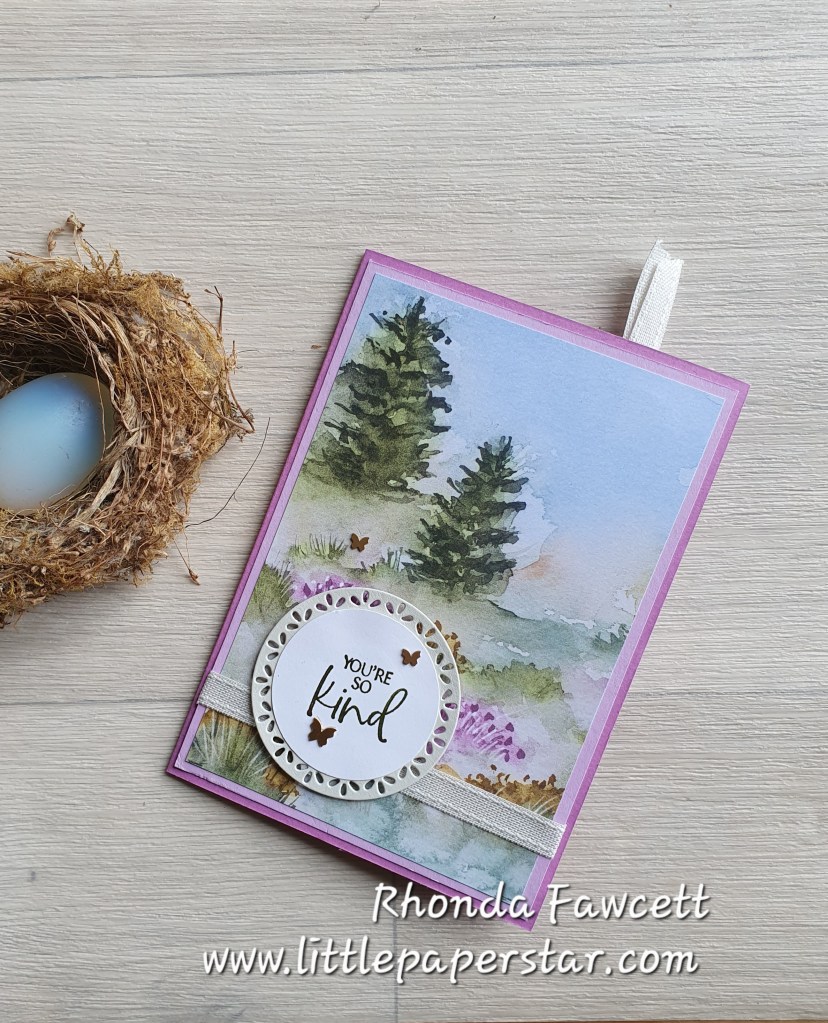
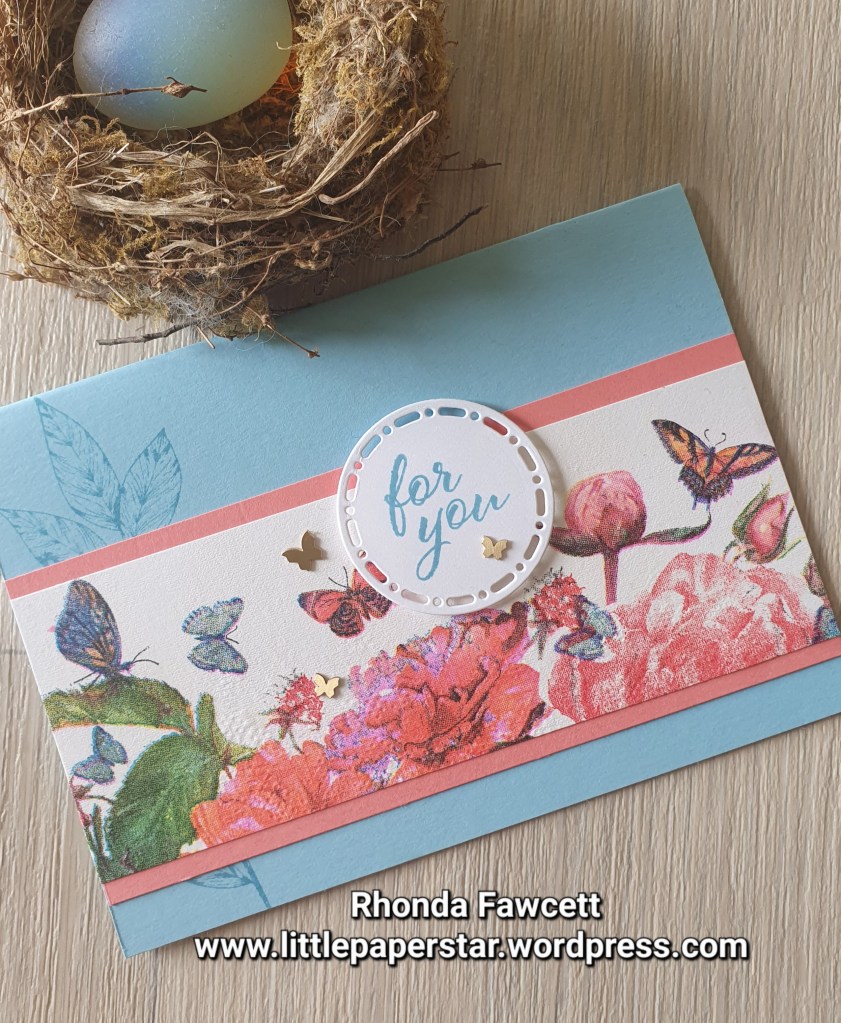
For this card, I used the spotlight on nature bundle and a sentiment from layering leaves. I used Balmy Blue and Flirty Flamingo cardstock to match the colours in the servitte.
I purposefully didn’t add words inside this card so I could you for a a variety of occasions later on.
If you are still reading, you are probably wondering when I am going to tell you how to actually make these cards…
Here goes: The main points are to use a hot iron with no water in it and iron it on a very firm surface. I used a wooden chopping board. You MUST make sure that you use the top layer of the serviette only. Some have two layers and some have three layers. Peel away the one or two bottom white paper layers and keep the top layer with the picture on. Make your sandwich like this: *Wooden board *Baking Paper (this will protect the card from burning) *Cardstock (piece of white or vanilla) *Plastic cling wrap (cut a piece to cover the card and lay it out as flat as you can) *Picture Serviette – right side facing up *Baking Paper (again needed to stop paper serviette from burning) Make sure that the baking paper covers everything – you don’t want to get plastic cling wrap on your iron as it will ruin the iron. Iron for about 10 to 15 seconds in one area. Press down firmly. Then move onto another area and repeat. Lift off baking paper and see if the picture is attached. If the picture is lifting off at the corners, just continue the process. I used card stock larger than needed. I trimmed off the excess card, serviette and cling wrap when finished.
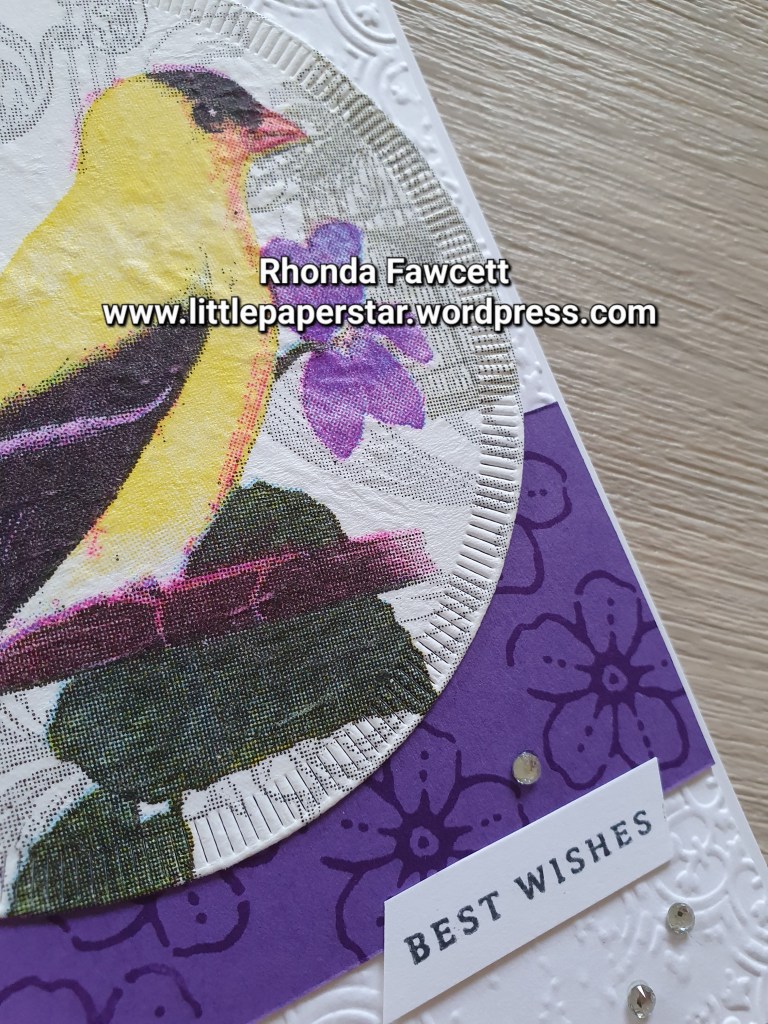
Bird card with serviette. I made this one using a bird patterned serviette. I adhered it all together as described above, then die cut it out with one of the circles from Spotlight on nature dies. The stamps are from Sentimental Park stamp set.
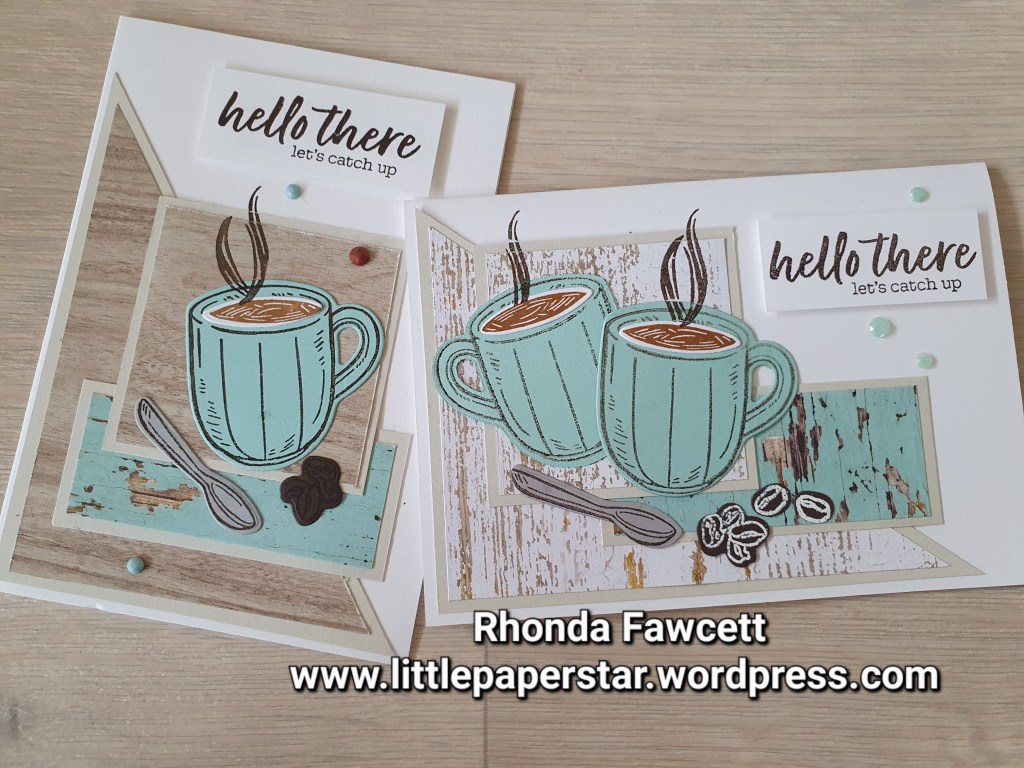
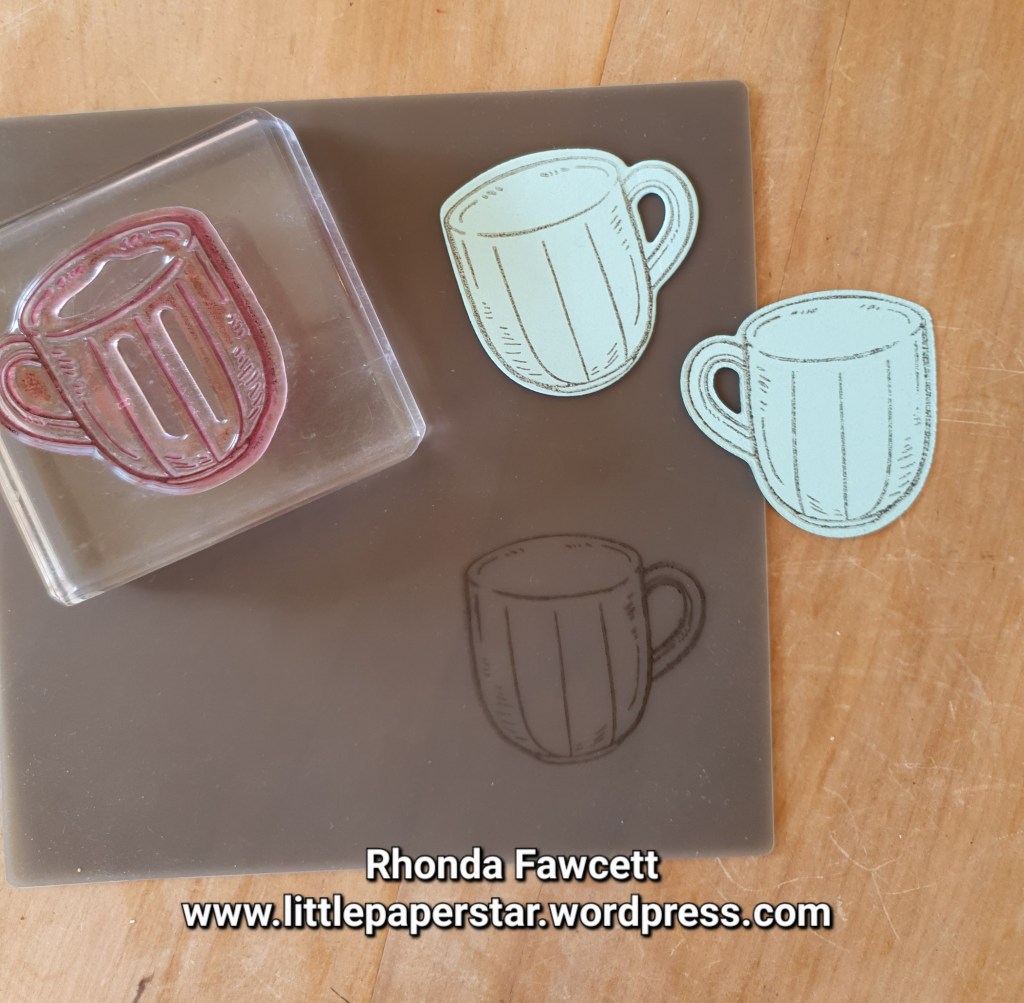
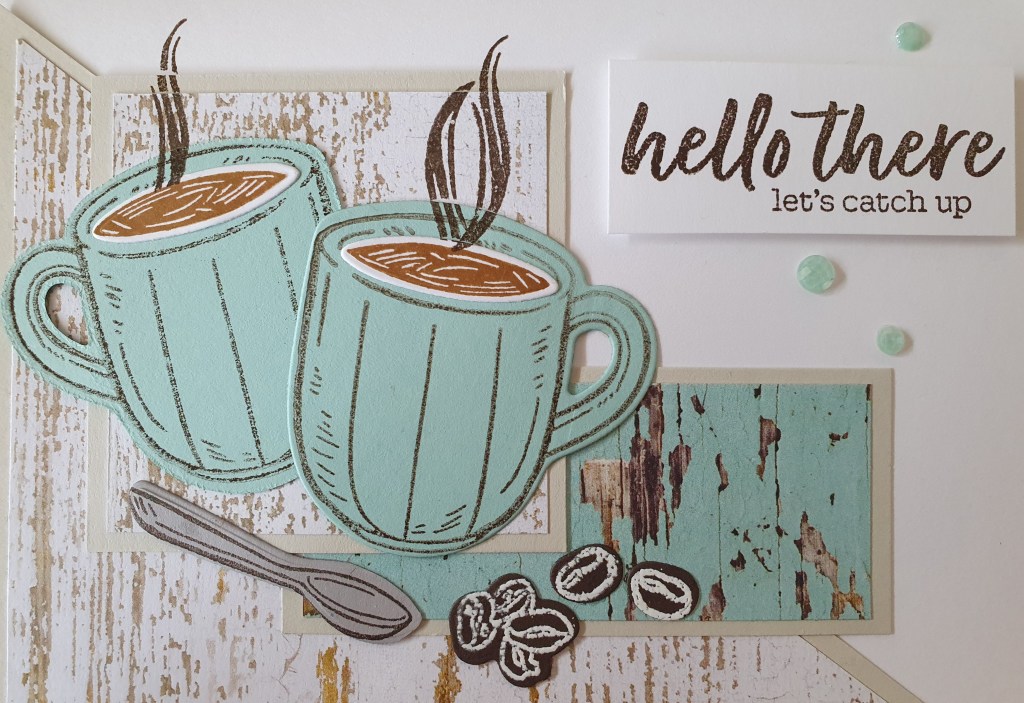
I love these coffee cards. We made them at a team day using a one sheet wonder, which gave us two cards from one sheet of Designer series paper. The paper we used is called Country Woods by Stampin’ Up!
The layout is similar for both cards but the orientation has been changed. For the landscape orientation, I added two coffee cups. I wanted the handle on one of the cups to go the opposite direction, so I stamped it on my silicon craft sheet first, then pressed my Pool Party card onto the craft sheet to pick up the stamped image and voila, it is a reverse image. It’s that easy. The only thing is the image is lighter. I stamped off my right side facing handle coffee to make it lighter to match the one I did with the silicon sheet.
I used white embossing powder to do the coffee beans as they are hard to see on the Early Espresso card.
And of course, I had to stamp the inside. The stamped images are coloured in using Stampin’ Blends.
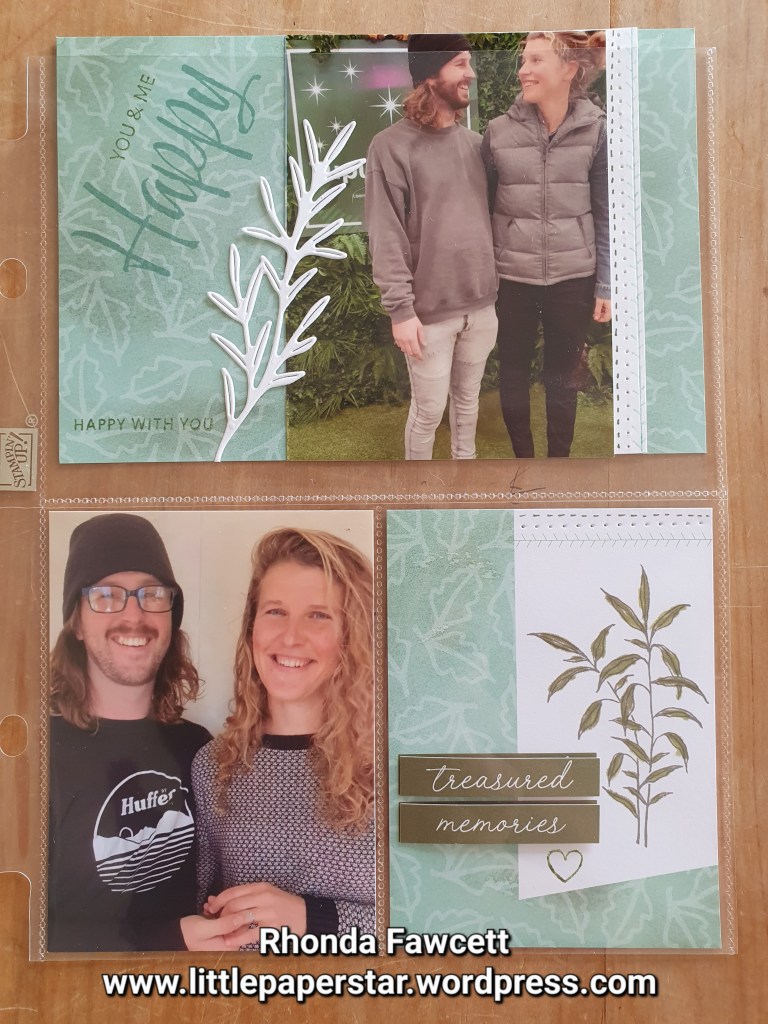
If you follow my blog, you will know how much I love the pocket scrapbooking albums. For me it is important to have my memories recorded and together in one place and I don’t have a lot of time to keep up to date but with simple pocket albums, I can.
This page features some cards from the Thoughtful Journey Memories and More card pack. I added some simple stamping using the “Love this Moment” stamp set, (which isn’t in the current catalogue but is available on line). I also added a leaf die cut from the “Painted Lavender” dies.