Love and Courage

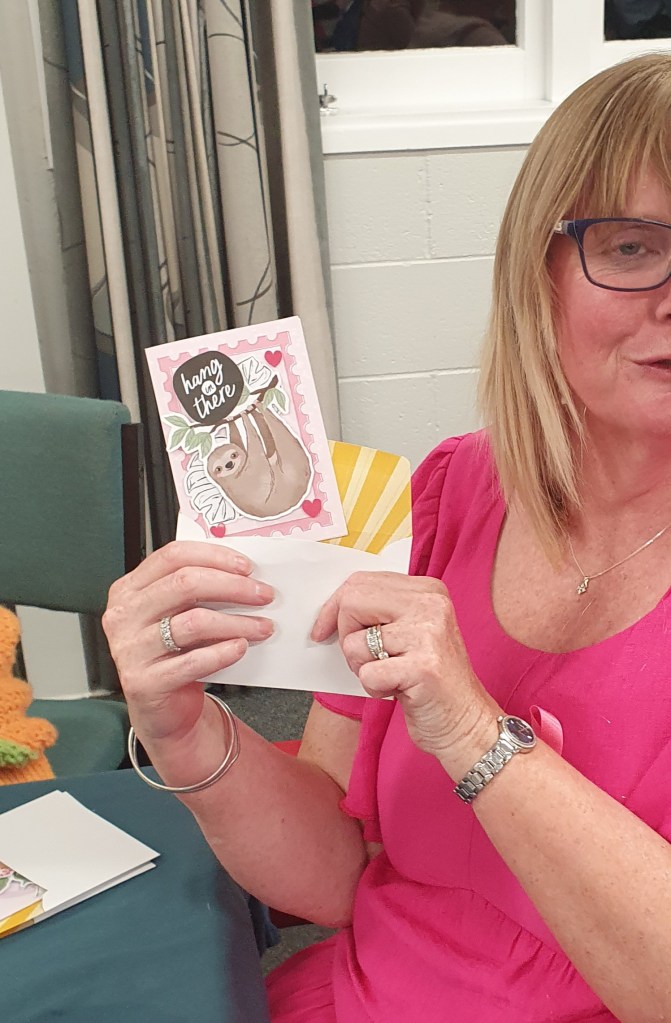
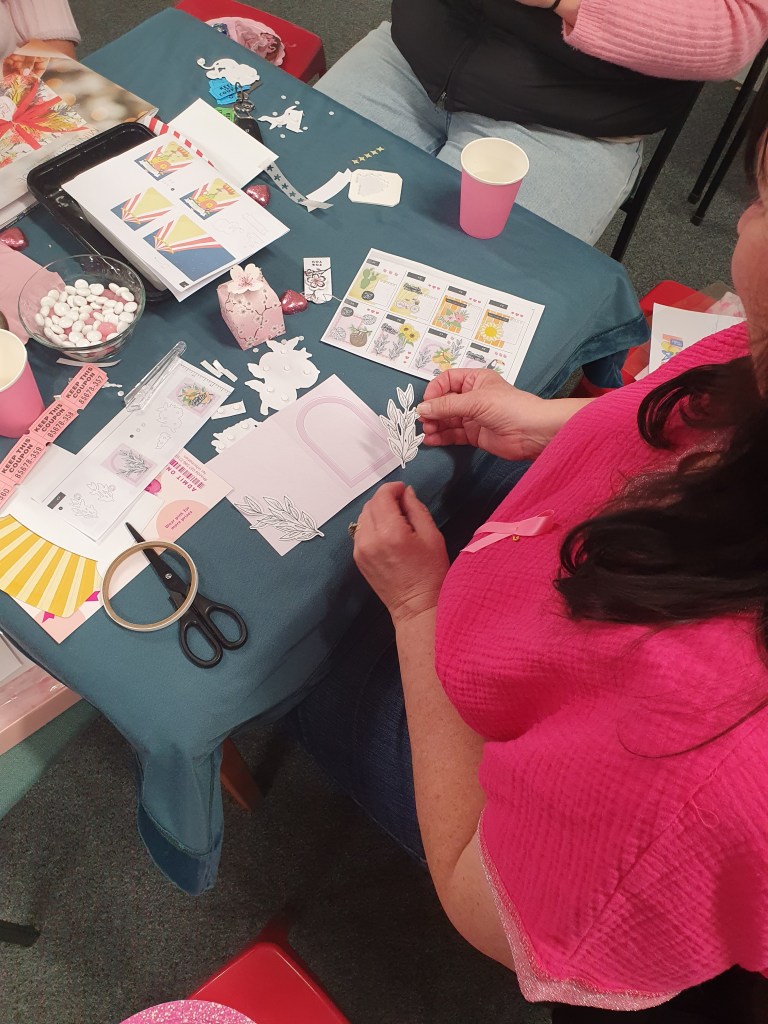
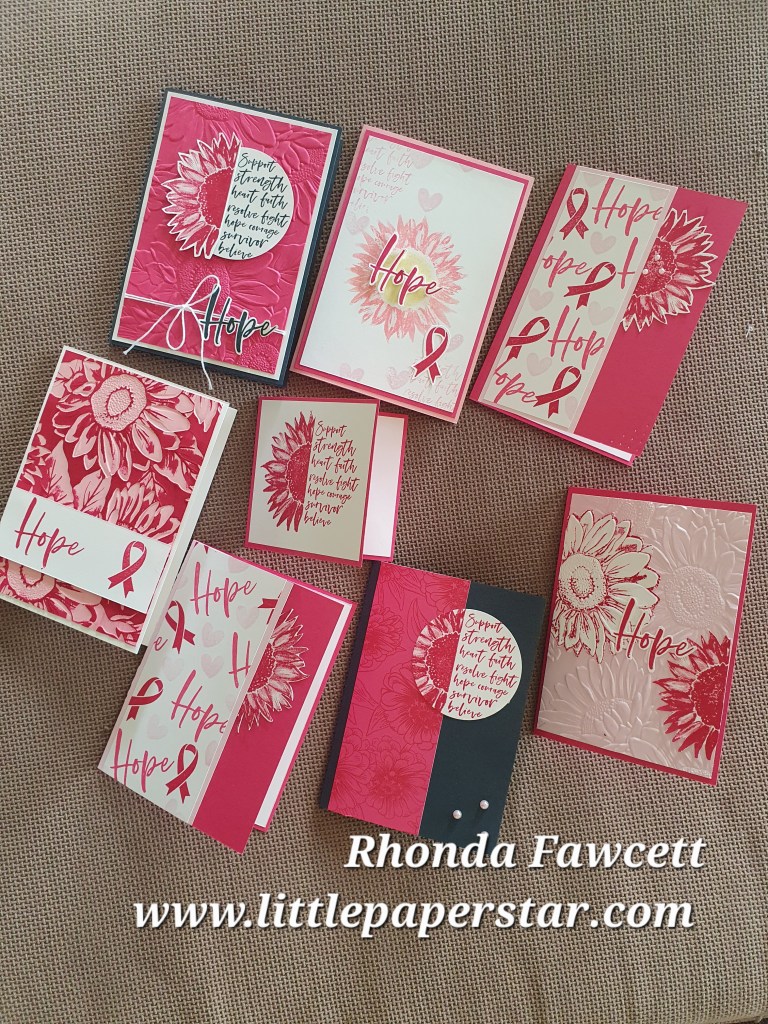
I have been busy lately with fundraising for Breast Cancer support. Some of my team and I have run a very successful fundraising night where we made cards using the Stampin Up kits. We also promoted the Love and Courage stamp set.

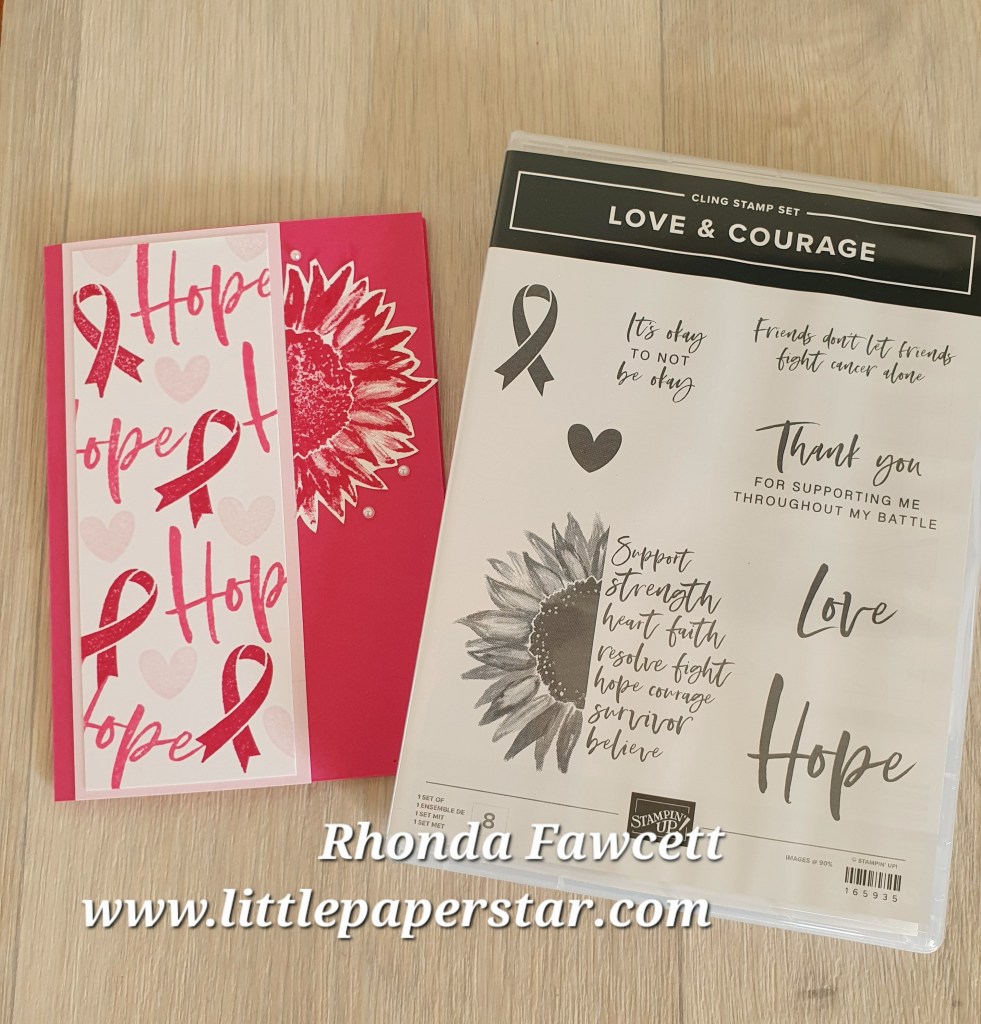
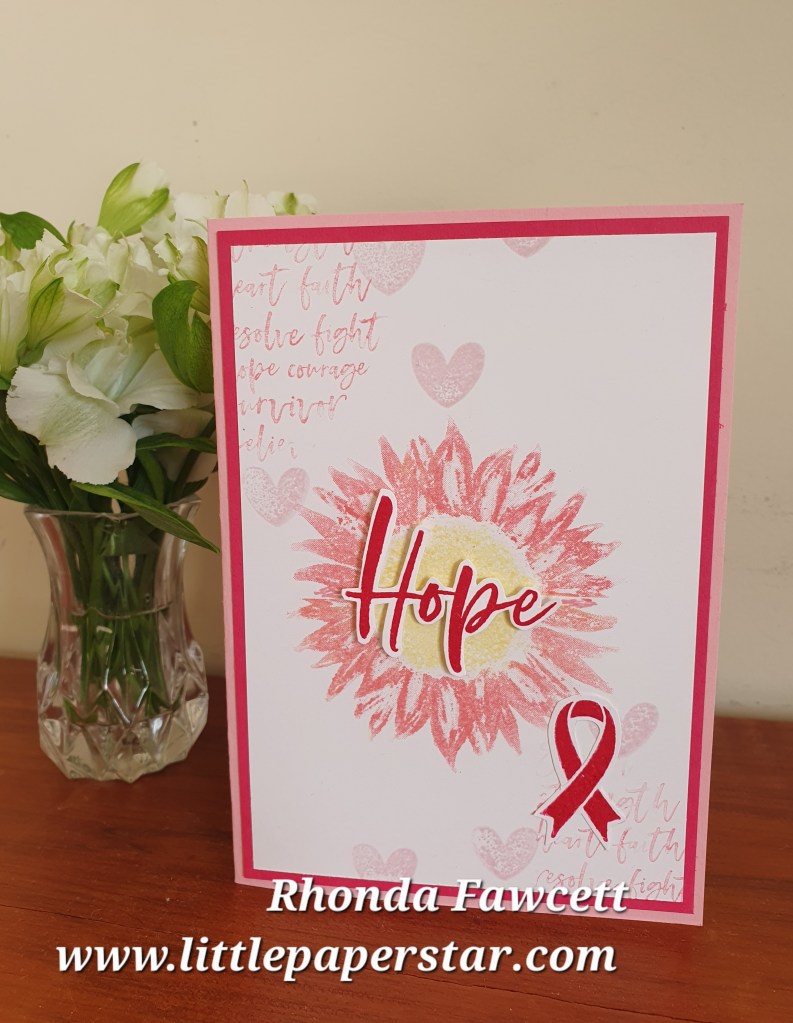
This stamp set is special because it is Pink Ribbon Month this month and Stampin Up are donating $4.25 from every one of these stamp sets sold to support the fight against breast cancer.

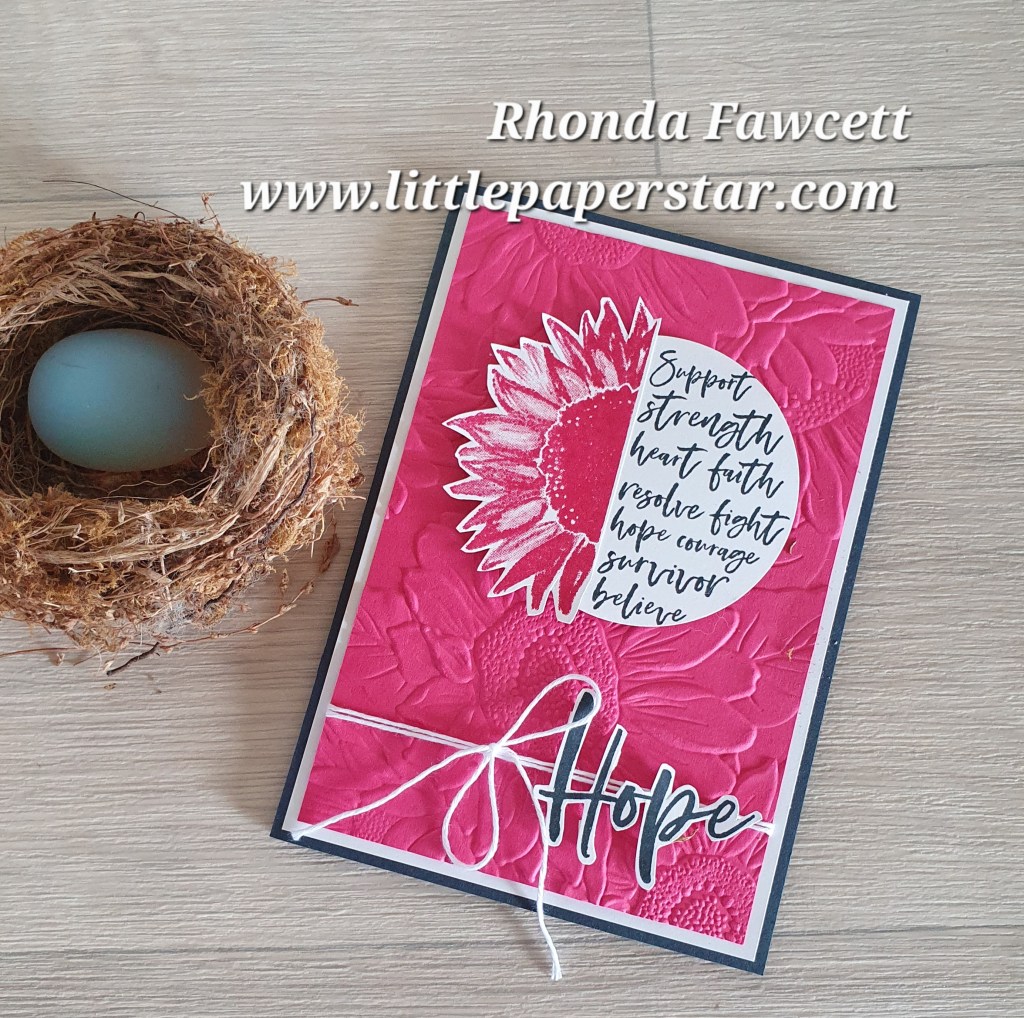
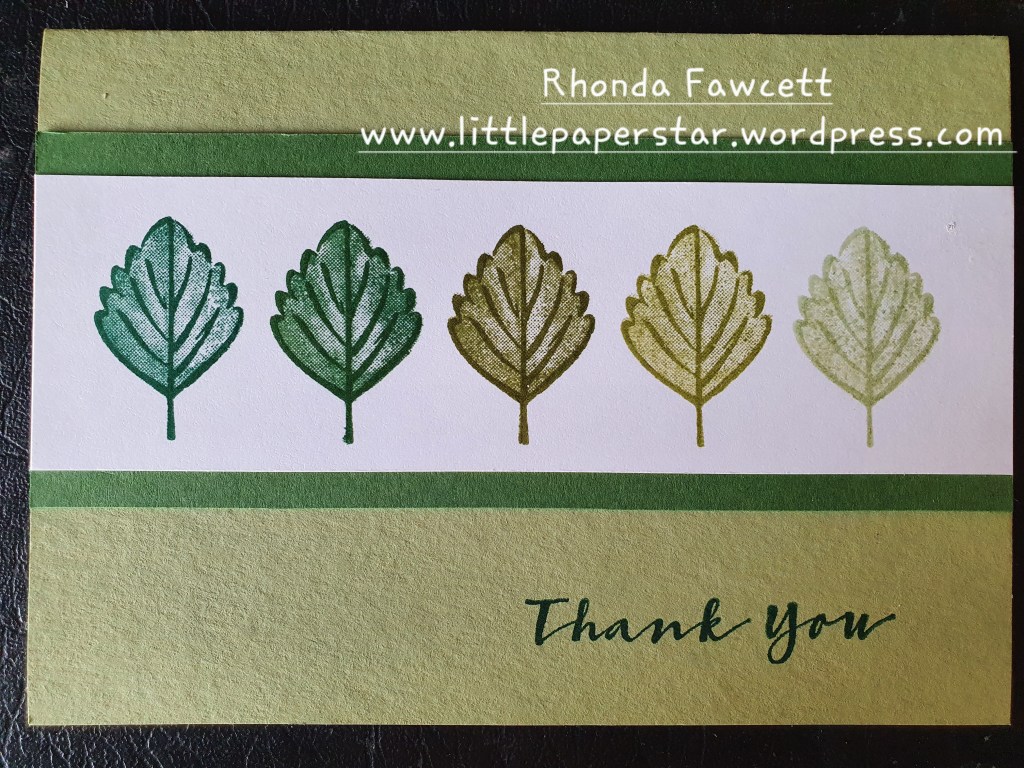
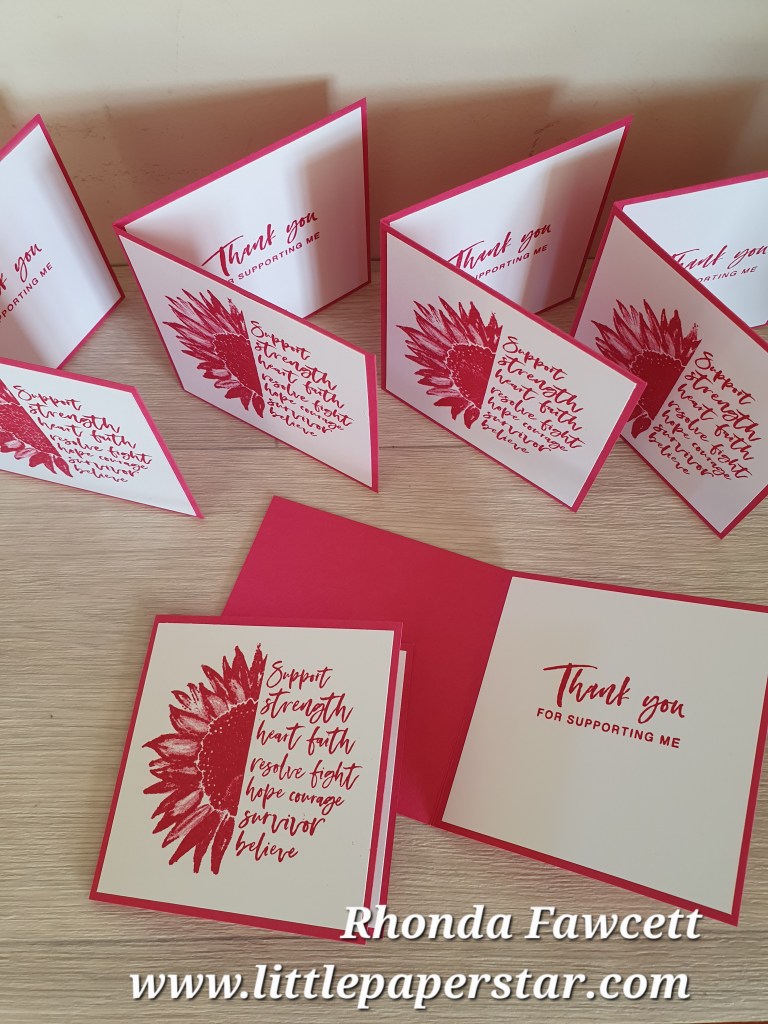
We made several cards to give away and a ton of thank you cards for the businesses who supported our event.

This is a beautiful stamp set,worth having in your stash as so many people today are affected by cancer either directly or indirectly and giving a card of support, hope and encouragement is a great way to show that you care.

Here’s some photos from our pink ribbon supper.

Favored Flowers Designer Series Paper

What beautiful rich paper this is. I love it. And even more so when it is free! Yes this is one of the Sale-a-bration free items that you can choose as your gift with NZ $110 spend.

I whipped up a card this afternoon, using basic black as my base with a 5.5 cm strip of white card and a 4.5 cm strip of the patterned paper. The strip of paper that I used was this Coral coloured pattern and on the reverse were the lovely Dahlias that I fussy cut out.

I added some bling, bakers twine and a sentiment and voila, card made! It only took me 10 minutes.

Check back tomorrow for some more Sale-a-bration card ideas.

Simple thank you card

This card was made using a leaf stamp from the Sweet Strawberry stamp set and a Stamparatus.

I started with a strip of white card, 14.9 x 4.5 cm. I put this in the Stamparatus and started stamping with the plate on the 5th position along from the corner. I did it this way and worked my way inwards as I wanted to start with the lightest green ink first and go darker with edge image I stamped.

My first colour was Soft Seafoam. Then I moved the plate one hinge closer to the corner and stamped again with Pear Pizzazz. I didn’t need to clean the stamp in between inking as I was going from a lighter colour to a darker colour each time. The next colours were Old Olive, followed by Garden Green and finally Shaded Spruce.

When I finished the row of leaves, I filled them in with another stamp from the same set. I used the corresponding ink colours to fill in each leaf with second generation stamping. (This is by stamping first on your scrap paper and second on the image). It gives a lighter shade by doing it this way and allows the veins of the leaves to still show clearly. I didn’t use the stamparatus for this as it is easy to line up with the photopolmer stamp.

I mounted the strip of white card onto a 6 cm wide strip of Garden Green. Then I adhered that to a folded A5 Pear Pizzazz card. I stamped Thank you in Shaded Spruce ink.