Memories and More Holiday Snaps

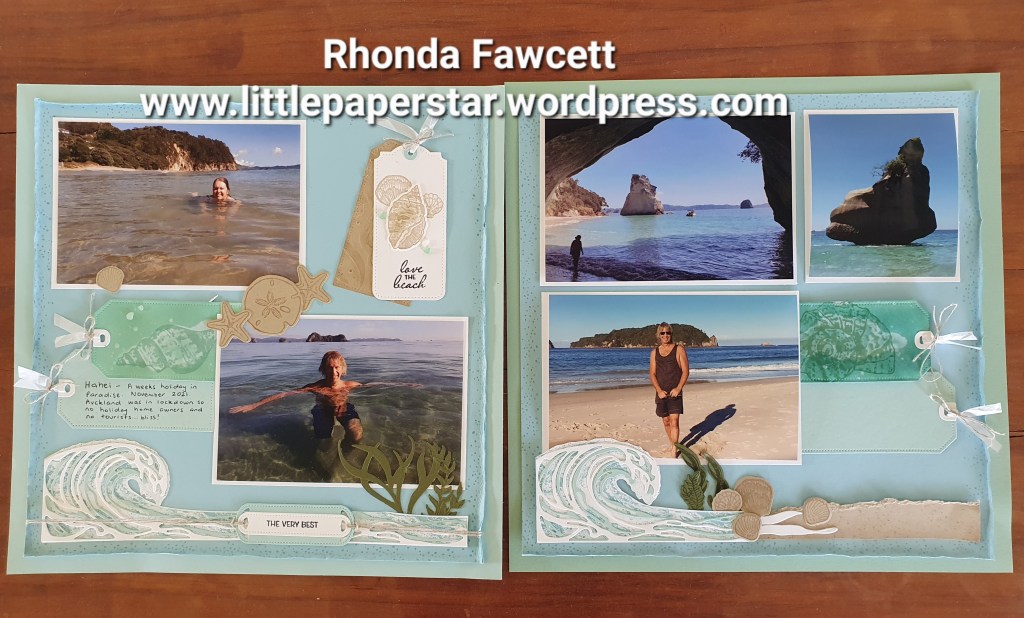
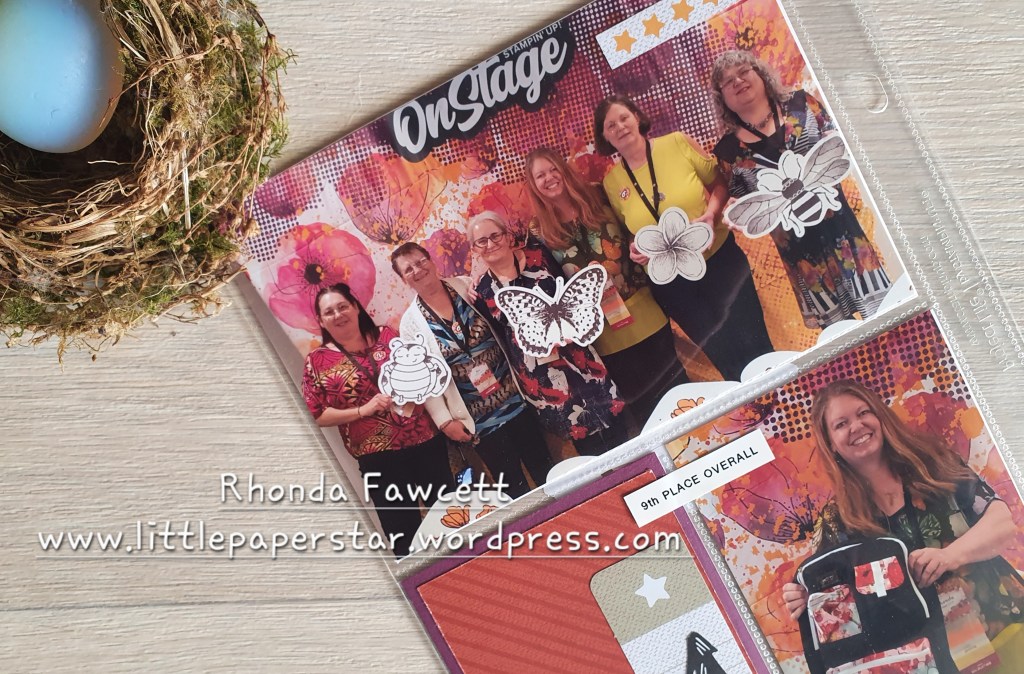
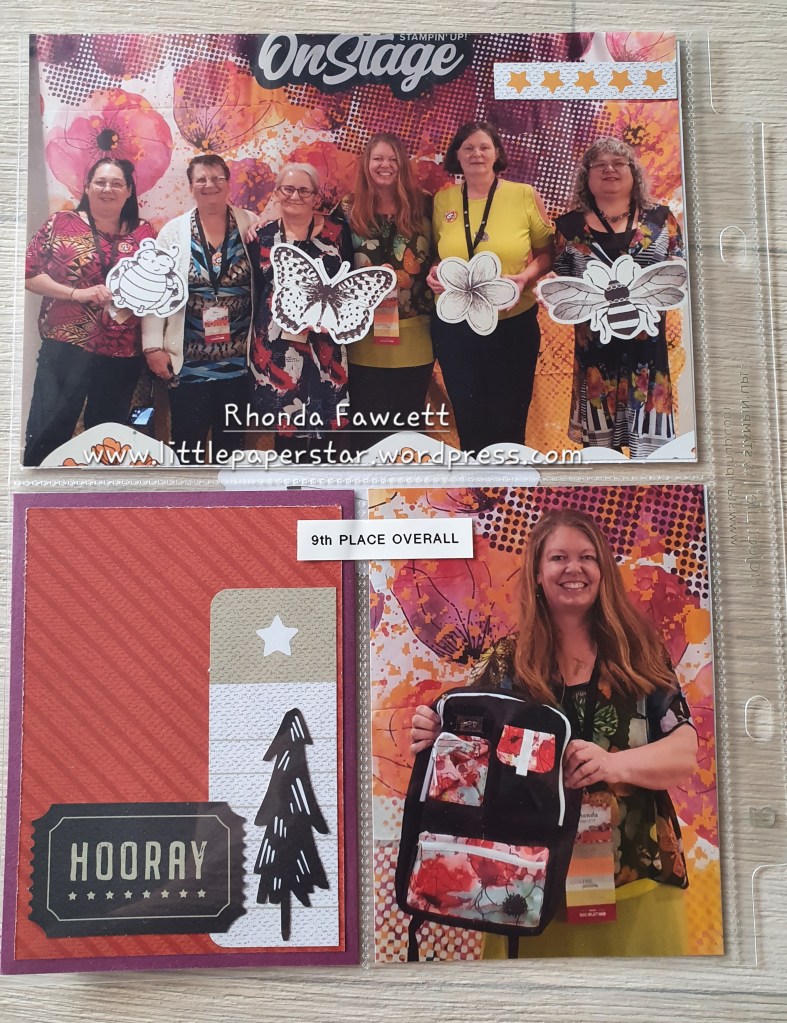
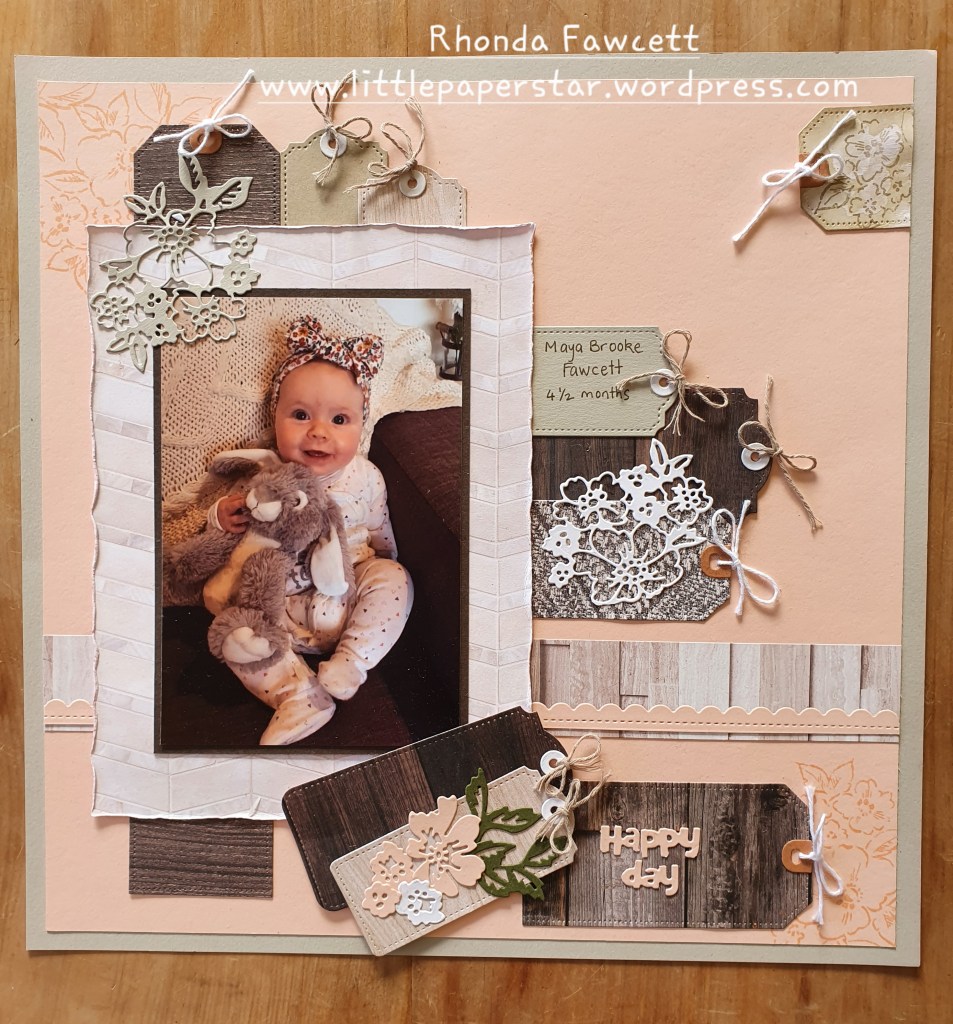
I have been sick all week but today I got out of bed long enough to do some scrapbooking. Those of you who follow my blog will know that I like the Stampin’ Up! small pocket albums.

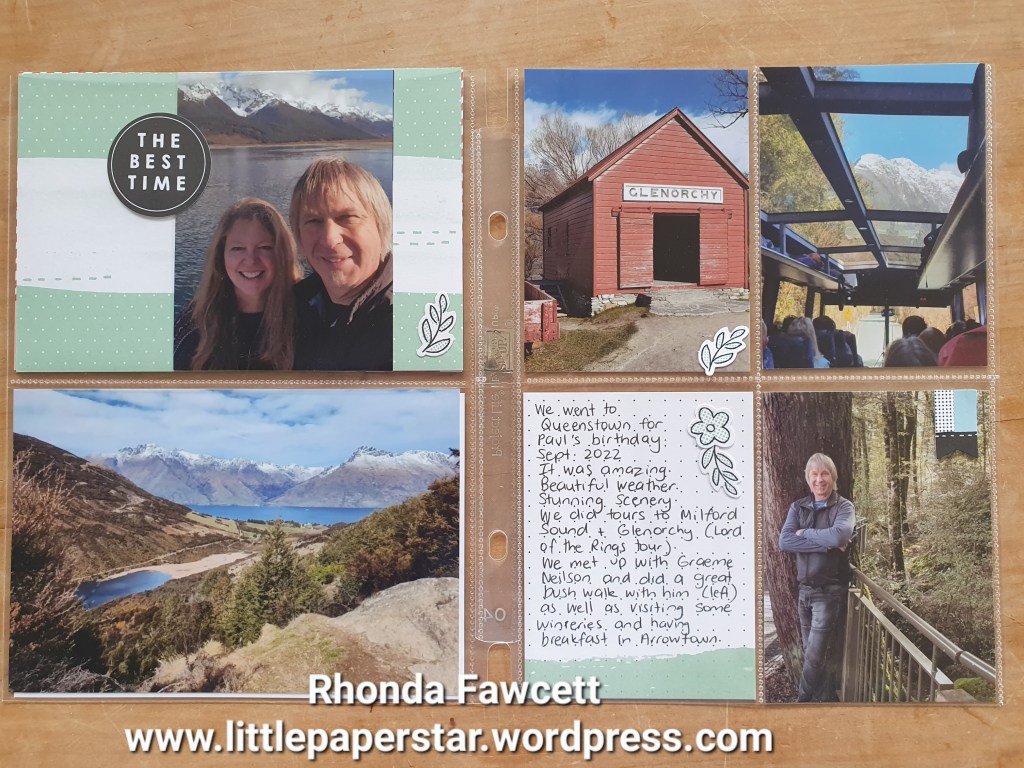
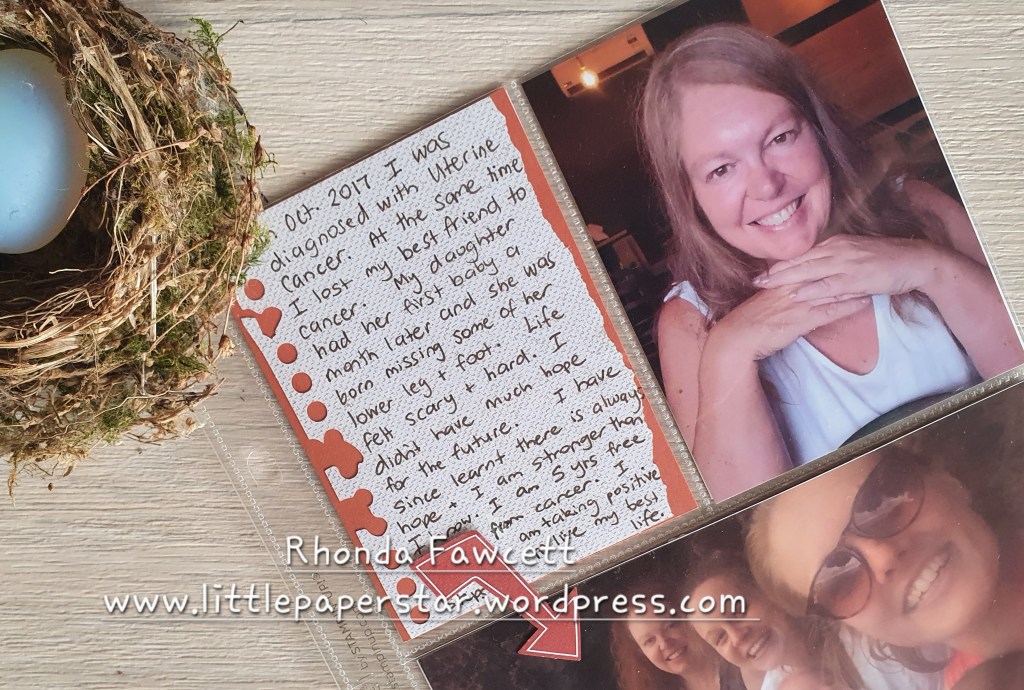
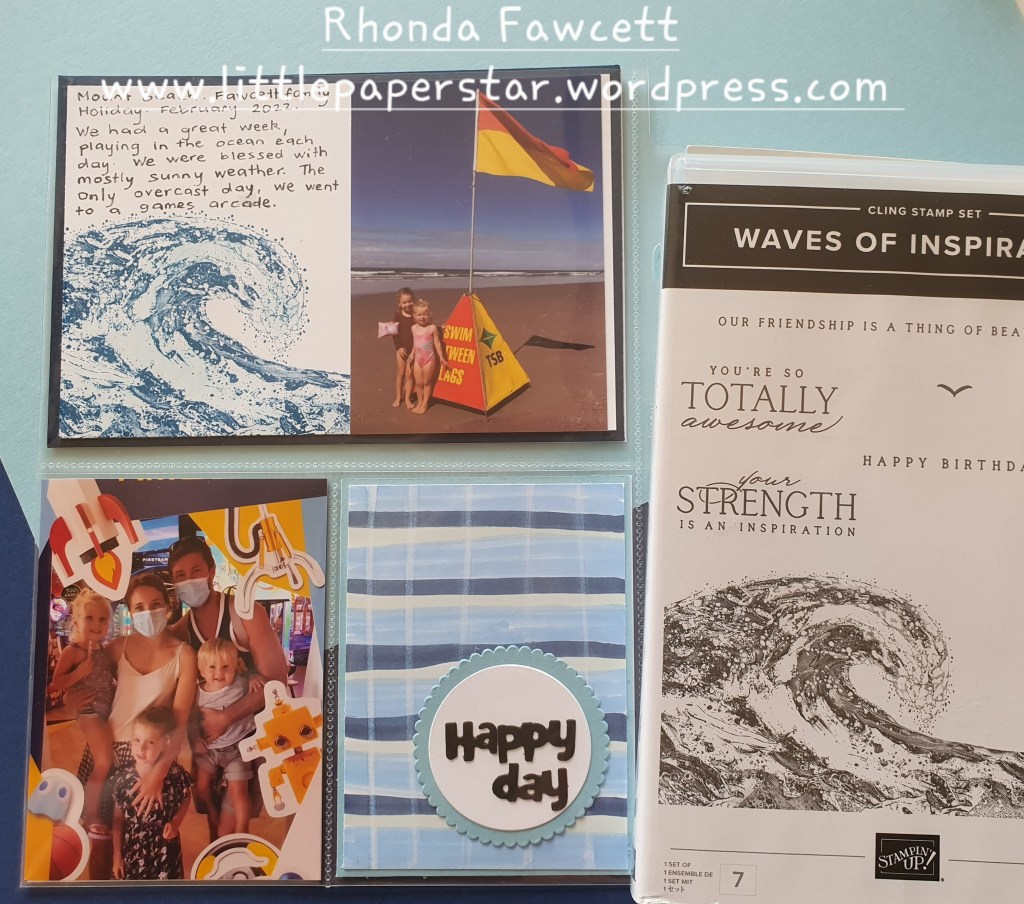
I have just recieved a new pack of cards and stickers. It is called “Enjoy the adventure memories and more card pack”. It is NZ $21 and contains 50 cards or pocket inserts. They are great for journal boxes as I have used above. The cards are a mix of 4 x 6″ size and the smaller pocket size of 3 × 4″.

There is also 4 sheets of stickers.

I know this type of memory keeping is not everyone’s style. However these insert cards are also great for making a quick greeting card. No stamping needed!

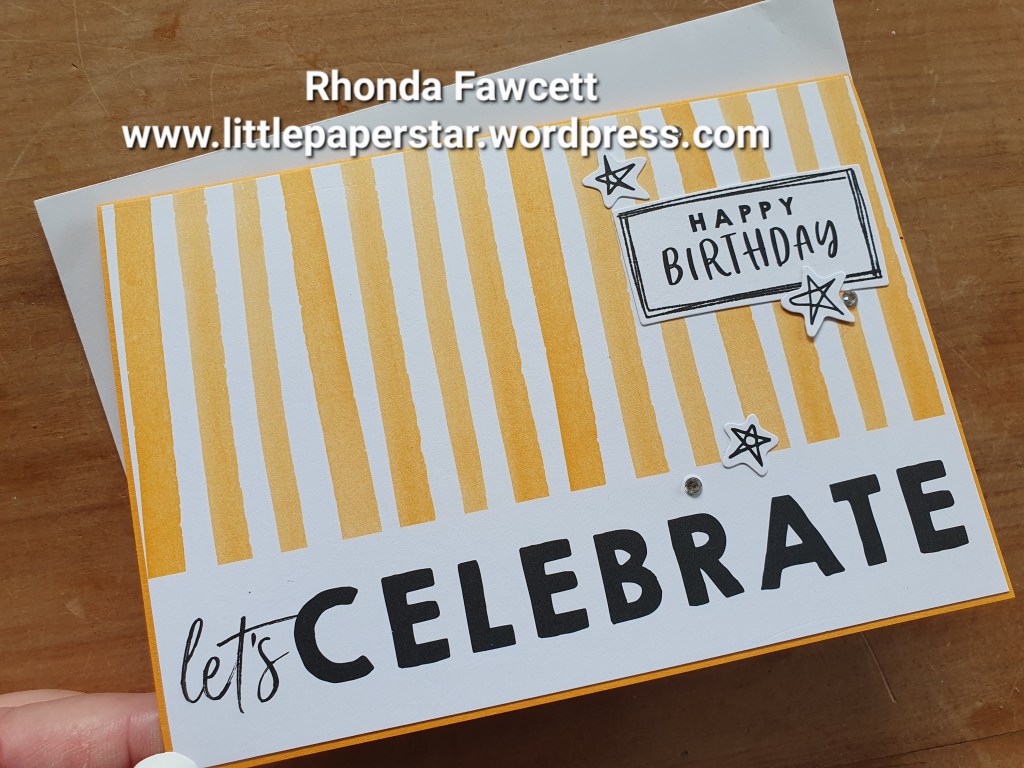
For this birthday card. I grabbed one of the 4 x 6″ insert cards and trimmed a smidgen off each side so that it fitted onto a folded A5 card. I added some stickers from the same pack and some rhinestones. I cut a piece of Basic White card to go inside and I cut 2 cm off another large insert card. The same design as the one on front, just so I could bring the pattern through to the inside.

It was so fast to make. If you don’t like the idea of trimming these inserts to fit your card base, don’t worry Stampin’ Up! has got it covered. They make a card and envelope pack that matches these insert cards perfectly. Both the big and small ones!

Santa Express Memories and More Cards

I bought my Christmas Memories and More card pack on sale, in the current last chance specials sale. It ends on the 4th of January 2023.

These cards were a good buy as they included stickers, printed acetate cards and wooden embellishments.

I used this fun pack to get a start on my Christmas photos.

I cut one of the small journal box cards in half and adhered it onto a large filler card. I added a sticker in the corner and placed a printed acetate card on top.

Final pages using those stickers with the date and a small filler card reading “Have a Holly Jolly Christmas”.

This page features stickers, (the word “joy”). Plus wooden elements and a small journal card. The wooden elements contain stars, which I used above, snowflakes and a variety of Christmas words.

I love the memories and more card kits as they enable me to quickly get my photos into albums. However you can still use them even if you don’t scrapbook. You can use them to make quick cards and gift cards.

Love the Beach Scrapbooking Page

This was a class project, a 12 x 12 beach page using the Waves of Inspiration bundle and the Friends are like Seashells bundle.

The focus was on getting creative with water. We used our aqua painters to wet the edges of our Balmy Blue card, then with the card wet and soft we were able to curl the edges and they stayed that way once they were dry.

We also used water to stamp on one of our tags. We cut 3 of the largest tags with the straight edged top. One in crumb cake, one in pool party (this was the journal box) and one in white. We also cut a curvy edged top tag in white. The straight edged tag we sponged with pool party ink, then stamped the background stamp (sprayed with water) onto the sponged tag. The water lifts up some of the sponged colour and allows the original white card to show through. We also flicked on some drops of water with an aqua psinter. When dry, we stamped shell image on top.

We used a black stampin’ write marker pen to colour in a portion of the stamp that we wanted for the words on this page. Original words were – “Love you to the beach and back”.

Some of the group wanted to do a second page, so here was my mock up. It isn’t complete as I needed to order more Pool Party 12 x 12 card for my base. I needed to add more journaling to the pool party tag. And I was going to redo my water tag using the large shell image… but you get the idea.

I decided to make the wave come up to the sand for my second page and I used from pieces of white card left over from the wave die cut to make foam in the sand.

We are just coming into our beach season here in New Zealand, so doing a page like this makes me excited for summer. I hope this layout inspires you to get out your beach photos and try something creative with them.

He’s the man DSP

You may think that the Designer series paper (DSP) called “He’s the man”, is just for men, right?

Wrong. It is good for many projects and I want to show you some more scrapbooking ideas that I have used these papers and die-cuts for. The die-cuts are great because there are so many affirmative sayings that you can use on a scrapbooking page. There is also a caravan that would be perfect on a holiday page. The papers are all in browns and rust colours and while one side does have a masculine print on it, the other side is good for any autumn pages.

This first page features 3 die-cut elements. One of which is a journal box the perfect size for our Stampin’ Up! 6 x 8 albums.

Here is a page that I did for my champion of a granddaughter, Duskie.

The stars, photo corners, banner, oval sentiment, journal piece and background paper are all from “He’s the man” paper pack. Here is some more dies below.

This next page is very special to me because it was one of the last times that some of my team members were all together. Two very special ladies have passed away since this photo was taken.

Another reason why this page is special, is because this year, I got into the top 10 demonstrators for our country.

I was given a 14 karat gold necklace amongst other things. I did feel very spoilt.

I hope these few pages from my album, inspire you to give the “He’s the man” paper a second look. It is in the current annual catalogue and is available for purchase until June next year.

Handpenned Petals and Tags

I created this scrapbook page using the Tailor made tags dies and penned flower dies. It also uses the retired papers called “In Good Taste”. If you wanted to make this page, you could use any neutral papers.

When I taught this in class, the ladies didn’t like tying all the bows! 10 of them. I told them practice makes perfect. 🙂

I like to teach new techniques with my layouts and this time, I was teaching distressing with water. The first distressing technique using water was to curl the edges of the paper. We painted the edges of the photo mat paper with a layer of water and then curled the edges up with our thumbs. The water softens the paper so it curls easily and stays that way when it dries.

The second distressing technique using water was to stamp with water. We started with white card and sponged crumb cake ink on top and then inked up our stamp (bold “flower” shape image) using water on a clear block as our ink pad. When the water stamped image touches the card it removes the sponged colour and turns it back to white. We then stamped a bold flower outline on top with Early espresso ink.

I would love some feedback on these techniques. What do you think? Do you like them? Have you tried them before?

Memories and More Albums

I teach Memories and More scrapbooking classes. Each week the focus is on a different technique. We make title cards, filler cards and journal cards to go in our albums.

The Happy Day filler card above was made by creating stripes with the Stampin Blends, then using a colour lifter in the opposite direction to create a gingham pattern.

The Happy Day words are from the Birthday Chick dies. I separated the words out so I could remove birth and just keep day.