Punch Art Pizza Chef

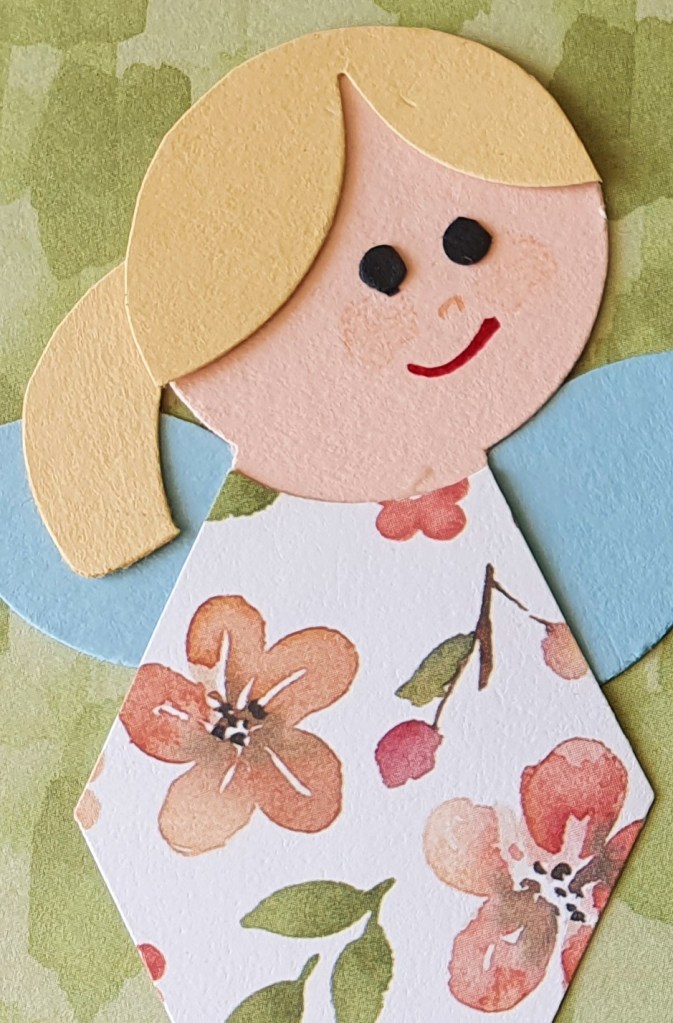
I have been playing with punches lately and made this little guy. It all came about with a chef’s hat to start with.

I had punched a partial cloud with a flat bottom and this happened to be sitting on a scrap of white card, which together the two pieces looked like a chef’s hat. So I decided to go for it and make a chef. There is a stamp set in our Stampin’ Up! catalogue with a pizza chef which inspired me to do a punch art pizza chef.

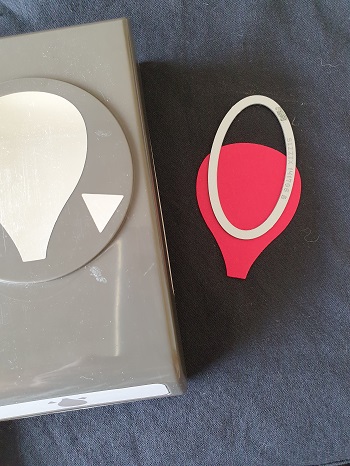
I used the cloud punch for his hat. A retired circle punch for his face but you could use any number of circle dies that are currently in the catalogue.

His eyes, nose, hair, mustache and collar are all from the Petal Park Builder Punch. The only extra punch I used was the Songbird punch to create the white glint in his pupil. I punched out a beak, cut it in half and used one half for each eye.

I also used the Songbird punch for the pizza topping. The pepperoni was from a retired 3/4″ circle punch and stamped with dots from the Petal Park stamp set. The capsicum was from the body of the bird punch. The onion was from the wing of the bird punch and the olives were from the tailored tags dies.

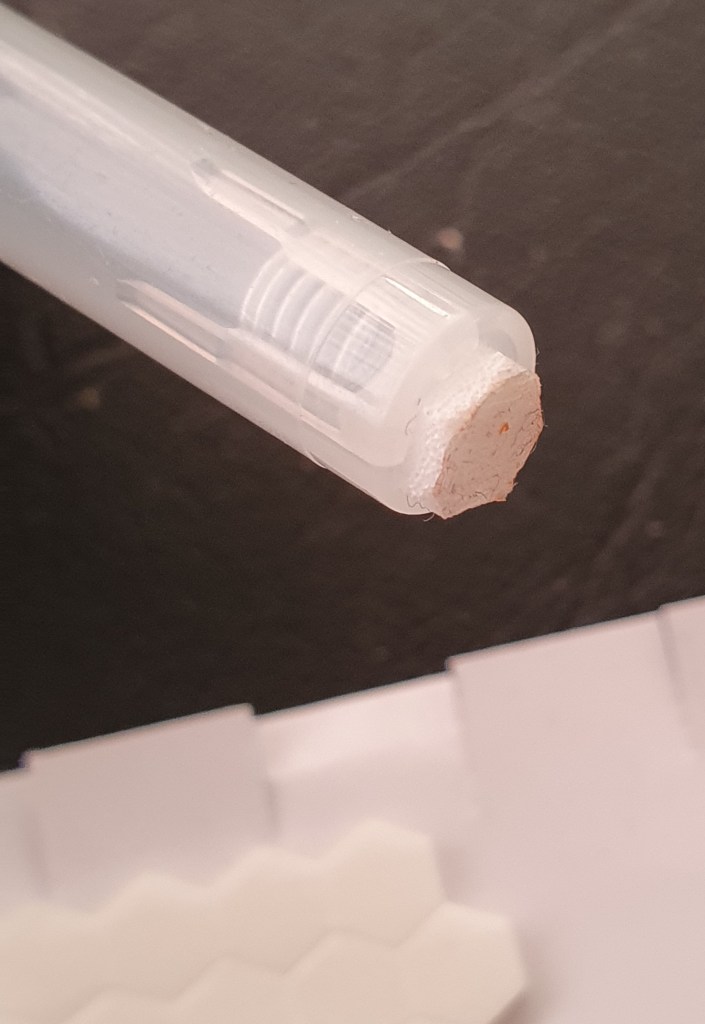
Here is what I used to make the hat.

I slotted the skinny end of white card into the punch and threaded it out through the top until the wider piece could go no further, then I punched the top shape. The long skinny piece, I trimmed shorter and scored narrow 0.5 cm lines in.

For the inside of my card, I stamped the pizza chef from the Supremely Awesome stamp set.

Cute Critters

I was playing with the ladybug punch last week and I wanted to create some different styles of ladybugs so I made this card.

For the first bug, I punched two bodies, one in black and one in Real Red. I cut the head of the red one and drew a line on it, stamped some dots and attached it on top of the black one. For the third ladybug I punched two bodies as before but this time, I cut a straight line off the side of both bodies. I attached the antenna that I had cut off beside the other one. This ladybug reminded me of a snail, which got me playing to see what other bugs I could make.

The snail was made the same way as the third ladybug. I just added a small portion of a wing tip for the end of the snail. The shell was embossed using the embossing tip of my Take Your Tip tool and then rubbed over with a dauber using Pecan Pie ink to highlight the swirl.

The butterfly started of as a Crumb Cake body that I cut a portion off each side. I then punched out two lots of wings. The butterfly body was still too short so I added an extra double punched wing tip to add more length. Where the extra piece joins the body is where the wings meet to cover the join.

The back side of these critters looks rather messy but I am showing you to give you an idea of how I add the extra legs etc.

You can’t have a butterfly without a caterpillar right? So I decided to make that next. But the punch didn’t really lend itself to a caterpillar shape. I Googled caterpillar images and found the classic children’s story book character, hungry, hungry caterpillar and so made that instead.

Next I decided to put all my critters on a card. I used google glue on eyes for the spider. I made a rhino beetle and a shiny green beetle. The green beetle was made by punching one body from Old Olive and one head from Garden Green. I drew a line on the olive body then covered the body in a layer of Fine Tip Glue. The glue made the ink from the marker pen run but I actually liked the final effect so I wouldn’t change it. The eyes are drawn on with a Stampin’ Write marker.

I think the sentiment works perfectly for this card. I am going to give it to my grandson for his birthday.

Little Paper Shoe

I wanted to create a special gift for a new team member, so I made this paper shoe with a template that I purchased some years ago from a lady called Ellen Hutson.

I added a flower to the front of my shoe, made with the punched pieces from the new Petal Park builder punch.

The paper was a recent Sale-a-bration freebie. (Dandy Designs). The flower is from Blushing Bride and Crushed Curry cardstock with a pastel adhesive backed sequin the the centre.

It also is the perfect size to hold one of the small bottles of glue that Stampin’ Up! sells.

Bird Punch Art

I was playing around with our Stampin’ Up! punches and had a go at making some NZ native birds.

For the Pukeko, I used the Sailboat punch for beak and legs. The songbird punch was used for the body, tail and wing. The deer punch was used for the feet and eye and the double oval punch was used for the head.

To make this Tui card, I used some of the same punches as listed above as well as the tulip punch.

Card for my granddaughter

I went back to one of my favourite way of making cards and did some more punch art. I used a lot of retired circle and oval punches for this card. I have listed them all below.

Flynn loves Paw Patrol so making one of the dogs by using punches worked well for her.

I used woven threads DSP for the background paper. Head was the 2nd to largest layering circle die in Crumb Cake card. Muzzle was 1 1/2″ circle punch in Sahara Sand card. I glued the muzzle on with a small amount overlapping the edge and trimmed off the overlap. I drew in the mouth. Neck was hand cut from a piece of card 1 3/4″ wide. I tapered it slightly at the sides. Collar was large oval punch (retired). I also used this for the ears as well as a smaller oval from the retired layering oval dies. Nose was small retired oval punch 3/4″ size.

Eyes in soft suede card 1 1/4″ punch and cut across the bottom of circle. White 3/4″ punch. Pink pirouette 1/2″ punch. Black Itty bitty circle shape punch. Goggles were made using Melon Mambo card and largest layering circle die for head piece. Small ovals the same as the nose for eye piece with a best label punch cut in half and laid on top.

Finally hair pieces were die cut from a forever flourishing leaf die.

Here is a photo of Flynn on her birthday.

Everyday Heros – A card for my dentist

Stampin’ Up! currently has a campaign on, encouraging people to send a card of appreciation to people who has gone that little extra mile or who have shown kindness to others.

I decided that I wanted to thank my dentist who spend extra time making sure I was happy with all the dental work. She even was prepared to come in on her day off to see me at no extra charge. #EverydayHeros

I was originally going to make a card using the retired Handsomely Suited dies with dental tools poking out of the pocket but yesterday when I was using the hand penned petal dies, one of the inside flower pieces ended up in my lap and it looked just like a tooth. So I made a much simpler card using that. Scroll down to see photo of die, were I got the tooth shape from.

The dies I used were from Paradise Palm bundle, Love you more than bundle and Hand penned petals bundle.

Did you know it is super easy to create thank you using the Love you more than dies? Just die cut “love you more than” and “cookies”. Use the k from cookies and add it to the word than. So easy!

My sentiment for inside the card was from the “Nothing’s better than” stamp set.

Sweet Songbirds

I made this slimline card as an entry into a card challenge. Colour INKspiration # 124. The colours to use were Daffodil Delight, Parakeet Party, Tahitian Tide and Night of Navy. I also used black to stamp the birds eyes and a bit of crumb cake for the branches. To enter this challenge go to Colour INKspiration challenges on Facebook or Instagram #colourinkspirationchallenges

I used my blending brushes to do a lightly sponged background. The clouds were free hand cut from a piece of scrap paper to make a stencil to sponge over. I used a few of the stamps from the Sweet Songbirds stamp set but the main part of the bird is created with the corresponding punch.

The reason I love the punch so much is that I can easily change the orientation of the bird by flipping the card over once I have punched it out.

Flower Fairy Punch Art

These simple Flower Fairies were made using the ladybug punch and Tailored Tag punch.

I used a marker pen to draw in their nose and mouths. I trimmed the points off a mini dimensional and placed it on the end of a pen. Then I used that to “stamp” some rosy cheeks on the fairy girl’s faces. I stamped off on scrap paper first so that the final result was quite subtle.

Below is a guide to how I put the punched pieces together to create the fairies on my card.

I didn’t give my fairies ears but it is easy to do, if you look at the example below.

Snowman fun

Making some home decor for my granddaughter with Stampin’ Up! punches. Keep reading to find out which ones I used.

I used I also used The gangs all meer and The waterfront stamp sets.

Feet= Perennial flower, one petal for each foot. Round off the pointed end. Lower body= 2 1/4″ circle punch. Trim top and bottom. Upper body= Hot air balloon. Trim off balloon neck. Buttons= Vase builder flower. Trim of zigzag flower edge. Head= Tailored tag. Round the corners on one end. Nose= Tulip builder punch. Punch leaf, then reinsert back into punch to punch again to trim more off the side. Eyes= various circle and hole punches that I had in my stash. Some are retired stampin up punches. Mouth and Eyebrows= hand drawn. Twiggy hair= Seasonal layer dies. Arms= Seasonal layer dies.

Nurse Card – Punch Art

I was asked recently to make a card for a nurse. I had a look for ideas on pinterest and there were quite a few nurse cards, all very similar to mine that you can see below.
It is a very simple card to make and my one uses the layering ovals dies from Stampin’ Up! It also uses a variety of small circle punches and the new Hot Air Balloon punch. The stitching detail on this card is made using the straight stitch die from the Nested Labels die set. The little heart is from the dog punch. The pocket is a strip of card with the corners rounded using the envelope punch board.
I lightly dauber-ed all the blue edges using Balmy Blue ink to add definition.

Punch balloon shape first, then die cut with an oval as shown. All the grey pieces of the stethoscope are made using the curved edges that you get when you cut frames using two oval dies.
Use the single straight line die to create stitching detail on this fun card.