Sharing my love of all things paper-craft: Card making, Scrapbooking, Gift Boxes, Invitations, Party Favours, Craft Supplies and more. (Formally Stampin'Fantastic)
This is a card I made for a recent card swap. The pretty paper is called Peaceful Garden Designer Series Paper. I matched it up with the Peace on Earth dies.
Aren’t those little die cut envelopes cute? The sentiment is from the Notes and Totes stamp set. I used the new Black and White and Gold baker’s twine for a touch of elegance.
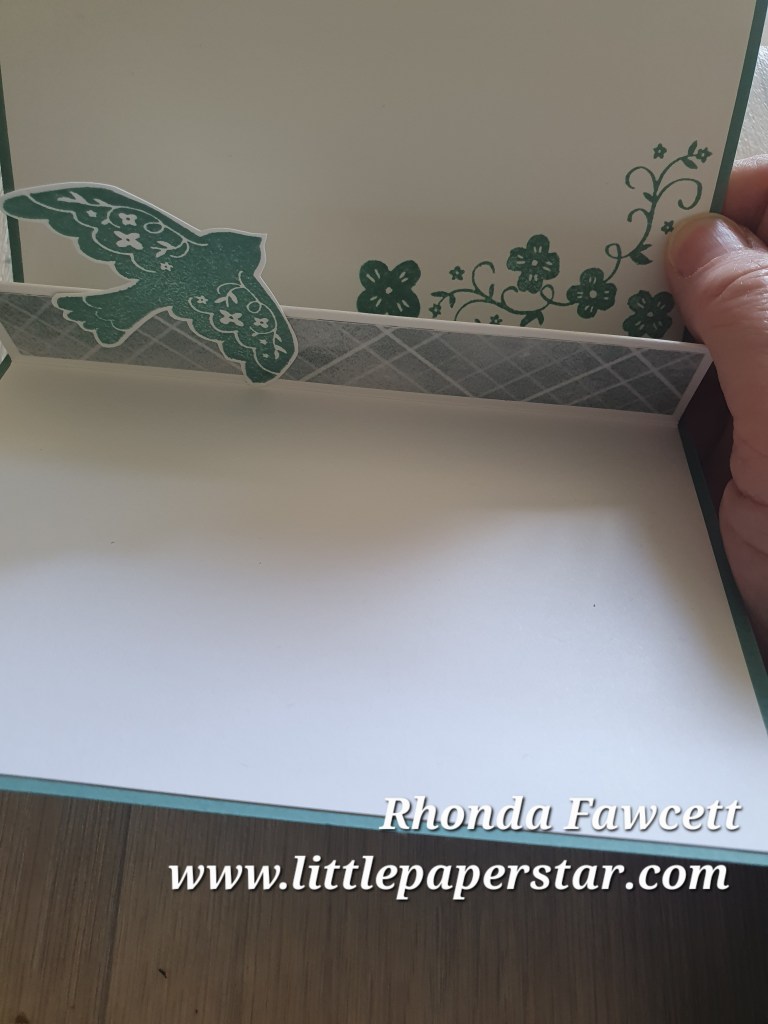
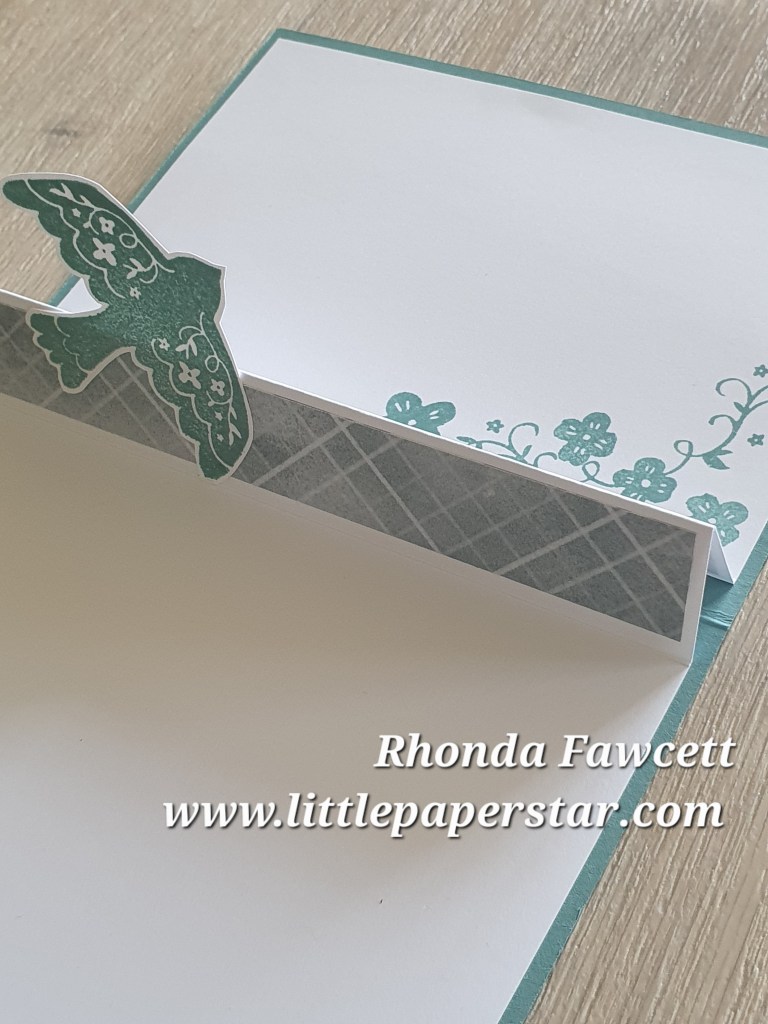
There is a pop up surprise inside…
I don’t know what the name of this type of pop up card would be. It’s quite small and triangular.
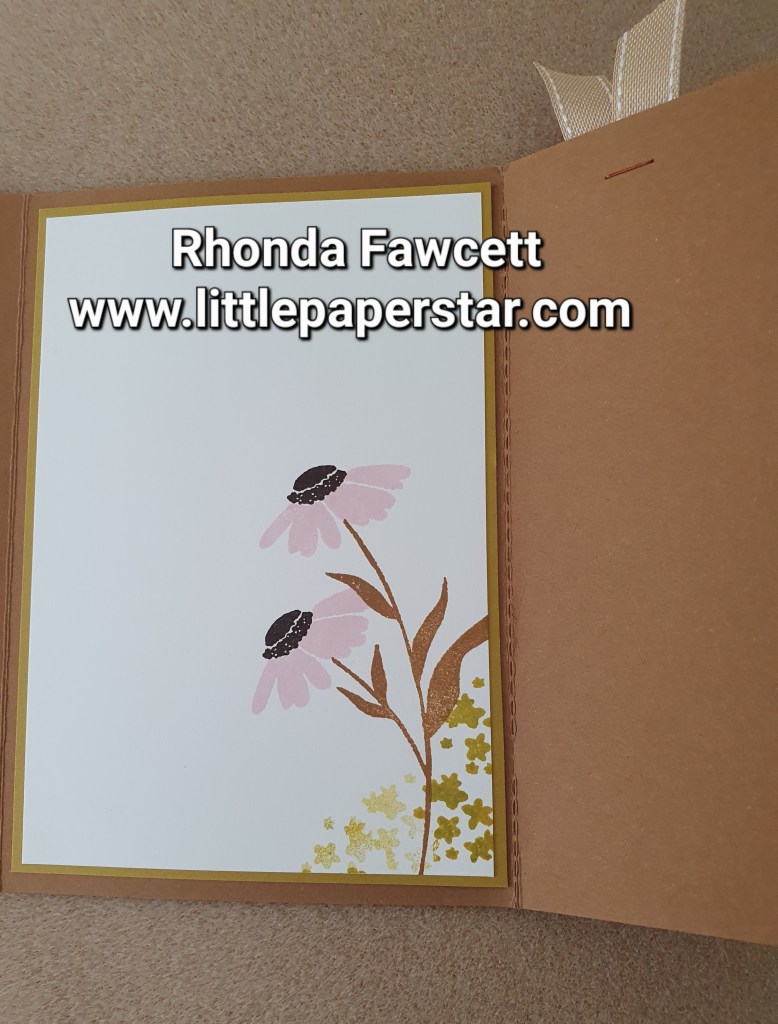
I glued on a stamped dove from the Peaceful Days stamp set to the pop up middle .
I added some extra stamped flowers too. These flowers match the DSP ones on the front.
I love this double z fold card, that was taught to me by Irene Wardlaw at our annual stamp camp earlier this year.
One of the great techniques is the use of the two tone paper. This paper has a white core, which once embossed can be sanded to bring out the textures even more, by revealing the white core.
The birch wood embossing folder was perfect to make waves for this card. Who would have thought a wood grain type of embossing folder would make such effective waves and clouds?
The stamps and dies used are from the Sunrise Sailing bundle. The sailboat dies reminded me of a punch I had a few years ago. The middle Sunrise Sailing die is very similar in size to my old punch. The retired punch is on the left with Basic Beige sails. The current die is on the right with white sails.
Another great thing about this card, is that it can be folded flat for posting.
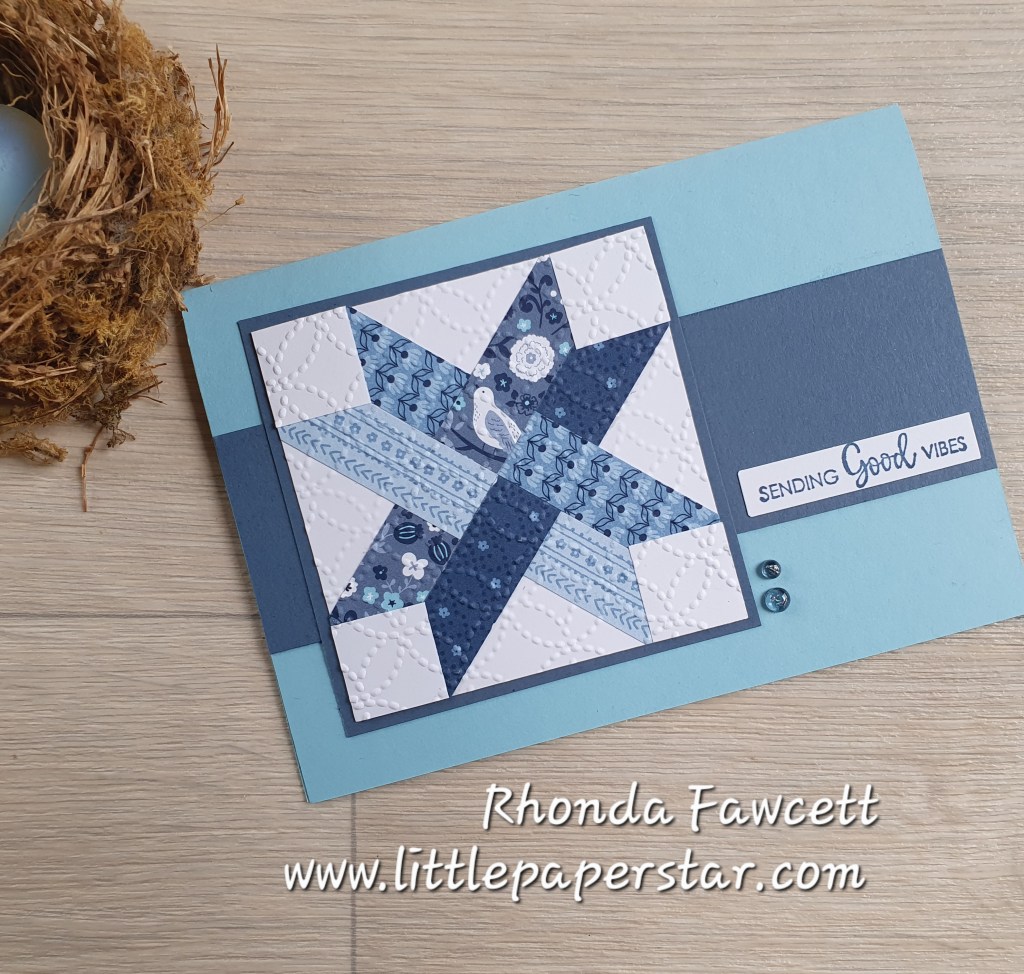
I used the recently retired Countyside Inn papers to make these two quilt look cards. Any patterned paper with a small design print would work well for cards like these.
The first card uses a Balmy Blue base with A Misty Moonlight panel in the centre. Once the strips were glued down on the white square, I put it all through an embossing folder to further enhance the quilting look. The sentiment used on both cards are from The Right Words stamp set.
The second card with the bird on is a book fold card. It is made using small squares and triangles. Colours used are Misty Moonlight and Night of Navy. Again, once the pieces are glued down onto the white card, it is then embossed using the eyelet embossing folder. Both these cards are easy to make and you will find instructions by doing a Google search for Stampin Up Faux Quilt Cards.
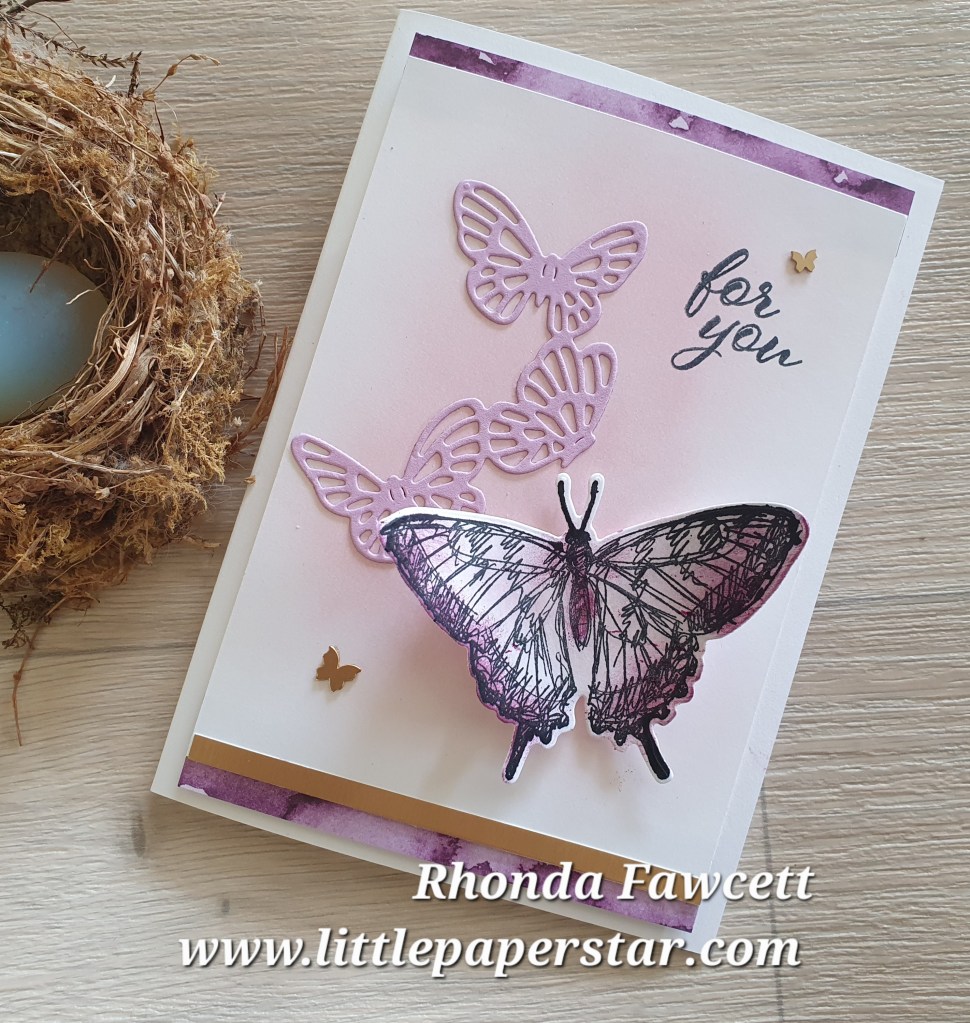
Here’s a recent card that I taught in my classes which is taken from a sketch challenge.
The challenge is to take an idea or sample from the Stampin’ Up! catalogue and use it as inspiration for your card. Here is the idea…
If you visit CASE-ing Tuesday Sketches you will be able to see more and take part in the current challenges.
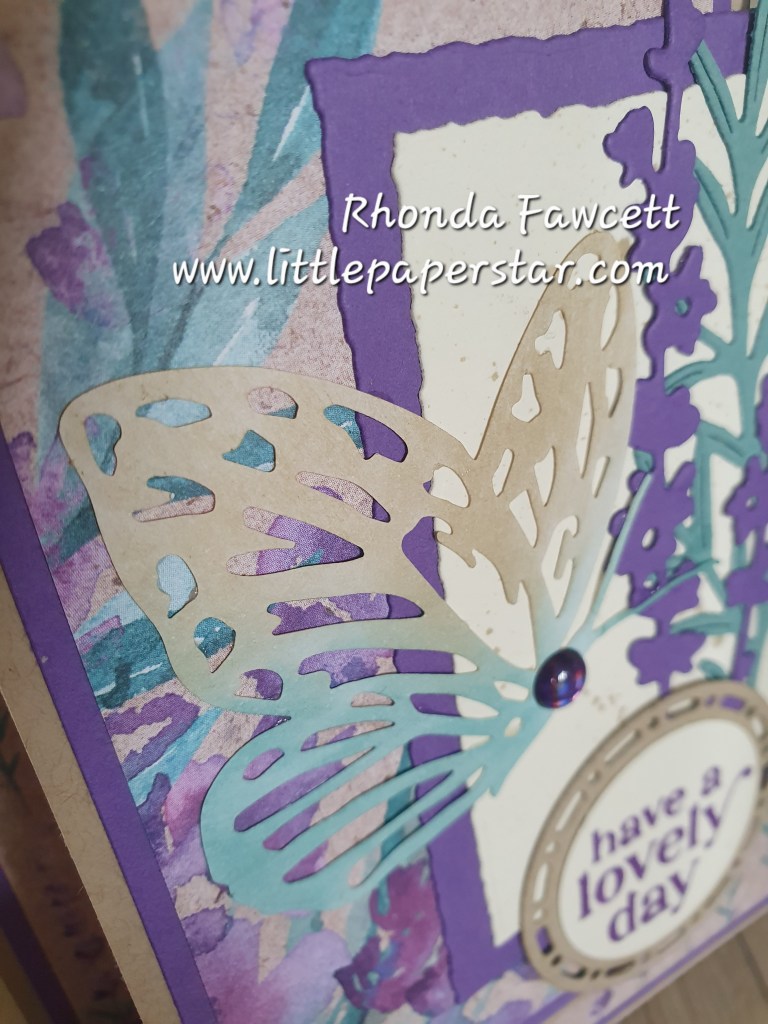
My finished card was inspired from one made by Jolanda Johnstone. If you visit the CASE-ing Tuesday Sketches you will see her card and find that I have changed mine up quite a bit from her original design. I kept the sponging elements, on the background and butterflies as I thought the casual colouring of the sponging worked well with the sketched look of these stamps. I wouldn’t want to colour these butterflies too precisely and lose that casual sketched look.
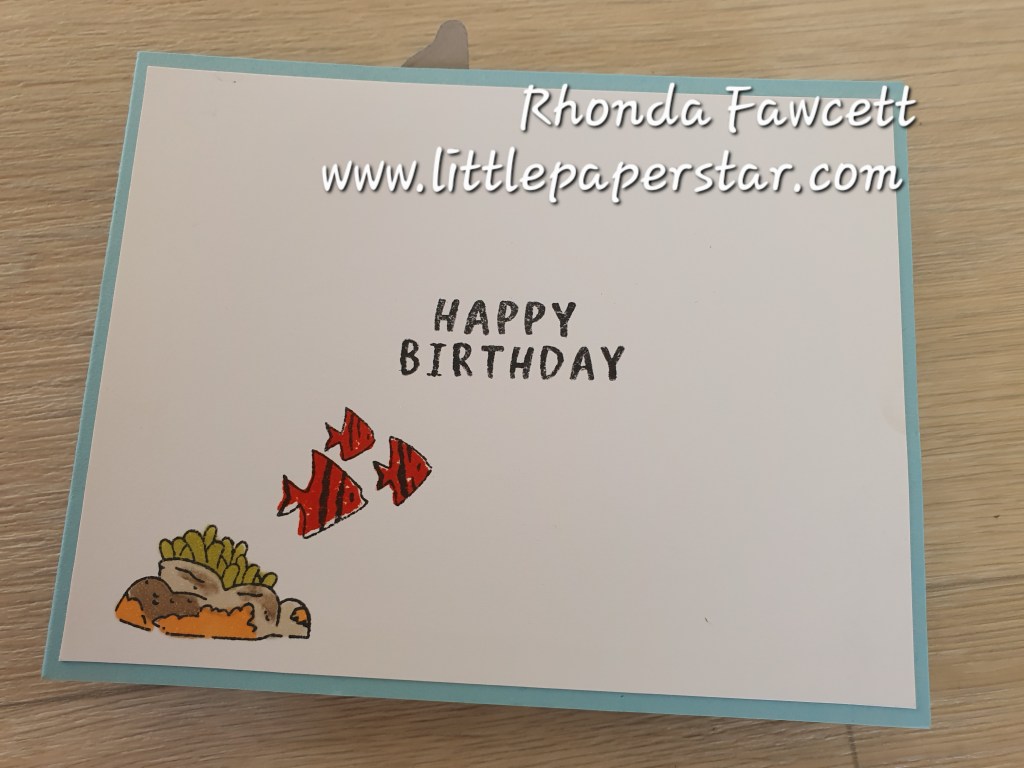
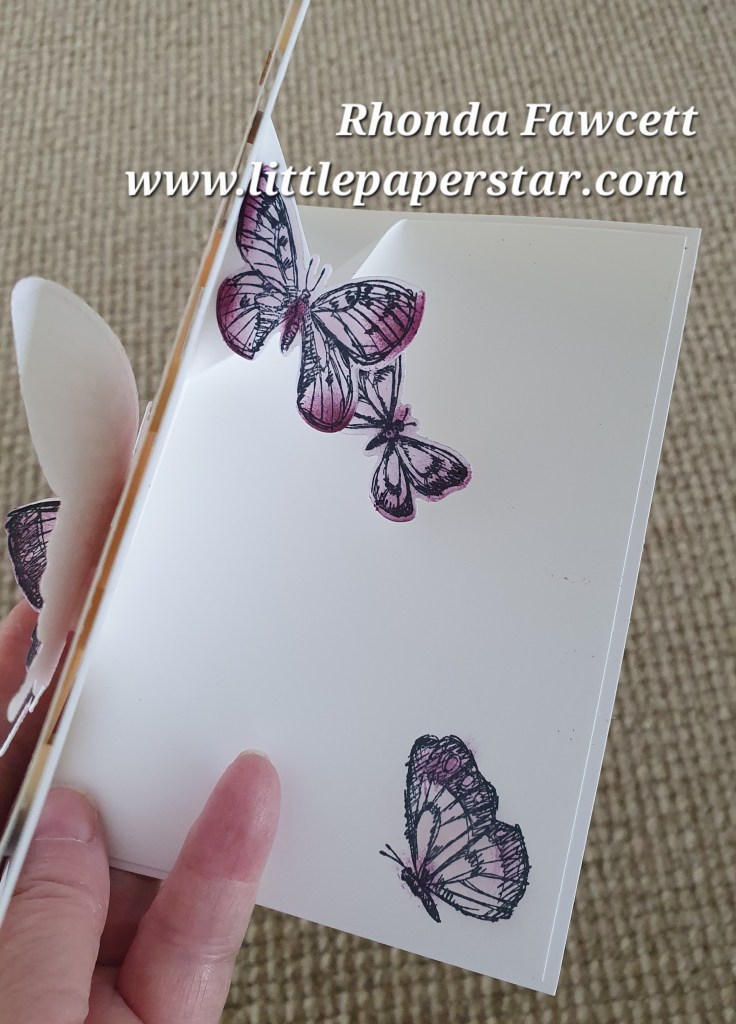
I decided to do something different for the inside of my card and I made a simple pop up card.
This is done on a insert card which is slightly smaller than the base card. I folded my insert card in half and made a pencil mark 4 cm mark on either side of the fold line at the top and another 4.5 cm down on the fold line. Then I scored down both sides to make the angled pop out piece. I added some butterflies to the left hand side. When the card is open the butterflies pop up but they fold back down when the card is closed.
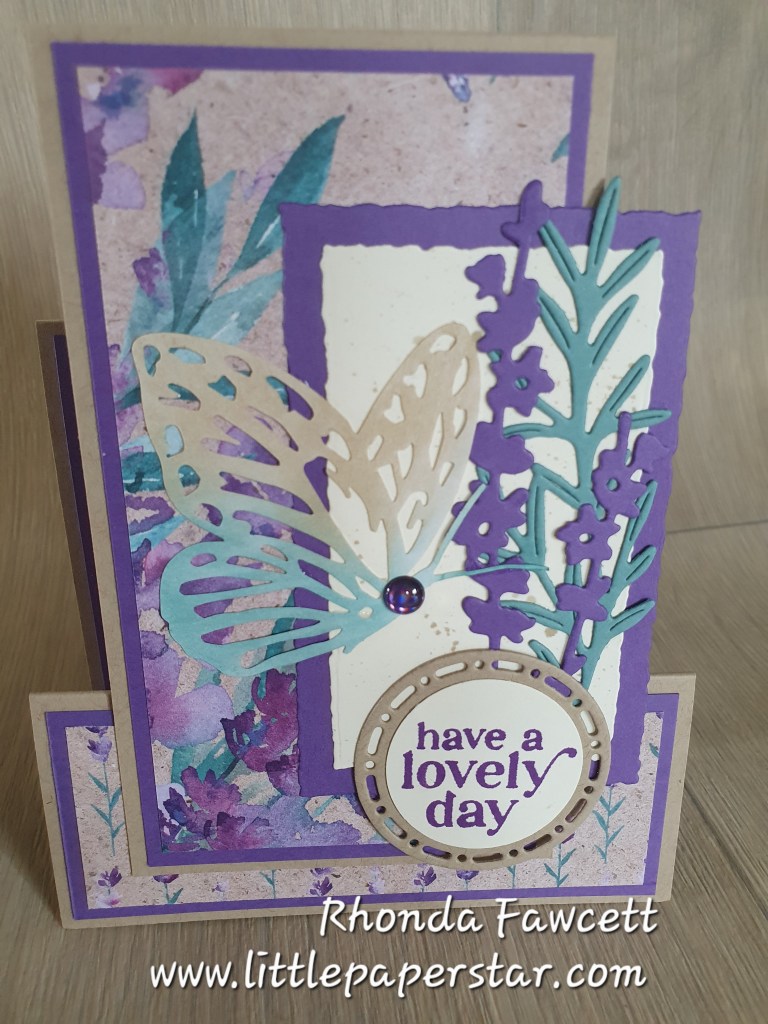
This is the easiest stepper card I have ever made. The base is folded to resemble a lopsided letter M and then a second piece is glued on to provide the focal “stepped up” piece.
I used the popular Perennial Lavender Designer series paper to decorate the step and centre piece. The dies are from the same Perennial Lavender suite and are still available for purchase on Stampin’ Up’s! Last Chance list.
The paper butterfly accents are another favourite. They come plain white and I used our blending brushes to add colour. I love they way they turned out.
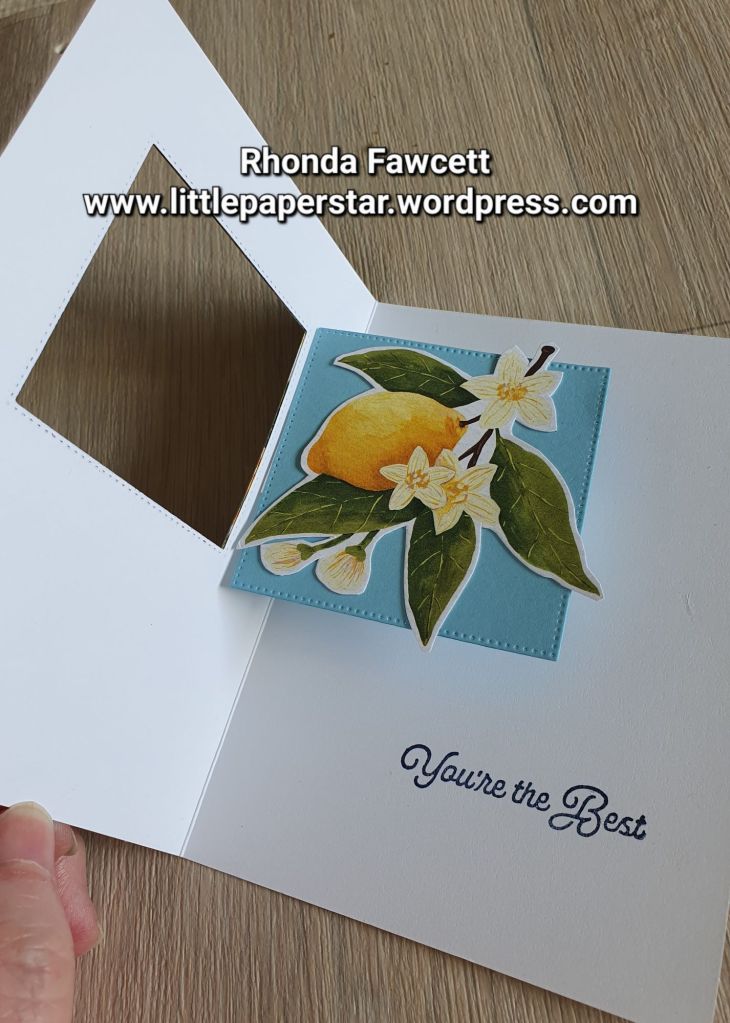
I was teaching some classes this week using the Citrus Blooms bundle. Such pretty paper makes both cardmaking and scrapbooking easy. I used some left over bits to make this joy fold card. The Night of Navy card base is 29.6 cm x 10.5 cm and is scored at 7.5 cm and 14.9 cm.
The front has lemons which are fussy cut. I had some extra lemons at the edge of my paper so I added a third to the bunch I had already cut out. I mounted them on dimensionals and adhered them to a piece of white card. The white card measures 10.5 x 7 cm and is embossed with the distressed tile embossing folder. I stamped the word hello before I embossed the card.
The white insert piece that reads, “Just checking in”, measures the same as the front navy piece with the lemons on. (12 x 8.5 cm). I matted my front navy piece with silver card as I wanted to match the striped piece of retired DSP that I used inside. I can’t remember the name of the DSP, it was in a Christmas pack about 5 years ago.
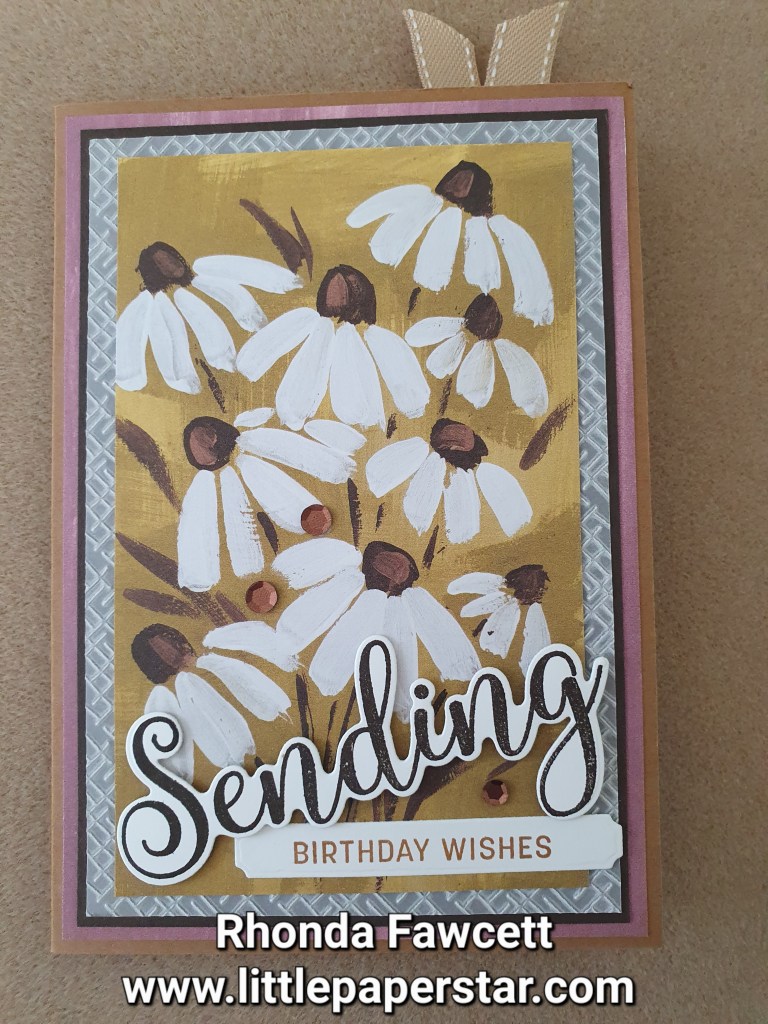
This was a fun card to make. It has a detachable bookmark with it. To make the bookmark, I cut my base card to 14.9 x 26 cm. I used the Take Your Pick tool attachment with the perforating wheel to rule 5 cm off the side. I folded the perforated panel in and folded the card in half. I used the Fresh as a Daisy designer series paper to decorate the front. The sending word and birthday wishes are from the Sending Smiles bundle.
Do you like the white embossed border on the front? It is Vellum. It makes a great border as it is a much softer look than it would have been had I used white cardstock. With such a bust front to this card, I felt it needed something more subtle in the background and the vellum worked perfectly.
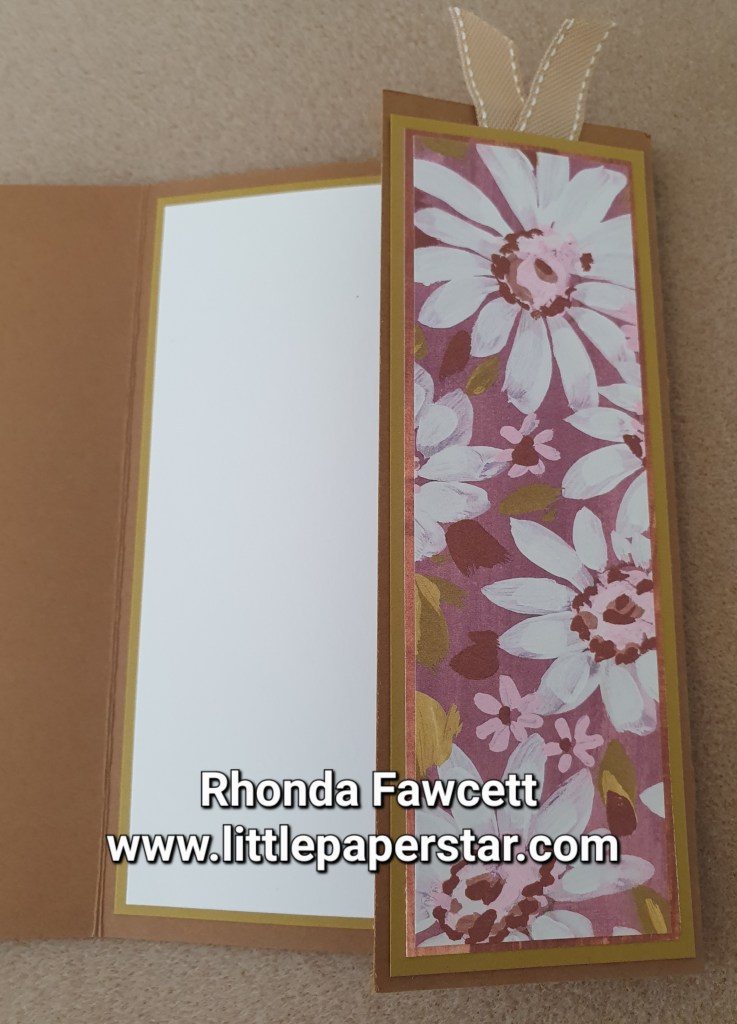
Inside the card, you can see the bookmark, folded inwards. It is decorated with another piece of DSP from the “Fresh As A Daisy” paper pack.
Here is the inside of the card with the bookmark folded out. You will see the perforations that you can tear or cut along to remove the bookmark from the card.