Paper Tube Embellishments

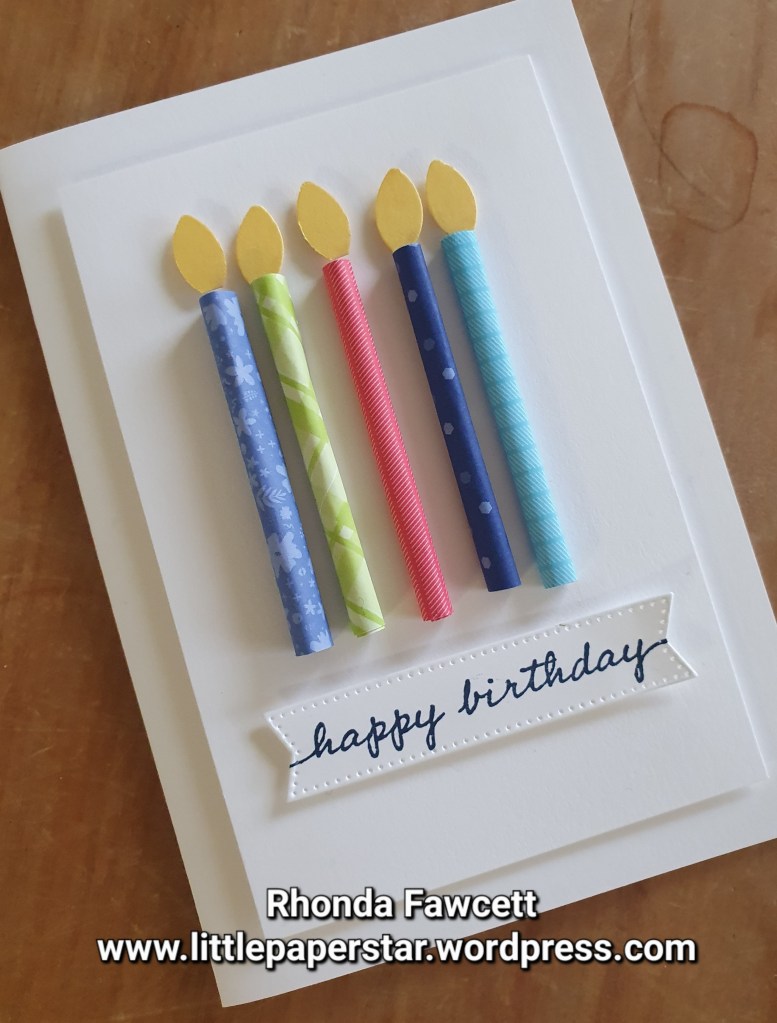
I made some paper tube embellishments for my vintage scrapbooking page.

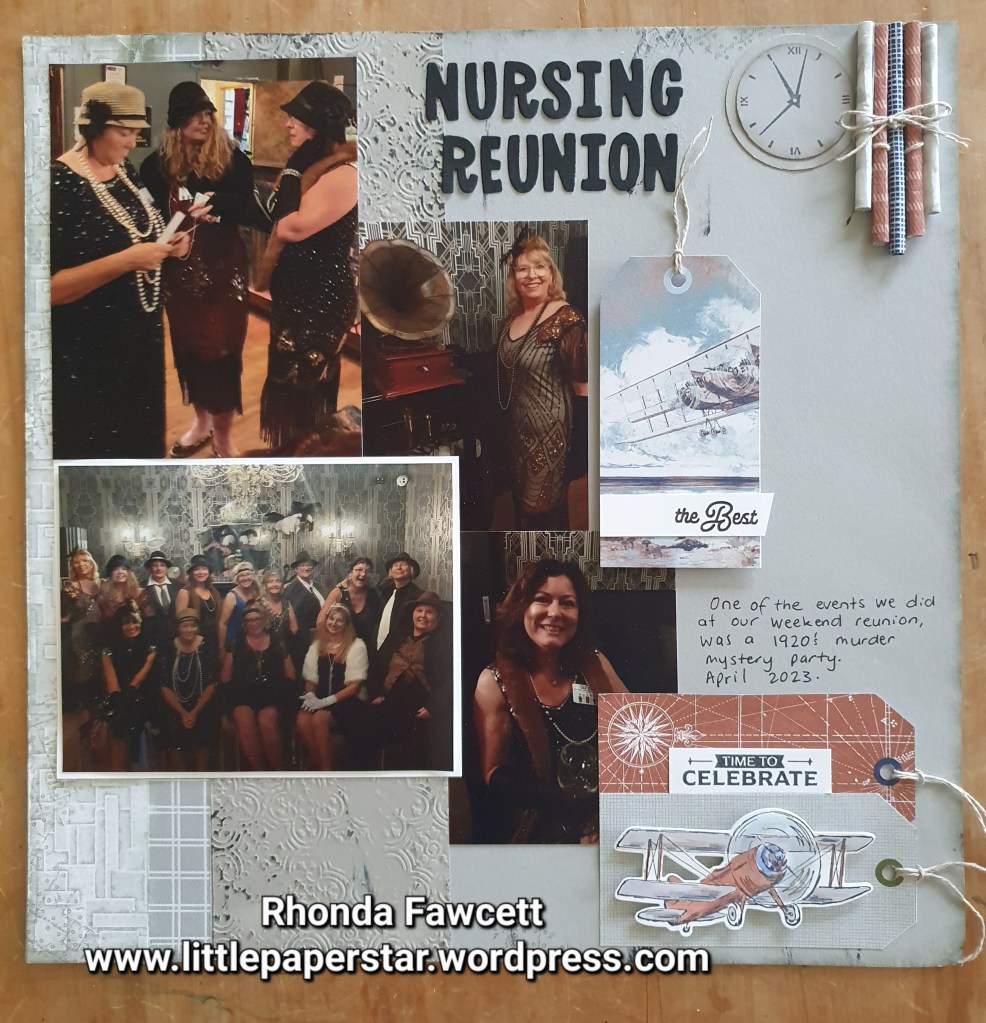
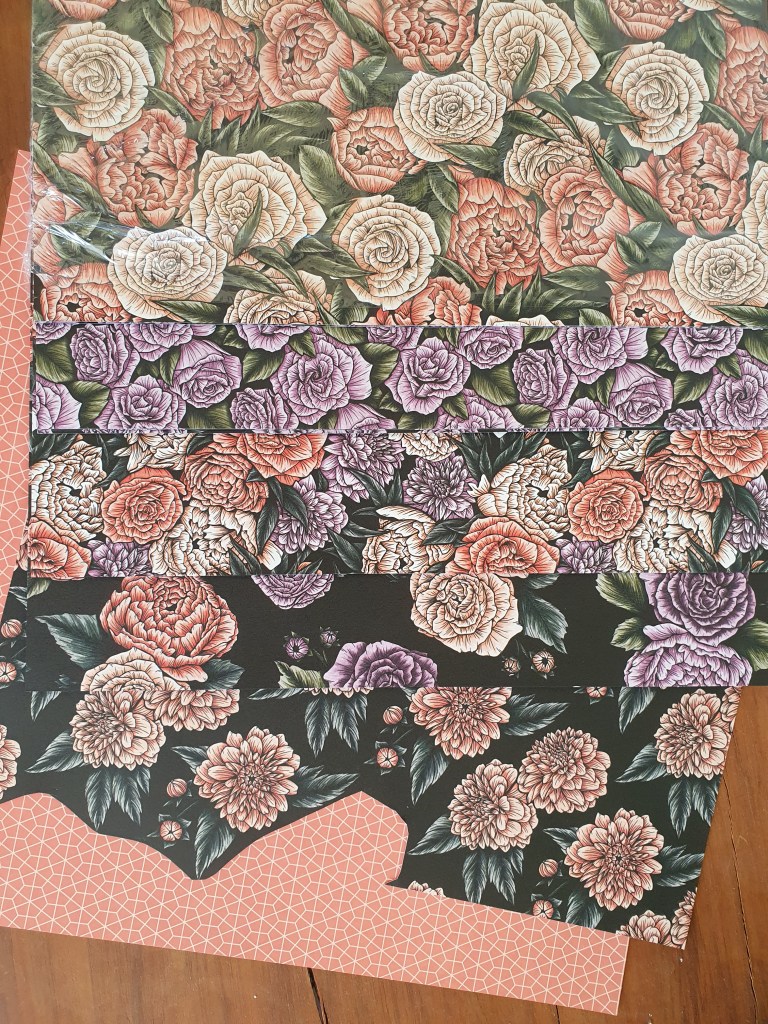
They are easy to make. Cut DSP (Designer series paper) to 2.5 cm wide by as long as you want the tube to be. The gray tube are 6 cm long, the brown ones are 6.5 cm long and the middle navy one is 7.5 cm long. Use a bone folder to break the fibres and curl the DSP. Then roll it up on a kebab stick, gluing the side edge down before you take the tube off the kebab stick. Adhere to the page with the seam side down.

I wanted to show the ladies at the scrapbooking class that this type of embellishment could also be used for making a birthday card. I used some retired in colour paper for this simple card. The candle flames are made using a leaf from the bough punch.

Latte Love

I love these coffee cards. We made them at a team day using a one sheet wonder, which gave us two cards from one sheet of Designer series paper. The paper we used is called Country Woods by Stampin’ Up!

The layout is similar for both cards but the orientation has been changed. For the landscape orientation, I added two coffee cups. I wanted the handle on one of the cups to go the opposite direction, so I stamped it on my silicon craft sheet first, then pressed my Pool Party card onto the craft sheet to pick up the stamped image and voila, it is a reverse image. It’s that easy. The only thing is the image is lighter. I stamped off my right side facing handle coffee to make it lighter to match the one I did with the silicon sheet.

I used white embossing powder to do the coffee beans as they are hard to see on the Early Espresso card.

And of course, I had to stamp the inside. The stamped images are coloured in using Stampin’ Blends.

Dahlia Fold Card

I have seen these Dahlia fold cards around for awhile now but haven’t made one until today. I thought I would teach it at a class, because origami is fun and this card was just a little bit different.

The paper we used is about to retire. It is called Delightfully Eclectic and is currently half price. The stamp set is from the Charming Sentiments stamp set.

To make the Dahlia, you need to punch 8 circles from the patterned paper and one circle from coloured card. I used a 2″ circle punch. You can see the steps on the photo below.

Step 1. Fold circle in half and in half again. For me it was helpful to draw in fold lines with a pencil as it made them easier to see.. Step 2. Fold in bottom edges, so folded piece is sitting neatly between pencil marks. Step 3. Turn circle over. Now fold in side so it is even with the centre fold. Step 4. Repeat on opposite side. Rub out pencil marks.

You now have 8 Petal pieces. You will adhere these to a card circle. Then adhere onto your card.

Fresh as a Daisy

This was a fun card to make. It has a detachable bookmark with it. To make the bookmark, I cut my base card to 14.9 x 26 cm. I used the Take Your Pick tool attachment with the perforating wheel to rule 5 cm off the side. I folded the perforated panel in and folded the card in half. I used the Fresh as a Daisy designer series paper to decorate the front. The sending word and birthday wishes are from the Sending Smiles bundle.

Do you like the white embossed border on the front? It is Vellum. It makes a great border as it is a much softer look than it would have been had I used white cardstock. With such a bust front to this card, I felt it needed something more subtle in the background and the vellum worked perfectly.

Inside the card, you can see the bookmark, folded inwards. It is decorated with another piece of DSP from the “Fresh As A Daisy” paper pack.

Here is the inside of the card with the bookmark folded out. You will see the perforations that you can tear or cut along to remove the bookmark from the card.

Flight and Airy Card

I wanted to use some scraps of this very pretty paper (it’s a freebie when you spend NZ $110 on Stampin’ Up! products. This Sale-a-bration freebie ends on 29th of February). Anyway I was playing with my Stylish Shapes dies and noticed that they all have double stitching. This means the shape you die cut out plus the negative where you cut the shape from, both have stitching lines. I really wanted to showcase both sets of stitching lines and so I came up with this “window frame” card.

I had a bit of trouble initially keeping the squares even, so I made a template from grid paper first which really helped.

I glued the window frame to a thick white card base. I die cut some squares of Designer series paper (DSP), to go inside each window. Then I added a sentiment from the sending smiles stamp set. This was also die cut using a die from the stylish shapes die set and placed on dimensionals. Finally I added some neutral sequins to finish.

Here is a close up of the double stitching.

Dainty Delight card with bookmark

This is a project that we made in class recently using the pretty Dainty Delight DSP. One of the sheets of paper has these floral oval wreaths printed on, which became the base for our card.

Because of the sizing of the wreaths, the card size was slightly shorter and wider than our standard NZ card size. (Perfect for the American card sizing though). So I decided to do a custom made envelope for it. We even put some floral paper inside the flap.

The bookmark is a strip of DSP mounted on some Rich Razzleberry card and with a few flower die cuts added for extra dimension. It will be a pretty gift for someone’s birthday.

Favored Flowers Designer Series Paper

What beautiful rich paper this is. I love it. And even more so when it is free! Yes this is one of the Sale-a-bration free items that you can choose as your gift with NZ $110 spend.

I whipped up a card this afternoon, using basic black as my base with a 5.5 cm strip of white card and a 4.5 cm strip of the patterned paper. The strip of paper that I used was this Coral coloured pattern and on the reverse were the lovely Dahlias that I fussy cut out.

I added some bling, bakers twine and a sentiment and voila, card made! It only took me 10 minutes.

Check back tomorrow for some more Sale-a-bration card ideas.

Happy Forest Friends Suite

As soon as I received my new Annual catalogue, I fell in love with the Happy Forest Friends suite. I couldn’t wait to a have play. Here is one of the cards I made using some of the elements from the suite.

The bear is stamped and die cut out. The background is from the DSP (Designer Series Paper) pack, Happy Forest Friends. The ribbon is also from this suite and it is part of a 2 pack of lovely soft twill ribbon in both Old Olive and Sahara Sand.

This is a great set for baby cards if you want to get away from the traditional blue and pink baby cards. It will also make great birthday cards. I can just imagine the bear holding a balloon. What do you think?

6 x 6 Designer Series Paper

Are you like me and buy up loads of gorgeous paper and then don’t get around to using it all? Maybe you don’t want to cut into it just yet. Here is a quick video showing how to use your designer paper to make regular size greeting cards.
The best thing is that you get to see both sides of the pretty paper and it is a quick way to make a card.