Sharing my love of all things paper-craft: Card making, Scrapbooking, Gift Boxes, Invitations, Party Favours, Craft Supplies and more. (Formally Stampin'Fantastic)
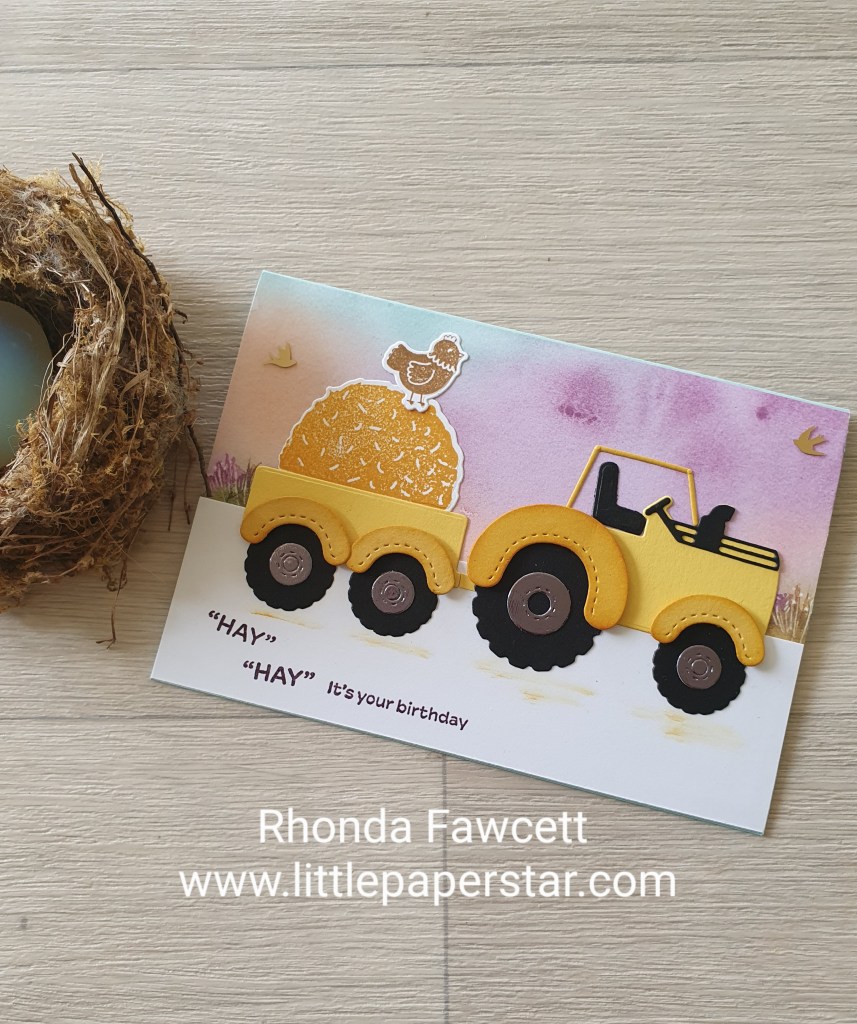
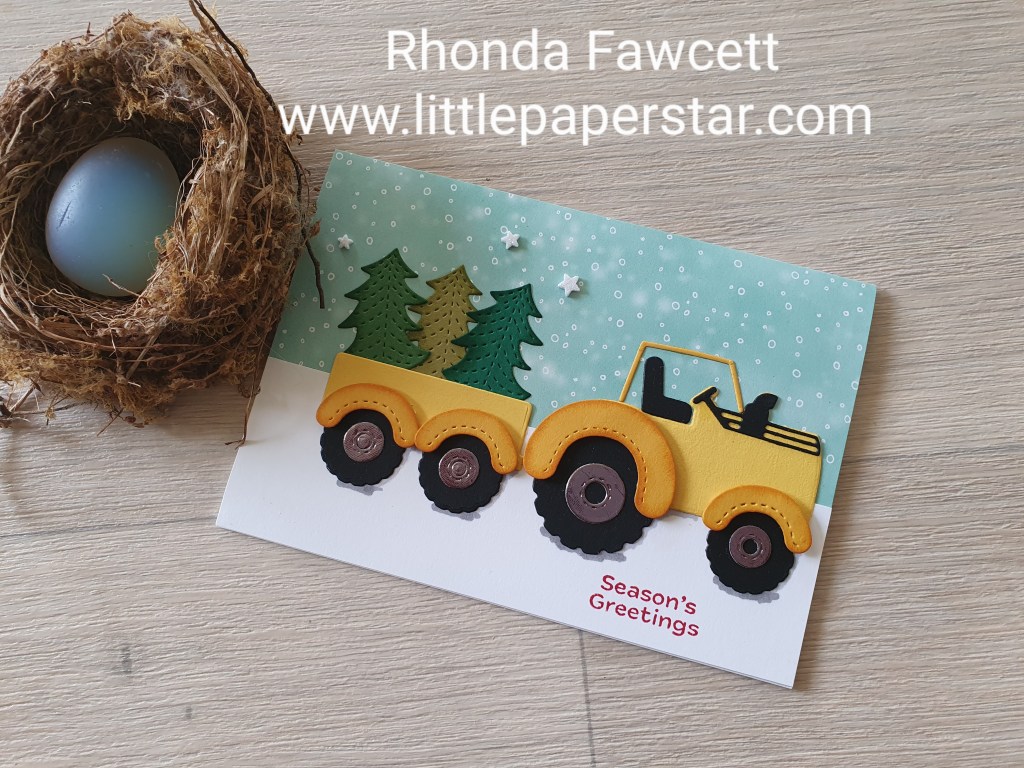
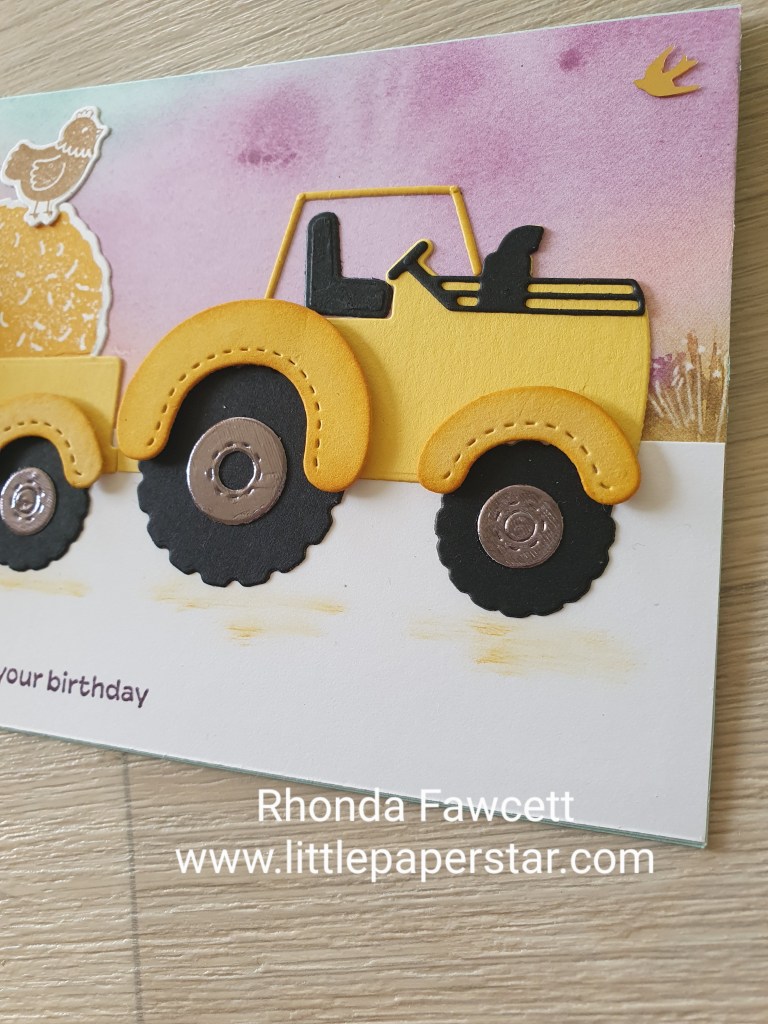
This birthday card was fun and easy to make using the Tractor and Co Bundle from Stampin’ Up!The Christmas version was taken from the Stampin’ Up! website and the birthday version was adapted from that.
The Thoughtful Journey DSP made the perfect sunrise background for the feeding out of the hay. The Christmas version had glitter foam star embellishments so for the birthday card I decided to use the brushed brass birds instead.
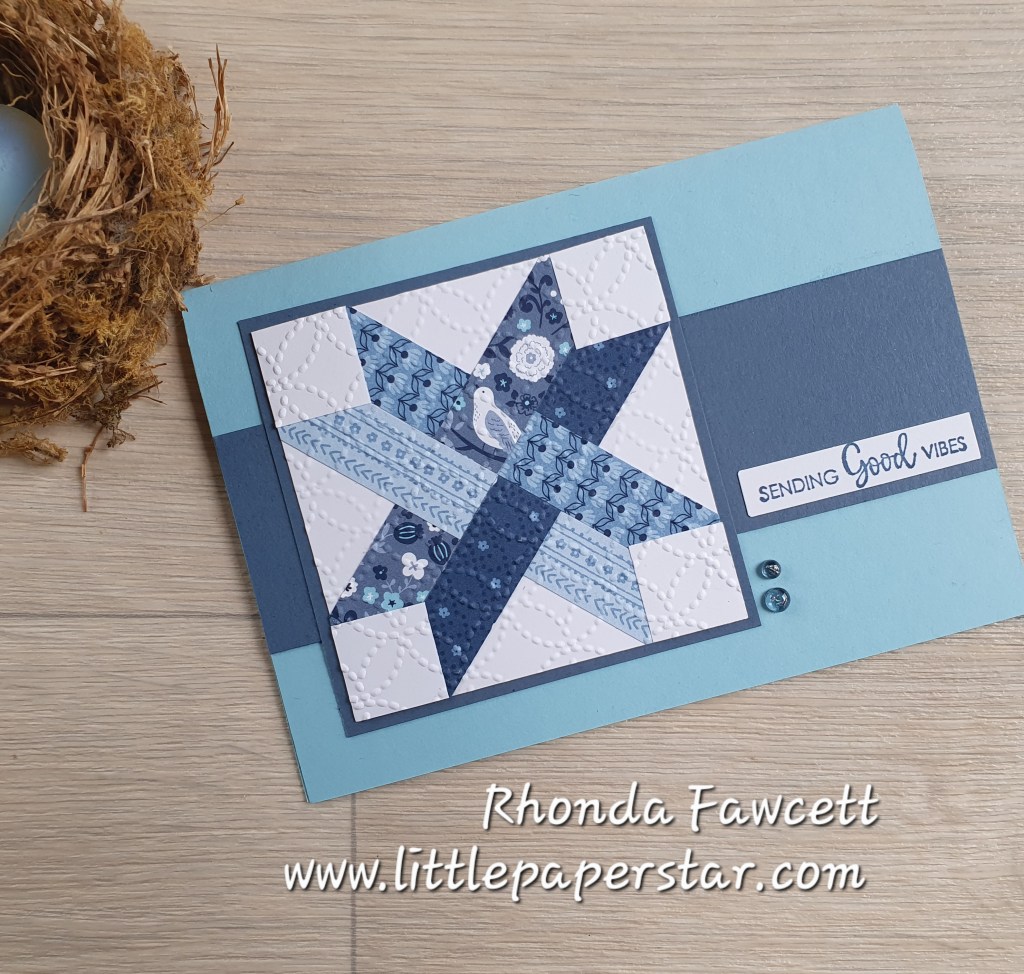
I used the recently retired Countyside Inn papers to make these two quilt look cards. Any patterned paper with a small design print would work well for cards like these.
The first card uses a Balmy Blue base with A Misty Moonlight panel in the centre. Once the strips were glued down on the white square, I put it all through an embossing folder to further enhance the quilting look. The sentiment used on both cards are from The Right Words stamp set.
The second card with the bird on is a book fold card. It is made using small squares and triangles. Colours used are Misty Moonlight and Night of Navy. Again, once the pieces are glued down onto the white card, it is then embossed using the eyelet embossing folder. Both these cards are easy to make and you will find instructions by doing a Google search for Stampin Up Faux Quilt Cards.
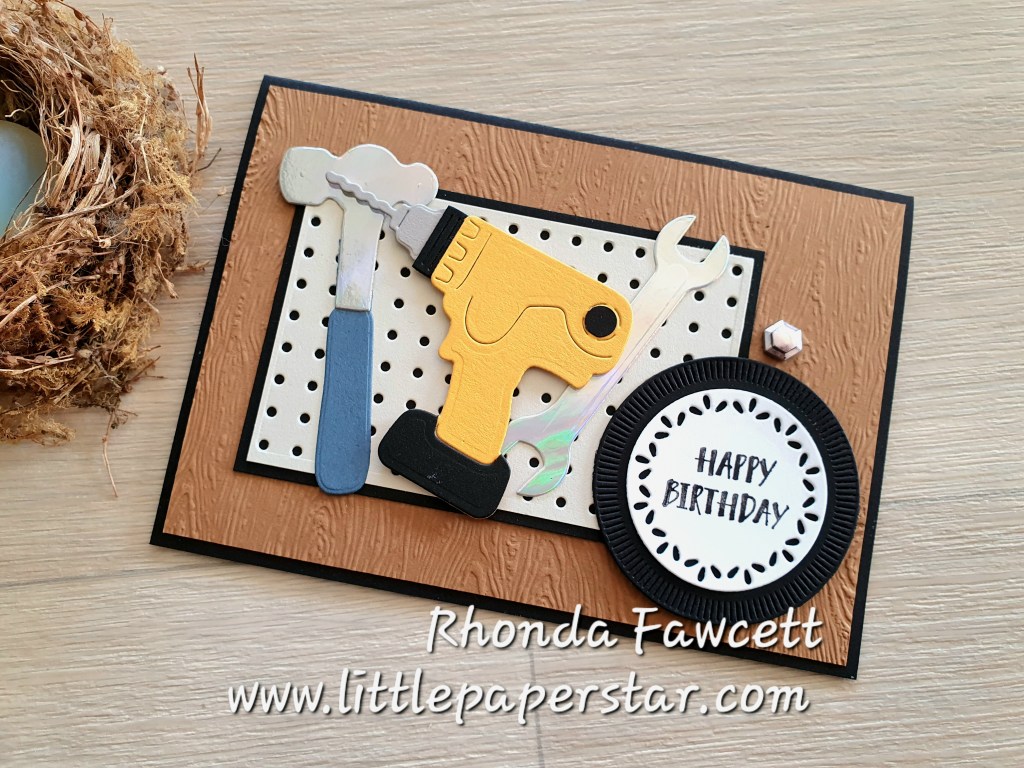
I’ve had several customers tell me they find it hard to make cards for men. So I decided to teach this one at my last card class. It was really easy using the Trusty Tools dies.
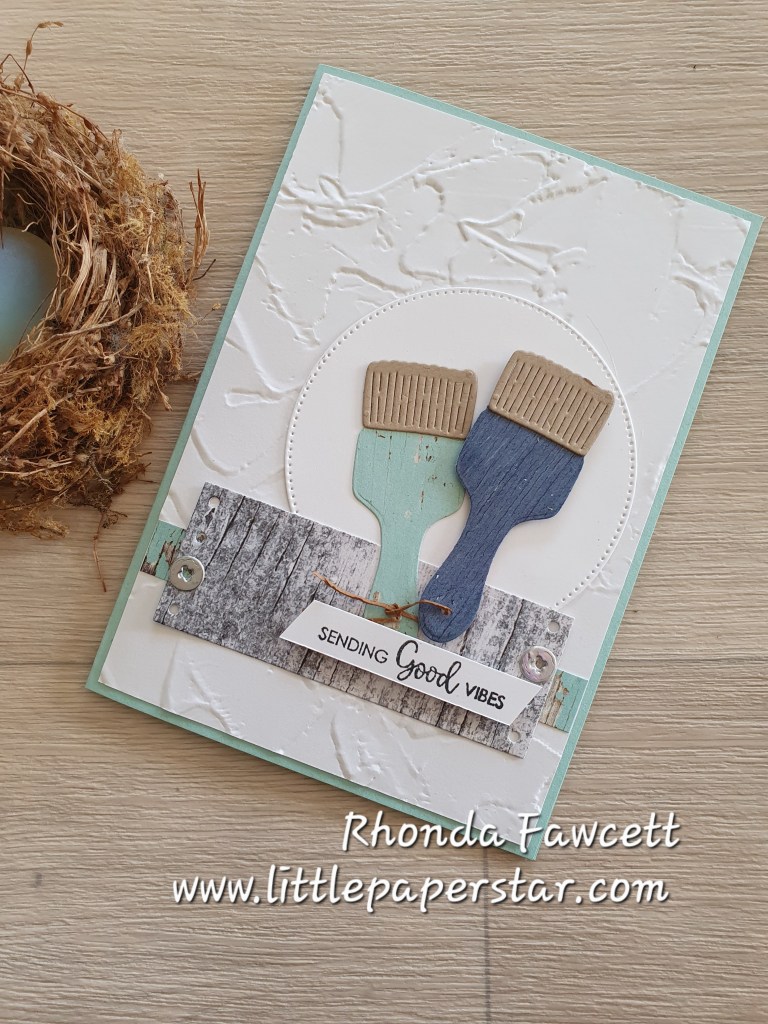
I made a second card using the paintbrush die. Both cards feature “The Right Words” stamp set.
Did you notice the faux leather tie on the blue paintbrush handle? It is made using a thin strip of Pecan Pie card.
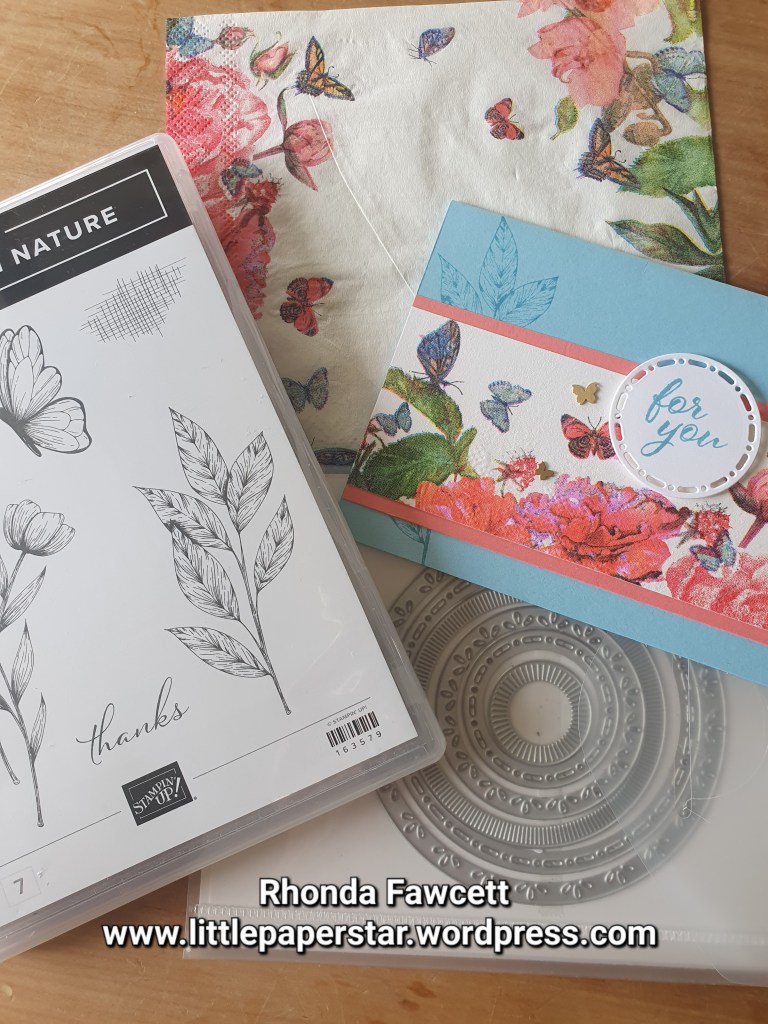
There are so many pretty serviettes out there. I wonder if any of you, have been like me and have picked up a serviette at a function, thinking this is too pretty to wipe my fingers clean, I am going to pocket it instead and use it for something someday – so others can appreciate its beauty too?
I have made some canvases (wall art) in the past with serviettes and a paper glue, but finding this easy way to transfer them onto card fronts was a game changer. (Way less wrinkles and way less mess!)
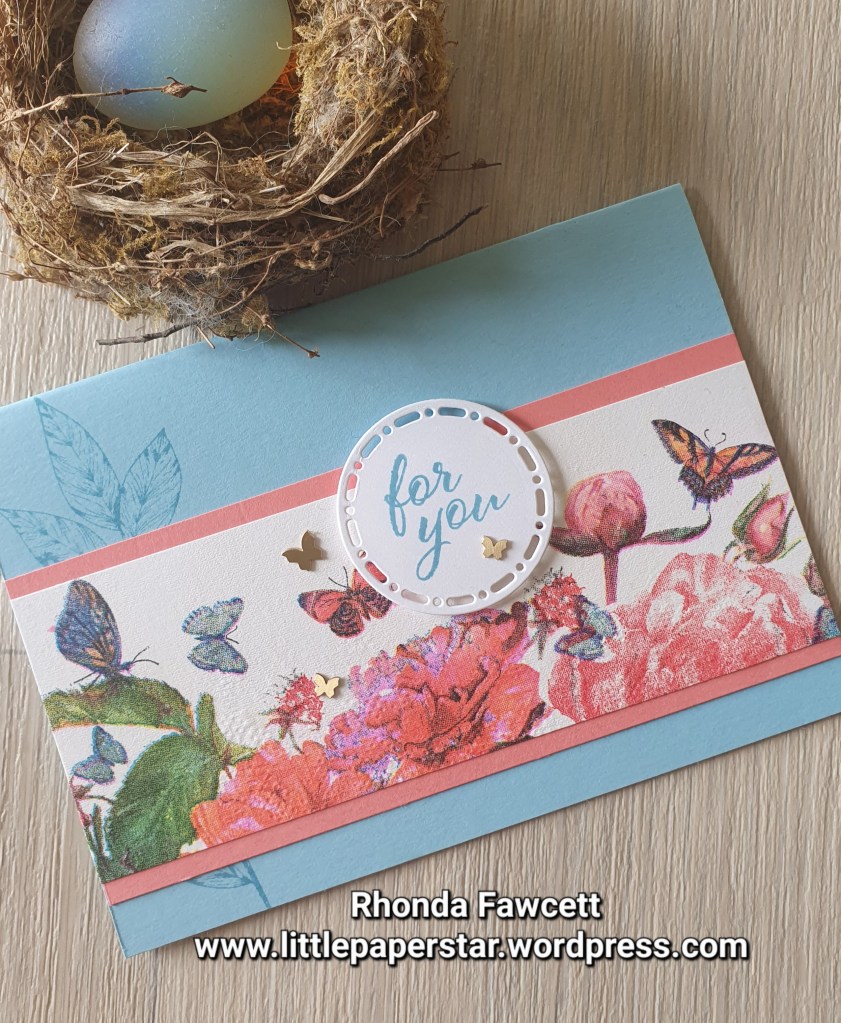
For this card, I used the spotlight on nature bundle and a sentiment from layering leaves. I used Balmy Blue and Flirty Flamingo cardstock to match the colours in the servitte.
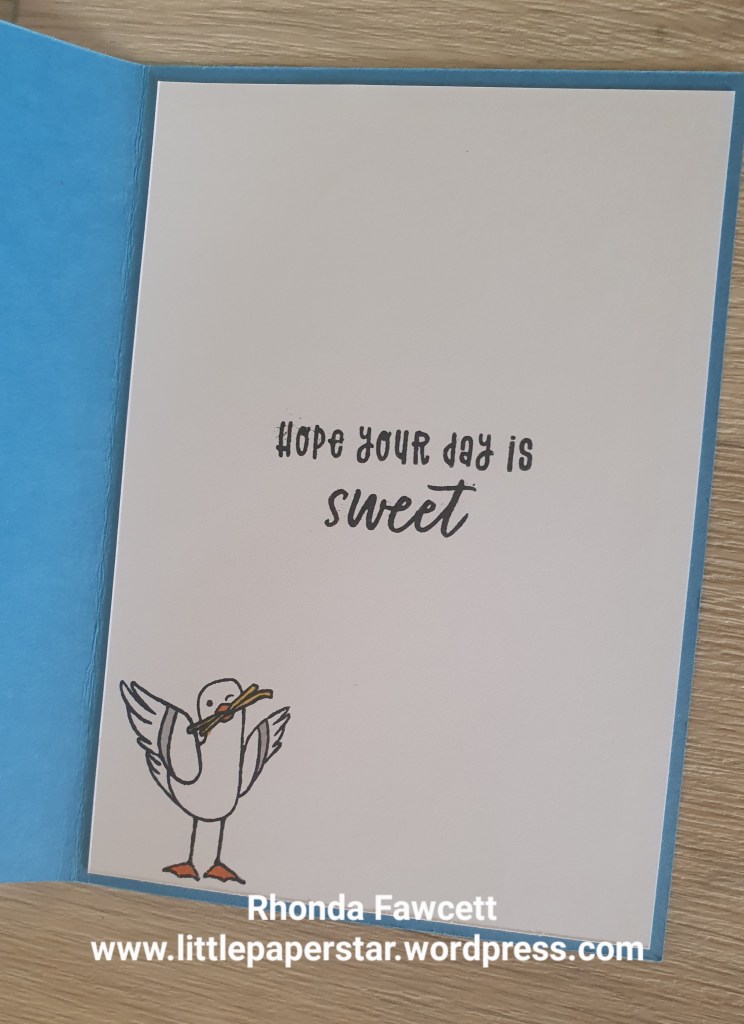
I purposefully didn’t add words inside this card so I could you for a a variety of occasions later on.
If you are still reading, you are probably wondering when I am going to tell you how to actually make these cards…
Here goes: The main points are to use a hot iron with no water in it and iron it on a very firm surface. I used a wooden chopping board. You MUST make sure that you use the top layer of the serviette only. Some have two layers and some have three layers. Peel away the one or two bottom white paper layers and keep the top layer with the picture on. Make your sandwich like this: *Wooden board *Baking Paper (this will protect the card from burning) *Cardstock (piece of white or vanilla) *Plastic cling wrap (cut a piece to cover the card and lay it out as flat as you can) *Picture Serviette – right side facing up *Baking Paper (again needed to stop paper serviette from burning) Make sure that the baking paper covers everything – you don’t want to get plastic cling wrap on your iron as it will ruin the iron. Iron for about 10 to 15 seconds in one area. Press down firmly. Then move onto another area and repeat. Lift off baking paper and see if the picture is attached. If the picture is lifting off at the corners, just continue the process. I used card stock larger than needed. I trimmed off the excess card, serviette and cling wrap when finished.
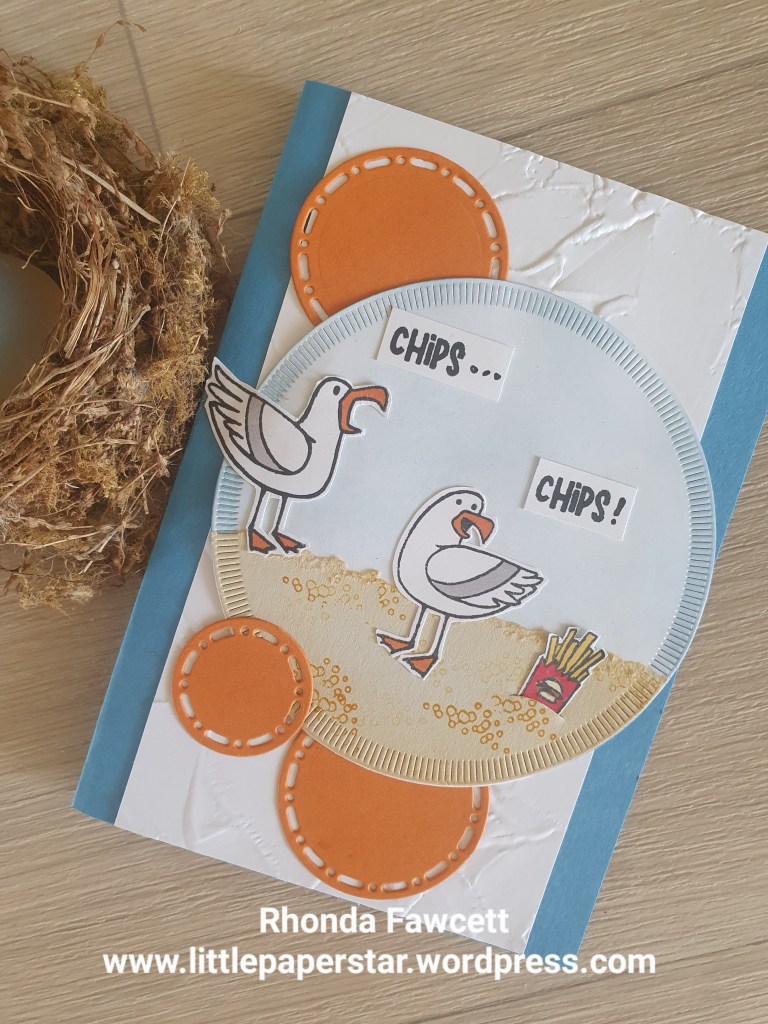
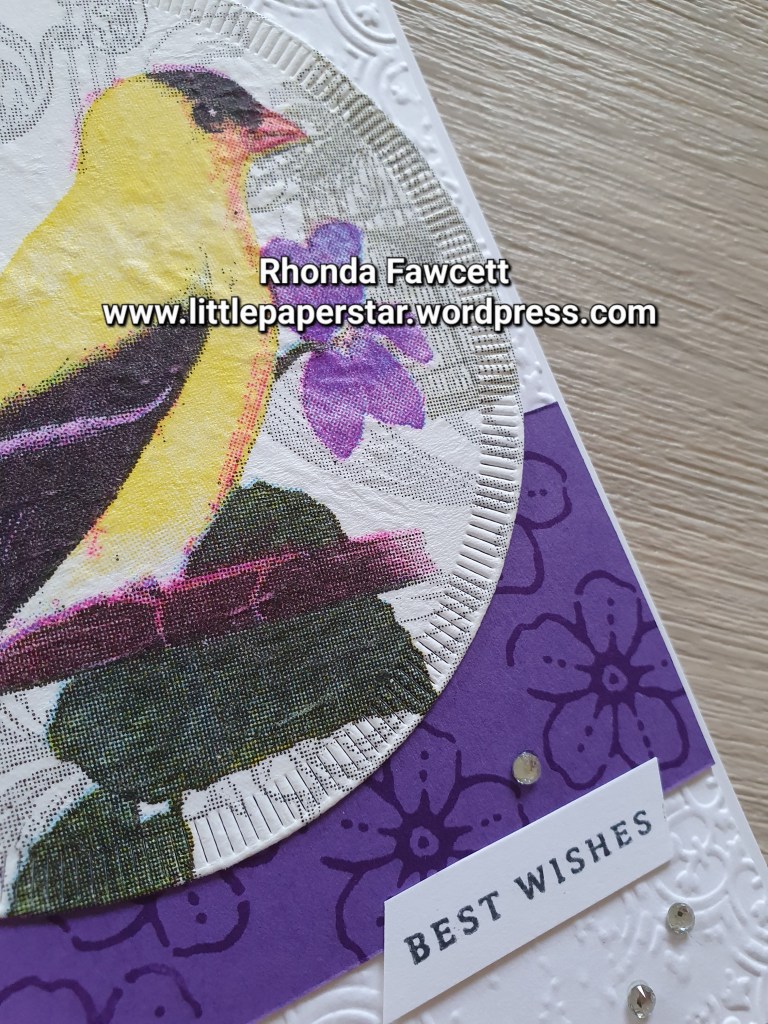
Bird card with serviette. I made this one using a bird patterned serviette. I adhered it all together as described above, then die cut it out with one of the circles from Spotlight on nature dies. The stamps are from Sentimental Park stamp set.
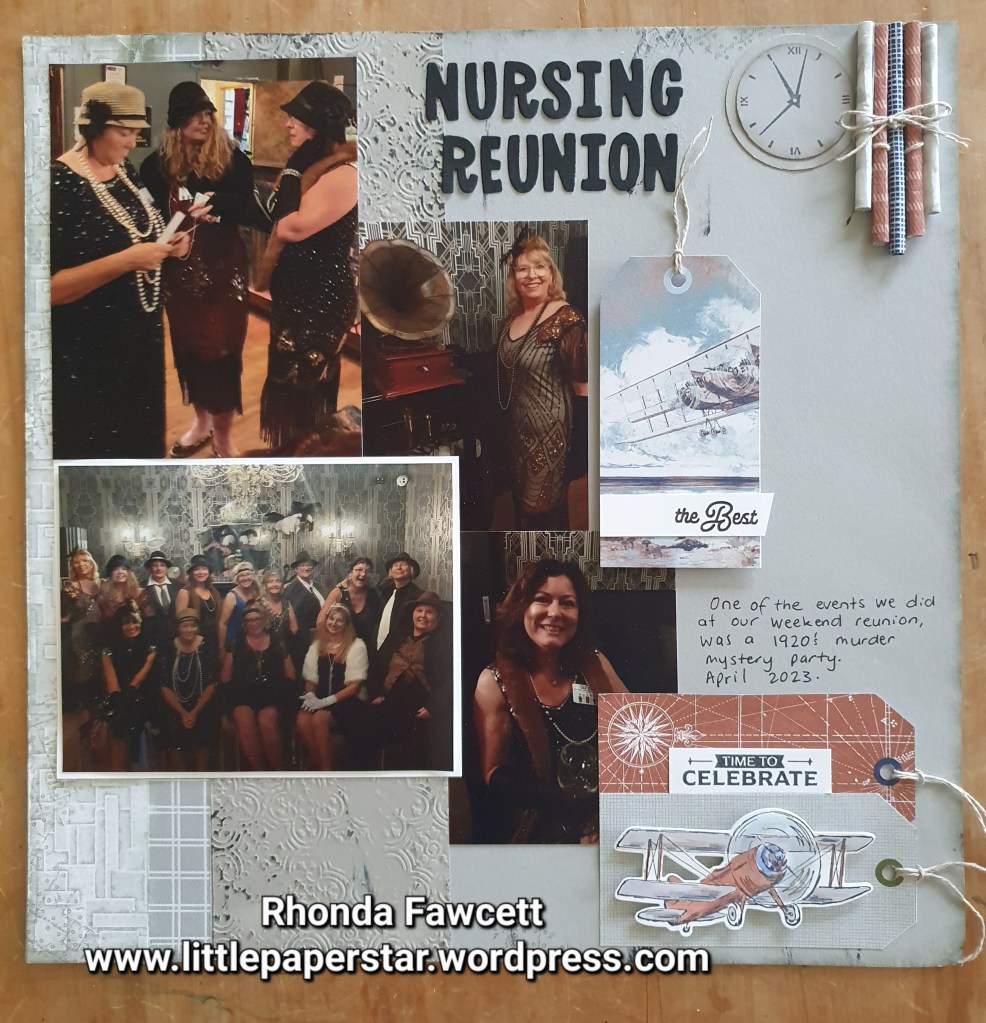
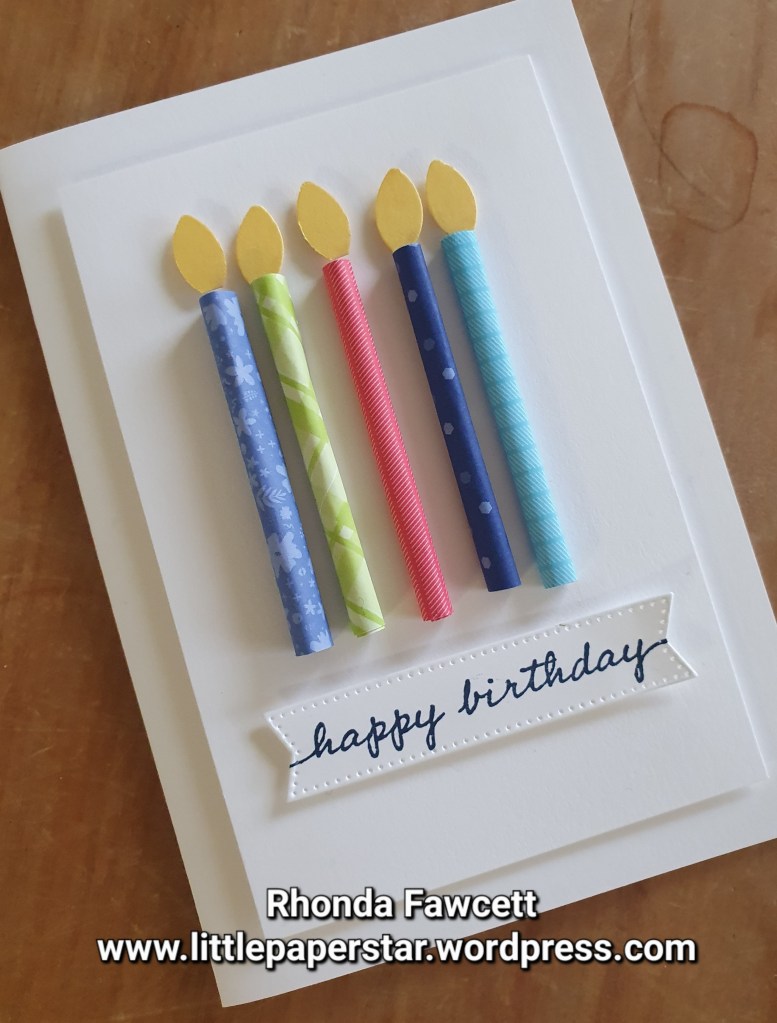
I made some paper tube embellishments for my vintage scrapbooking page.
They are easy to make. Cut DSP (Designer series paper) to 2.5 cm wide by as long as you want the tube to be. The gray tube are 6 cm long, the brown ones are 6.5 cm long and the middle navy one is 7.5 cm long. Use a bone folder to break the fibres and curl the DSP. Then roll it up on a kebab stick, gluing the side edge down before you take the tube off the kebab stick. Adhere to the page with the seam side down.
I wanted to show the ladies at the scrapbooking class that this type of embellishment could also be used for making a birthday card. I used some retired in colour paper for this simple card. The candle flames are made using a leaf from the bough punch.
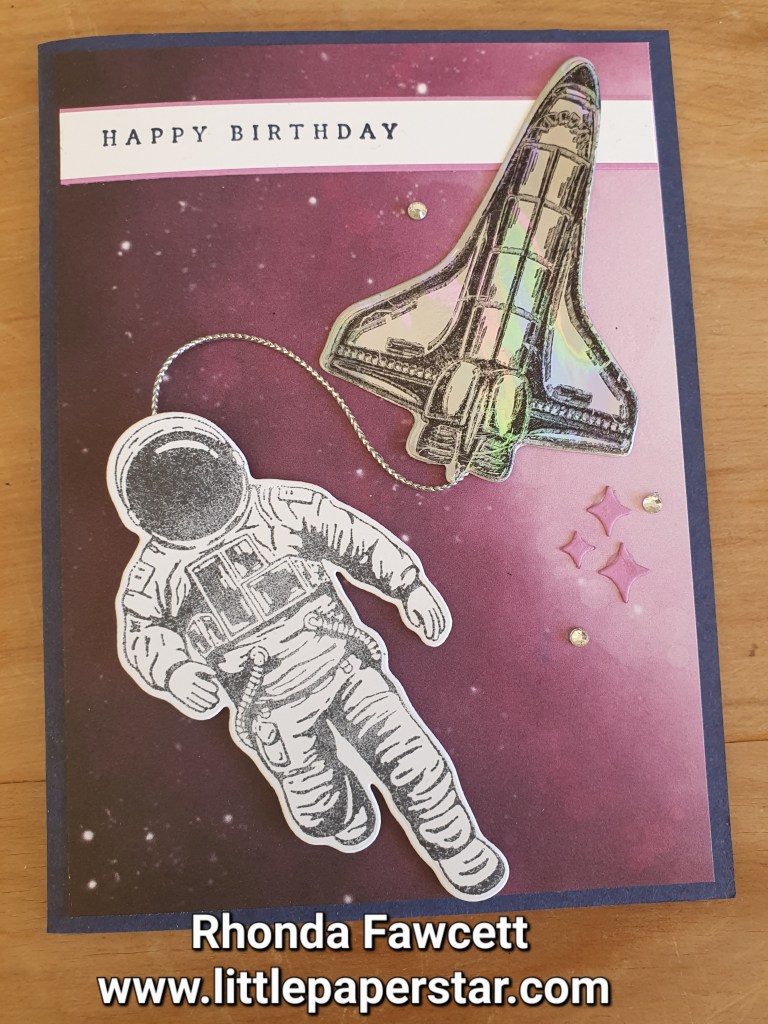
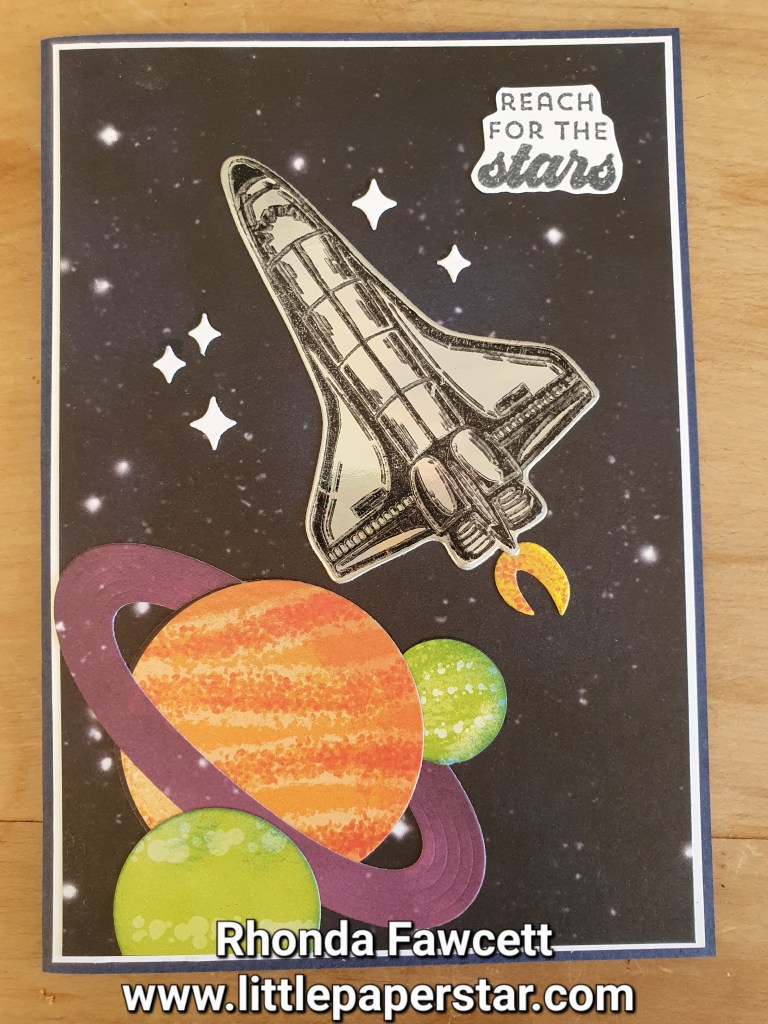
I had fun making these birthday cards using the Reach for the stars bundle of products. The patterned designer series paper makes the perfect background for these two cards.
Do you like the rocket ship? It is stamped on holographic paper.
This bundle and the holographic paper are all retiring this month. April 2024. So if you like what you see, make sure you contact me to place your order.
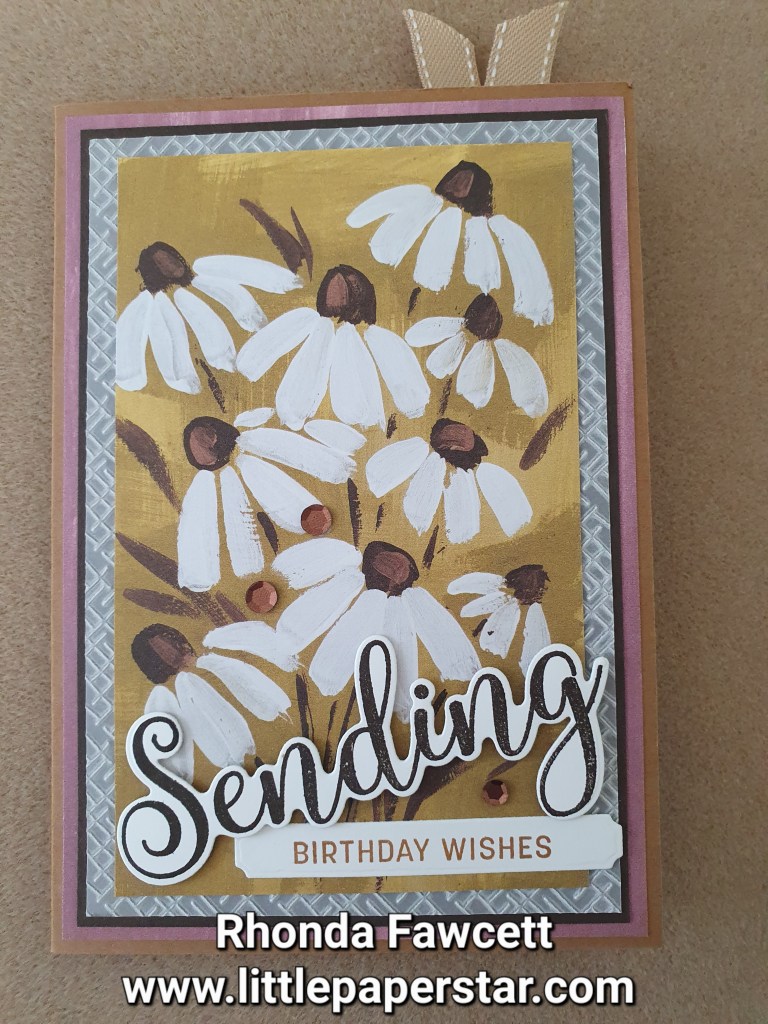
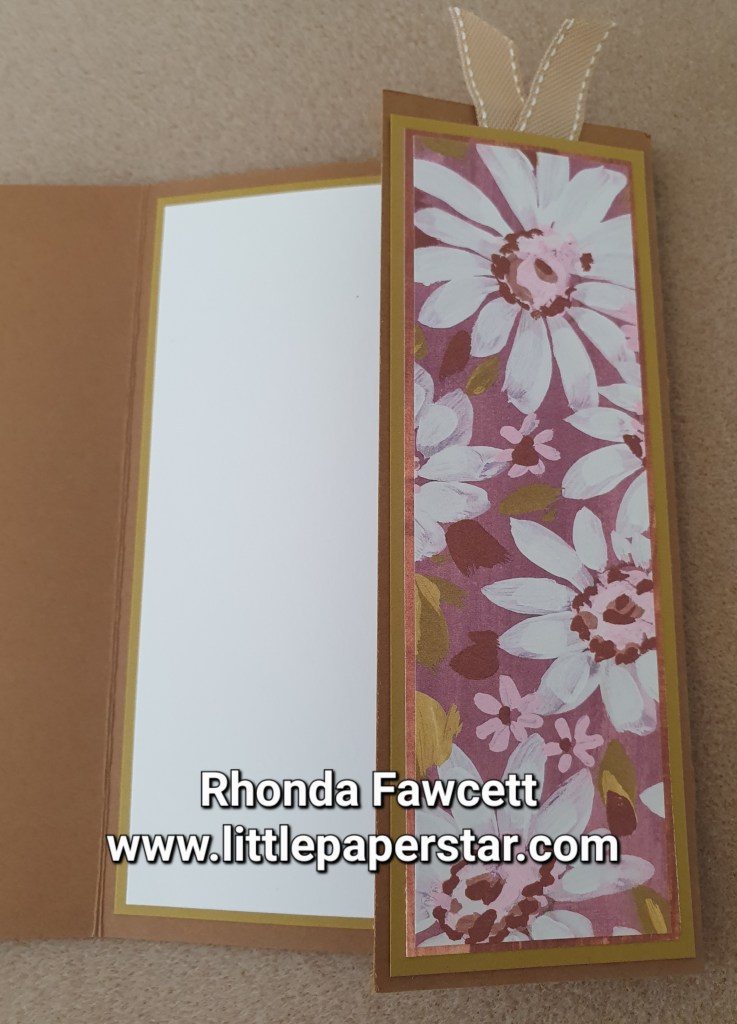
This was a fun card to make. It has a detachable bookmark with it. To make the bookmark, I cut my base card to 14.9 x 26 cm. I used the Take Your Pick tool attachment with the perforating wheel to rule 5 cm off the side. I folded the perforated panel in and folded the card in half. I used the Fresh as a Daisy designer series paper to decorate the front. The sending word and birthday wishes are from the Sending Smiles bundle.
Do you like the white embossed border on the front? It is Vellum. It makes a great border as it is a much softer look than it would have been had I used white cardstock. With such a bust front to this card, I felt it needed something more subtle in the background and the vellum worked perfectly.
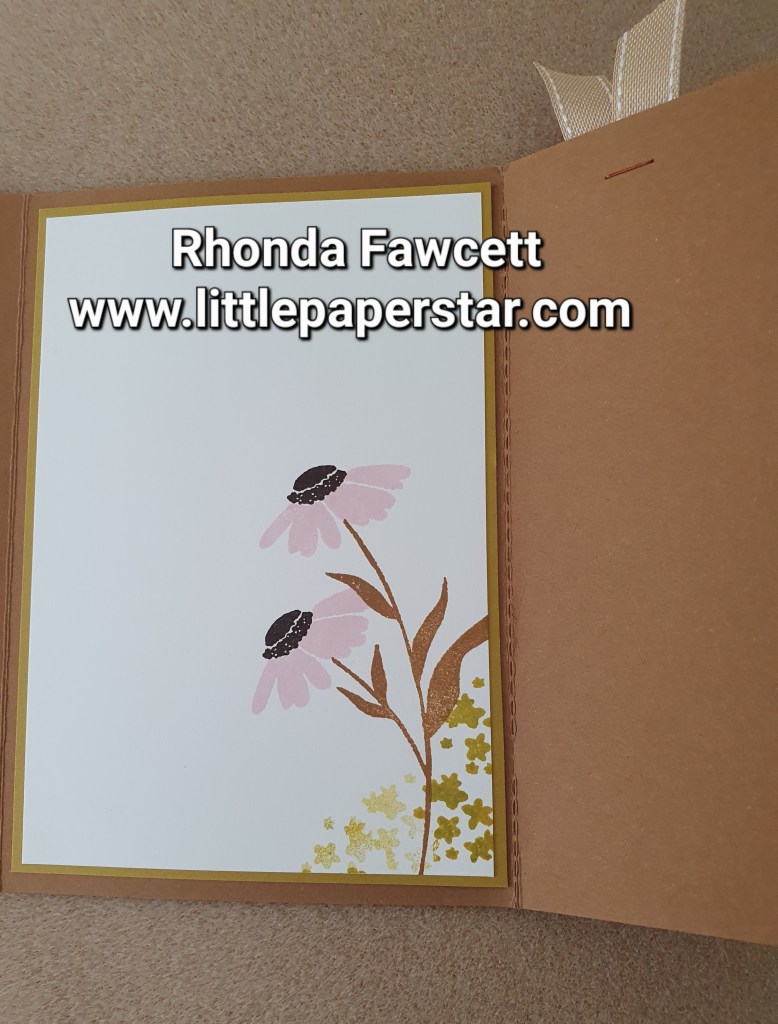
Inside the card, you can see the bookmark, folded inwards. It is decorated with another piece of DSP from the “Fresh As A Daisy” paper pack.
Here is the inside of the card with the bookmark folded out. You will see the perforations that you can tear or cut along to remove the bookmark from the card.
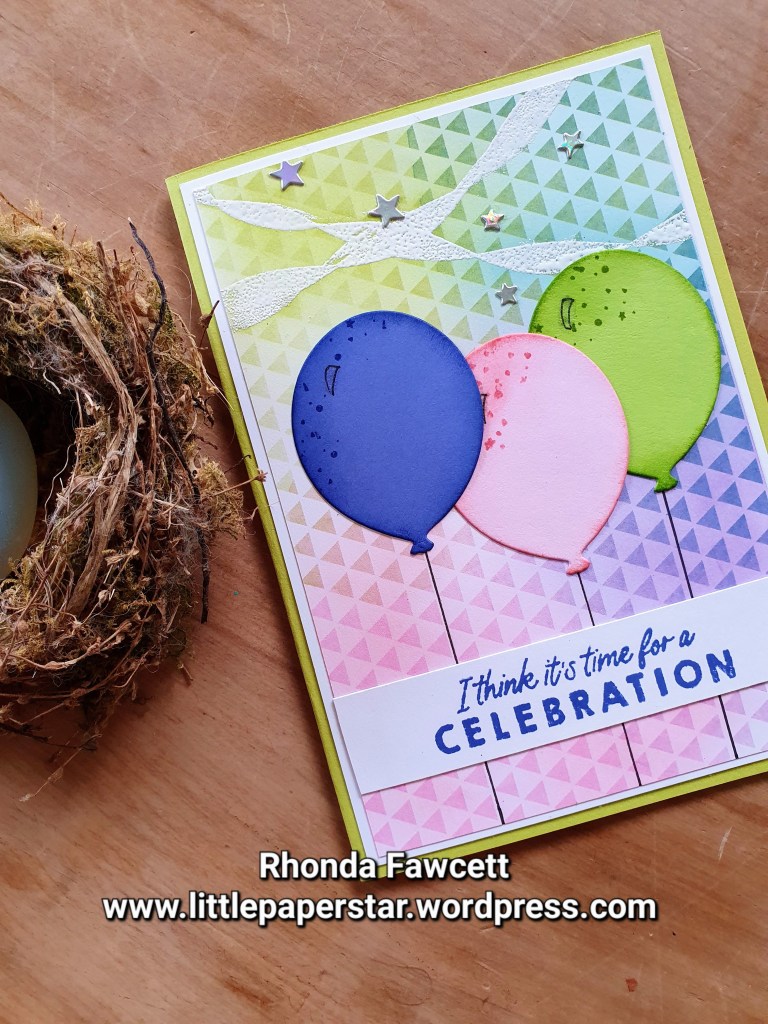
This was a pretty easy card to make with the Beautiful Balloons bundle.
First I stamped some banners across the top of my DSP (Designer series paper) and heat embossed with white embossing powder.
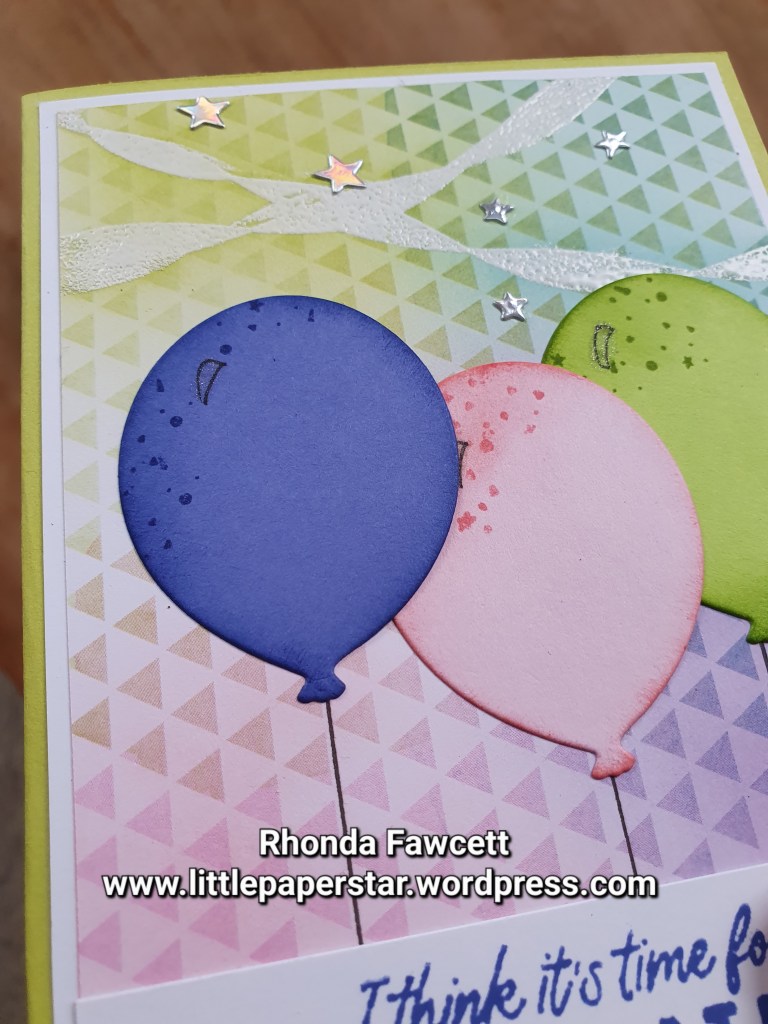
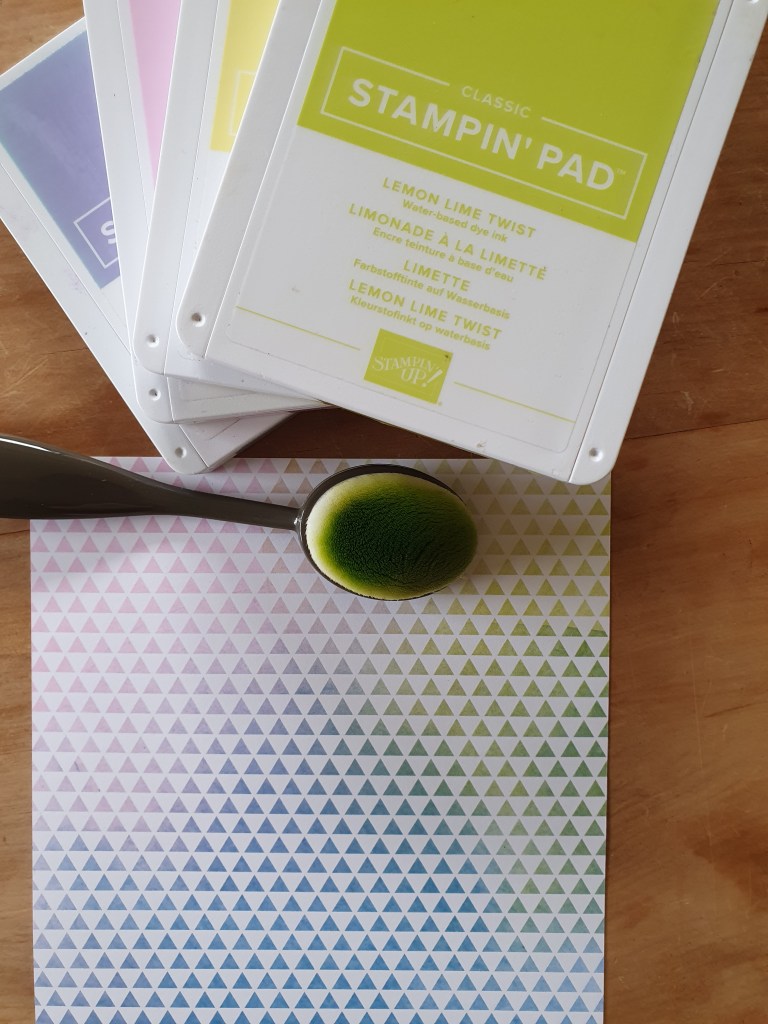
Then I sponged over a bit more colour using Highland Heather, Bubble Bath Lemon Lolly and Lemon Lime Twist inks. I only blended the colour on lightly so you could still see the pattern show through but it took away the stark white and it showed up the banners better.
Then I added the balloons and the greeting. I hand drew in the balloon string with a ruler and Stampin’ Write marker.
Finally I added some little stars cut with holographic paper.
This was a card that I made on commission for someone who is obsessed with ten pin bowling. I used the Rays of Light big background stamp on Daffodil Delight card and embossed it with clear embossing powder.
I used the Alphabest stamp set for the word “Strike”. The It’s your special day greeting is from the Sweet Songbirds stamp set.
I then made the bowling pins. I used my grid paper to draw a pin the size I wanted. I made sure it was symmetrical by folding the grid paper in half and cutting out one half of my sketch. When the paper was unfolded. It was a perfect pin. I glued this to a piece of thick white card and made a heavy template that I could then trace around on basic white card. I drew in extra lines and highlight curves with my stampin write marker.and fussy cut them all out. I had a couple of dots on my template at the neck of the pin so I knew where to place the neck stripe. I used a real red marker to colour in the stripe.
The bowling ball is a from a retired 1 1/4″ circle punch with 3 small holes punched out of it. I mounted it on another punched circle of basic gray card so that the gray showed through the holes.