Sharing my love of all things paper-craft: Card making, Scrapbooking, Gift Boxes, Invitations, Party Favours, Craft Supplies and more. (Formally Stampin'Fantastic)
I am a Stampin' Up! Demonstrator based in Matamata, New Zealand.
I love all things paper-craft. This is my platform to share ideas and knowledge with others.
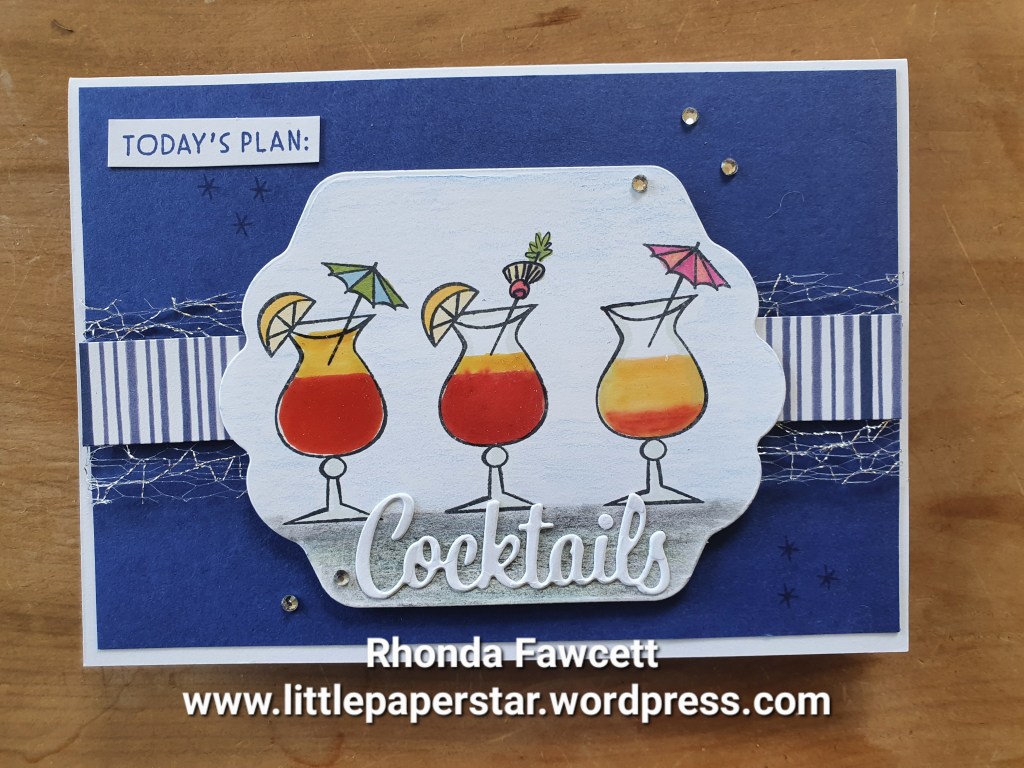
I made this card to showcase a painting technique using the fine tip glue and our Stampin’ Up! reinkers.
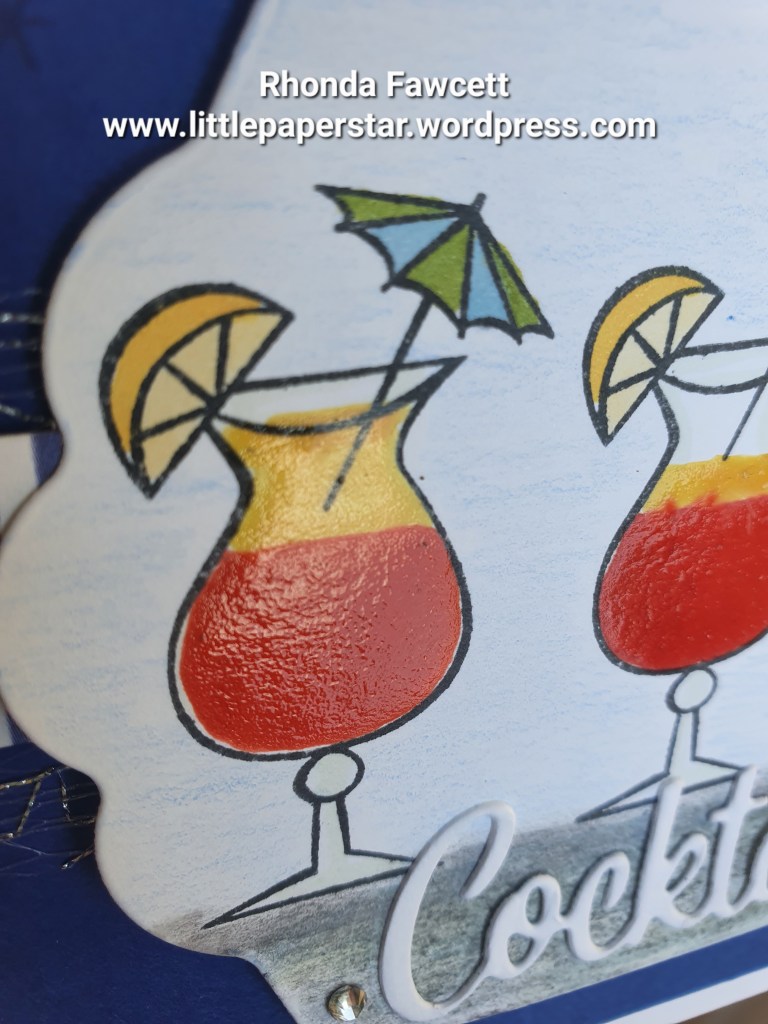
It also uses the Nothing is Better Than stamp set. I stamped the cocktail glasses in Memento black ink and then mixed up a mixture of fine tip glue with a drop of ink colour to colour the cocktail glasses.
I used an old jar lid to mix up the colour and then painted it inside the stamped area. The glue dries fairly quickly, maybe in fifteen minutes or less depending how thick you paint it on. Once it is dry, it leaves a glossy, raised look behind.
Pretty easy to do and it is always fun trying out something new.
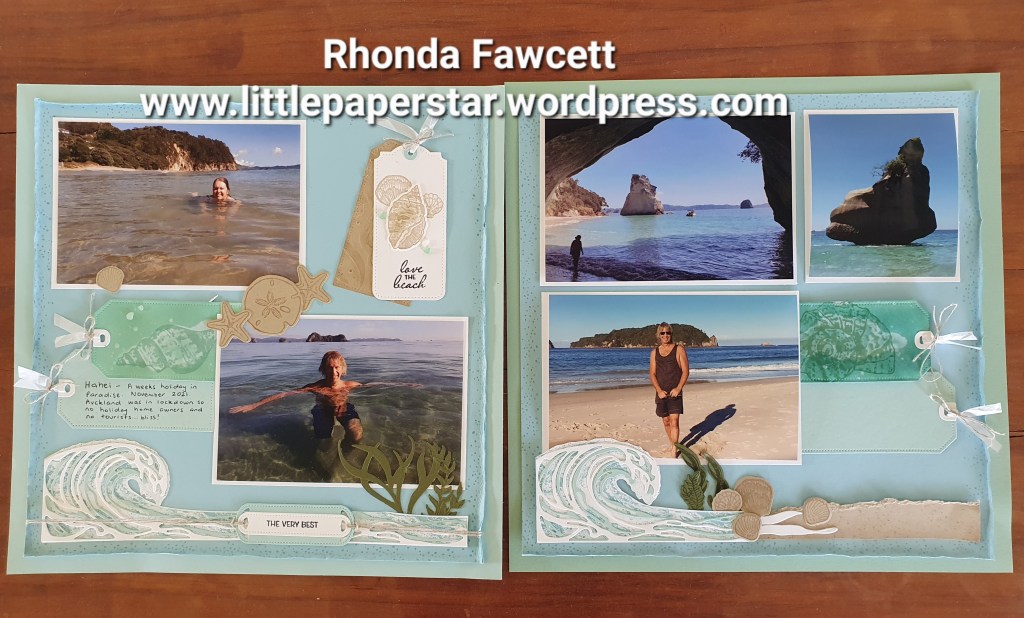
This was a class project, a 12 x 12 beach page using the Waves of Inspiration bundle and the Friends are like Seashells bundle.
The focus was on getting creative with water. We used our aqua painters to wet the edges of our Balmy Blue card, then with the card wet and soft we were able to curl the edges and they stayed that way once they were dry.
We also used water to stamp on one of our tags. We cut 3 of the largest tags with the straight edged top. One in crumb cake, one in pool party (this was the journal box) and one in white. We also cut a curvy edged top tag in white. The straight edged tag we sponged with pool party ink, then stamped the background stamp (sprayed with water) onto the sponged tag. The water lifts up some of the sponged colour and allows the original white card to show through. We also flicked on some drops of water with an aqua psinter. When dry, we stamped shell image on top.
We used a black stampin’ write marker pen to colour in a portion of the stamp that we wanted for the words on this page. Original words were – “Love you to the beach and back”.
Some of the group wanted to do a second page, so here was my mock up. It isn’t complete as I needed to order more Pool Party 12 x 12 card for my base. I needed to add more journaling to the pool party tag. And I was going to redo my water tag using the large shell image… but you get the idea.
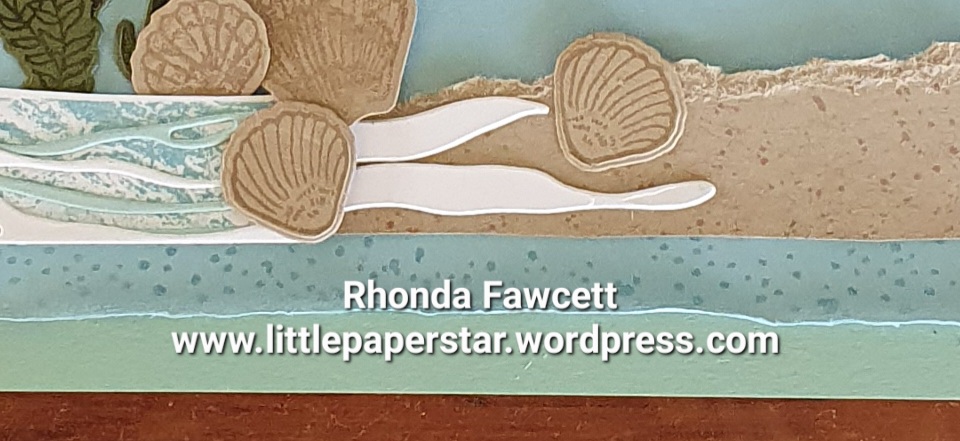
I decided to make the wave come up to the sand for my second page and I used from pieces of white card left over from the wave die cut to make foam in the sand.
We are just coming into our beach season here in New Zealand, so doing a page like this makes me excited for summer. I hope this layout inspires you to get out your beach photos and try something creative with them.
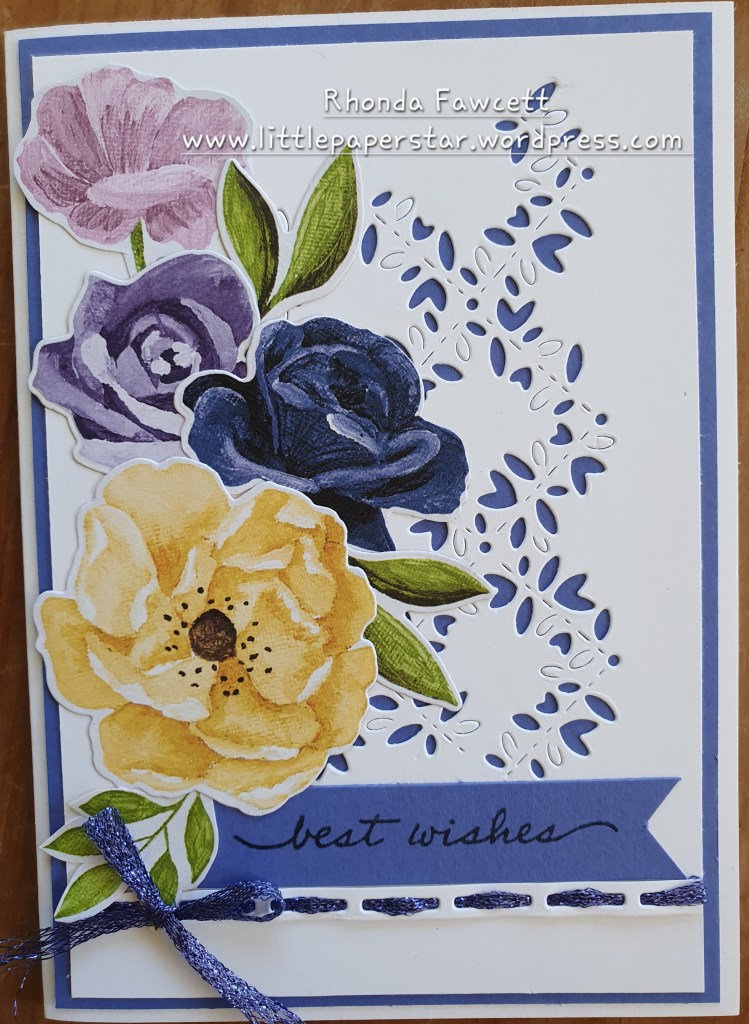
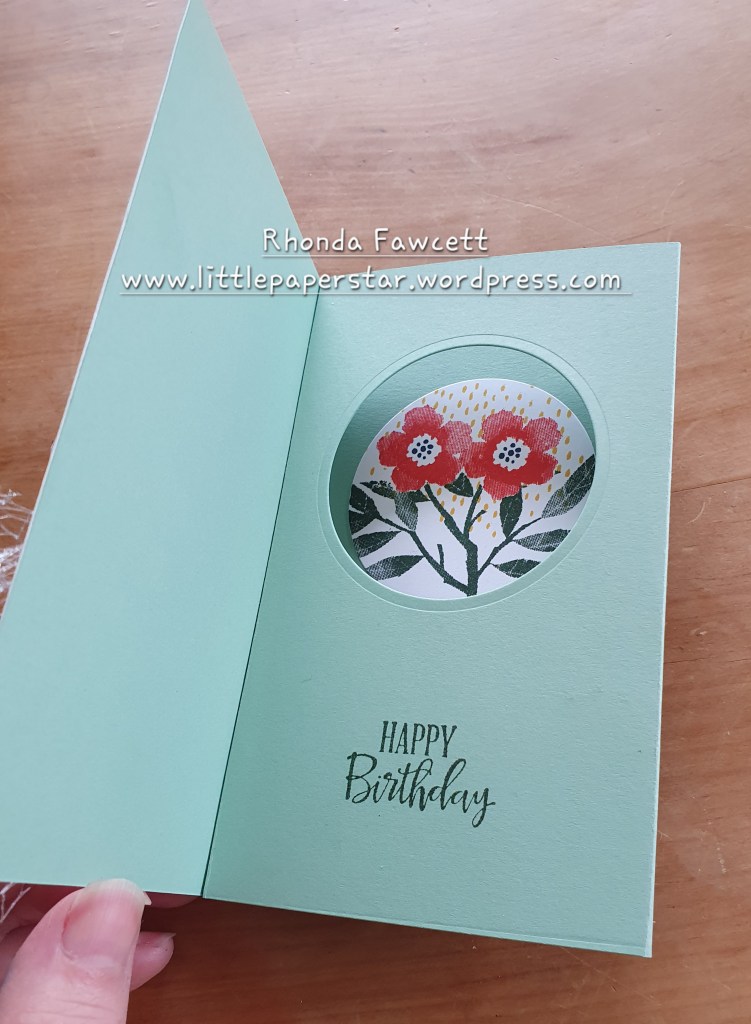
The “Hues of Happiness” bundle makes me happy. I love this pretty paper. It has so many flower images that you can either fussy or die-cut. The dies coordinate with the stamp and with the paper. So good!
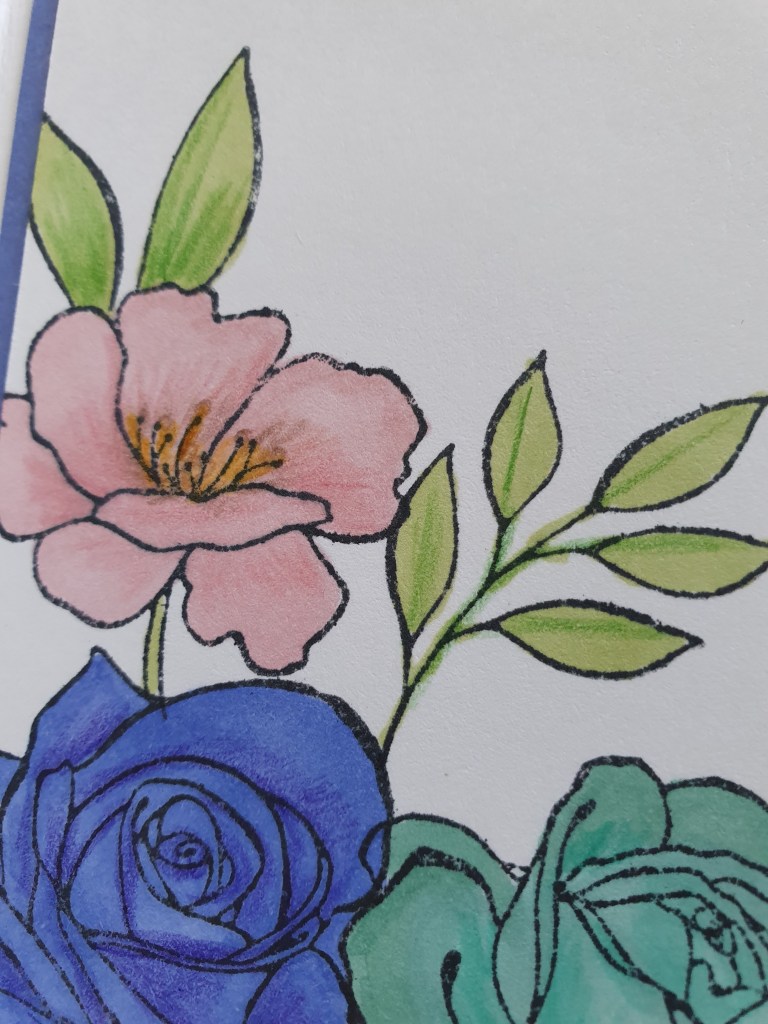
So far I have used the paper to make more than 35 cards with average of 4 flowers on each card and I still have more flowers left to use. This is a recent class project. We stamped flowers inside the card to match those on the outside and coloured them with Blends and watercolor pencils.
The pencils added a subtle shading and worked well on top of the Blends. We just used the watercolor pencils dry. We didn’t add any water.
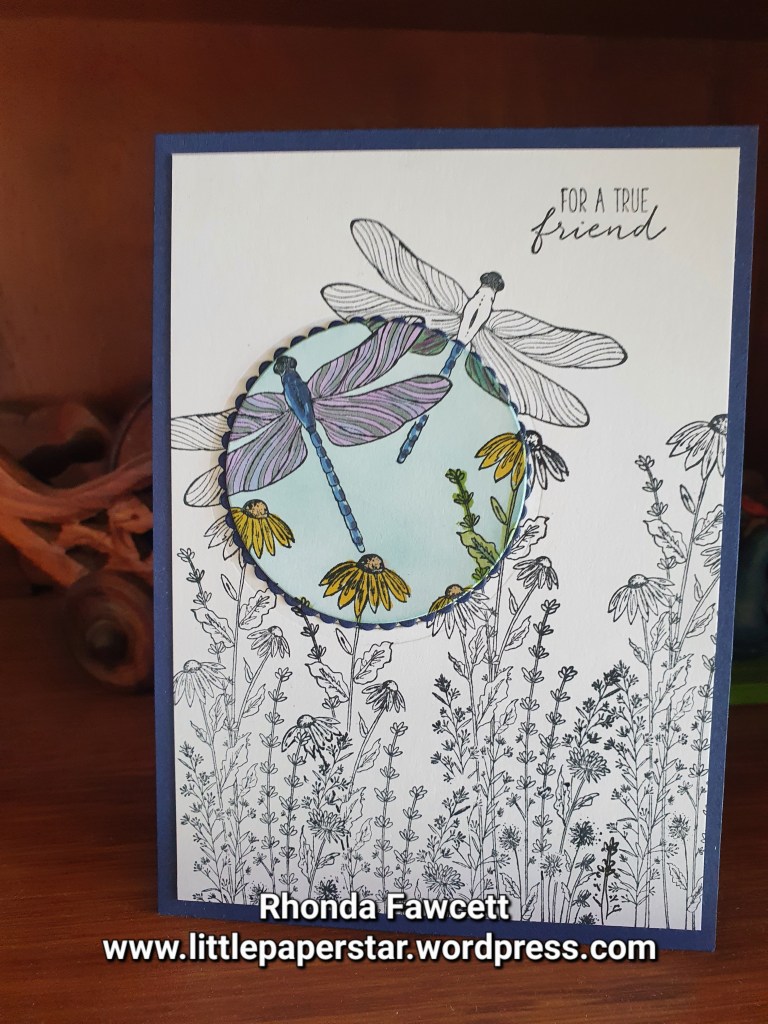
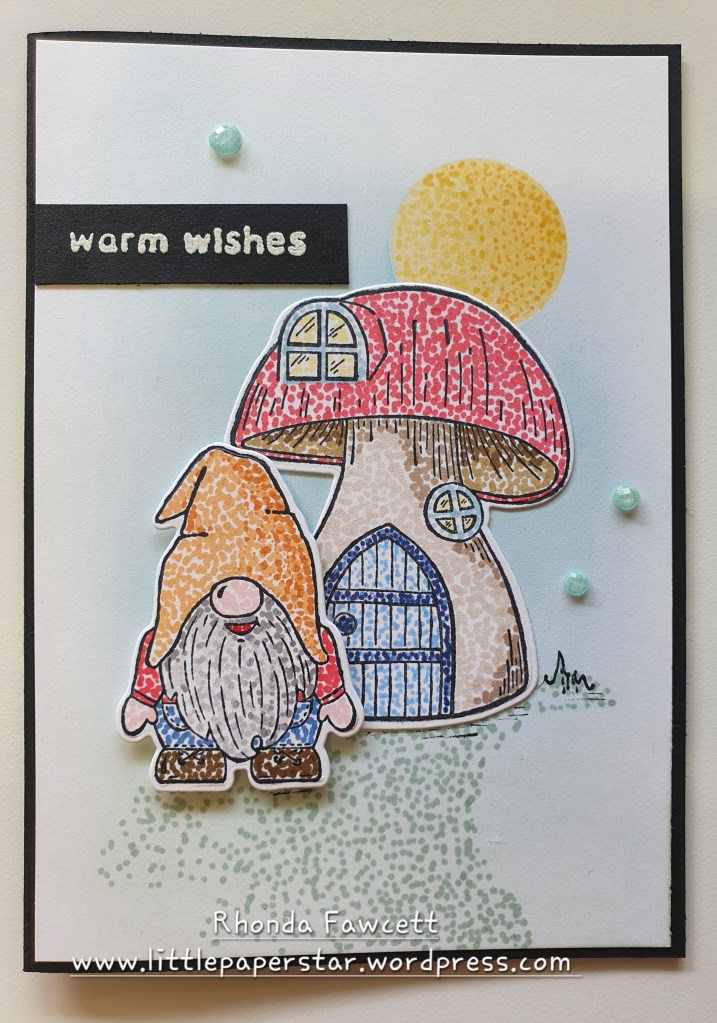
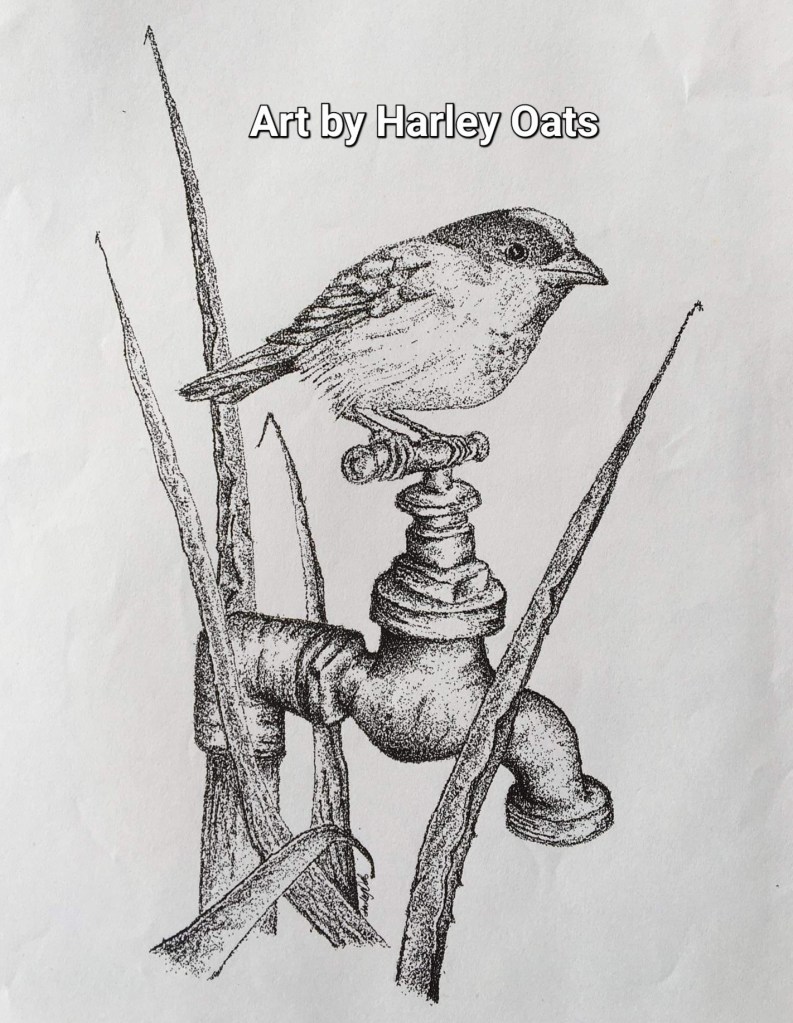
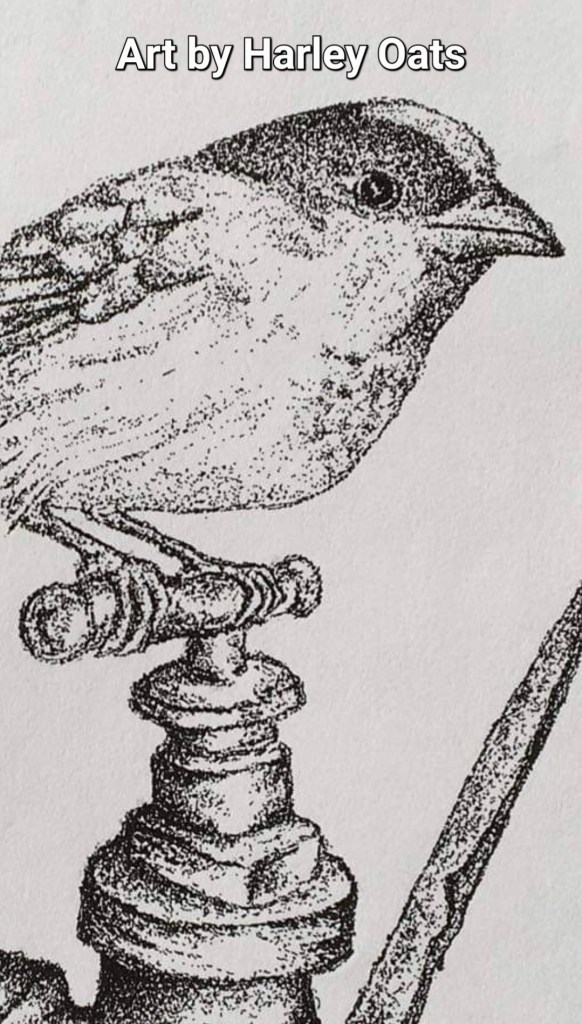
I enjoyed making this card at our recent stamp camp, taught by Alicia Yap. It used the technique called Pointillism, or in layman’s terms Dot Art Drawing or Dot Art Colouring.
It takes a while to colour this way by adding dots instead of solid colour but the result is soft and interesting.
I used the same technique inside my card.
Doing this technique brought up some special memories for me as my cousin used to do a lot of amazing art using Pointillism. Sadly he passed away when he was only 21.
This is a fun and slightly messy technique to create interesting backgrounds for card.
Start with a thin layer of shaving foam. I used the cheapest I could find and I spread it out on a large piece of tin foil. Use three different colour re inkers from Stampin’ Up! and drop in several drops of each colour. Use a tooth pick to swirl the colours. Don’t mix too much. Then lay your basic white card piece into the foam. Lift it off and scrap away the excess foam with a plastic knife. Pat the card dry on a paper towel and set aside to dry completely. (It doesn’t take long, maybe 10 minutes). Then repeat.
Each time you drop the card into the shaving foam, you will get a different pattern or result. Sometimes the colours become very muddy as the excess foam that has been scrapped back in has mixed all up together. You can always add fresh drops of ink when this happens and keep going. One lot of shaving foam spread out on tinfoil will make many card fronts.
I used my card front as a background for these Sunflowers.
Here are my original pieces. First card doesn’t have much mixing of the colours. The second go I did, looks different as the ink colours have mixed together more. No two pieces will be the same and that’s part of the fun of it.
Here is a card that I taught recently. It is made using a sheet of A4 white card, cut in half lengthwise and scored at 14.4 and 28.8 cm. The small section left over beomes a tab to attach a coloured card to. I also attached a coloured Balmy Blue card to base.
This is a fun card that opens up with plenty of space for writing. Great for everyone at work to add their own message or just if you have a lot to share with someone special. You can then decorate the front however you want. I used the Simply Succulents stamps and dies and the printed layering vellum design paper.
Have you ever come across black ice? It’s hard to see at first. It just adds a sheen, a thin layer of shine to the surface. Well that is what this technique does.. it adds a streaky shine to foil card.
I used gold foil card and stamped leaves randomly, using Staz On ink. Staz On works best on foil card. The memento ink tends to slip when stamping on foil and it takes awhile to dry. Most people who do thos technique, also drag the Staz On ink pad lightly over the card and around the edges to create some black streaks but I chose to leave mine plain.
Next swipe Versamark ink pad over the whole foil card piece and sprinkle with clear embossing powder. Take a stiff brush and lightly brush off some powder, creating some streaks as you go. Then heat set. Because you used clear powder you will still be able to see your stamping, the embossing will give the foil card an interesting texture.
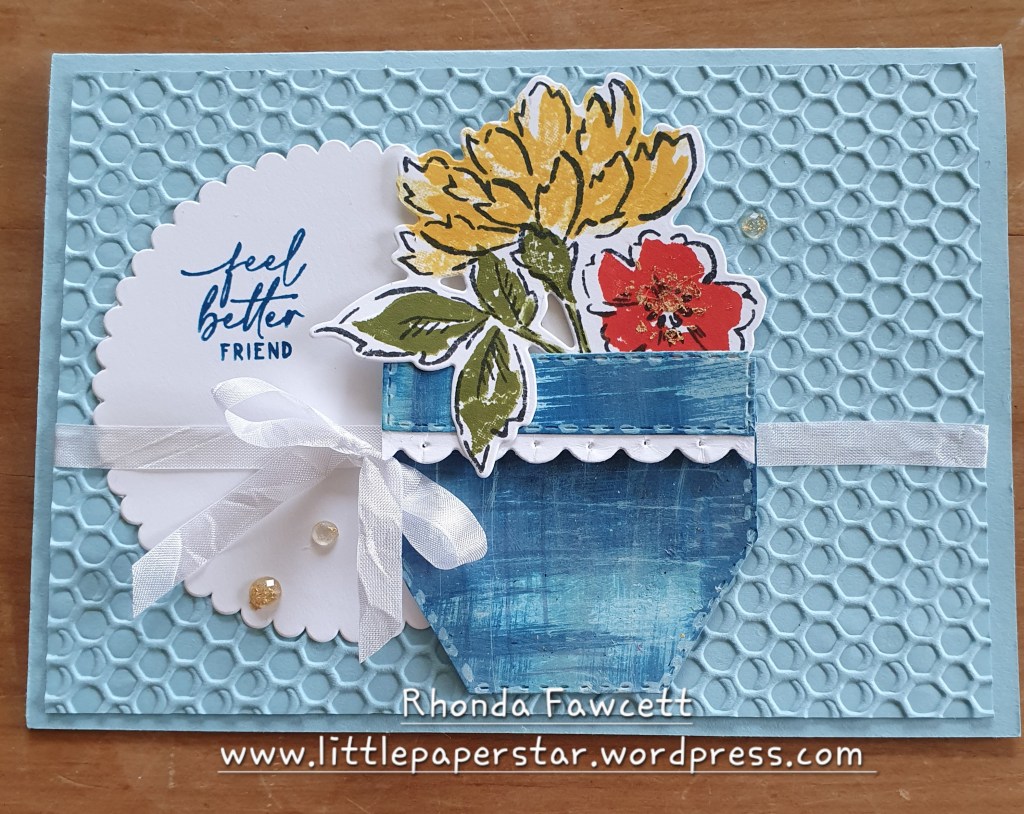
Remember that nursery rhyme a pocket full of posies. A-tishoo, A-tishoo, we all fall down? So many of my friends are “falling down” with colds and flu at the moment so I decided to make this get well card, featuring a pocket of posies.
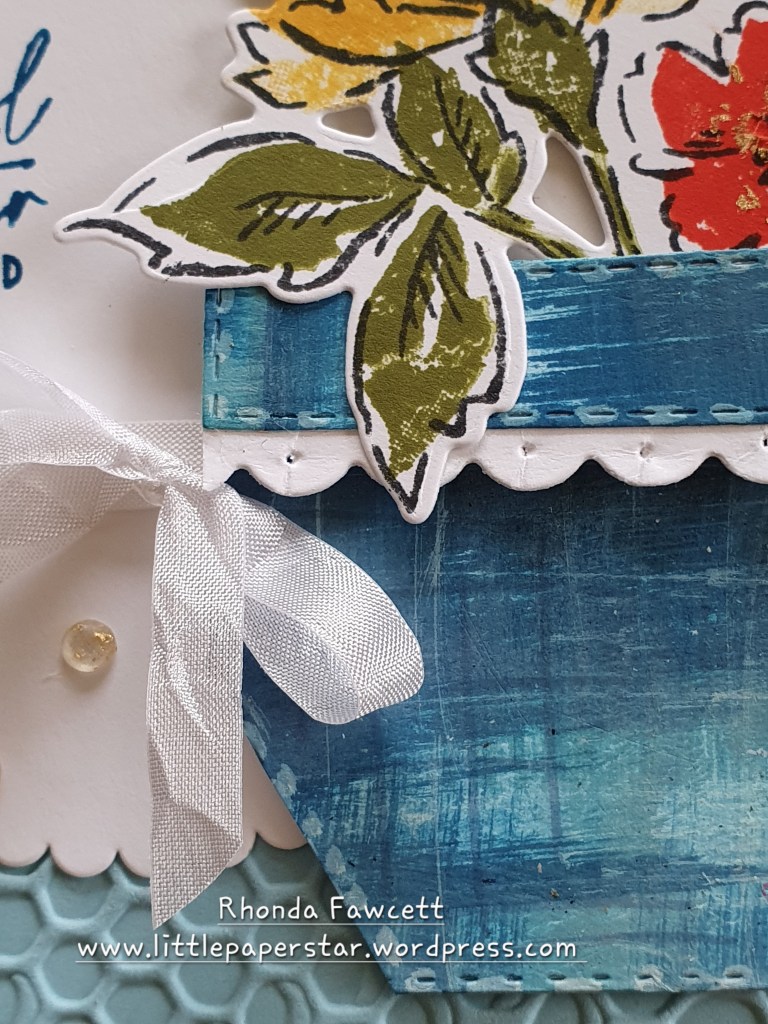
The pocket is made with a technique called faux demin. You start with a piece of white card and swipe your blue ink pads across it to add streaks of colour. I used Balmy Blue and Pacific Point. Swipe in both directions, up snd down and across. Once the ink was dry I swiped over the card again using craft white ink. I also drew in a few lines with my blue Blends to try and create the look of threads in fabric.
It is a time consuming technique but fun to do if you are wanting to try something different.
This was a fairly quick card to make for my group of ladies. It features the free Sale-a-bration papers, called Rings of Love. The sentiment stamps come from the Peaceful Moments stamp set and the flower image inside the card is another free Sale-a-bration item called Perfect Pomegranate.
This is such a great fun fold because even though it has the depth and box shape to it when it is open, it still will fold flat for posting.