Unknown's avatar

About littlepaperstar

I am a Stampin' Up! Demonstrator based in Matamata, New Zealand. I love all things paper-craft. This is my platform to share ideas and knowledge with others.

Favored Flowers Designer Series Paper

What beautiful rich paper this is. I love it. And even more so when it is free! Yes this is one of the Sale-a-bration free items that you can choose as your gift with NZ $110 spend.

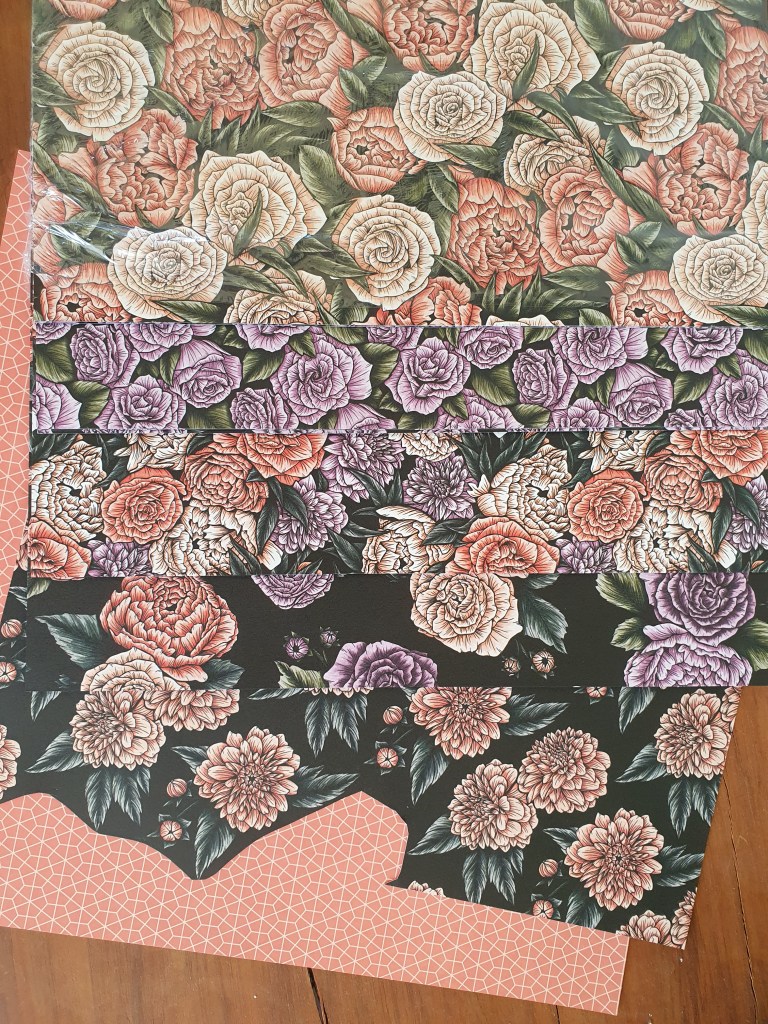
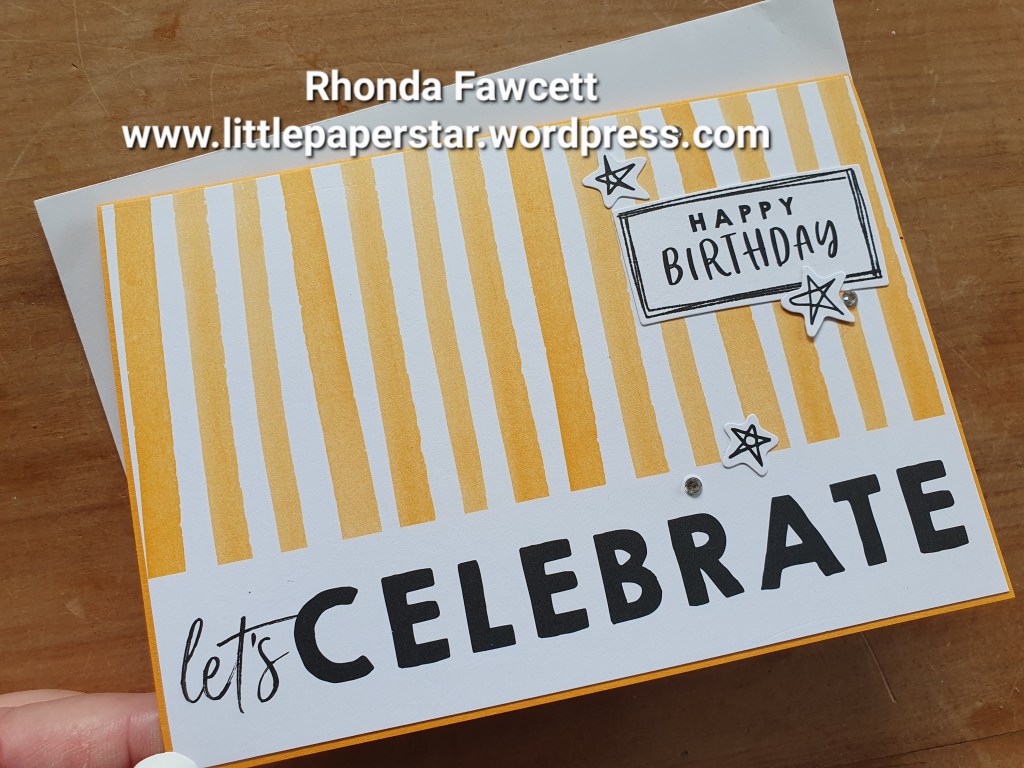
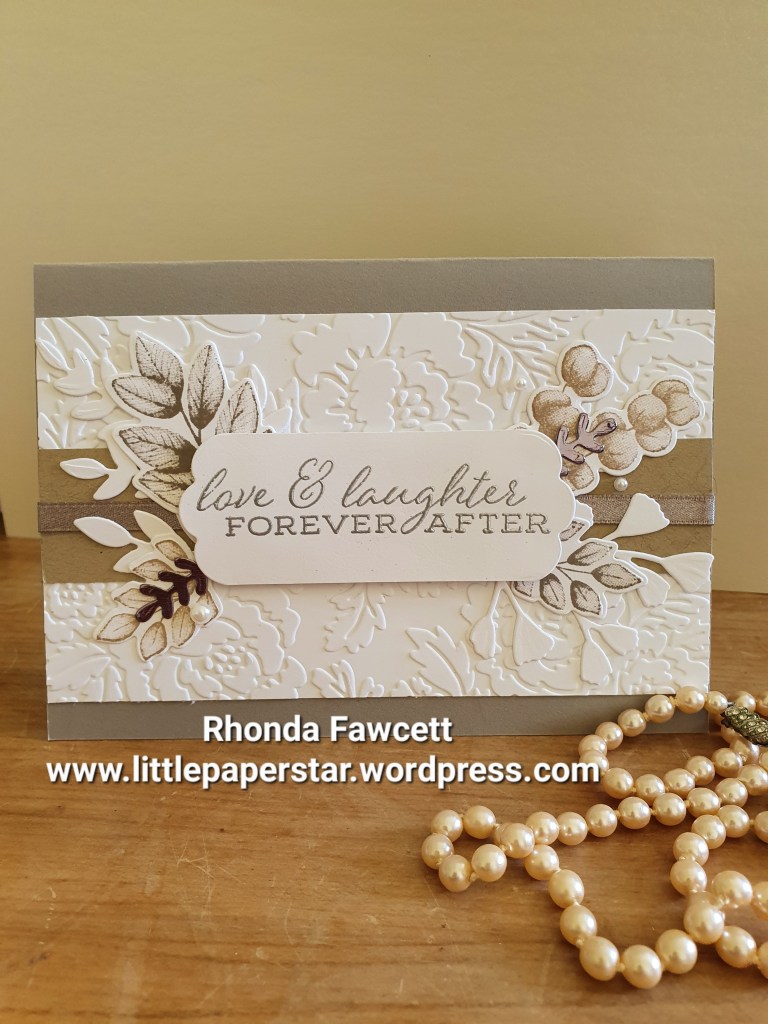
I whipped up a card this afternoon, using basic black as my base with a 5.5 cm strip of white card and a 4.5 cm strip of the patterned paper. The strip of paper that I used was this Coral coloured pattern and on the reverse were the lovely Dahlias that I fussy cut out.

I added some bling, bakers twine and a sentiment and voila, card made! It only took me 10 minutes.

Check back tomorrow for some more Sale-a-bration card ideas.

Bird Punch Art

I was playing around with our Stampin’ Up! punches and had a go at making some NZ native birds.

For the Pukeko, I used the Sailboat punch for beak and legs. The songbird punch was used for the body, tail and wing. The deer punch was used for the feet and eye and the double oval punch was used for the head.

To make this Tui card, I used some of the same punches as listed above as well as the tulip punch.

Memories and More Holiday Snaps

I have been sick all week but today I got out of bed long enough to do some scrapbooking. Those of you who follow my blog will know that I like the Stampin’ Up! small pocket albums.

I have just recieved a new pack of cards and stickers. It is called “Enjoy the adventure memories and more card pack”. It is NZ $21 and contains 50 cards or pocket inserts. They are great for journal boxes as I have used above. The cards are a mix of 4 x 6″ size and the smaller pocket size of 3 × 4″.

There is also 4 sheets of stickers.

I know this type of memory keeping is not everyone’s style. However these insert cards are also great for making a quick greeting card. No stamping needed!

For this birthday card. I grabbed one of the 4 x 6″ insert cards and trimmed a smidgen off each side so that it fitted onto a folded A5 card. I added some stickers from the same pack and some rhinestones. I cut a piece of Basic White card to go inside and I cut 2 cm off another large insert card. The same design as the one on front, just so I could bring the pattern through to the inside.

It was so fast to make. If you don’t like the idea of trimming these inserts to fit your card base, don’t worry Stampin’ Up! has got it covered. They make a card and envelope pack that matches these insert cards perfectly. Both the big and small ones!

Santa Express Memories and More Cards

I bought my Christmas Memories and More card pack on sale, in the current last chance specials sale. It ends on the 4th of January 2023.

These cards were a good buy as they included stickers, printed acetate cards and wooden embellishments.

I used this fun pack to get a start on my Christmas photos.

I cut one of the small journal box cards in half and adhered it onto a large filler card. I added a sticker in the corner and placed a printed acetate card on top.

Final pages using those stickers with the date and a small filler card reading “Have a Holly Jolly Christmas”.

This page features stickers, (the word “joy”). Plus wooden elements and a small journal card. The wooden elements contain stars, which I used above, snowflakes and a variety of Christmas words.

I love the memories and more card kits as they enable me to quickly get my photos into albums. However you can still use them even if you don’t scrapbook. You can use them to make quick cards and gift cards.

Peaceful Deer Christmas Card

I taught a card in class recently using shimmer embossing paste over the top of the stamped and coloured image to add some sparkle. I decided to try it again on this Christmas card.
This is also my entry for the Just Add Ink Challenge #JAI632
The challenge was to choose two items from the list of Deers, Trees, Sparkle.
I chose Deer and Sparkle but there are trees in it as well. Bonus!

You only need a thin very layer of paste. You need to colour your image with Blends. I haven’t tried it with an image coloured with ink but I imagine the ink would run a little with the moisture from the embossing paste when you first spread it on.

If you live in New Zealand and want to recreate this card, you can order all the products from my online store rhondafawcett.stampinup.net

For this project, I used sunprints DSP for the blue circle. I stamped the trees from the Peaceful Deer stamp set in versamark and heat embossed with white embossing powder. I stamped the Deer in black memento ink and coloured it with Gray Granite Blends and a light Crumb Cake Blend. I then added a thin layer of shimmer embossing paste. Once paste was dry I punched it out and added it to the blue circle. I matted the blue circle onto a die cut Gray Granite scallop circle. (Layering Circle dies). I stamped the snowflakes in Navy ink. (Second generation to give a softer look to match the lighter blue on my paper). I adhered this to the bottom right corner of my thick white card base. I stamped a sentiment at the top with Gray Granite ink and finished the card with a strip of Gray Granite shimmer ribbon.

Colour INKspiration Challenge #134

This challenge is to make a project using these colours chosen by crew member, Cheryll Miller: Sweet Sorbet, Parakeet Party and Basic White. You can also use neutrals such as Whisper White, Very Vanilla, Crumb Cake, Sahara Sand and Basic Black as well as Metallics. 

Here is my entry… I made an ice cream cone using Basic White card punched with the cloud punch and sponged with Sweet Sorbet ink. I cut out Crumb Cake card for the cone and embossed it using the Gingham embossing folder for some texture.

I added a cherry and a drip of ice cream using the Seasonal Labels dies.

The cherry has fine tip glue on for some extra shine. I mounted the ice cream cone with dimensionals onto a piece of Basic White card that was cut with a deckled rectangle die, then I matted this onto a piece of DSP (Designer series paper) also cut with a Deckled Rectangle die. Stamps used are from the Biggest Wish stamp set.

If you would like to take part in this Challenge, make sure you join the Colour INKspiration Facebook group. Challenges are a lot of fun and a good way to get crafting again whenever you feel like you are in a creative slump.

Tissue Box Rubik’s Cube style

Today I was having fun making 3D projects. I made this tissue box holder for my son for part of his Christmas stocking. (It’s okay to say that here as he doesn’t visit my website). He loves rubik’s cubes and has a variety of them on his desk. This will add to the collection.

I took a standard cube box of tissues that I bought at the supermarket and I removed the tissues and discarded the box. I made up my own box with each square side being 11 cm x 11 cm. I used a big sheet of cardboard but you could easily do the same with a 12 x 12 sheet and an A4 sheet and just join where the arrow is on this photo below.

Don’t forget to include tabs to glue it together. My tabs were 1 cm wide.

To make the opening for the tissues, I traced around an oval die and handcut out the oval shape. The cutting edge was very messy but was covered by this oval frame that I made by cutting two layering ovals together.

The little coloured squares are each 3 cm x 3 cm. Colours used are Basic White, Daffodil Delight, Garden Green, Poppy Parade, Pumpkin Pie and a retired blue called Brilliant Blue. You could easily use Pacific Point instead.

Do you know anyone who would like one of these boxes?

Happier than happy baby card

I designed this card as part of a team challenge. We had to design a card using this sketch below, from My Favorite Things.

Here is what I designed using the Happy than Happy bundle from the Annual catalogue.

I particularly wanted my fox with a brown outline and orange body so I experimented and was really impressed with the result. I used Sahara Sand ink to ink up the stamp and then I coloured over the Sahara Sand bits with a light Calypso Coral Blend.

It worked out well. You could still see hints of the Sahara Sand ink through the Blend colouring. It lends a nice soft look to this baby card which is exactly what I wanted. The alternative would have been to stamp the fox in Calypso Coral ink and I feel it would have been too much orange for this card. I used a Gray Granite marker pen to dot in the eye, just so it stood out a little more.

What other colours inks have you tried with your blends?

Perched in a tree.

This was a fun card to do, using watercolour paper to do the backdrop and the bird. This stamp set is in the Christmas mini and although it has words that lend itself towards Christmas, it can be used for other occasions also. For this card I inked up just a portion of the words in the stamp that reads “…no matter the season, I’m here for you.”

Wedding card, Forever Ferns

This is one of my projects for my end of month classes in November. I had a request from a couple of ladies, to make wedding cards and I was surprised to discover that there are not many stamp sets in the annual catalogue that are suitable for a wedding card. I had to put my thinking cap on for this one!

I have used the Forever Ferns stamp set, with Gray Granite and Crumb Cake card and inks. To give a touch of elegance, I used silver embossing powder, silver foil card, gray granite shimmer ribbon and adhesive pearls.

Inside the card, I used the word “congratulations” from the Celebrate Sunflowers stamp set.

If you want to attend a class at the end of November, please contact me. Details are on the contact me tab.