Unknown's avatar

About littlepaperstar

I am a Stampin' Up! Demonstrator based in Matamata, New Zealand. I love all things paper-craft. This is my platform to share ideas and knowledge with others.

Pocket Scrapbooking

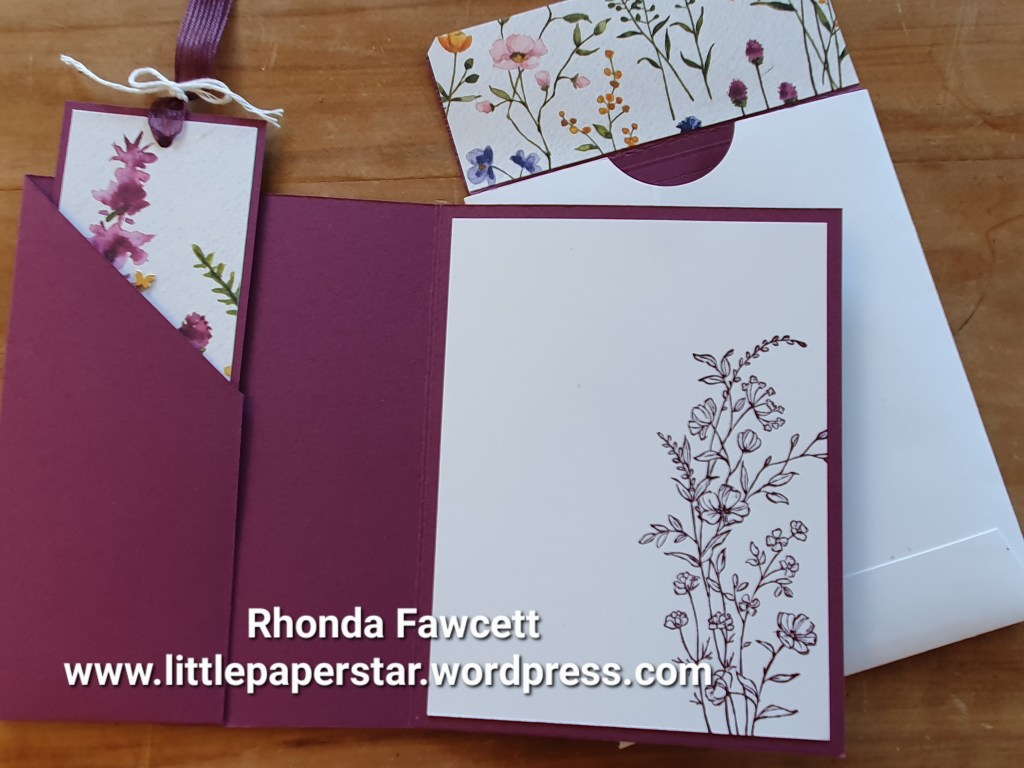
Enjoy the Adventure Memories and More card pack makes it easy to complete a pocket album. The cards are printed with a variety of words and backgrounds which you can use as it and slip in the pockets or cut them up, and mix and match as I have done on these pages below.

To make the bubble border, I used a memories and more card with a circle image and highlighted the circle with a stampin’ write marker. The sentiments on this double page layout are stickers which come in the pack.

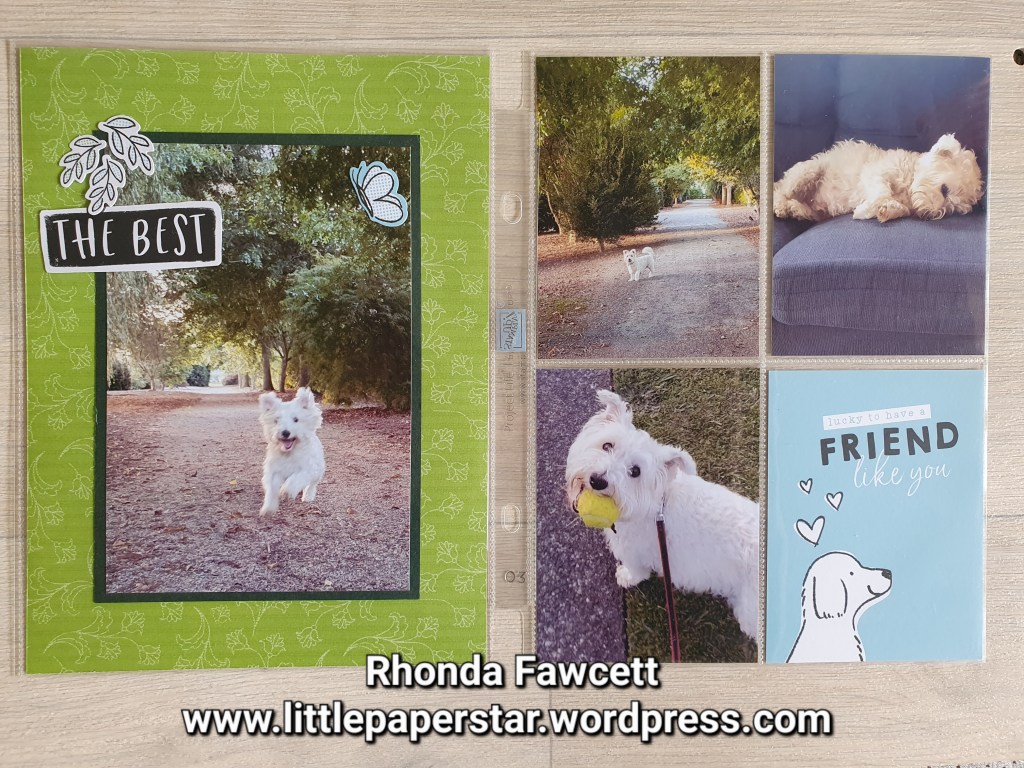
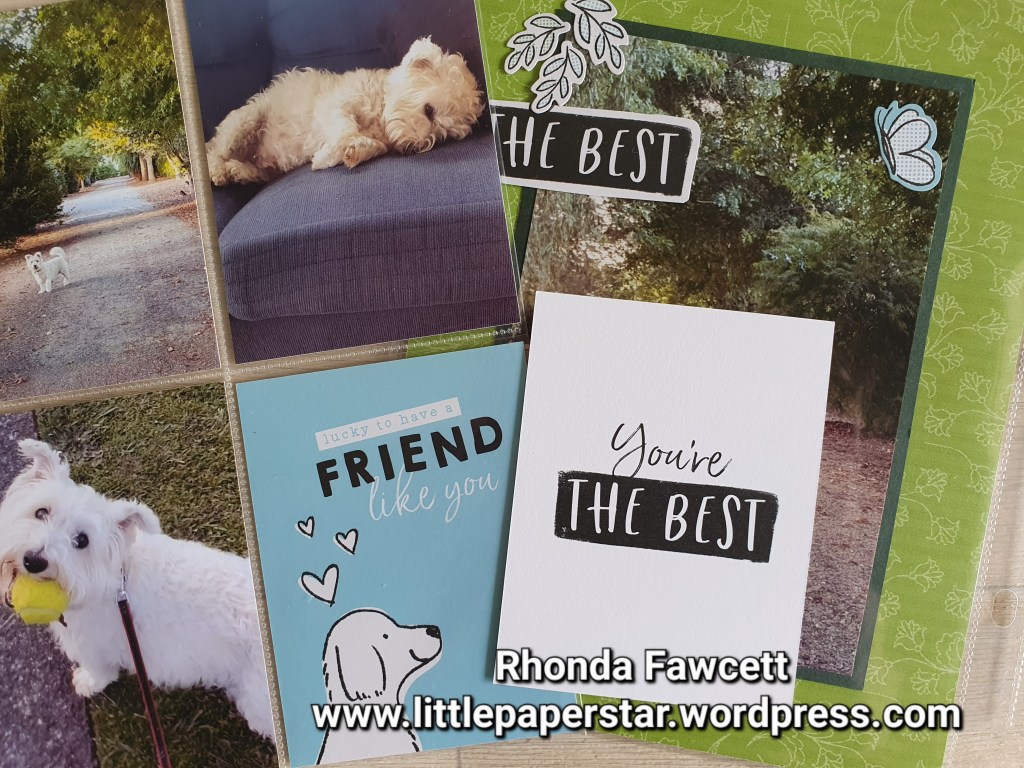
The following page features my little dog Kobi. Again I cut up some of the cards to use on my page.

This Enoy the Adventure card and sticker pack is currently available while stocks last. It is $4.20 cheaper than advertised price. AND bonus free shipping tomorrow, 19th of April.

Using stencils for cardmaking

Earlier this year, Stampin’ Up! brought out a layering stencil called Loveliest Layers Decorative Mask. It is a fun stencil to use as it creates a big flower using four different layers of stencils. (Two for the flower and two for the leaves).

There is also a lovely patterned stencil to make backgrounds with. I used it for the top of my card.

I made a big square card (13.4 cm square) as it was a good size to show of the flower. I used Polished Pink and Melon Mango inks and a blending brush to add ink

The inside of the card has a strip of patterned called Pattern Party Designer series paper. It was from a pack that I bought last year.

Lighting the way / Follow your dreams

This was our class project at Tauranga card class yesterday. I love the die cut lantern with the gold foil card and the soft touch of vellum, on the the lantern and the firefly.

The white piece on the front is meant to represent a torn page from a notebook. This is easily made using the Deckled Rectangle dies and Blooming Happiness dies.

I kept the inside free of words so it kept the card quite generic. This way it could be used for a graduation card, a retirement card, a birthday card or a bon voyage card.

Simple Shaker Card

This fun card features the new “Lighting the Way” bundle and “Enjoy the Journey” designer series paper, DSP.

Instead of using foam tape and creating a window to be a feature for the shaker pieces, you use a clear envelope, (cellophane bag). You insert both the decorative dsp (my one measured 14.4 x 10 cm) and sequins into this clear envelope and then attach this to the card front with tear n tape. Then add any extra embellishments on top of the clear envelope. I added my sentiment and lantern on last. But the die cut bees are glued to the DSP and are inside the clear envelope.

Use a few of the same stamps that were used on the DSP to decorate inside your card as well.

Little Paper Shoe

I wanted to create a special gift for a new team member, so I made this paper shoe with a template that I purchased some years ago from a lady called Ellen Hutson.

I added a flower to the front of my shoe, made with the punched pieces from the new Petal Park builder punch.

The paper was a recent Sale-a-bration freebie. (Dandy Designs). The flower is from Blushing Bride and Crushed Curry cardstock with a pastel adhesive backed sequin the the centre.

It also is the perfect size to hold one of the small bottles of glue that Stampin’ Up! sells.

Dainty Delight card with bookmark

This is a project that we made in class recently using the pretty Dainty Delight DSP. One of the sheets of paper has these floral oval wreaths printed on, which became the base for our card.

Because of the sizing of the wreaths, the card size was slightly shorter and wider than our standard NZ card size. (Perfect for the American card sizing though). So I decided to do a custom made envelope for it. We even put some floral paper inside the flap.

The bookmark is a strip of DSP mounted on some Rich Razzleberry card and with a few flower die cuts added for extra dimension. It will be a pretty gift for someone’s birthday.

Floating Flowers card

This is a fun pop up card using the free SAB designer series paper and the Hues of Happiness bundle.

The flowers are all stamped with versamark and heat embossed with either black or white embossing powder.

I embossed them on various pieces of coloured cardstock so I had the colours I wanted without needing to colour any in. It is a quick and effective way to add colour.

Beautifully Happy Card

I used some new product and some free Sale-a-bration (SAB) product to make this pretty card.

The flowers and words come from a stamp set called Beautifully Happy. You can receive this for free with a qualifying stampin up order. The tartan paper strip is also from a free SAB pack. The paper with the gold and blue foils is from a new offering called dry brushed metallic paper. I just love it. It adds a real touch of elegance.

I stamped another small flower image inside the card to match the one on the front. This stamp set uses two step stamping so it was really easy to add colour using the stamps. I added a few highlights by using watercolour pencils..

I love hearing your feedback, so please let me know what you think of this card. Is it one that you would like to CASE? (Copy And Share with Everyone).

Whitewash technique card

This is a fun technique to add colour to a Crumb Cake (or other colours) card base.

I embossed the flowers from the Hand Penned Petals stamp set with white embossing powder. Then I coloured the Petals and leaves in with white ink. I used a craft white ink refill and an aqua painter. When this had dried, it only takes a couple of minutes, I daubered on some colour. I wanted my card to have a vintage feel so I only used soft, pastel colours and applied the colour lightly. But you can go quite dark with this technique if you want to.

Dainty Flowers Sale-a-bration Paper

I made this sympathy card using the free (with qualifying order) Dainty Flowers DSP and the matching dies from the January to April mini catalogue.

The dies are delicate and can be a little fiddly to put together but it is worth it. I die cut a lilac flower and a couple of yellow daisies to complement the flowers on the DSP. I added a bit of ink with a sponge dauber so they matched the ones on the paper. The lovely blue background is paper from the same pack.