Sharing my love of all things paper-craft: Card making, Scrapbooking, Gift Boxes, Invitations, Party Favours, Craft Supplies and more. (Formally Stampin'Fantastic)
I am a Stampin' Up! Demonstrator based in Matamata, New Zealand.
I love all things paper-craft. This is my platform to share ideas and knowledge with others.
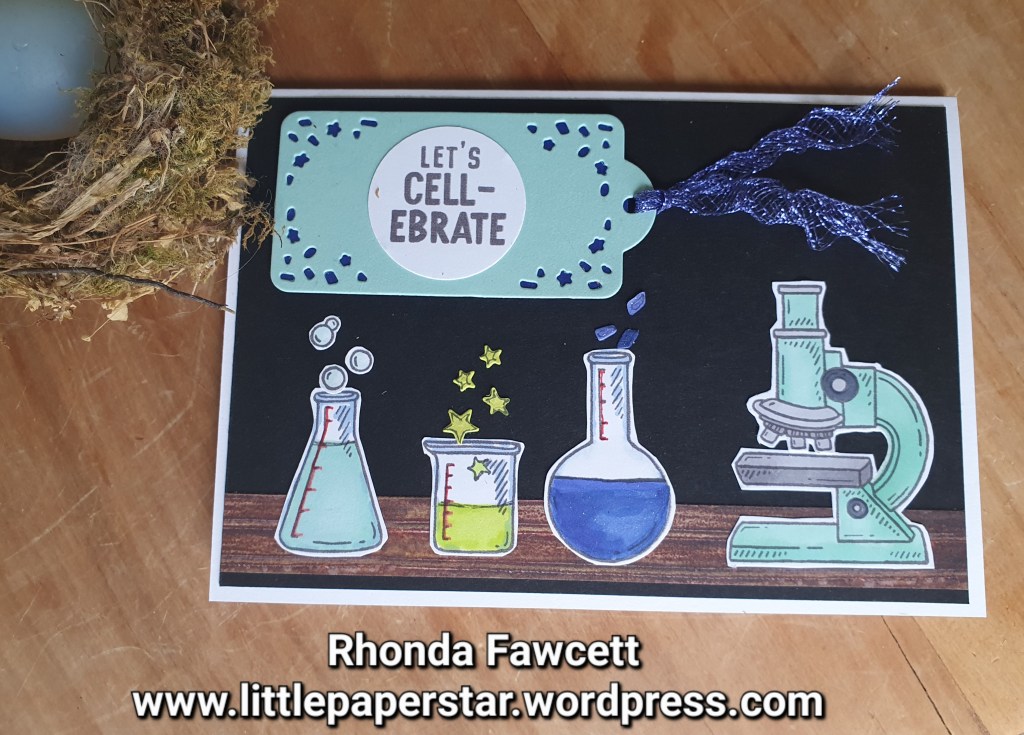
Here is a fun birthday card for the science geek in your life. It’s made with “It’s a science” stamp set which has a few science images such a seen in my card below, plus atoms, clipboard and molecule strands. The words in this set are great for birthdays, anniversaries and valentines.
The images would also be good for scrapbooking if you wanted to do some school themed pages.
I used basic gray ink to stamp my images and coloured them with Gray, Pool Party, Starry Sky and Lemon Lime Twist Blends. The wood bench top is a strip of DSP from the Earthen Elegance paper pack. The tag and stars are from the Beautiful Balloons dies. The ribbon is Orchid Oasis metallic woven ribbon. If you gently pull the edges apart. It gives a nice open weave and a curve to it. I love this ribbon because it has a subtle sparkle to it
I brushed Wink of Stella over the chemistry beakers which add some more sparkle. It’s not easy to capture in a photo but I promise you, it looks great in real life!
This was a card that I made on commission for someone who is obsessed with ten pin bowling. I used the Rays of Light big background stamp on Daffodil Delight card and embossed it with clear embossing powder.
I used the Alphabest stamp set for the word “Strike”. The It’s your special day greeting is from the Sweet Songbirds stamp set.
I then made the bowling pins. I used my grid paper to draw a pin the size I wanted. I made sure it was symmetrical by folding the grid paper in half and cutting out one half of my sketch. When the paper was unfolded. It was a perfect pin. I glued this to a piece of thick white card and made a heavy template that I could then trace around on basic white card. I drew in extra lines and highlight curves with my stampin write marker.and fussy cut them all out. I had a couple of dots on my template at the neck of the pin so I knew where to place the neck stripe. I used a real red marker to colour in the stripe.
The bowling ball is a from a retired 1 1/4″ circle punch with 3 small holes punched out of it. I mounted it on another punched circle of basic gray card so that the gray showed through the holes.
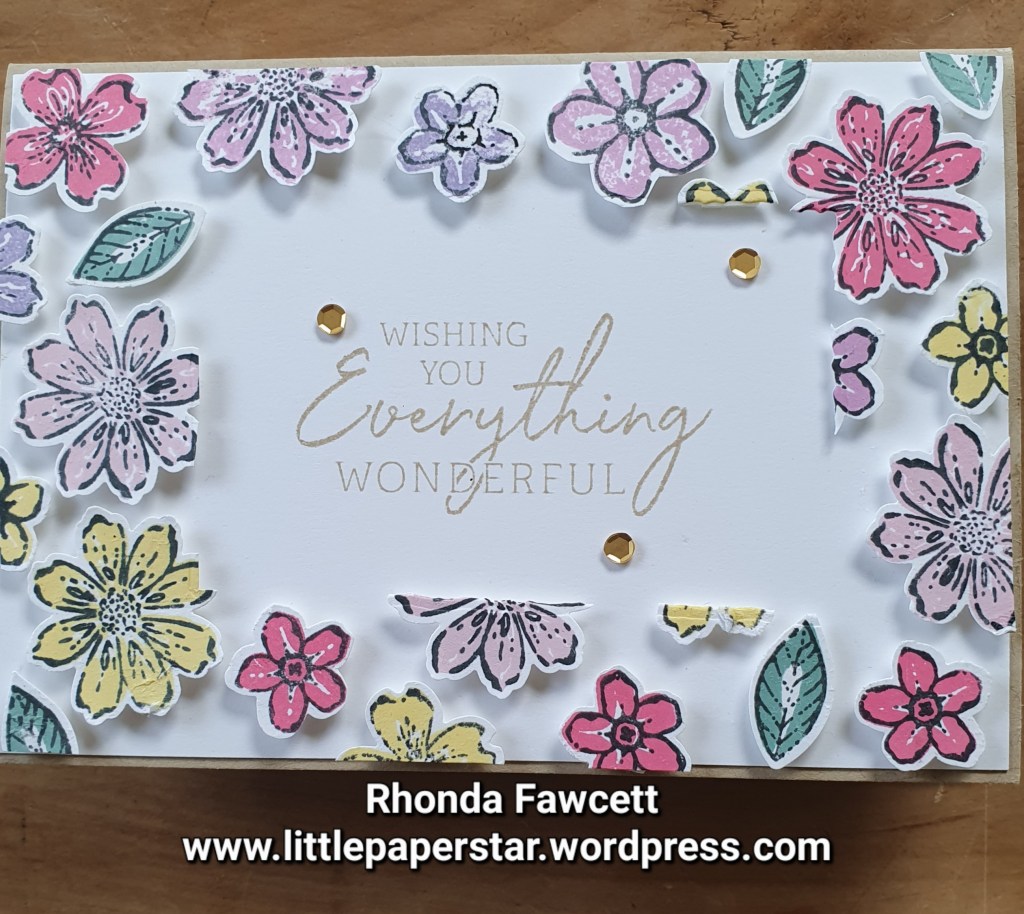
This week I have been making Floating Frame cards. To make these cards you lay out lots of little stamped and punched images like these flowers from the Petal Park bundle. I used Press and Seal cling wrap from GLAD ®️.It holds all the pieces in place while you cut out the frame. Then you need to adhere foam dimensionals to the back of each piece before adhering to your card.
Keep reading for step by step instructions on how to do this technique.
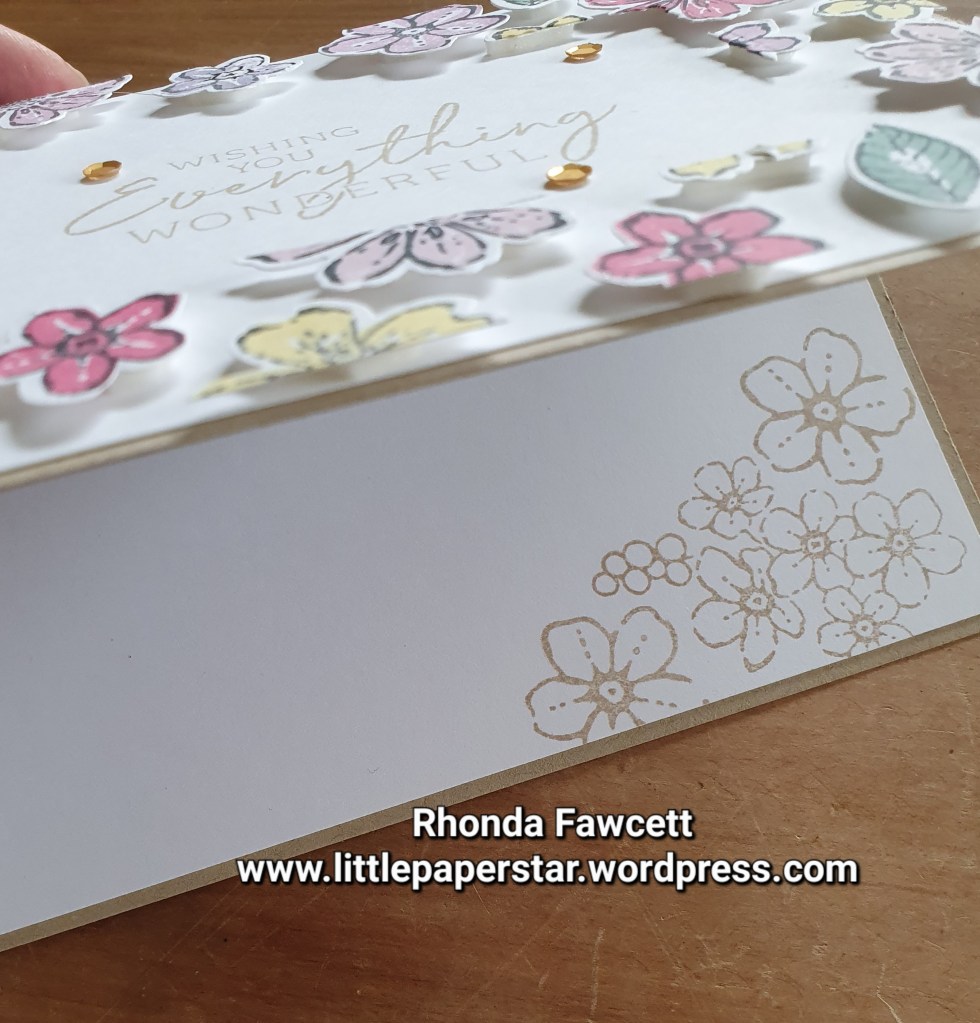
I kept the inside of my card fairly plain. That way i coukd use it for a variety of occasions.
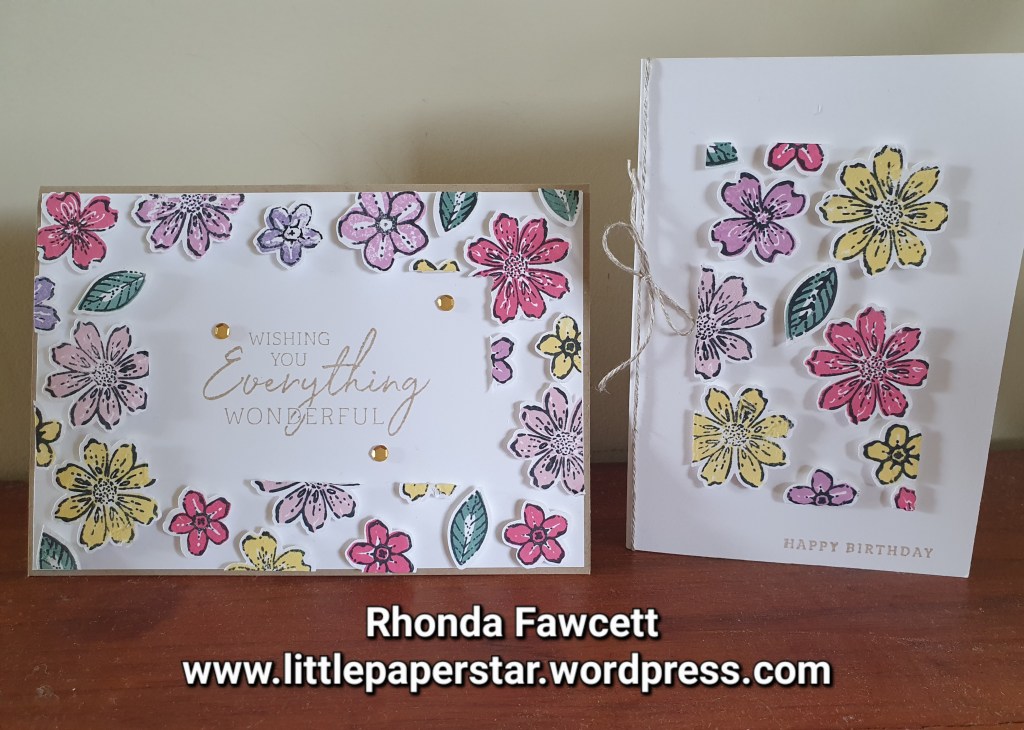
This technique creates two cards, one with the frame and the other using the rectangle that you removed to make the frame.
I used one of the small notecards and envelopes for the centre floating panel. It was the perfect size.
INSTRUCTIONS
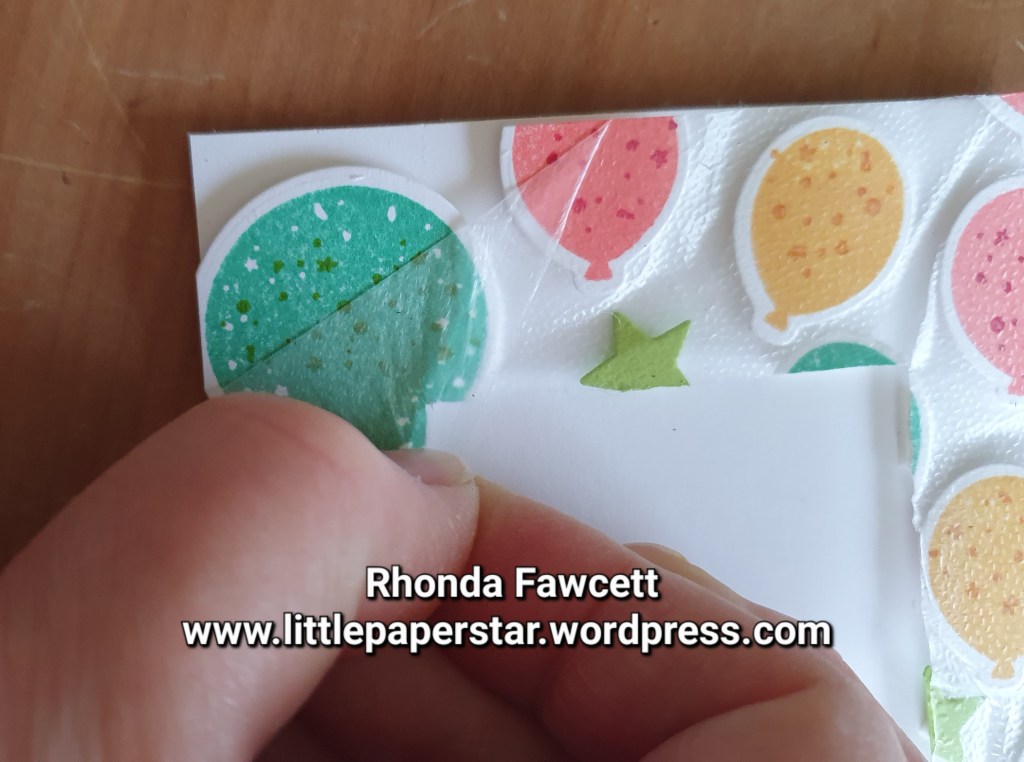
Cut, punch or diecut all the pieces you want for your card and lay them on top of a 14.9 x 10 cm white card base. Do not adhere, just lay in place. Then cover with some Press ‘n Seal cling film from GLAD ®️. Sticky side down. This will hold everything in position while you cut out the centre rectangle. I used the deckled rectangle dies from Stampin’ Up!
Remove the centre rectangle and trim the cling film to edge of card. Including any pieces hanging over the edge of the card.
Turn over. If there are pieces that are too small to put foam dimensionals on, like the ones pointed to, in above photo, remove them. They will peel off with a bit of help. You can shift any pieces if you notice gaps, or add more in, like I did. (See next photo). The important thing is not to have any pieces overlapping.
Now add dimensionals. Cut some dimensionals in half or use the edge of the foam to get the right size for all the pieces.
Peel off all the backing from the dimensionals. This is a bit fiddly as everything is sticky.
Then adhere frame on to another piece of 14.9 x 10 cm piece of white card. I started in one corner and then tried to line up the other corners as I adhered it all in place.
Make sure all the pieces are stuck down, the slowly and carefully peel off the cling film. If you are not slow, it will rip and lift off some colour from your stamped images. If this happens, go back afterwards with a blender pen and draw in some more colour.
Throw away cling film. Stamp in the centre of your frame.
Don’t forget to stamp inside your card as well.
Repeat the process with the rectangle that you removed at the beginning. Adhere dimensionals to the back of all the pieces on the rectangle shape. Then adhere to a small gift card base. Peel off cling film. Add a sentiment and stamp a couple of small balloons inside.
I have been playing with punches lately and made this little guy. It all came about with a chef’s hat to start with.
I had punched a partial cloud with a flat bottom and this happened to be sitting on a scrap of white card, which together the two pieces looked like a chef’s hat. So I decided to go for it and make a chef. There is a stamp set in our Stampin’ Up! catalogue with a pizza chef which inspired me to do a punch art pizza chef.
I used the cloud punch for his hat. A retired circle punch for his face but you could use any number of circle dies that are currently in the catalogue.
His eyes, nose, hair, mustache and collar are all from the Petal Park Builder Punch. The only extra punch I used was the Songbird punch to create the white glint in his pupil. I punched out a beak, cut it in half and used one half for each eye.
I also used the Songbird punch for the pizza topping. The pepperoni was from a retired 3/4″ circle punch and stamped with dots from the Petal Park stamp set. The capsicum was from the body of the bird punch. The onion was from the wing of the bird punch and the olives were from the tailored tags dies.
Here is what I used to make the hat.
I slotted the skinny end of white card into the punch and threaded it out through the top until the wider piece could go no further, then I punched the top shape. The long skinny piece, I trimmed shorter and scored narrow 0.5 cm lines in.
For the inside of my card, I stamped the pizza chef from the Supremely Awesome stamp set.
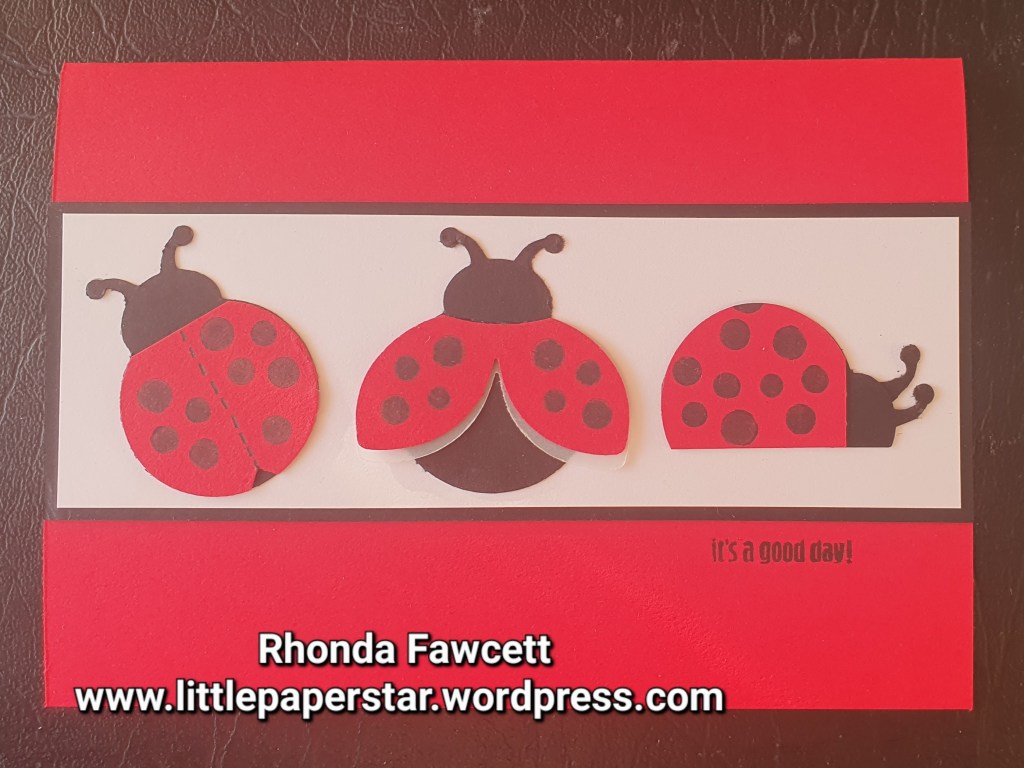
I was playing with the ladybug punch last week and I wanted to create some different styles of ladybugs so I made this card.
For the first bug, I punched two bodies, one in black and one in Real Red. I cut the head of the red one and drew a line on it, stamped some dots and attached it on top of the black one. For the third ladybug I punched two bodies as before but this time, I cut a straight line off the side of both bodies. I attached the antenna that I had cut off beside the other one. This ladybug reminded me of a snail, which got me playing to see what other bugs I could make.
The snail was made the same way as the third ladybug. I just added a small portion of a wing tip for the end of the snail. The shell was embossed using the embossing tip of my Take Your Tip tool and then rubbed over with a dauber using Pecan Pie ink to highlight the swirl.
The butterfly started of as a Crumb Cake body that I cut a portion off each side. I then punched out two lots of wings. The butterfly body was still too short so I added an extra double punched wing tip to add more length. Where the extra piece joins the body is where the wings meet to cover the join.
The back side of these critters looks rather messy but I am showing you to give you an idea of how I add the extra legs etc.
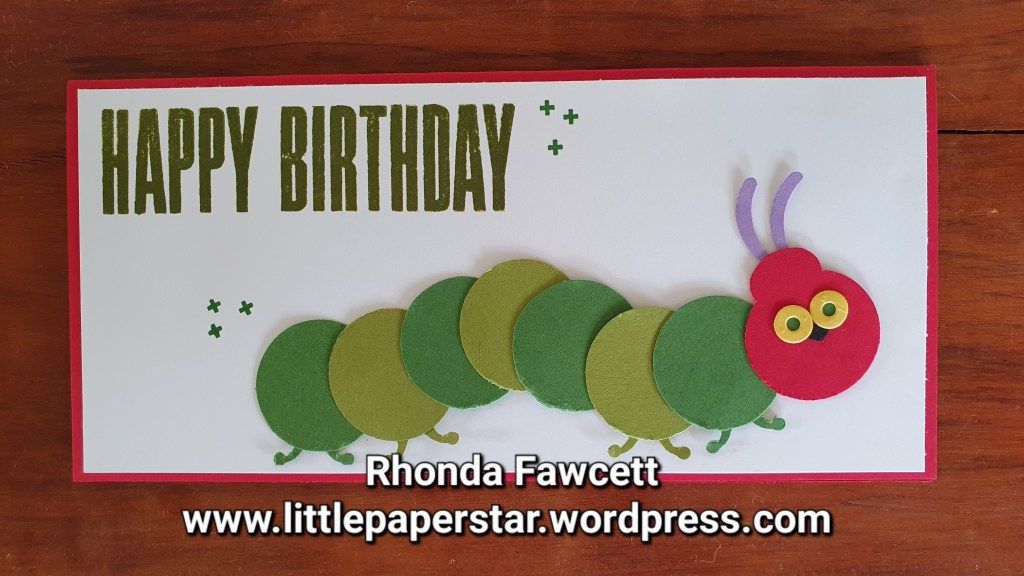
You can’t have a butterfly without a caterpillar right? So I decided to make that next. But the punch didn’t really lend itself to a caterpillar shape. I Googled caterpillar images and found the classic children’s story book character, hungry, hungry caterpillar and so made that instead.
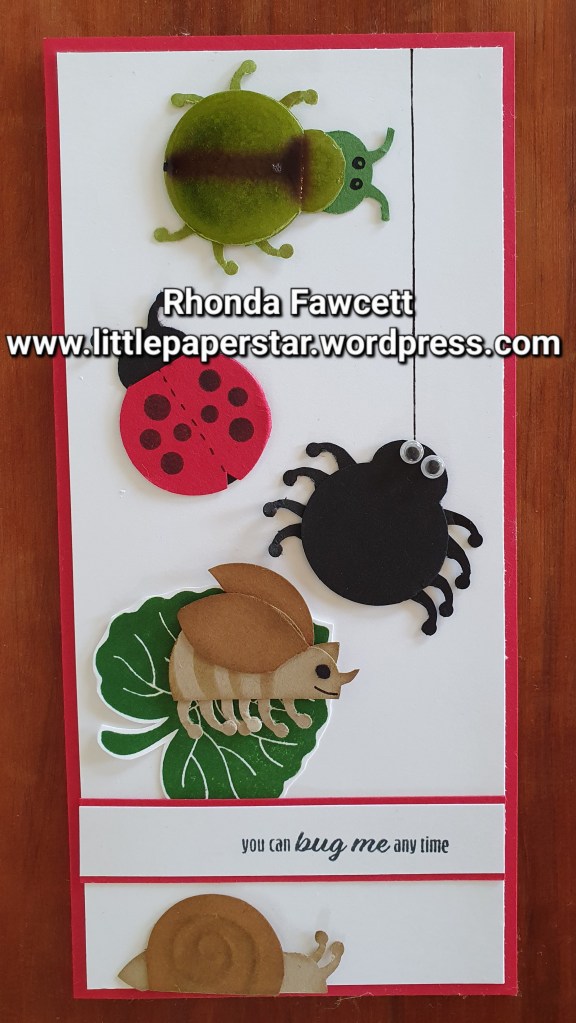
Next I decided to put all my critters on a card. I used google glue on eyes for the spider. I made a rhino beetle and a shiny green beetle. The green beetle was made by punching one body from Old Olive and one head from Garden Green. I drew a line on the olive body then covered the body in a layer of Fine Tip Glue. The glue made the ink from the marker pen run but I actually liked the final effect so I wouldn’t change it. The eyes are drawn on with a Stampin’ Write marker.
I think the sentiment works perfectly for this card. I am going to give it to my grandson for his birthday.
I was excited to get my hands on this new card and sticker pack. It’s the only item in the catalogue that has come down in price. I love the bright and happy colours. They would work well for any party celebration photos. I used them for an Easter egg hunt layout.
If you live in New Zealand and want a pack of the cards and stickers. Send me a message or order from my online store rhondafawcett.stampinup.net
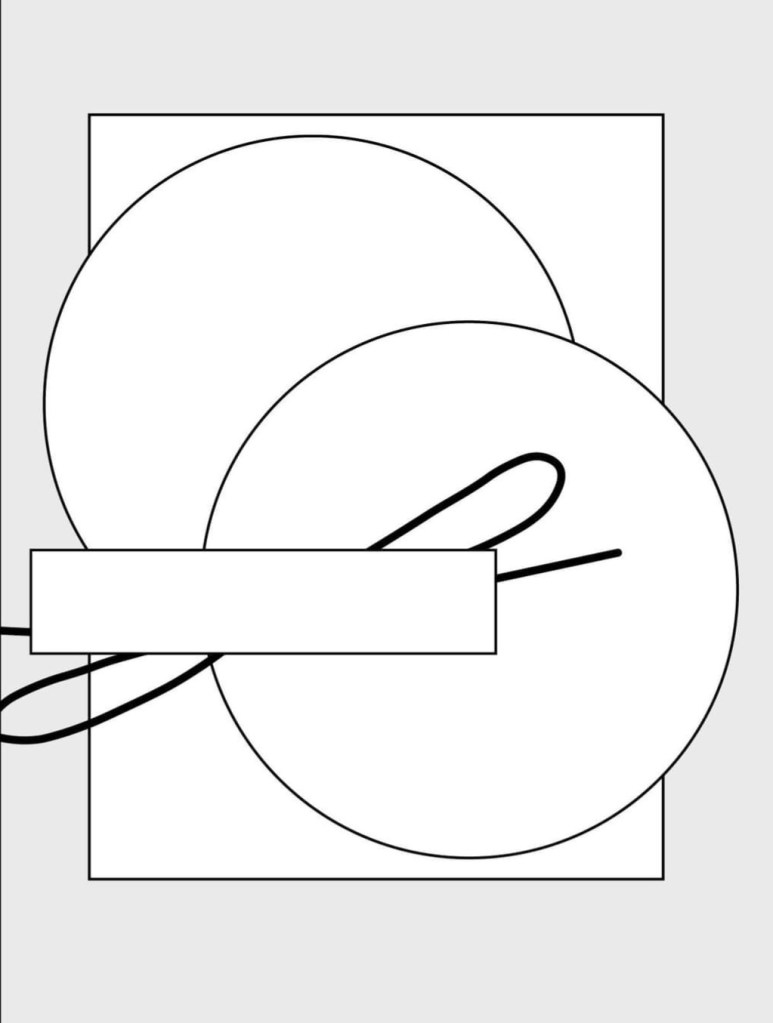
Stampin’ Up! has a challenge for May #creatingconnectionssimple The challenge is to create a card using this sketch below. I love using sketches as I find them helpful when you get into a creative slump.
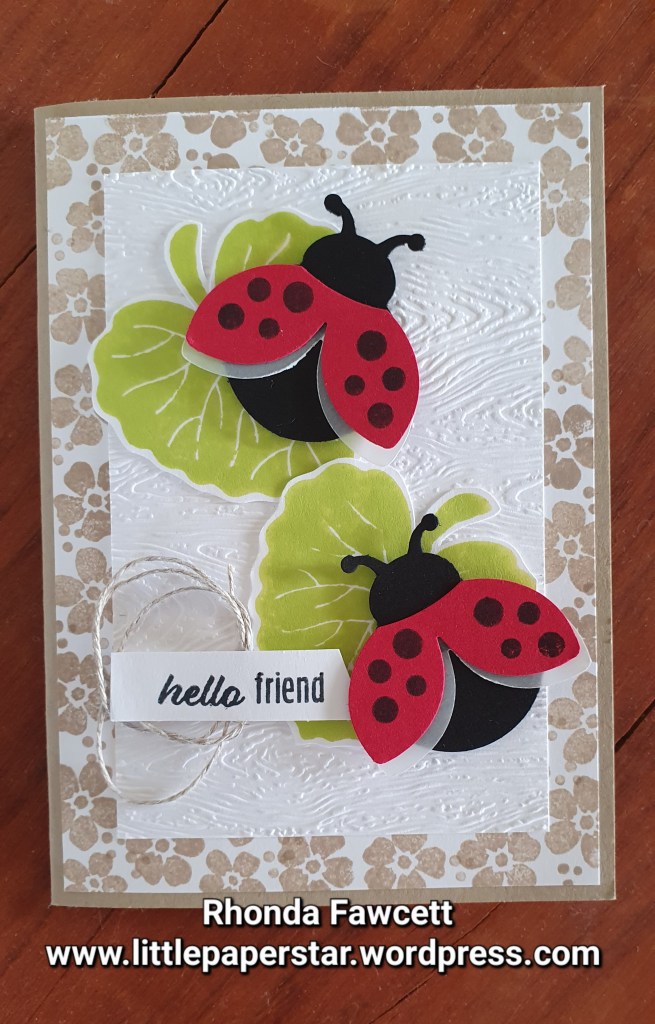
Here is my interpretation. Inside of two circles, I used two leaves with ladybugs on.
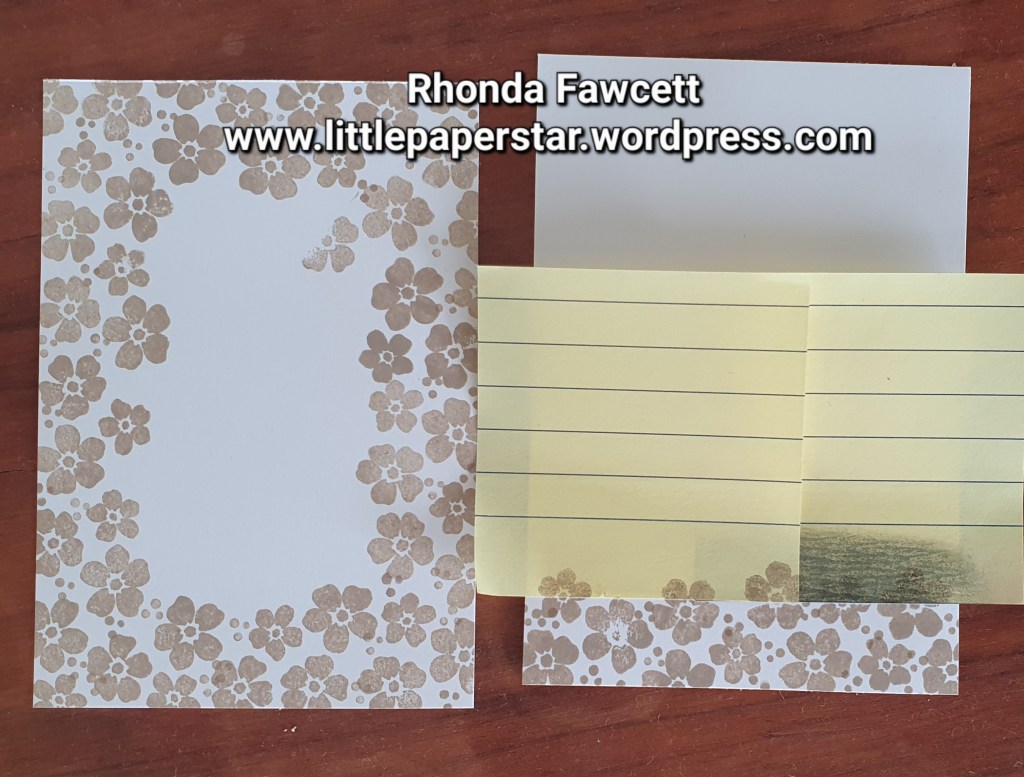
I didn’t have any suitable Designer series paper to use on the background so I made my own using Crumb Cake ink. I also stamped a border for inside my card. I used sticky notes to get a straight line across the bottom.
Here is the inside.
All the stamps used are from the Hello Ladybug stamp set. The ladybugs are punched out with the coordinating punch.
I have seen a lot of these style cards around lately. They are really cute and really easy to make. I have posted a step by step tutorial. See link below. ( Please excuse the small pause in the video, where I go to get a new glue).😄
On the 25th of April we remember and honour all those who have fought for our country. I felt it only fitting to make some cards that I will drop off to the RSA with some chocolate. It says, “It’s your time to be remembered. “
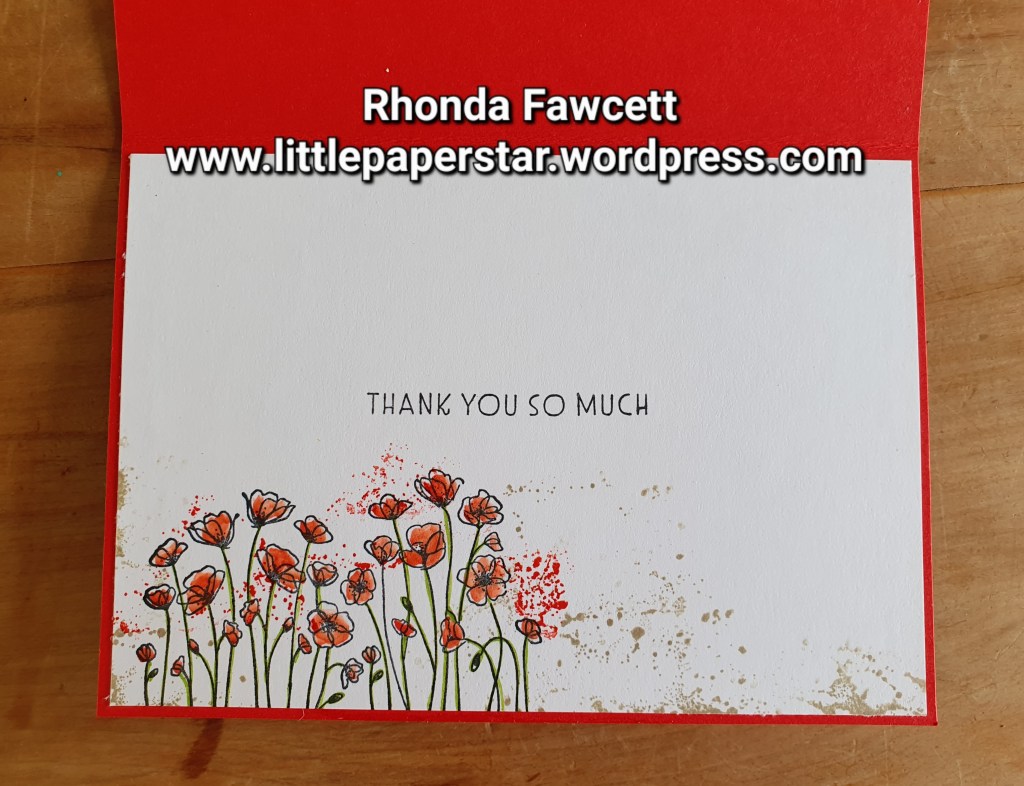
Inside simply says “Thank you”. The words are from the Inspiring thoughts stamp set and Poppy stamps are from the Painted Poppies stamp set.
I made a birthday card of the same design. The black decorative border is a die cut from the Palm dies.