Unknown's avatar

About littlepaperstar

I am a Stampin' Up! Demonstrator based in Matamata, New Zealand. I love all things paper-craft. This is my platform to share ideas and knowledge with others.

Flight and Airy Card

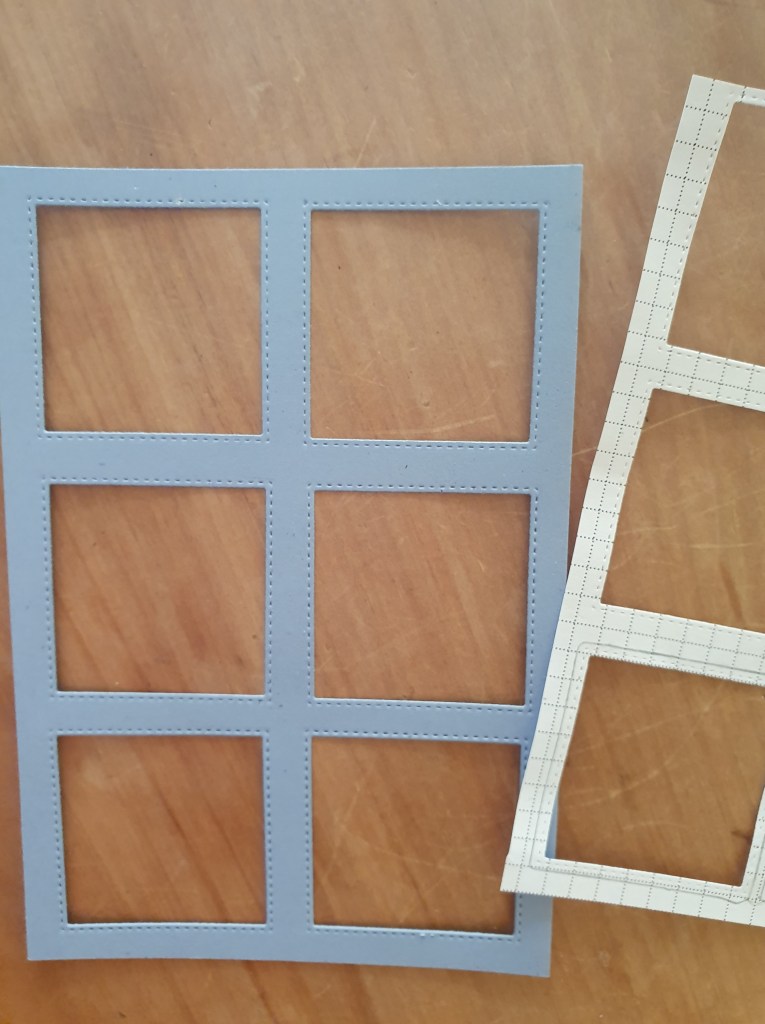
I wanted to use some scraps of this very pretty paper (it’s a freebie when you spend NZ $110 on Stampin’ Up! products. This Sale-a-bration freebie ends on 29th of February). Anyway I was playing with my Stylish Shapes dies and noticed that they all have double stitching. This means the shape you die cut out plus the negative where you cut the shape from, both have stitching lines. I really wanted to showcase both sets of stitching lines and so I came up with this “window frame” card.

I had a bit of trouble initially keeping the squares even, so I made a template from grid paper first which really helped.

I glued the window frame to a thick white card base. I die cut some squares of Designer series paper (DSP), to go inside each window. Then I added a sentiment from the sending smiles stamp set. This was also die cut using a die from the stylish shapes die set and placed on dimensionals. Finally I added some neutral sequins to finish.

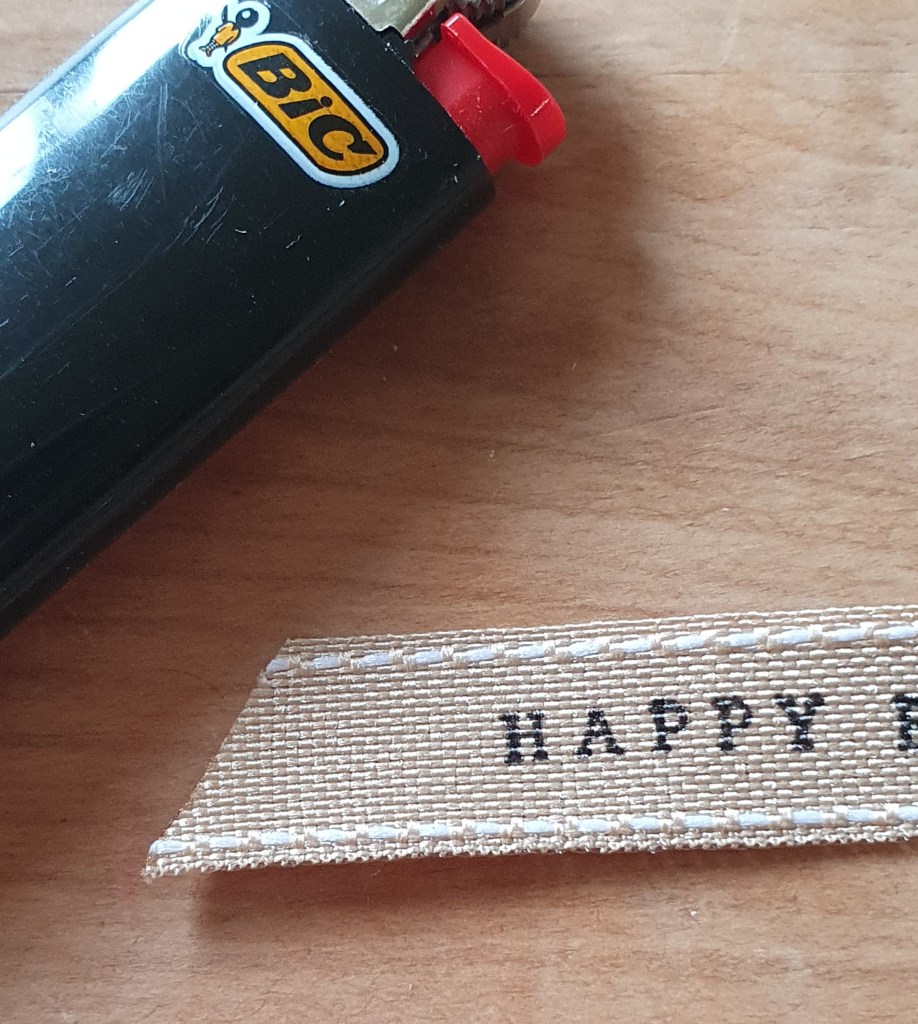
Here is a close up of the double stitching.

Spotlights Technique

I have been revisiting some old techniques and decided to make a card using the Spotlight technique.

This card uses the Dainty Delight stamp set, the tailor made tags dies and the stylish shapes dies.

I stamped a mix of flower stamps on my white card, then die cut a circle out of the middle. I coloured the circle with Blends and also added a bit of blue with a blending brush. I matted the circle on a larger one diecut from black card. Finally I glued it back in place to cover the hole it originally came from. By leaving the rest of the card in black and white, this brings the spotlight to just the coloured circle piece. I think it is quite effective despite being a simple card to make.

Fluffiest Friends

I love the cute animal stamp set, Fluffiest Friends You may not have noticed this set before as it is not in any printed catalogues. Instead it is available exclusively as an online offering from Stampin’ Up!

.I decided to do a card with a cat for my granddaughter and I thought that the little hamster also would make a great cat.

First I inked up the hamster stamp, then I used a blender pen to remove the ink from the hamster’s face and paws. If you are going to try this technique make sure you take a few goes at removing the ink from each part, wiping the blender pen clean between each go, to ensure you remove all traces of ink from the portion of stamp where you want it gone.

Because this took more than a few seconds and the ink may have dried on the stamp, I huffed on it, to moisten the ink with my breath. Then I stamped the image. I used a black stampin write marker to add in the face and whiskers to match the larger cat. I added cat paws and a tail.

Anniversary card

I made some swaps for backstage using the Ringed with nature bundle. The swap group that I was in had to make wedding or anniversary cards. I chose anniversary.

The colours are quite soft in real life with Petal Pink and Crumb Cake being the two main colours used.

The ringed with nature stamp set is so versatile. I have made birthday cards, welcome to your new home and get well cards using it. Now here’s an anniversary one. If I took the hearts off and added some Pebbled Path gray numbers, I could make them into cards for my team members who reach milestone years with Stampin up!

Adding simple embellishments like the Petal Pink ribbon from the Ribbon duo pack (there is a lovely Lemon Lime Twist ribbon in this pack too) and the enamel effects paint on the berry branches gives the card a little lift.

I hope my swap partners liked this card as much as I enjoyed making it!

Beautiful Balloons

This was a pretty easy card to make with the Beautiful Balloons bundle.

First I stamped some banners across the top of my DSP (Designer series paper) and heat embossed with white embossing powder.

Then I sponged over a bit more colour using Highland Heather, Bubble Bath Lemon Lolly and Lemon Lime Twist inks. I only blended the colour on lightly so you could still see the pattern show through but it took away the stark white and it showed up the banners better.

Then I added the balloons and the greeting. I hand drew in the balloon string with a ruler and Stampin’ Write marker.

Finally I added some little stars cut with holographic paper.

Let’s go Fishing Card

This is called a Joyfold card. It was one made for a recent class. We used Let’s go Fishing designer series paper (DSP).

The paper has great fish images which we fussy cut out to use as our focal point. We placed them on a dry embossed background made by swiping the embossing folder with Boho blue ink before rolling it through the Stamp and Cut Emboss machine.

This is a great technique to use with embossing folders as it really highlights the textures.

The joyfold card is tucked under the sentiment circle at the left hand side to close. When it opens you have plenty of space to write inside.

Angled Gatefold Card

I made this cute gatefold using some of the new Incolours and the Fresh as a Daisy designer series paper (DSP).

I didn’t have the coordinating Cheerful Daisy dies so I used a retired Daisy punch instead as the focal piece on my belly band. I used in colour glossy dots embellishments and emulated the look on the centre of my daisy flower, using Wink of Stella and Fine Tip Glue.

Inside the card, I used the flowers from the Hello Ladybug stamp set and Bubble Bath ink. They worked beautifully. The sentiment is from the Layering Leaves stamp set.

If you want to receive instructions to make this card please send me an email to rhondafawcett22@gmail.com

Ringed with nature card

All the layers and textures on this card combine to give it a deep richness.

I used Early Espresso as my card base, then matted it on Petal Pink card 14.4 x 10 cm. I next added a 13.9 x 9.5 cm layer of Pecan Pie which I embossed with the timeworn type embossing folder.

Now it was time to decorate… I added distressed gold card diecut leaves. A few stamped leaves and stamped tree rings, and some diecut acorns. One of the tree rings, I mounted on a foam adhesive sheet and coloured the white foam with a blend pen so it gives the appearance of a wooden shape. I also used the small ball embossing tip on my Take your Pick tool to draw in deep grooves in between the stamped ring lines. This all added more texture. I sponged the edges of my tree rings with Crumb Cake ink.

I stamped my sentiment on Ribbon using Black Staz on ink. I think the Saddle brown Staz on would have worked even better. The ribbon looked lost on the brown background so I mounted it on to a piece of Very Vanilla card.

You may notice the burlap ribbon (this comes in a combo pack with real red), frays on the edges. In my sample, I used a thin smear of tombow glue to seal the edges but it did stain the ribbon, so when I taught this in class, I held a flame by the edges of the ribbon and this melted and sealed of the ends nicely.

I used 2.5 cm strips of Earthen Elegance DSP to give a rich background for the tree rings and foliage. It came together well and would be suitable for a male or female birthday or thank you, or a sympathy card if you changed out the words.