Unknown's avatar

About littlepaperstar

I am a Stampin' Up! Demonstrator based in Matamata, New Zealand. I love all things paper-craft. This is my platform to share ideas and knowledge with others.

Latte Love

I love these coffee cards. We made them at a team day using a one sheet wonder, which gave us two cards from one sheet of Designer series paper. The paper we used is called Country Woods by Stampin’ Up!

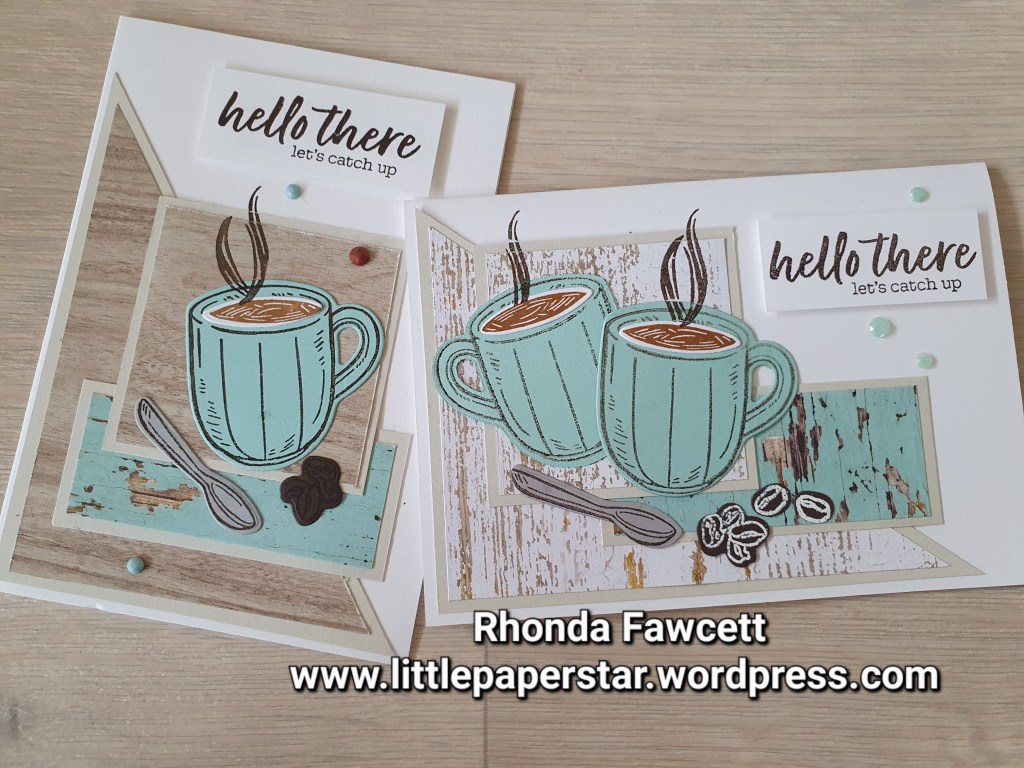
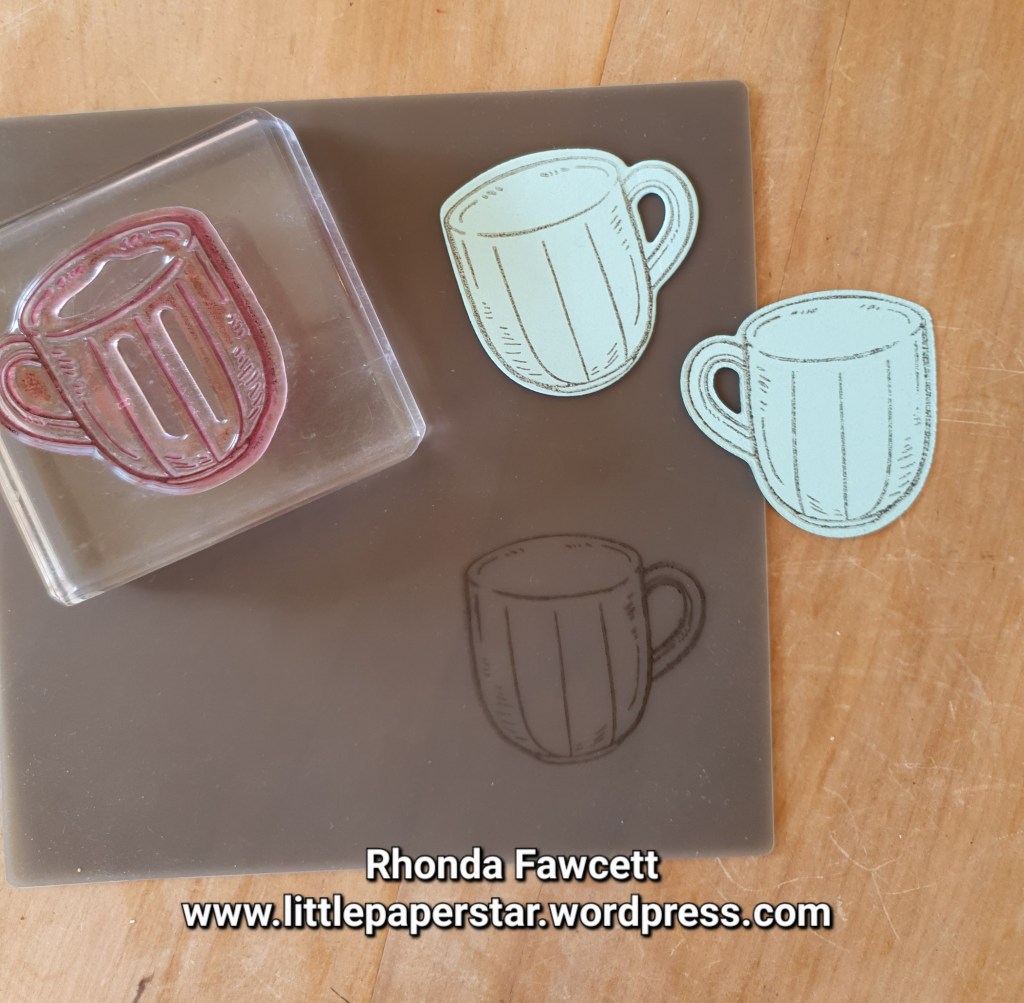
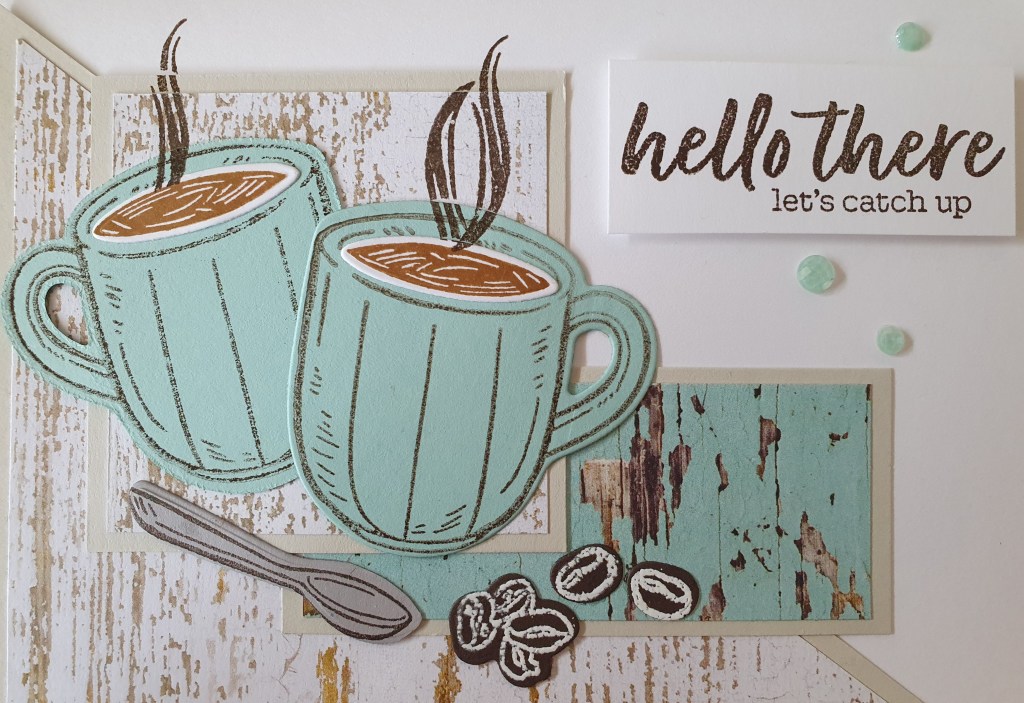
The layout is similar for both cards but the orientation has been changed. For the landscape orientation, I added two coffee cups. I wanted the handle on one of the cups to go the opposite direction, so I stamped it on my silicon craft sheet first, then pressed my Pool Party card onto the craft sheet to pick up the stamped image and voila, it is a reverse image. It’s that easy. The only thing is the image is lighter. I stamped off my right side facing handle coffee to make it lighter to match the one I did with the silicon sheet.

I used white embossing powder to do the coffee beans as they are hard to see on the Early Espresso card.

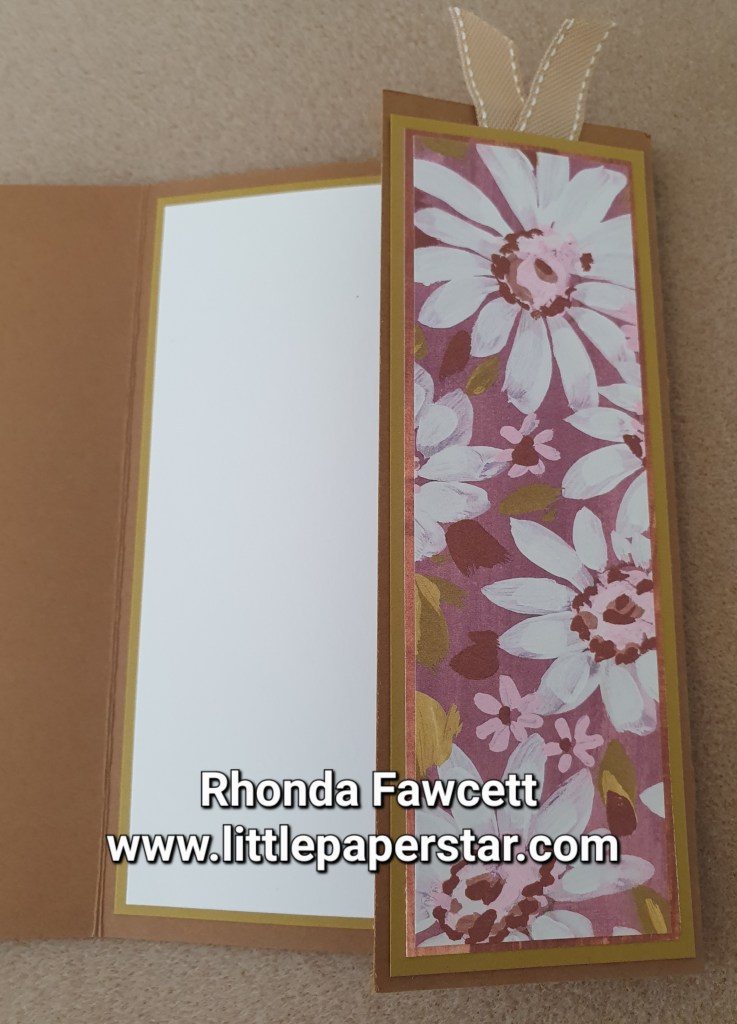
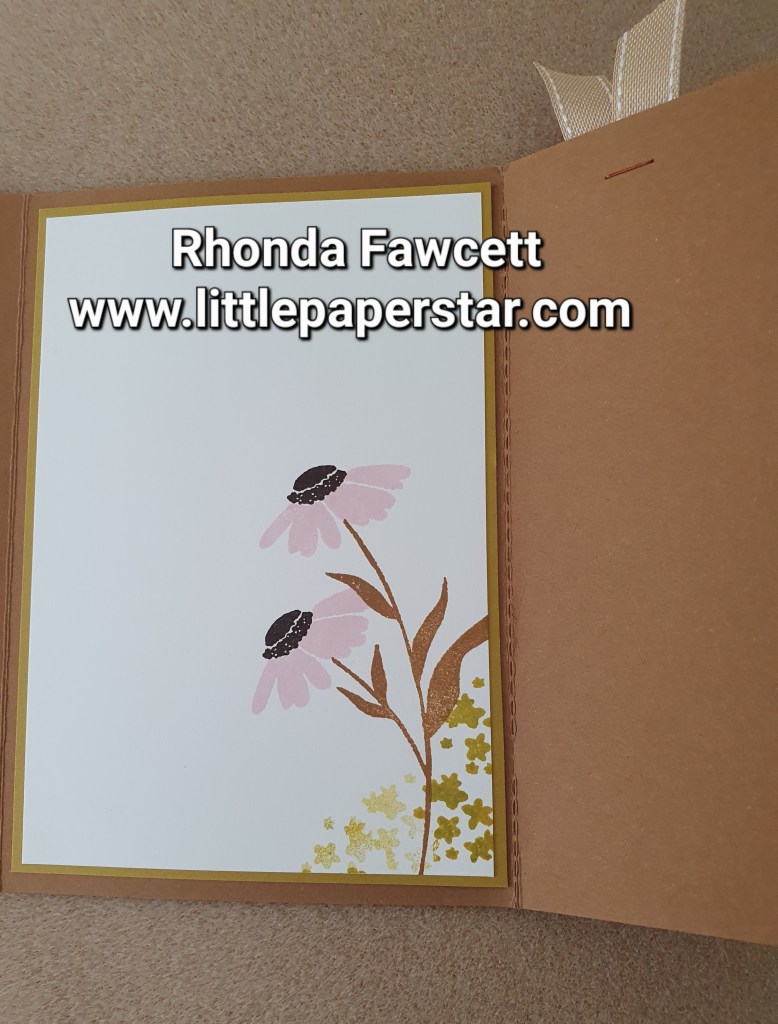
And of course, I had to stamp the inside. The stamped images are coloured in using Stampin’ Blends.

Bee My Valentine

I needed to make an anniversary card that said loving words but wasn’t all ribbons and flowers. The brief was not too girly! So I came up with this mobile phone card using the Bee My Valentine bundle. The bee’s body punch makes a perfect speech bubble.

I used the Sentimental Park stamps for the words inside.

Thoughtful Journey Card Pack

If you follow my blog, you will know how much I love the pocket scrapbooking albums. For me it is important to have my memories recorded and together in one place and I don’t have a lot of time to keep up to date but with simple pocket albums, I can.

This page features some cards from the Thoughtful Journey Memories and More card pack. I added some simple stamping using the “Love this Moment” stamp set, (which isn’t in the current catalogue but is available on line). I also added a leaf die cut from the “Painted Lavender” dies.

Blended Alcohol Technique

I made this card to showcase another way of using our Stampin’ Up’s Blends. This panel on the side is made using a strip of window sheet coloured with Blends, then spritzed with alcohol.

It is a fun technique. It’s easy to do. The longest part is waiting for the alcohol to evaporate so that the ink is properly dry. I ended up using a heat gun to speed up the process which is a good ideas because it spreads the ink around more and creates the marbled look you see on my card.

I did a video of making this card. It’s in two parts as I bumped the camera when I was using the heat gun. Lol. Part one… https://youtu.be/g70SMTehTjk?si=V0HE8VcfgffRSzbZ

Here is part two… https://youtu.be/-L1yVqNeVa0?si=qR6xZIY2IKkZIaNZ

Dahlia Fold Card

I have seen these Dahlia fold cards around for awhile now but haven’t made one until today. I thought I would teach it at a class, because origami is fun and this card was just a little bit different.

The paper we used is about to retire. It is called Delightfully Eclectic and is currently half price. The stamp set is from the Charming Sentiments stamp set.

To make the Dahlia, you need to punch 8 circles from the patterned paper and one circle from coloured card. I used a 2″ circle punch. You can see the steps on the photo below.

Step 1. Fold circle in half and in half again. For me it was helpful to draw in fold lines with a pencil as it made them easier to see.. Step 2. Fold in bottom edges, so folded piece is sitting neatly between pencil marks. Step 3. Turn circle over. Now fold in side so it is even with the centre fold. Step 4. Repeat on opposite side. Rub out pencil marks.

You now have 8 Petal pieces. You will adhere these to a card circle. Then adhere onto your card.

Reach for the stars

I had fun making these birthday cards using the Reach for the stars bundle of products. The patterned designer series paper makes the perfect background for these two cards.

Do you like the rocket ship? It is stamped on holographic paper.

This bundle and the holographic paper are all retiring this month. April 2024. So if you like what you see, make sure you contact me to place your order.

Fresh as a Daisy

This was a fun card to make. It has a detachable bookmark with it. To make the bookmark, I cut my base card to 14.9 x 26 cm. I used the Take Your Pick tool attachment with the perforating wheel to rule 5 cm off the side. I folded the perforated panel in and folded the card in half. I used the Fresh as a Daisy designer series paper to decorate the front. The sending word and birthday wishes are from the Sending Smiles bundle.

Do you like the white embossed border on the front? It is Vellum. It makes a great border as it is a much softer look than it would have been had I used white cardstock. With such a bust front to this card, I felt it needed something more subtle in the background and the vellum worked perfectly.

Inside the card, you can see the bookmark, folded inwards. It is decorated with another piece of DSP from the “Fresh As A Daisy” paper pack.

Here is the inside of the card with the bookmark folded out. You will see the perforations that you can tear or cut along to remove the bookmark from the card.

A little Easter Treat

I made these little chocolate treat holders for a team online event plus some extras to give to my travel buddies at On Stage in Melbourne.

They use the Fluffiest Friends stamp set (for the rabbit), the Bee my Valentine stamp set (for the little heart stamped randomly over the box) and the Charming Sentiments bundle.

The little rabbit was originally holding a cupcake but because it was Easter I wanted to change it to something else and I chose a heart, die cut from the charming sentiments dies.. I used the cutting blade on my Take Your Pick tools accessories to cut around the rabbits arms, then I slotted the diecut heart inside.