Sharing my love of all things paper-craft: Card making, Scrapbooking, Gift Boxes, Invitations, Party Favours, Craft Supplies and more. (Formally Stampin'Fantastic)
I am a Stampin' Up! Demonstrator based in Matamata, New Zealand.
I love all things paper-craft. This is my platform to share ideas and knowledge with others.
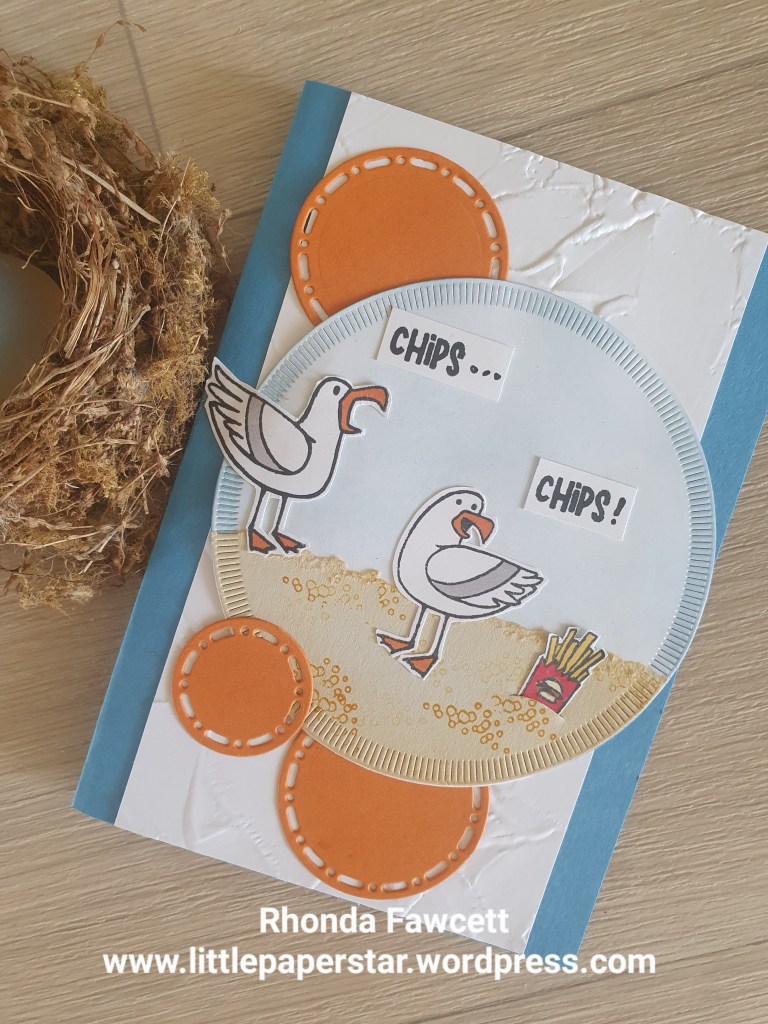
Here is another card made using the free Sale-a-bration stamp set called Friendly Seagulls.
For this card, I was teaching the technique of water spray on sponged background. We started with a basic white panel 10.5 x 8 cm and used a blending brush to sponge on Azure Afternoon ink. Then we used a water spritzer to spray on one good spray of water. The spray creates fine water drops which you can’t see straight away but as the card dries it becomes apparent.
We then matted our panel onto Lemon Lolly card (10.5 cm square) with the top and bottom edges torn.
We cut a piece of Pecan Pie card for the wharf piles. 9.5 x 2.2 cm. We embossed with the timber embossing folding and sponged with Pecan Pie ink. We cut into two portions. One 5.5 cm long and one 4 cm long. Corner the ends and tied Crumb Cake baker’s twine around. Our Seagulls were fussy cut to sit on top.
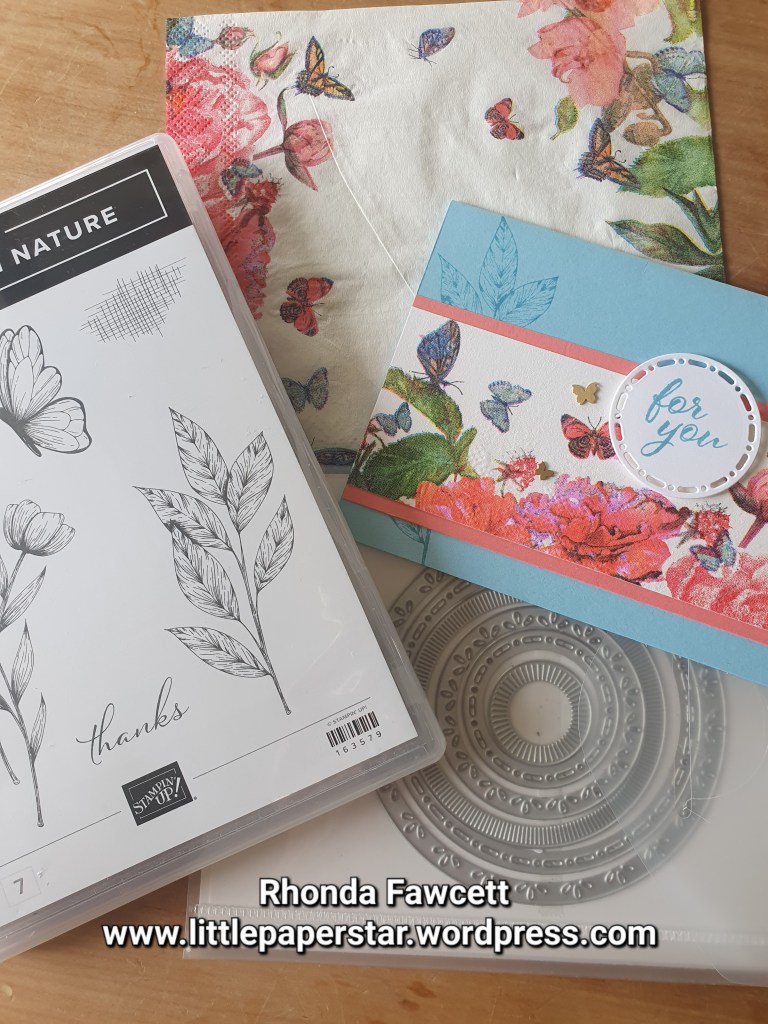
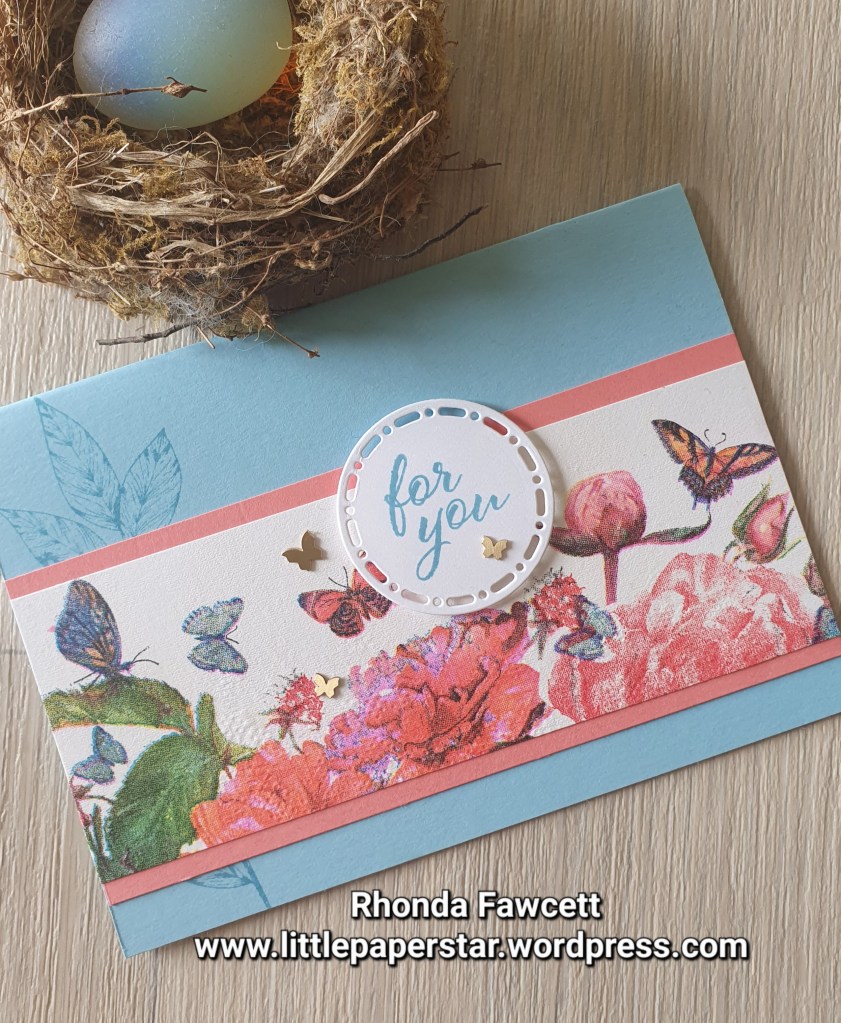
There are so many pretty serviettes out there. I wonder if any of you, have been like me and have picked up a serviette at a function, thinking this is too pretty to wipe my fingers clean, I am going to pocket it instead and use it for something someday – so others can appreciate its beauty too?
I have made some canvases (wall art) in the past with serviettes and a paper glue, but finding this easy way to transfer them onto card fronts was a game changer. (Way less wrinkles and way less mess!)
For this card, I used the spotlight on nature bundle and a sentiment from layering leaves. I used Balmy Blue and Flirty Flamingo cardstock to match the colours in the servitte.
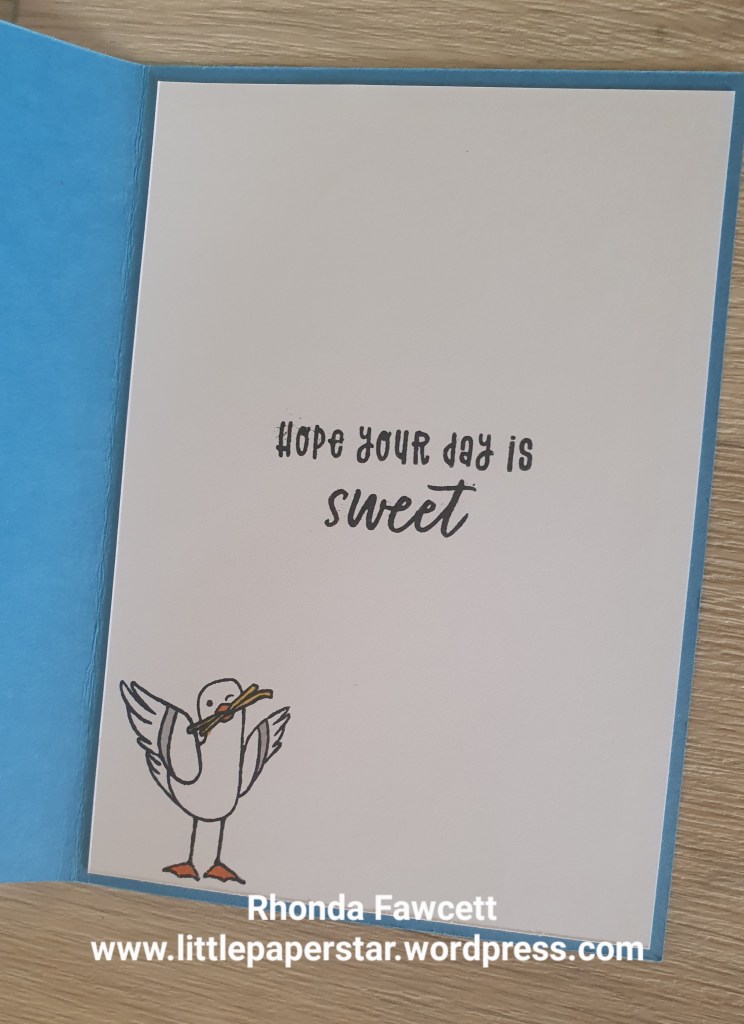
I purposefully didn’t add words inside this card so I could you for a a variety of occasions later on.
If you are still reading, you are probably wondering when I am going to tell you how to actually make these cards…
Here goes: The main points are to use a hot iron with no water in it and iron it on a very firm surface. I used a wooden chopping board. You MUST make sure that you use the top layer of the serviette only. Some have two layers and some have three layers. Peel away the one or two bottom white paper layers and keep the top layer with the picture on. Make your sandwich like this: *Wooden board *Baking Paper (this will protect the card from burning) *Cardstock (piece of white or vanilla) *Plastic cling wrap (cut a piece to cover the card and lay it out as flat as you can) *Picture Serviette – right side facing up *Baking Paper (again needed to stop paper serviette from burning) Make sure that the baking paper covers everything – you don’t want to get plastic cling wrap on your iron as it will ruin the iron. Iron for about 10 to 15 seconds in one area. Press down firmly. Then move onto another area and repeat. Lift off baking paper and see if the picture is attached. If the picture is lifting off at the corners, just continue the process. I used card stock larger than needed. I trimmed off the excess card, serviette and cling wrap when finished.
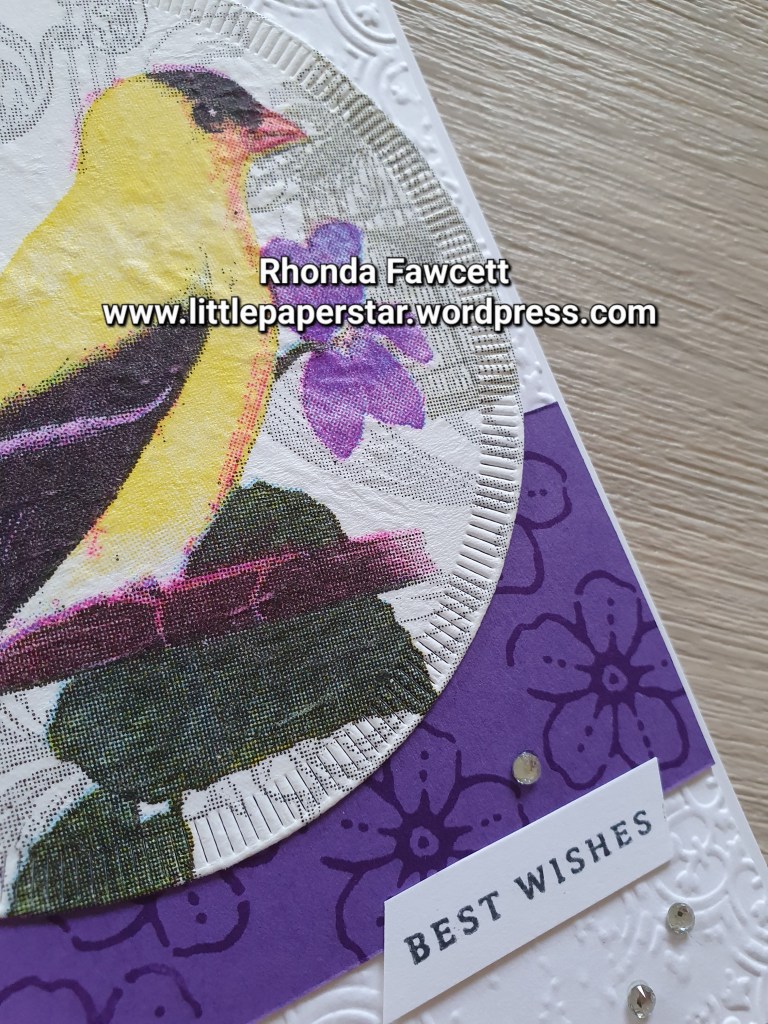
Bird card with serviette. I made this one using a bird patterned serviette. I adhered it all together as described above, then die cut it out with one of the circles from Spotlight on nature dies. The stamps are from Sentimental Park stamp set.
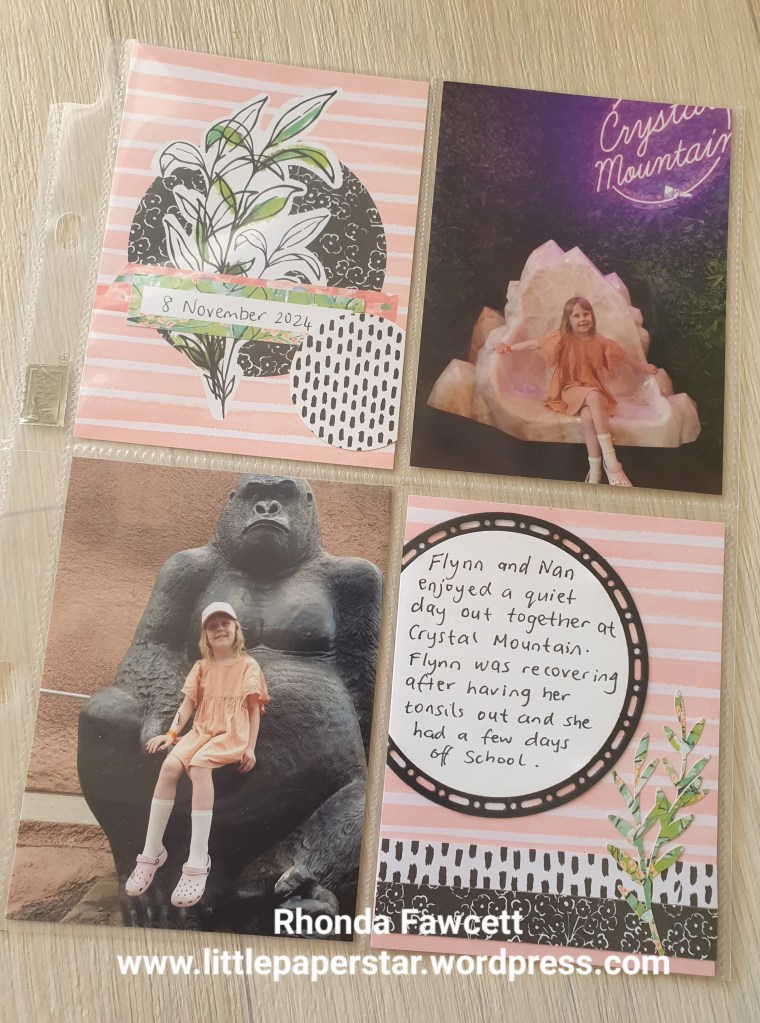
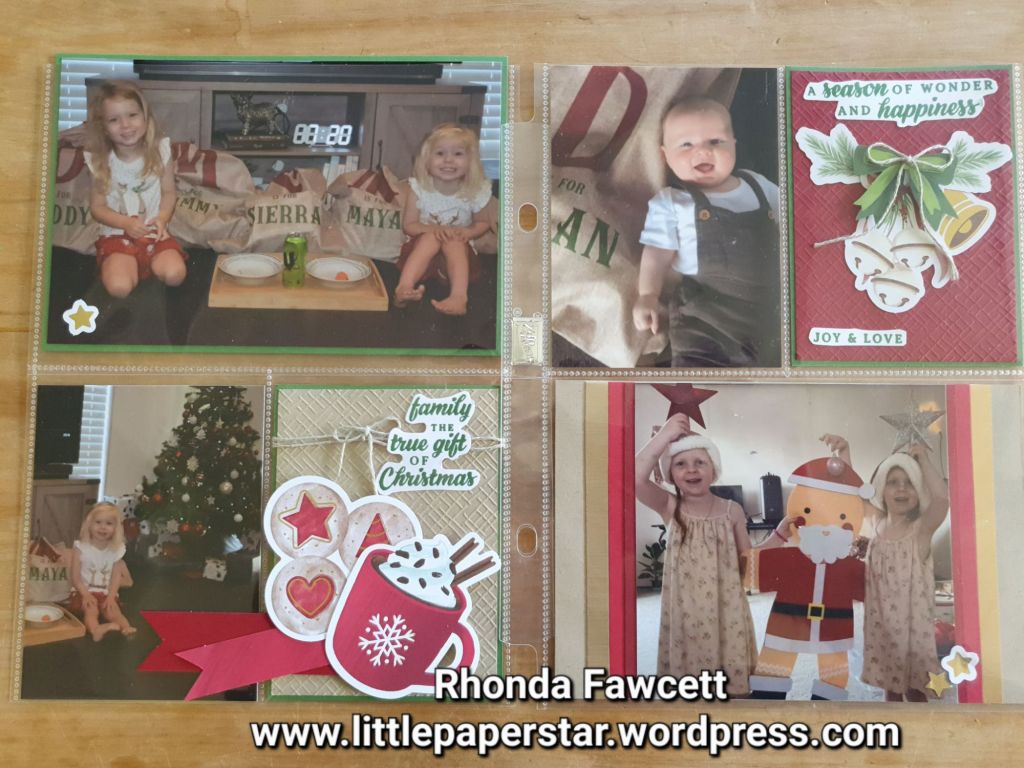
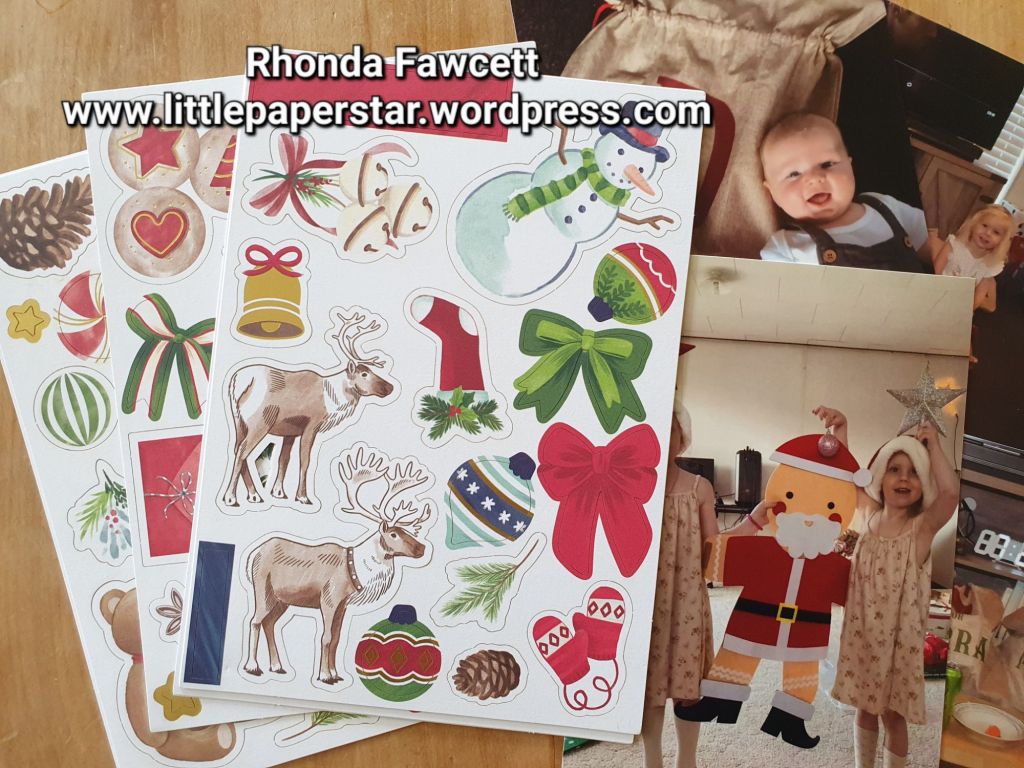
I recently purchased the Joyful images ephemera pack from Stampin’ Up! and I used it to create a layout for my Memories and More album.
There were so many printed and die cut images to choose from. Each pack contains 8 sheets of 4 different designs.
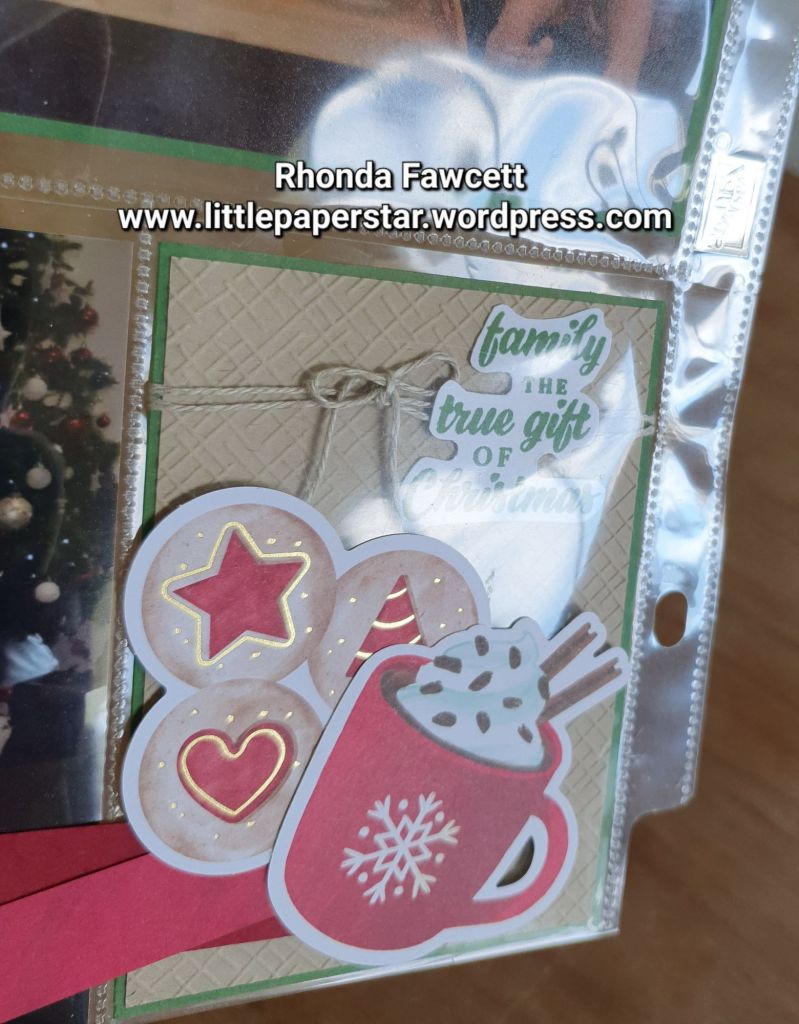
I combined a few images together to create filler cards for the pockets in my Christmas Memories and More album.
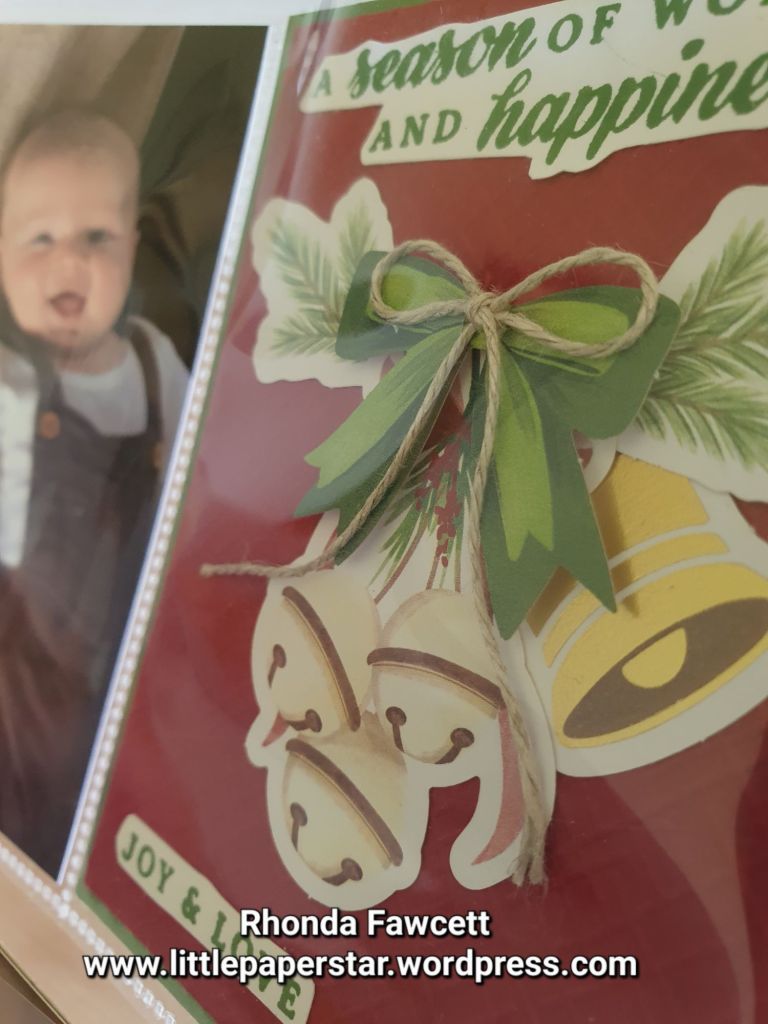
I love the touch of gold on some of the images. Some images came cut with a white border and some without. I used both in my layout.
The words I used were from the Peaceful Season stamp set and inked with Garden Green ink to match the card and photo mats.
Did you notice the Real Red and Cherry Cobbler banners on the photo above? They lay across two pockets so I had to adhere them to the outside. Have you ever done this? Do you think it’s okay or do you prefer to have everything adhered down and safely contained inside the pockets?
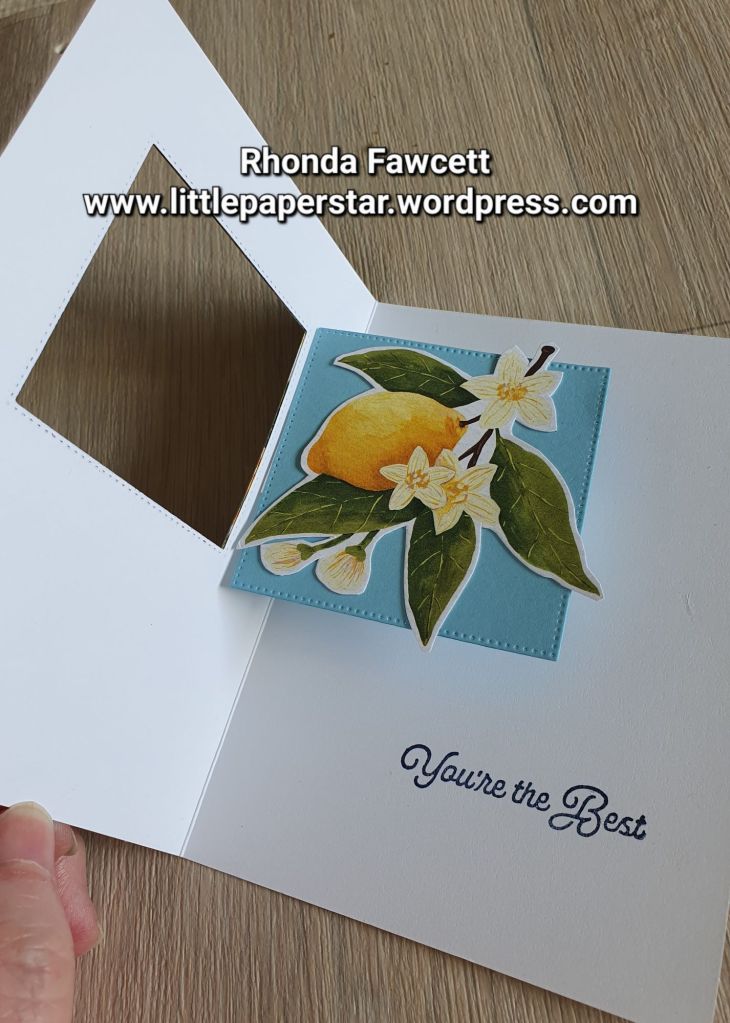
I was teaching some classes this week using the Citrus Blooms bundle. Such pretty paper makes both cardmaking and scrapbooking easy. I used some left over bits to make this joy fold card. The Night of Navy card base is 29.6 cm x 10.5 cm and is scored at 7.5 cm and 14.9 cm.
The front has lemons which are fussy cut. I had some extra lemons at the edge of my paper so I added a third to the bunch I had already cut out. I mounted them on dimensionals and adhered them to a piece of white card. The white card measures 10.5 x 7 cm and is embossed with the distressed tile embossing folder. I stamped the word hello before I embossed the card.
The white insert piece that reads, “Just checking in”, measures the same as the front navy piece with the lemons on. (12 x 8.5 cm). I matted my front navy piece with silver card as I wanted to match the striped piece of retired DSP that I used inside. I can’t remember the name of the DSP, it was in a Christmas pack about 5 years ago.
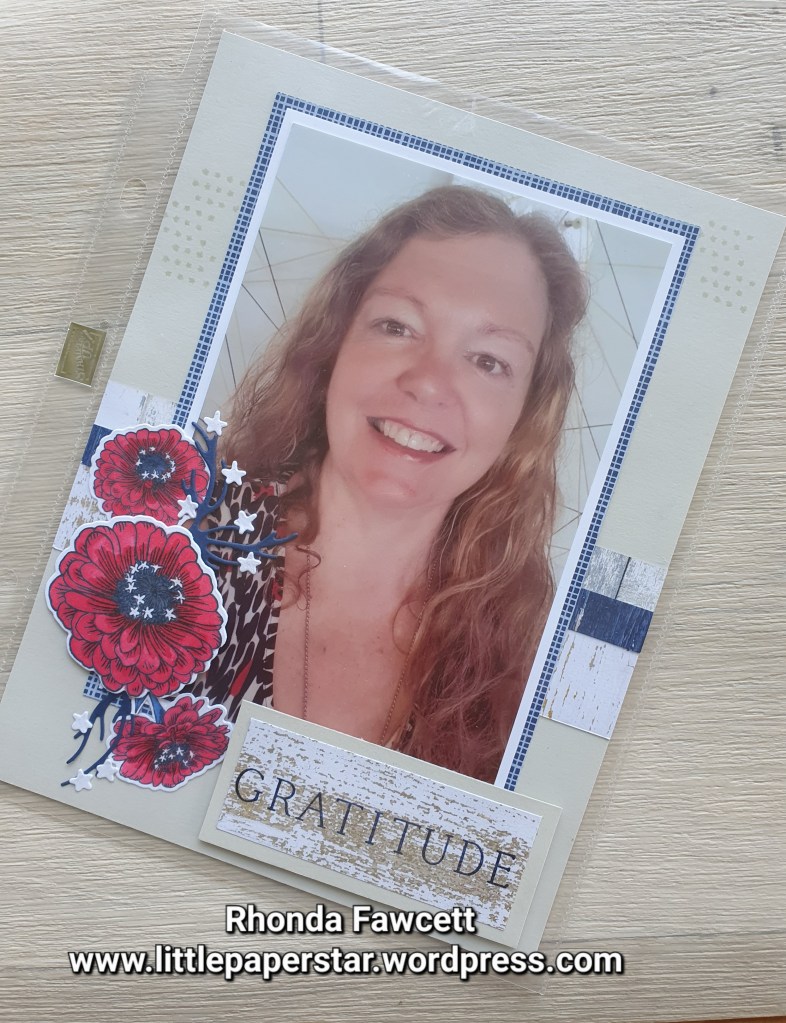
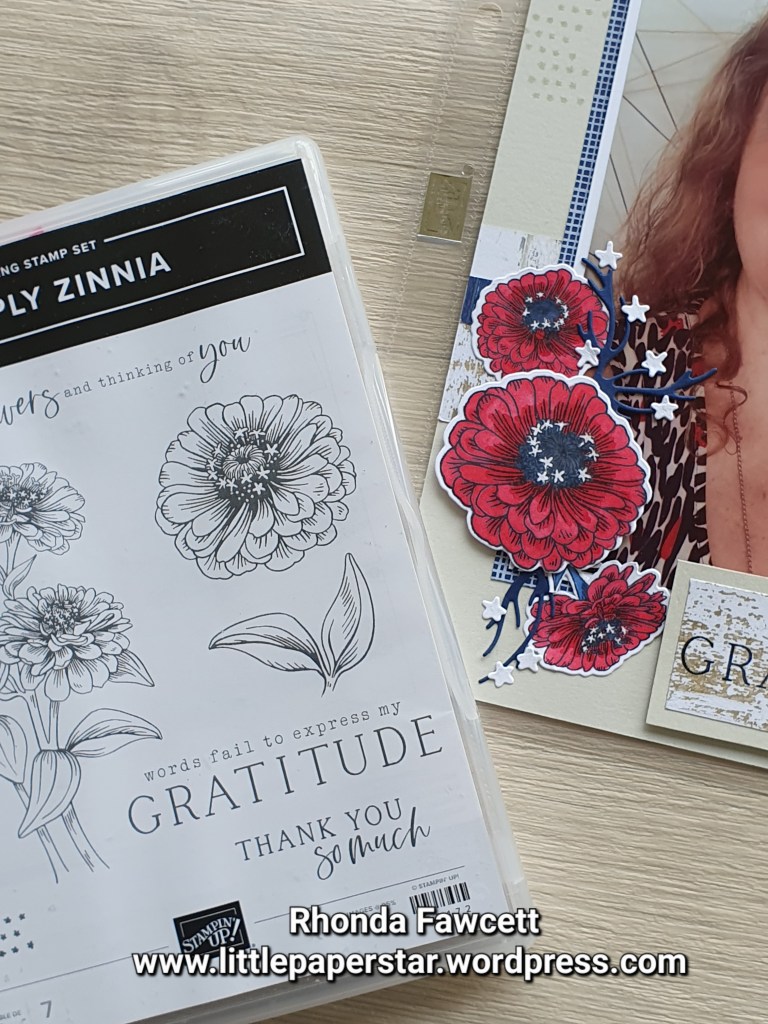
The practice of daily gratitude is something that I am passionate about. I have started a gratitude album to record (both in photos and words), things that I am thankful for.
Products used for my title page are Country Woods and Take to the Sky DSP., Simply Zinnia bundle, Wink of Stella pen and clear embossing powder.
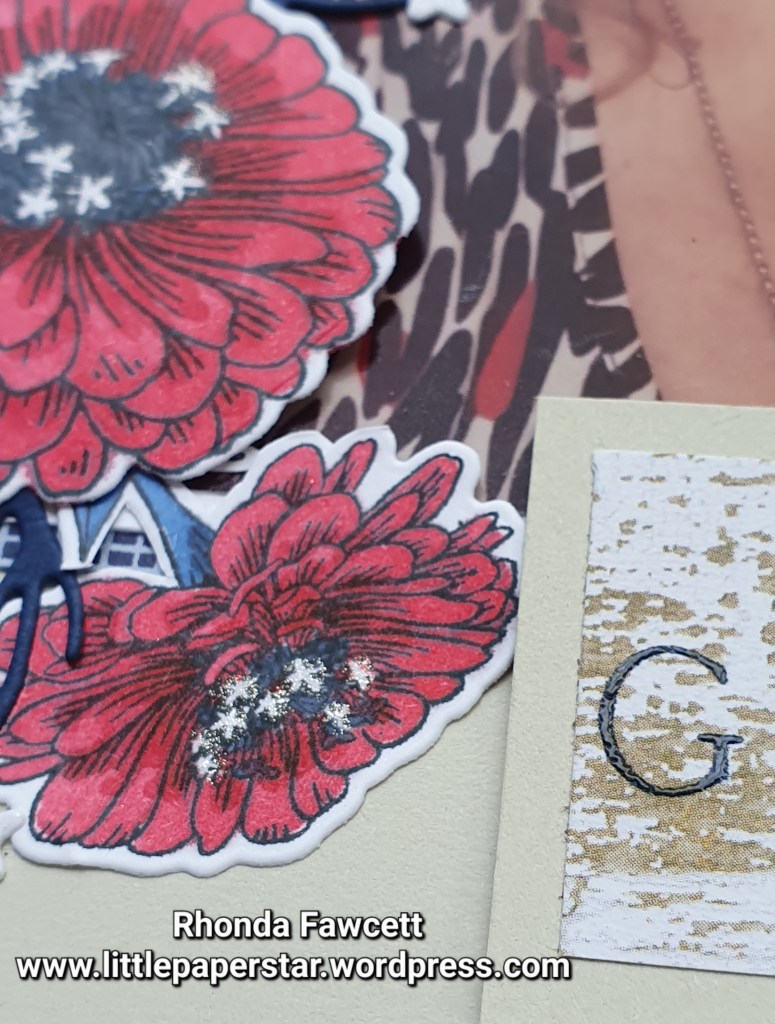
To make the Gratitude label, I used sticky tape to make of the words I didn’t want so that I just had the word Gratitude. I inked it in versamark ink, then inked again into navy ink before stamping onto my piece of DSP. I used clear embossing powder. The result is a navy word with a nice raised shine. Not easy to see in the photo. I also used Wink of Stella (glitter pen) on the little stars in the middle of the flowers.
You will notice I coloured the leaves blue. I didn’t want to add a green into my page but that’s the good thing about being creative. You can do it the way you want.
If you feel like leaving a comment, tell me how you “break the rules” when you create.
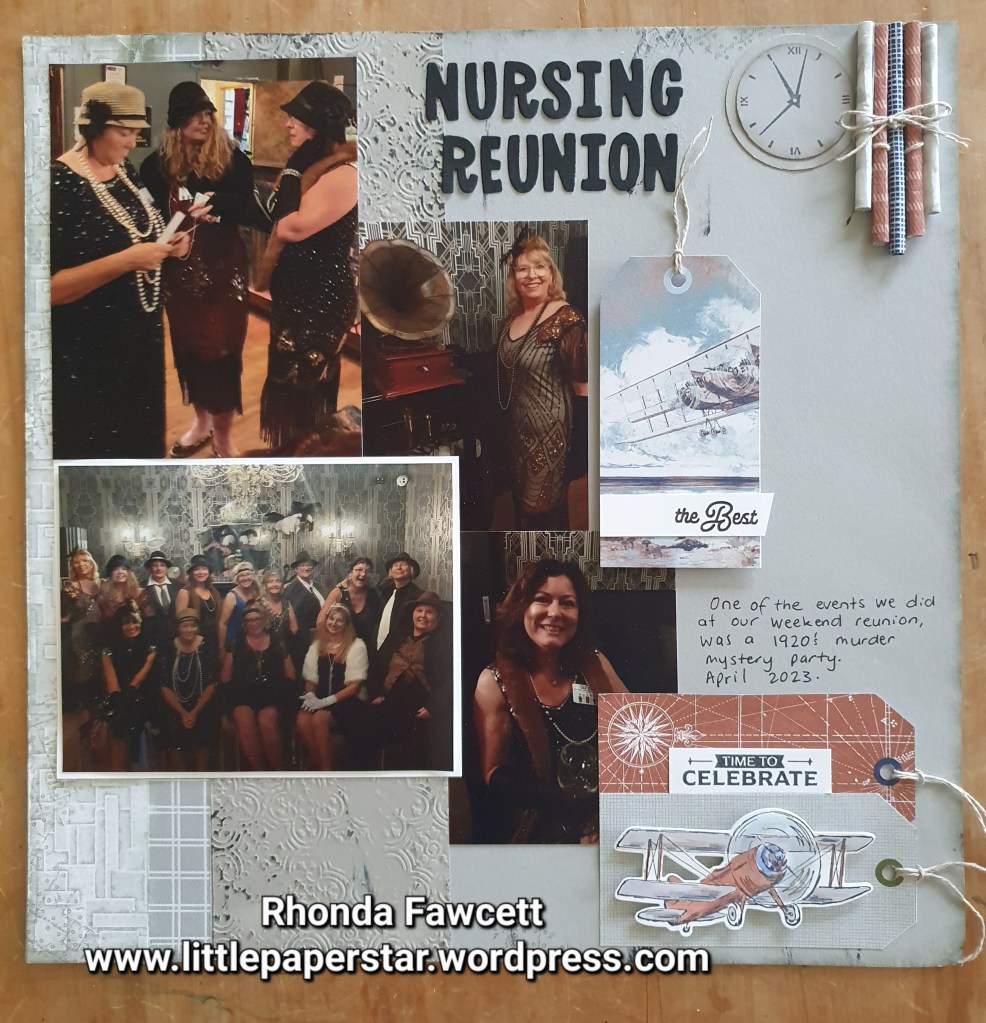
I made some paper tube embellishments for my vintage scrapbooking page.
They are easy to make. Cut DSP (Designer series paper) to 2.5 cm wide by as long as you want the tube to be. The gray tube are 6 cm long, the brown ones are 6.5 cm long and the middle navy one is 7.5 cm long. Use a bone folder to break the fibres and curl the DSP. Then roll it up on a kebab stick, gluing the side edge down before you take the tube off the kebab stick. Adhere to the page with the seam side down.
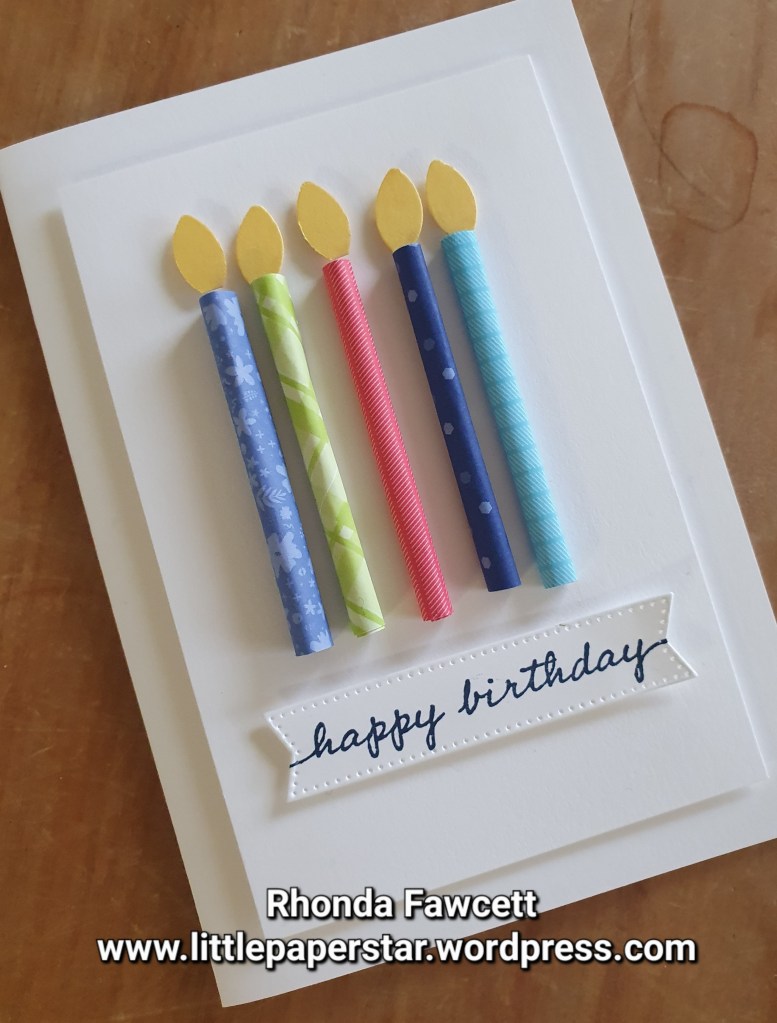
I wanted to show the ladies at the scrapbooking class that this type of embellishment could also be used for making a birthday card. I used some retired in colour paper for this simple card. The candle flames are made using a leaf from the bough punch.