Sharing my love of all things paper-craft: Card making, Scrapbooking, Gift Boxes, Invitations, Party Favours, Craft Supplies and more. (Formally Stampin'Fantastic)
I am a Stampin' Up! Demonstrator based in Matamata, New Zealand.
I love all things paper-craft. This is my platform to share ideas and knowledge with others.
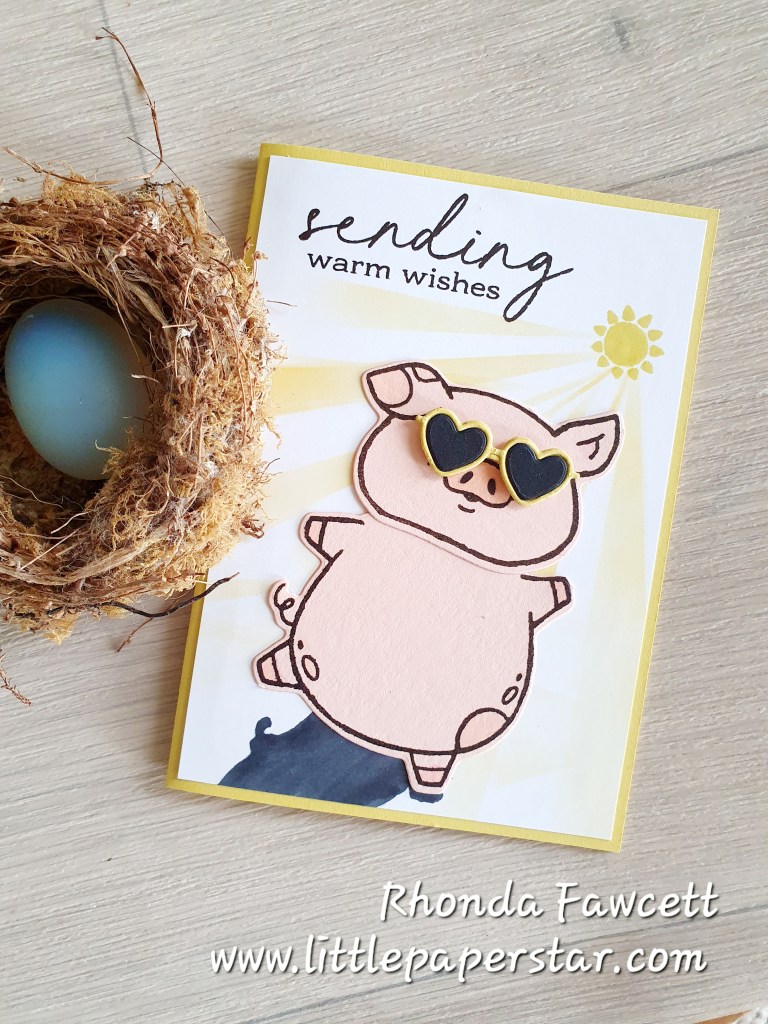
I’m in love with the Party Piggy stamp set. This happy smiley, pig makes me smile too!
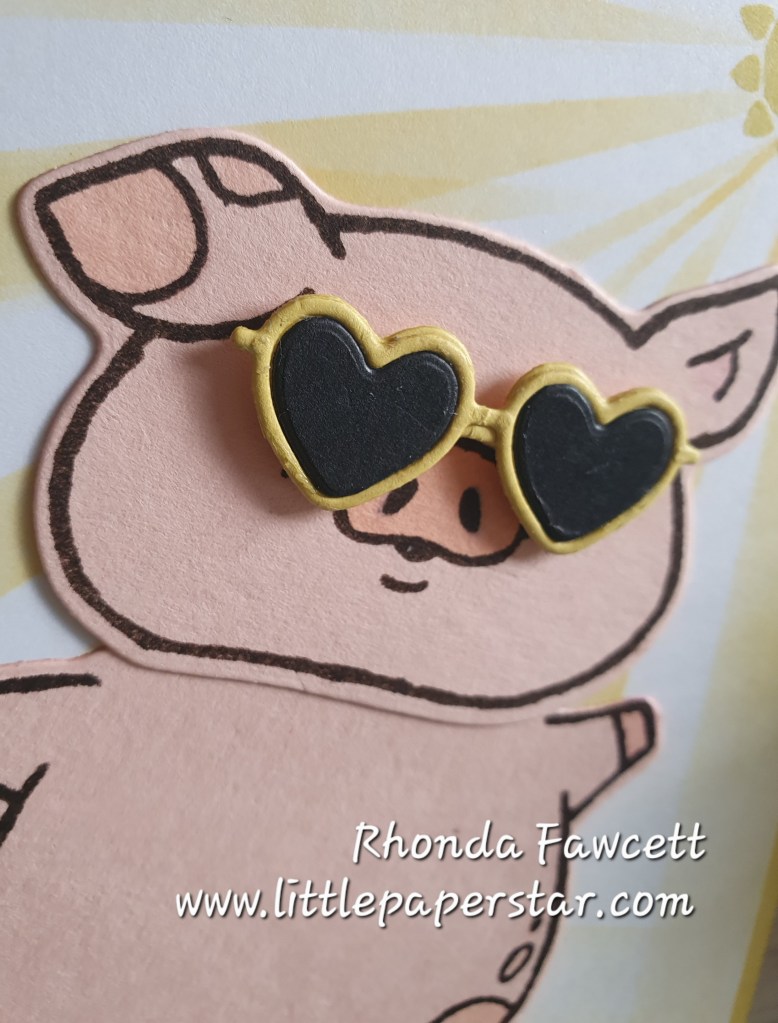
For this card, I sponged on some sun rays, hand drew a shadow then I glued on the pig. I paired the Party Piggy bundle with the Notes and Totes bundle and was excited to find the Notes and Totes sunglasses fit the pig perfectly. I popped the glasses on dimensionals.
The sun stamp, the sentiment and the inside words (relax and enjoy) are also from the Notes and Totes bundle.
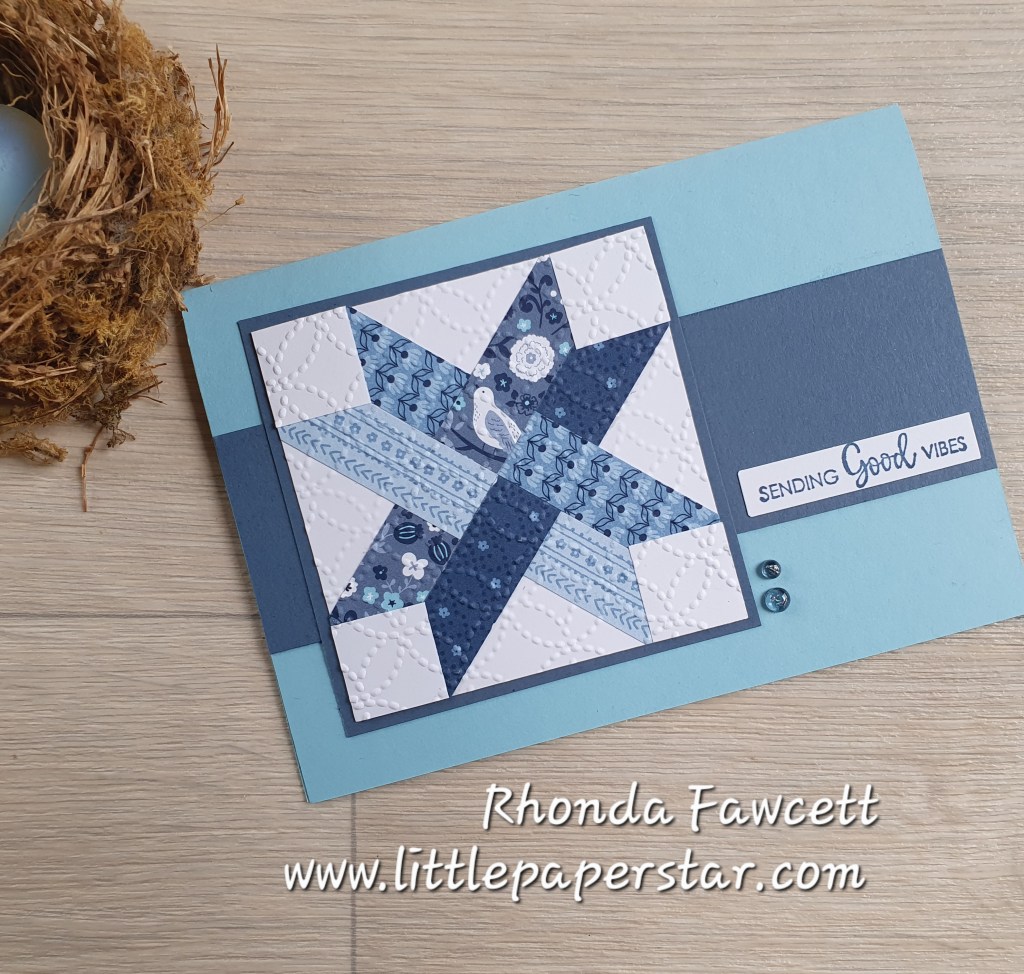
I used the recently retired Countyside Inn papers to make these two quilt look cards. Any patterned paper with a small design print would work well for cards like these.
The first card uses a Balmy Blue base with A Misty Moonlight panel in the centre. Once the strips were glued down on the white square, I put it all through an embossing folder to further enhance the quilting look. The sentiment used on both cards are from The Right Words stamp set.
The second card with the bird on is a book fold card. It is made using small squares and triangles. Colours used are Misty Moonlight and Night of Navy. Again, once the pieces are glued down onto the white card, it is then embossed using the eyelet embossing folder. Both these cards are easy to make and you will find instructions by doing a Google search for Stampin Up Faux Quilt Cards.
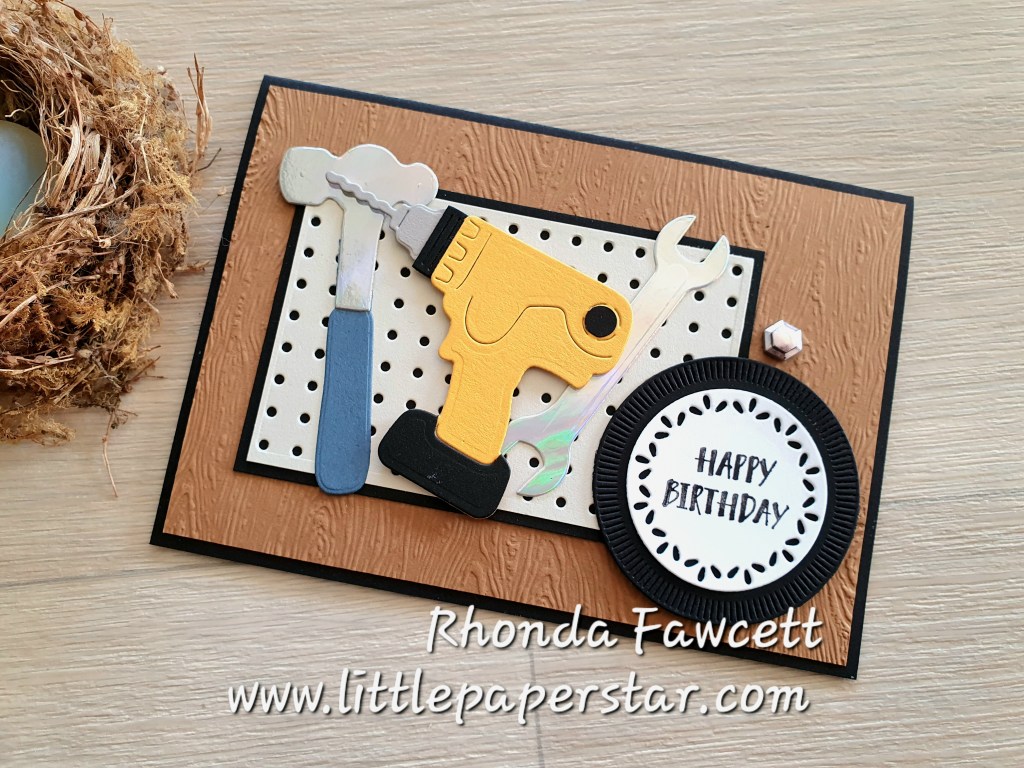
I’ve had several customers tell me they find it hard to make cards for men. So I decided to teach this one at my last card class. It was really easy using the Trusty Tools dies.
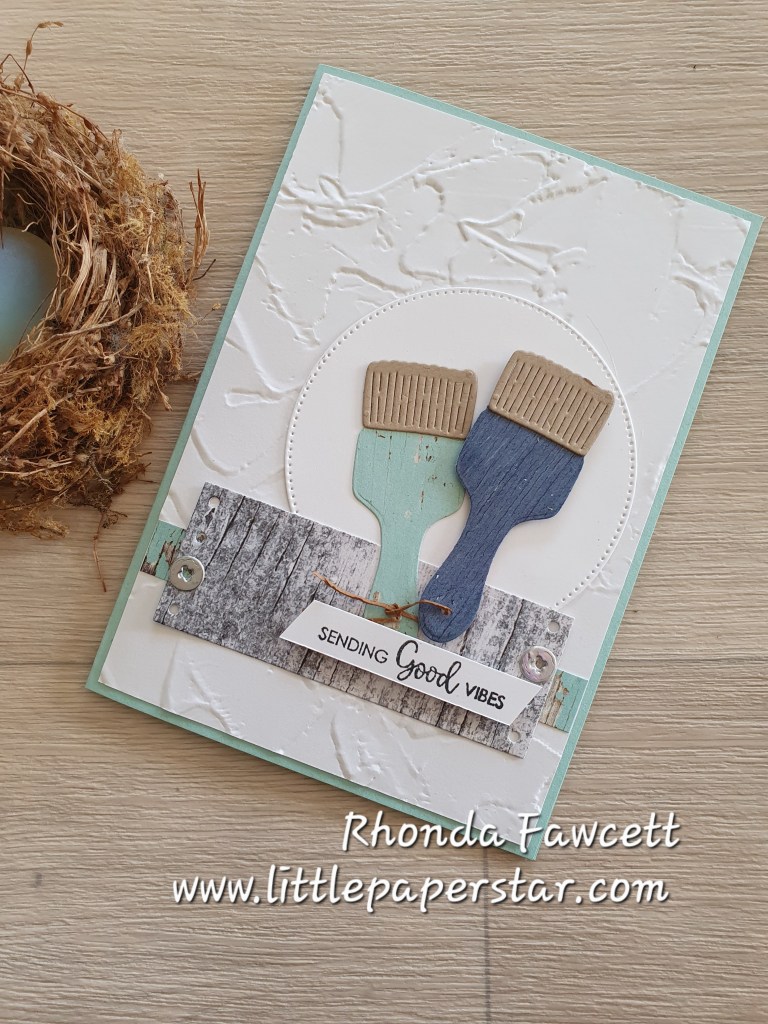
I made a second card using the paintbrush die. Both cards feature “The Right Words” stamp set.
Did you notice the faux leather tie on the blue paintbrush handle? It is made using a thin strip of Pecan Pie card.
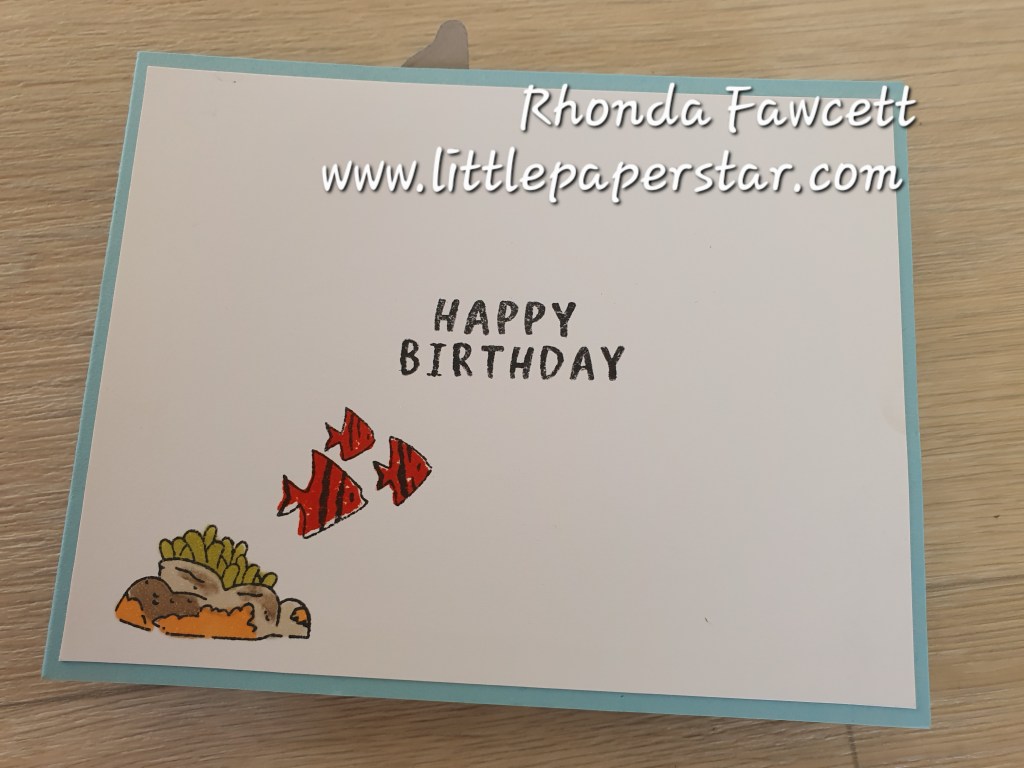
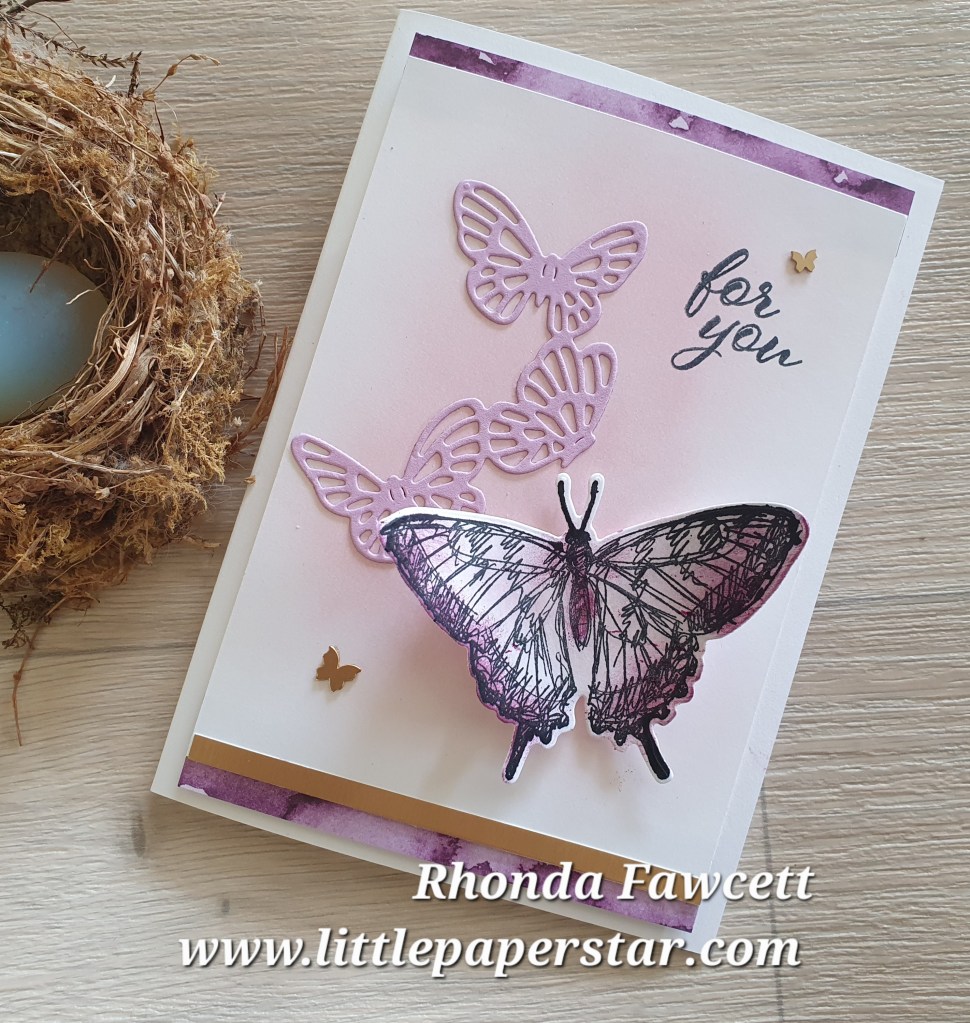
Here’s a recent card that I taught in my classes which is taken from a sketch challenge.
The challenge is to take an idea or sample from the Stampin’ Up! catalogue and use it as inspiration for your card. Here is the idea…
If you visit CASE-ing Tuesday Sketches you will be able to see more and take part in the current challenges.
My finished card was inspired from one made by Jolanda Johnstone. If you visit the CASE-ing Tuesday Sketches you will see her card and find that I have changed mine up quite a bit from her original design. I kept the sponging elements, on the background and butterflies as I thought the casual colouring of the sponging worked well with the sketched look of these stamps. I wouldn’t want to colour these butterflies too precisely and lose that casual sketched look.
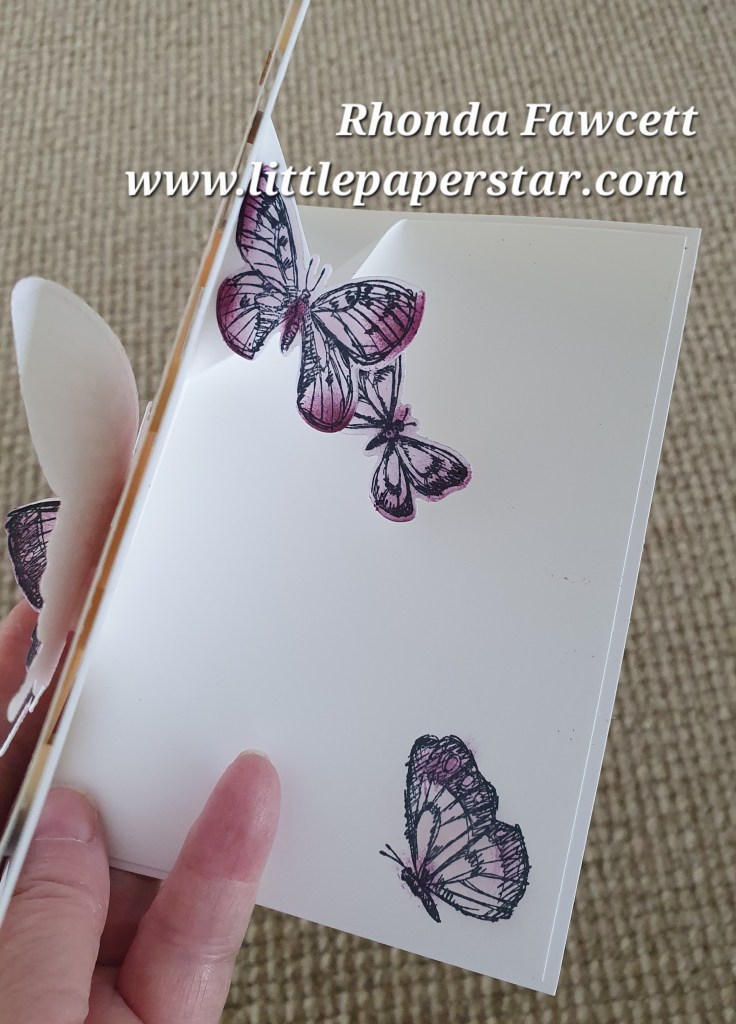
I decided to do something different for the inside of my card and I made a simple pop up card.
This is done on a insert card which is slightly smaller than the base card. I folded my insert card in half and made a pencil mark 4 cm mark on either side of the fold line at the top and another 4.5 cm down on the fold line. Then I scored down both sides to make the angled pop out piece. I added some butterflies to the left hand side. When the card is open the butterflies pop up but they fold back down when the card is closed.
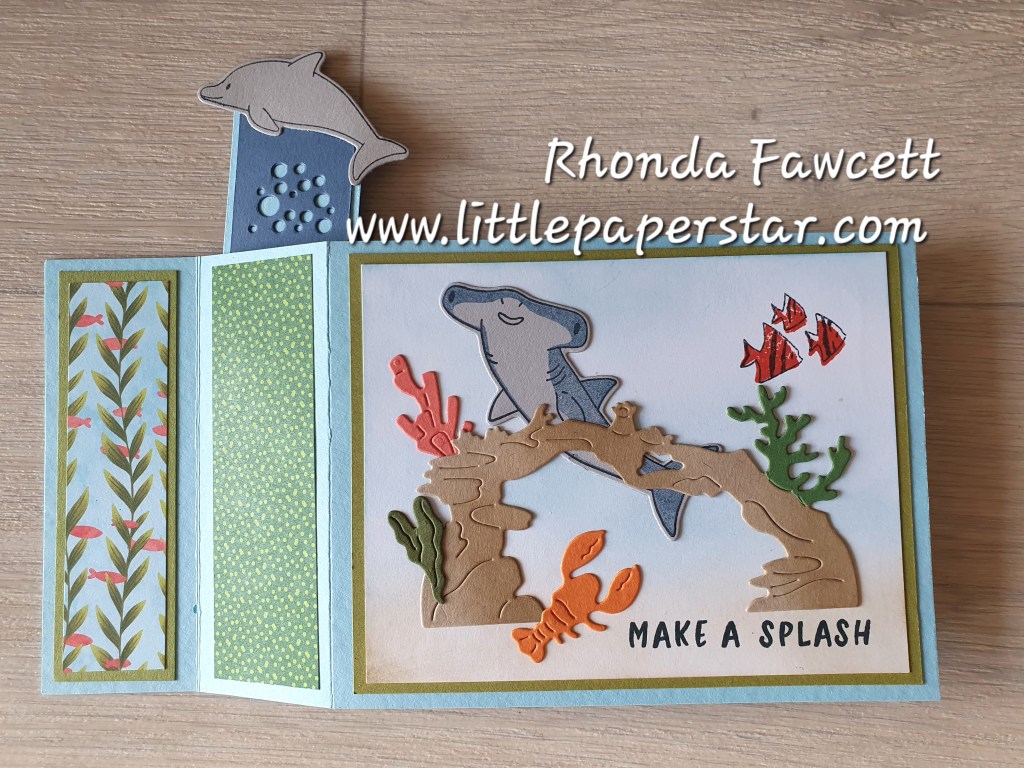
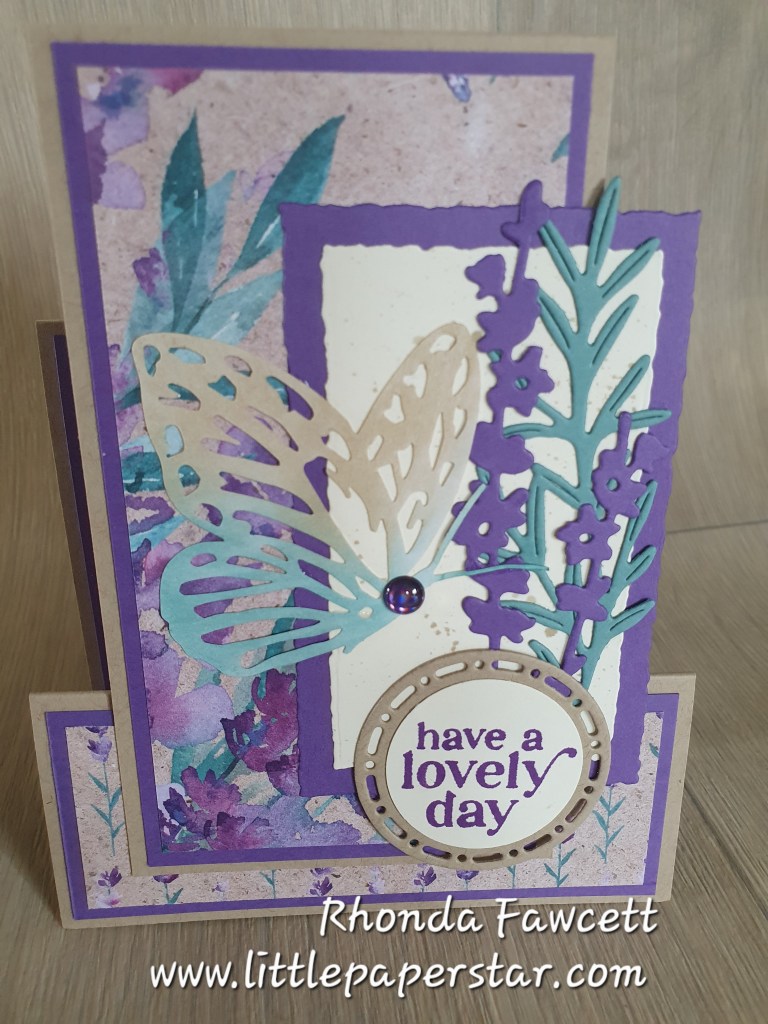
This is the easiest stepper card I have ever made. The base is folded to resemble a lopsided letter M and then a second piece is glued on to provide the focal “stepped up” piece.
I used the popular Perennial Lavender Designer series paper to decorate the step and centre piece. The dies are from the same Perennial Lavender suite and are still available for purchase on Stampin’ Up’s! Last Chance list.
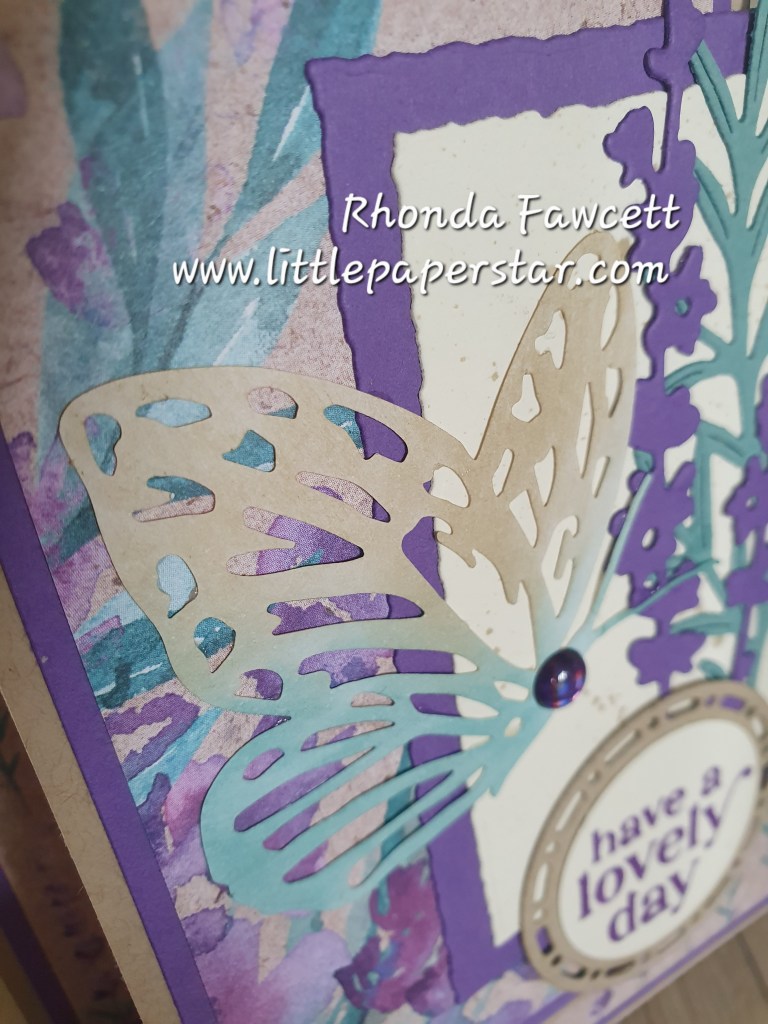
The paper butterfly accents are another favourite. They come plain white and I used our blending brushes to add colour. I love they way they turned out.
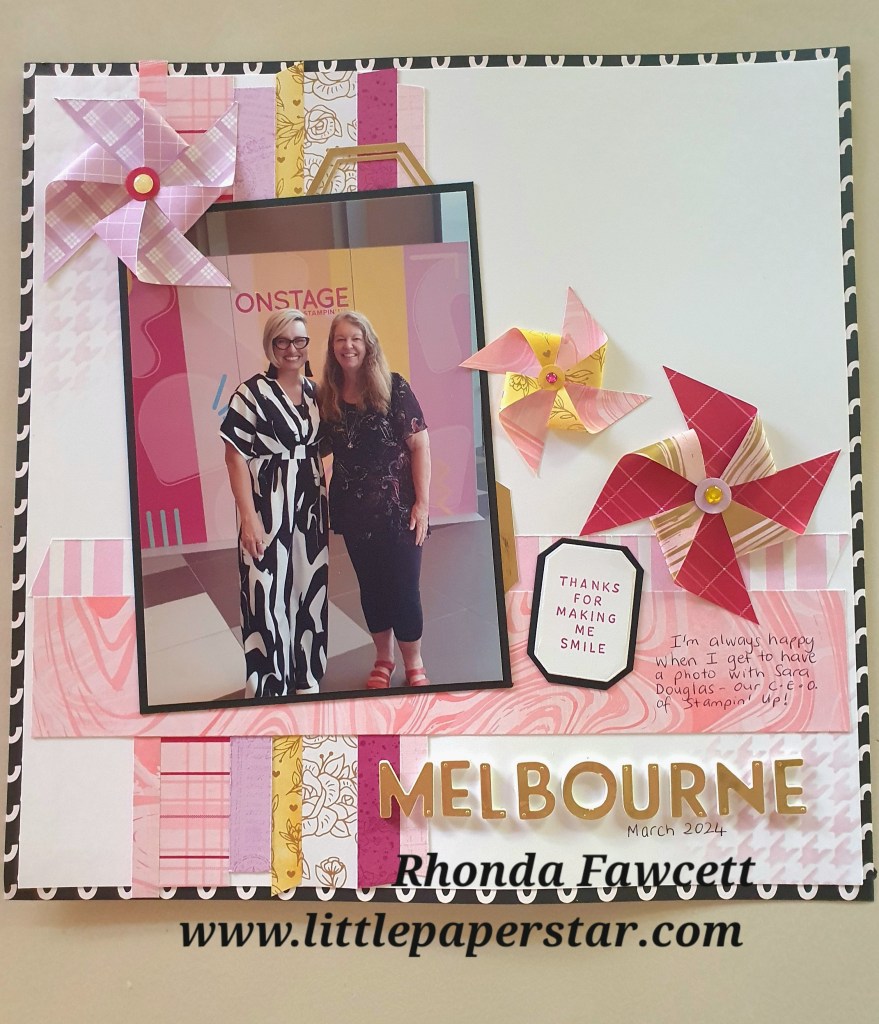
This was a fun page to do. Its been a long time since I have made paper pinwheels.
I have used adhesive foam sheets to raise the lettering
The paper is from the recently retired, “Most Adored” pack from Stampin’ Up! I loved the white gold foil designs on this pack. The reverse side was mostly pinks and reds but the white and gold side can be sponged with any colour to match your page colours. I used a blending brush to sponge on Lemon Lolly colour to one of the pinwheels and one of the strips. I added some strips of card stock (Fresh Freesia and Berry Burst) to bring in more colours from the photo.
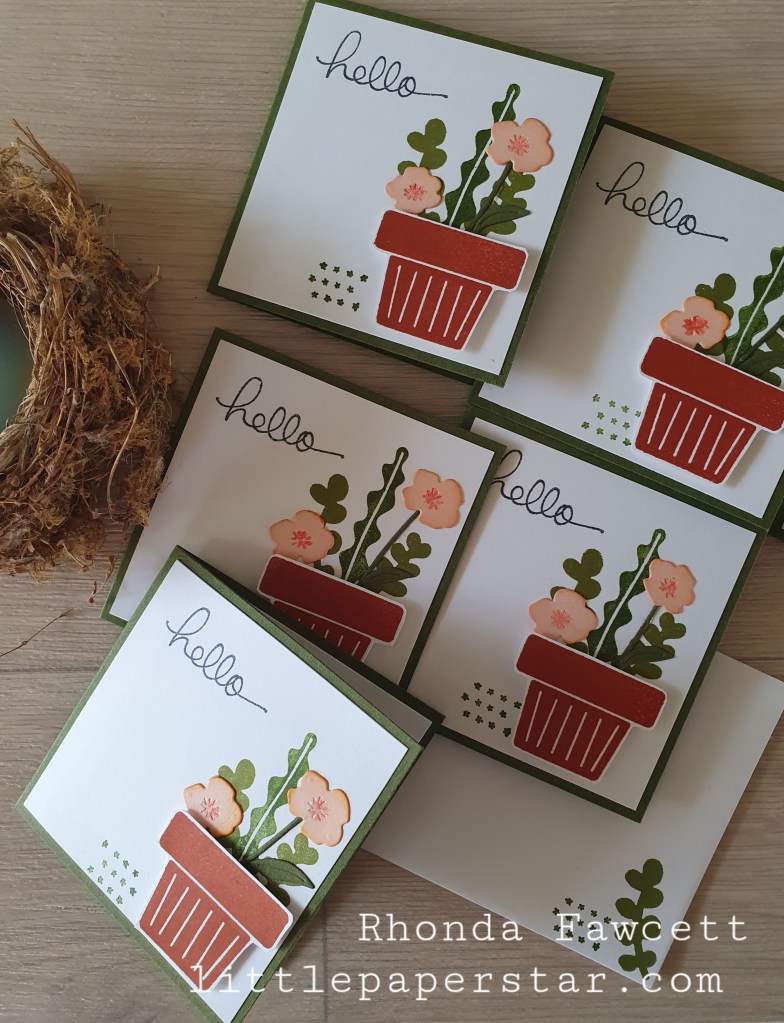
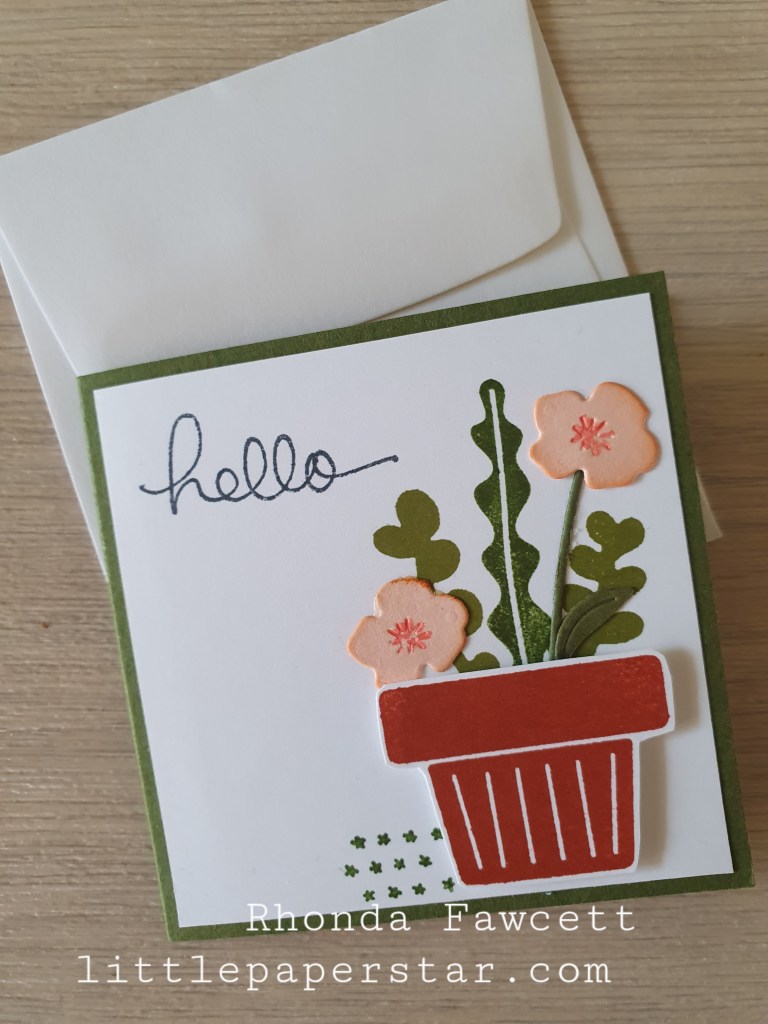
A quick project this week was to make some little gift cards for a garden centre that I teach classes at.
I used the Planted Paradise stamp set and added some little die cut flowers from my stash. (I think originally they were from the Dainty Delight die set)
I had the perfect size envelopes in my stash for these little gift cards too.
What is in you stash that you can make use of this week?
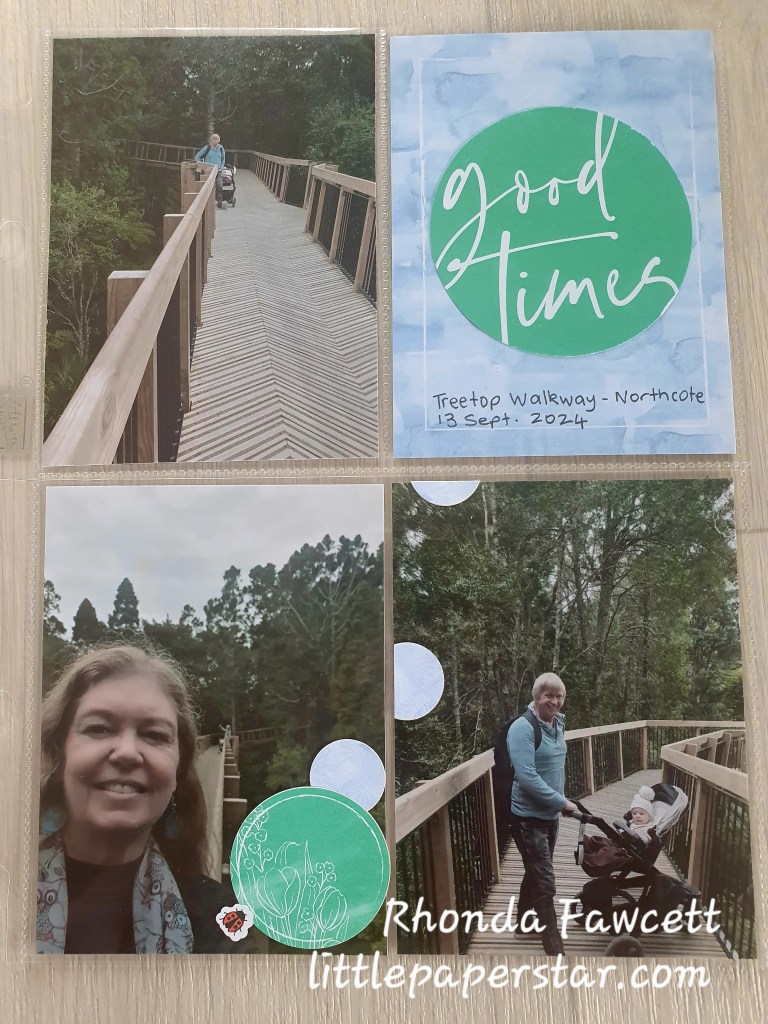
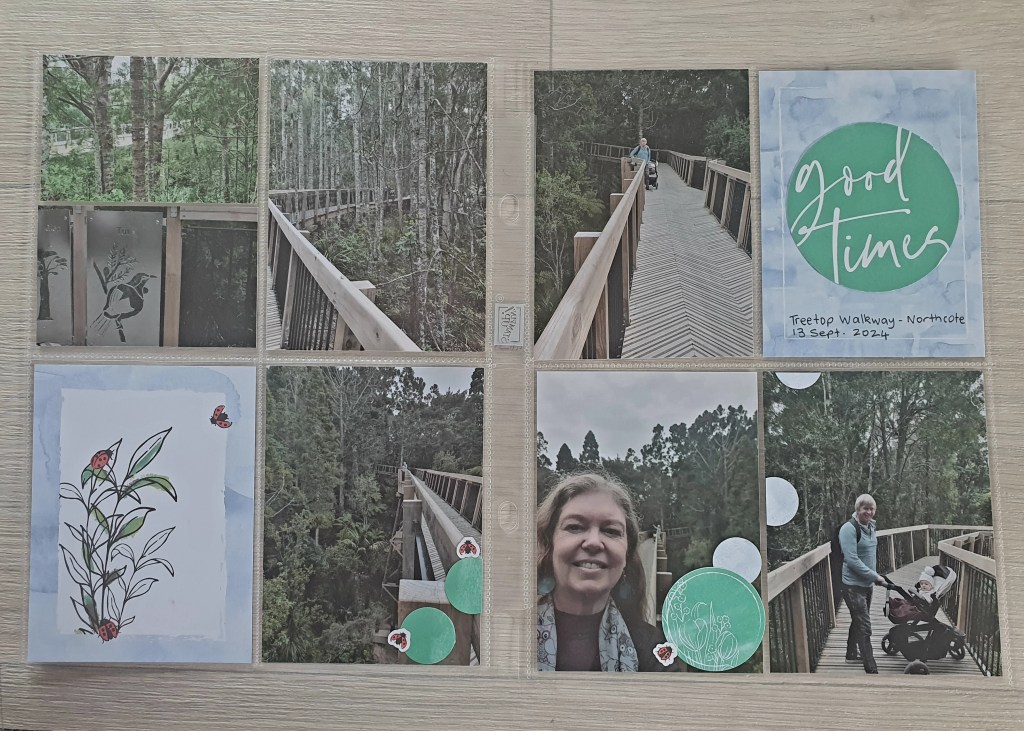
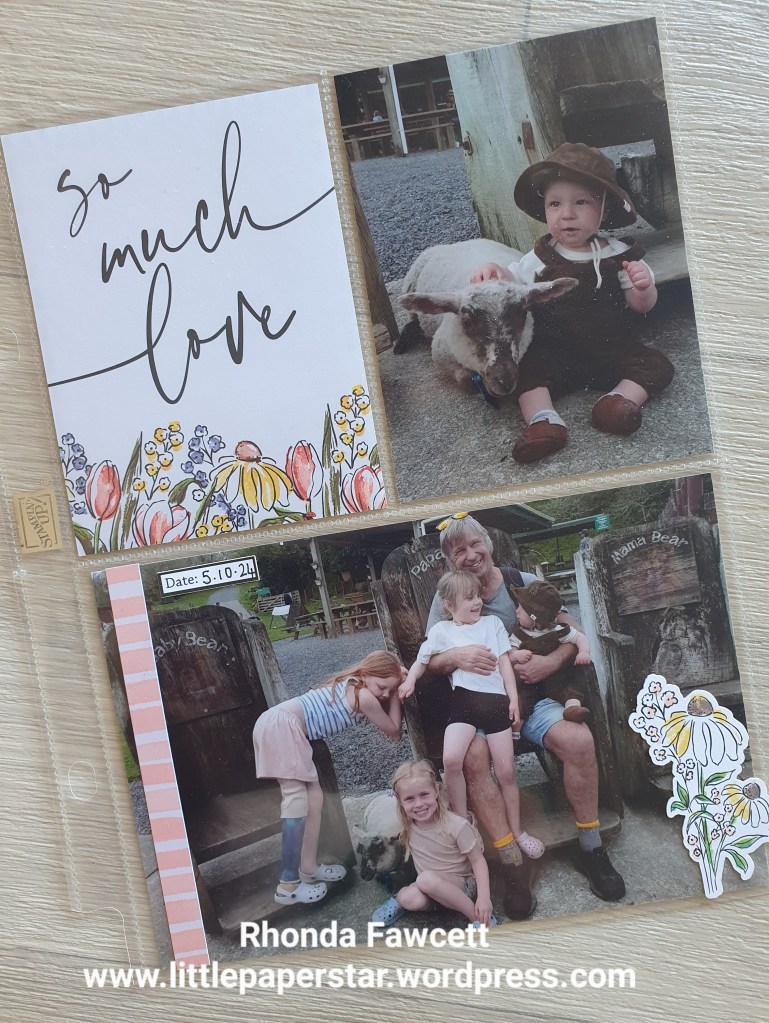
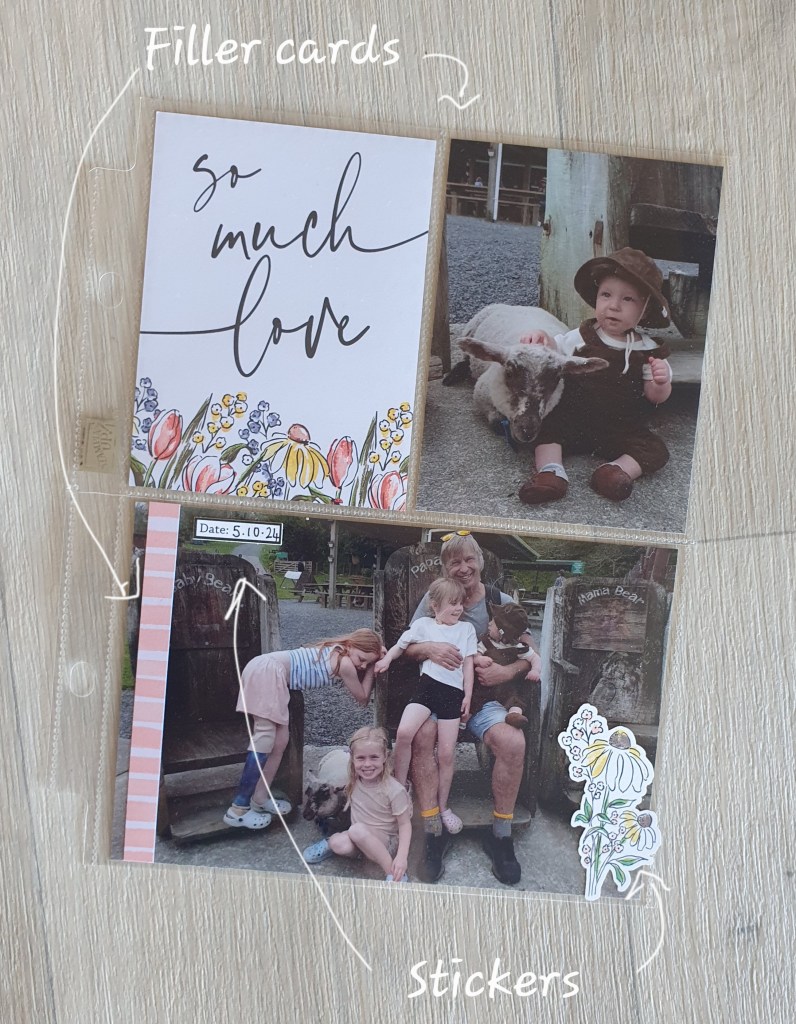
Today I have a good tip for you.I am answering some questions that I often get asked in class.How do I make use of all the variety pages when I want to put four little photos or cards and I only have pages left that hold full size photos? Or another question is… How do I stop my small photos and cards moving around if they are in a big pocket? This tip will answer both.
Grab a piece of window sheet (acetate) and cut to 6″ x 4″. Tape your photos down. Insert window sheet in large pocket. It totally looks like it is a four pocket page but it’s not and because the photos are tapped down, they don’t move.
I have done the same on the opposite page with two small photos in a small pocket. (Upper left corner).
Products used are Memories and More variety pages. Mixed Media Florals memories and more card pack, Window sheet, tear n tape.
To see more like this, visit the Facebook group Stampin’ Up! Memories and More 6 x 8 albums.