Sharing my love of all things paper-craft: Card making, Scrapbooking, Gift Boxes, Invitations, Party Favours, Craft Supplies and more. (Formally Stampin'Fantastic)
I am a Stampin' Up! Demonstrator based in Matamata, New Zealand.
I love all things paper-craft. This is my platform to share ideas and knowledge with others.
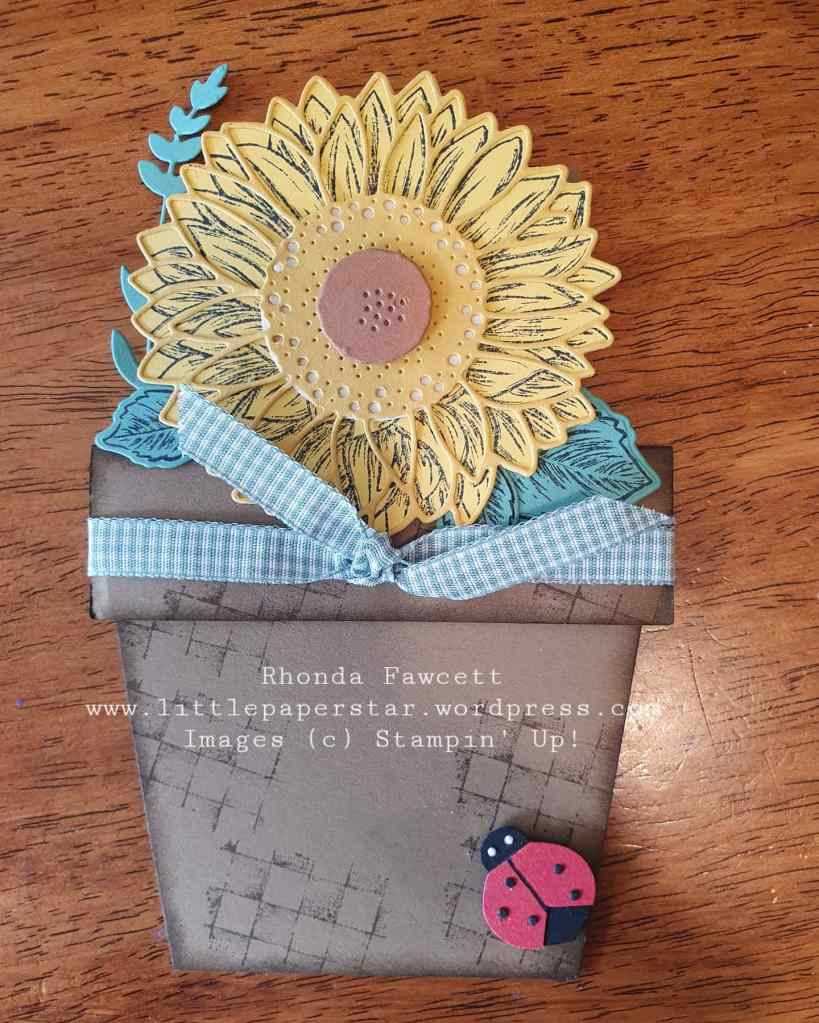
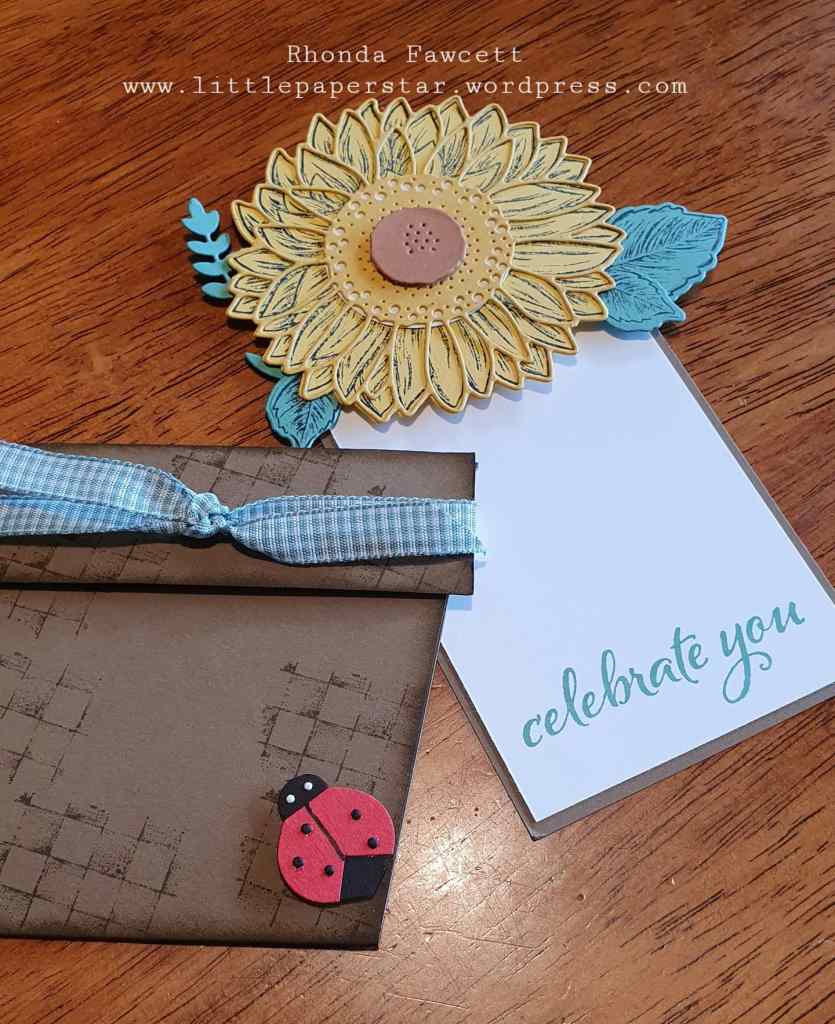
This was a card that I designed for a craft event last year. The products are all still available for you to buy and recreate this card with the exception of the punch art ladybug.
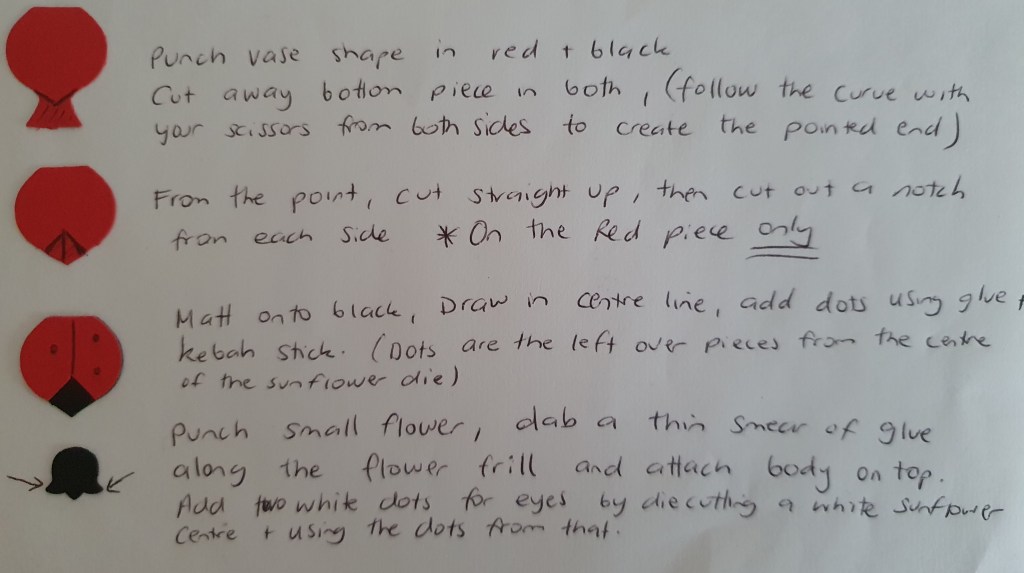
This was made with the now retired vase builder punch. Scroll to the bottom of the page to see the instructions.
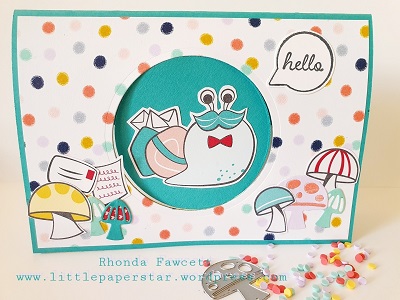
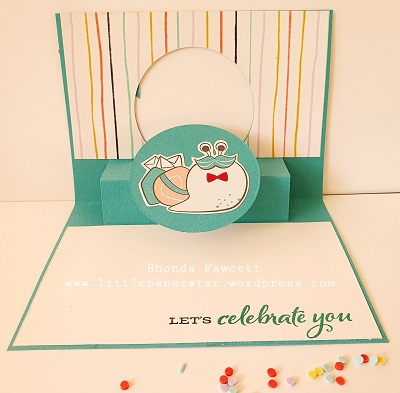
This fun pop up card is super easy to make. Here are the instructions: Fold A5 card in half and cut a shape out of the front for the window in which to insert the flip piece. Save the piece that was cut out as this is used again to sit inside the window. Decorate front as desired. If you want to add a piece of DSP (Designer Series Paper), add it first before cutting out the window shape. Cut your DSP to 14.4 cm x 10 cm.
Pop Up Mechanism: Cut a strip of coloured card to match the front card colour to measure 10 cm x 8 cm. Score at 2.5, 5 and 7.5 cm. Fold along all score lines in the same direction. Adhere this mechanism inside the card, butted up against the fold line so that it makes a box shape as demonstrated in class. Flip Mechanism: Cut a strip of card same colour as before to measure 6.5 cm x 2 cm. Score at 2.5cm. Adhere the longer fold section onto the pop-up box piece. Fold the score line back on itself and close the card then reinsert the cut-out shape back into the window and adhere to the smaller folded back section of the flip mechanism.
Decorate the inside of the card by cutting a piece of white card to 14.4 cm x 7 cm and stampin your chosen sentiment.
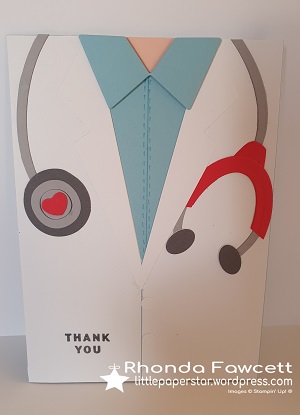
I used the Suit and Tie dies to create this Doctor card. It was pretty easy with these dies to put together. I also used a few punches and the layering ovals dies. You will be able to see what I used on the video below.
If you like this video, please check out the other craft videos that I have on my YouTube channel.
Is there anyone else like me, who thought the strawberry in the strawberry punch looked like a duck’s bill?
I have been thinking that for awhile so today I had a go at making a punch art duck.
I used the strawberry builder punch for the bill and the fluff on the top of the duck’s head. The head is punched with the large balloon from the Balloon Duo punch. The body and wings are layering oval dies. The heart inside the speech bubble is from the Snailed it bundle. The waves are from the magnolia dies and lake grass is from Sea of Textures dies.
Please let me know if you like it. I love hearing your feedback.
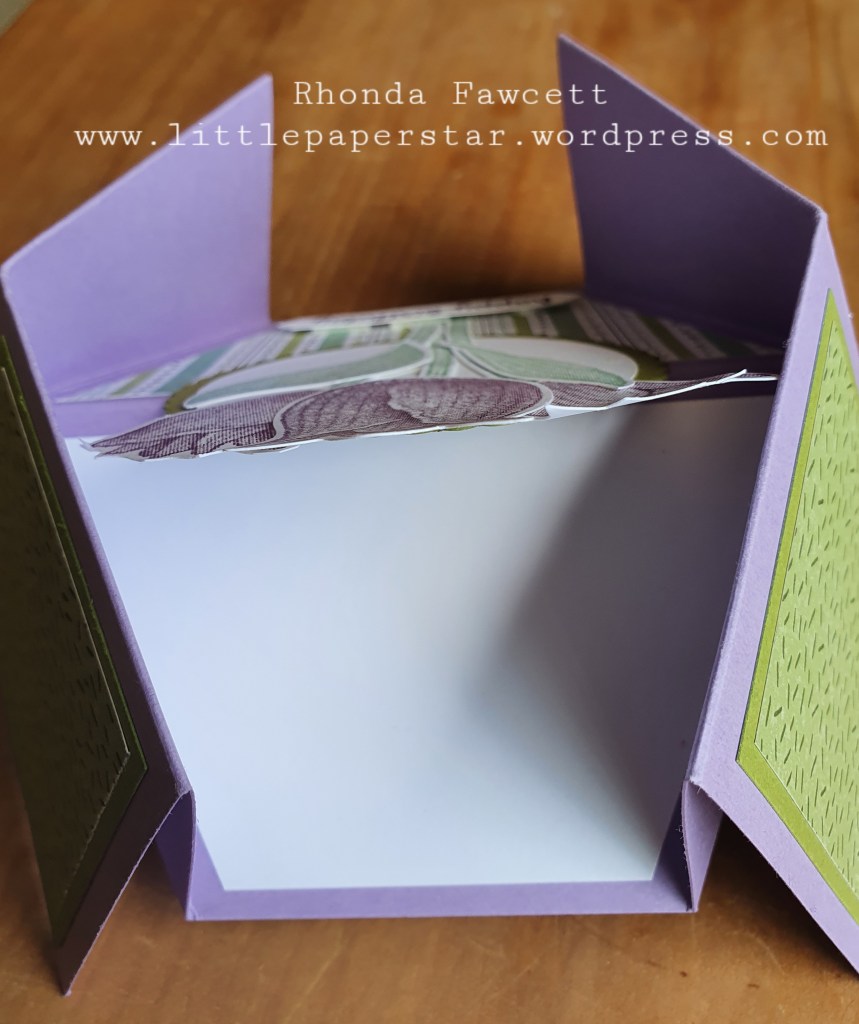
Today I want to show you a Double Diamond fold card. The tricky bit is getting your score and folding lines right. I found it easiest to practice on copy paper first.
I adapted this card from one I saw online and made it so it would work using our A4 cardstock that we use in NZ. I started with a piece of card measuring 29 x 13 cm. Then I scored in half (in portrait position) at 6.5 cm. Turn to landscape for more scoring and marking. Score length of card at 6.5 cm. Move to 9 cm, do not score but instead make a mark at the centre score line at 9 cm. Move to 11.5 cm. Make a mark at the top and bottom of your card. Move to 17.5 cm. Make a mark at the top and bottom of your card. Move to 20 cm. Make a mark on the centre score line. Move to 22.5 cm. Score down the length of your card.
Now take a ruler and bone folder and score from the 11.5 mark to the middle 9 cm mark. Do this top and bottom. Then the same on the other side; score from the 17.5 mark to the middle 20 cm mark on both the top and bottom. You will have a diamond shape in the middle
The two outside panels are mountain folds. The diamond shape you made last is all valley folds but the score line in the centre of the diamond is a mountain fold.
The best way is see how this works to watch a YouTube video on a diamond fold card. It folds together like origami that you did as a kid.
I then cut panels and decorated it using the Timeless Tulip stamp set.
You can also put a white panel on the back to write your message.
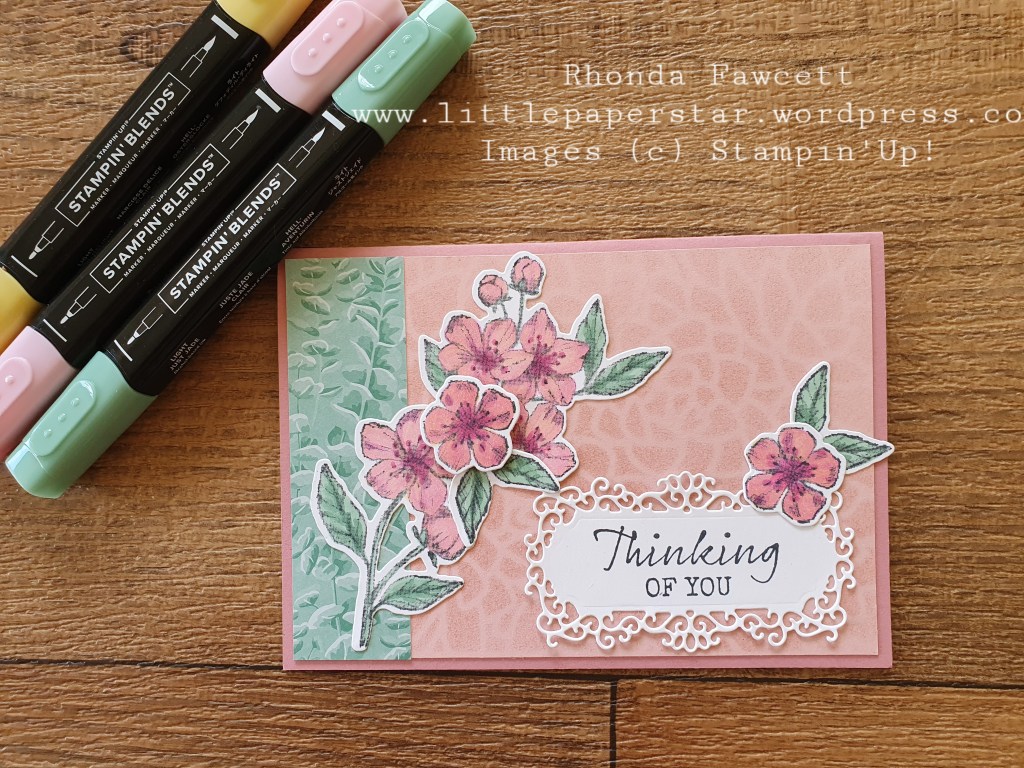
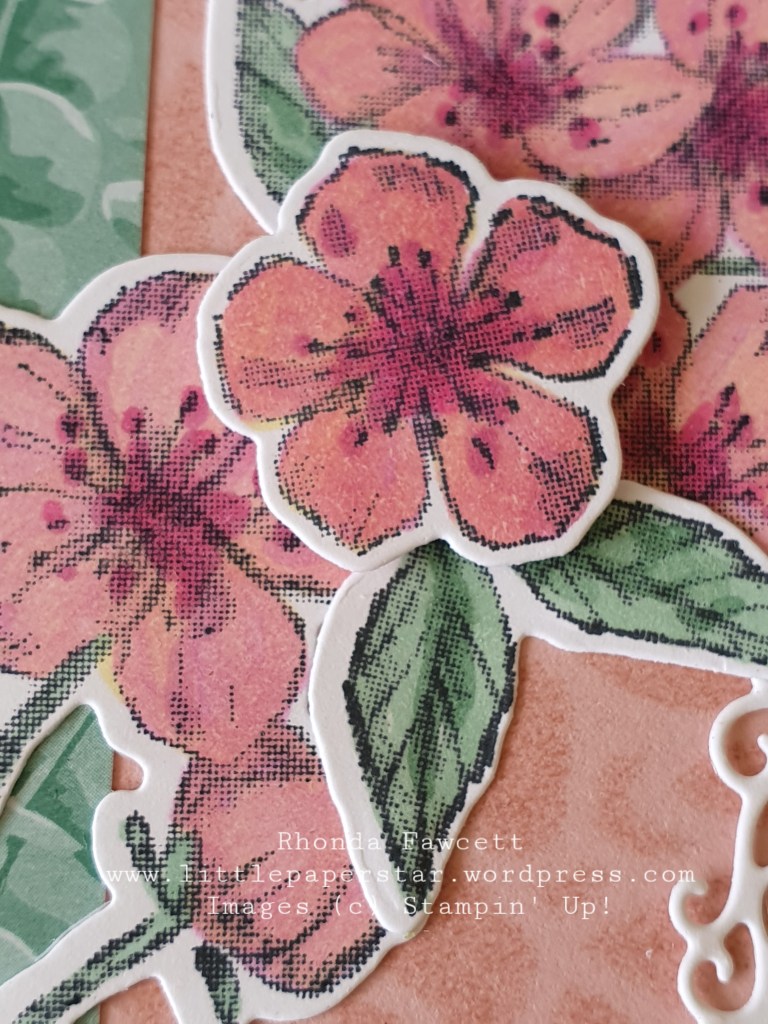
Sympathy card using the Forever Blossoms bundle and Ornate Frames dies. I used Blushing Bride and Rocco Rose cardstock and I wanted to match the colour of my flower blossoms to the Blushing Bride card. However as some of you may know, Stampin’ Up! doesn’t have Blushing Bride Blends so I ended up combining Light Daffodil Delight and Light Flirty Flamingo. I was really happy with the results.
Other products used were Seaside Notions stamp set for the sentiment and a strip of Flowers for every season DSP.
Here’s a close up of the blossoms and you can see a little of the two colours I used overlapping. I also used dark Rocco Rose for the flower centres and Just Jade for the leaves.
I love hearing your feedback so please leave a comment and tell me what you think. Have you ever combined your Blends? And if so what colours did you use?
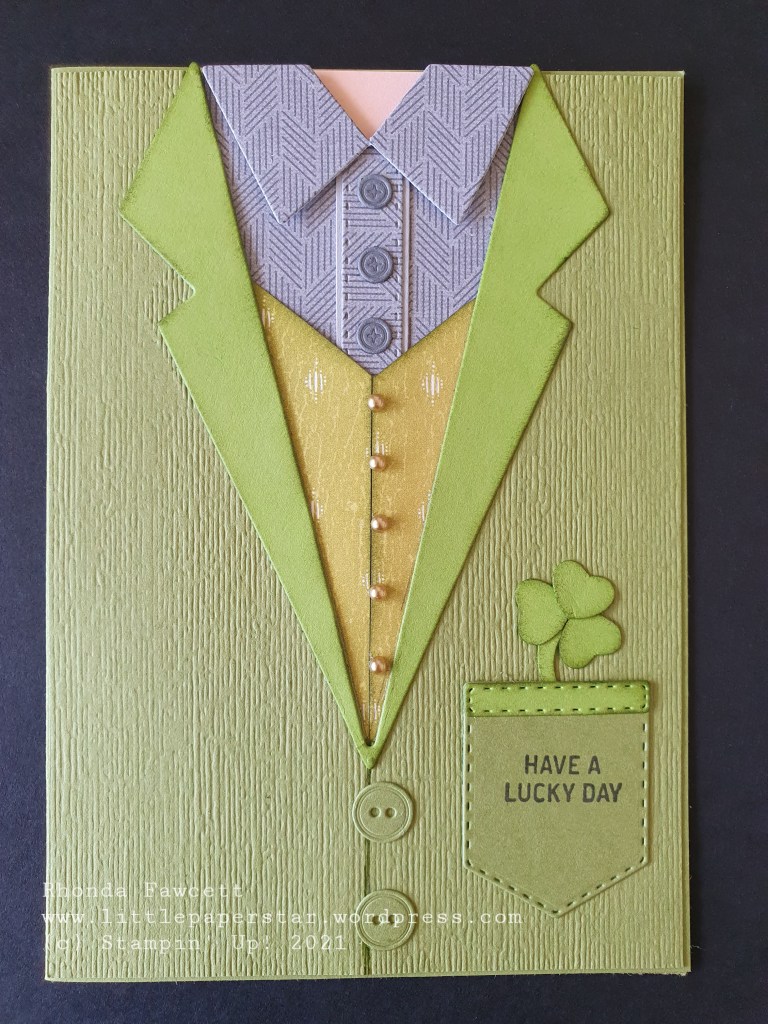
I am so happy with how this turned out. I wanted to send a card of encouragement to my Irish son-in-law on St. Patrick’s Day and I came across a card by Maria G designs. I used that as my inspiration but changed it up a little and used all our Stampin’ Up! products.
Don’t you just love the waistcoat! Papers used are Old Olive, Granny Apple Green, Petal Pink and Smokey Slate and Basic Gray card.
DSP is Peony Garden and Artistry Blooms.
Stamp is from the Itty Bitty Greetings stamp set
To buy any of these products (NZ only), please visit my online store… rhondafawcett.stampinup.net
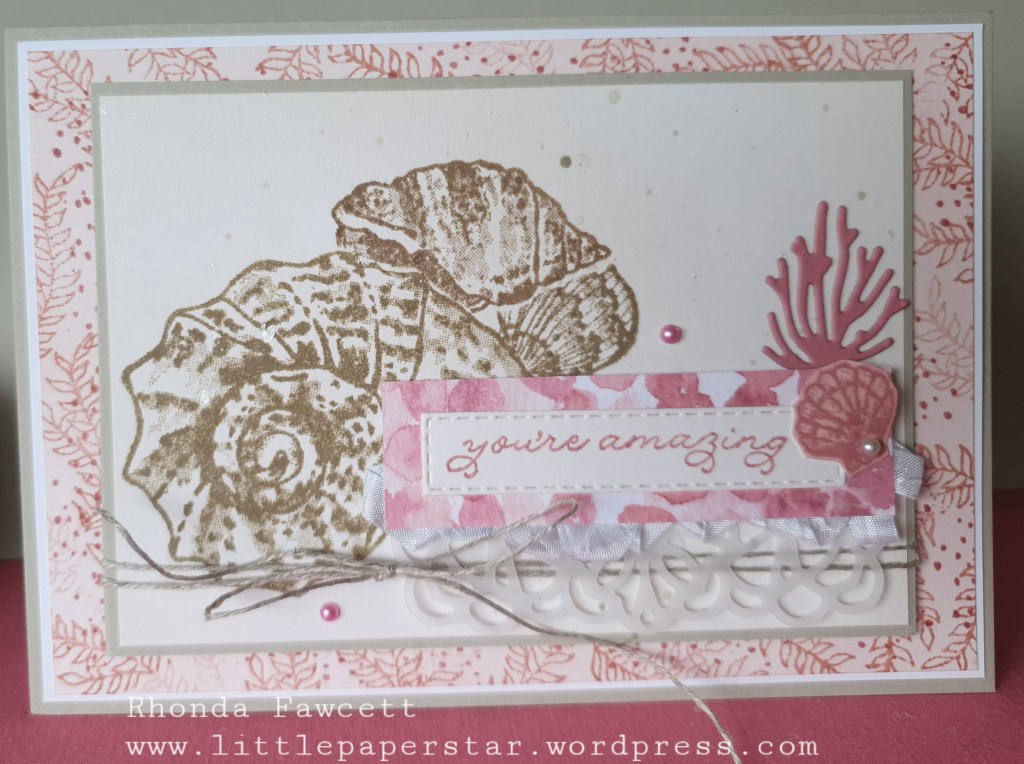
This card is totally not the colours that I would normally do for a beach type card but it was inspired by one taught to us, last weekend at our Stampin’ Up! demonstrator camp.
The card I got my inspiration from had a Sahara Sand hydrangea on it and was taught by Jacque Williams.
It’s a lovely soft card don’t you think? I love all the layers. The soft blending of pink around the edges and the white ribbon and vellum doily. This card has so many elements to it and yet it doesn’t look overdone.
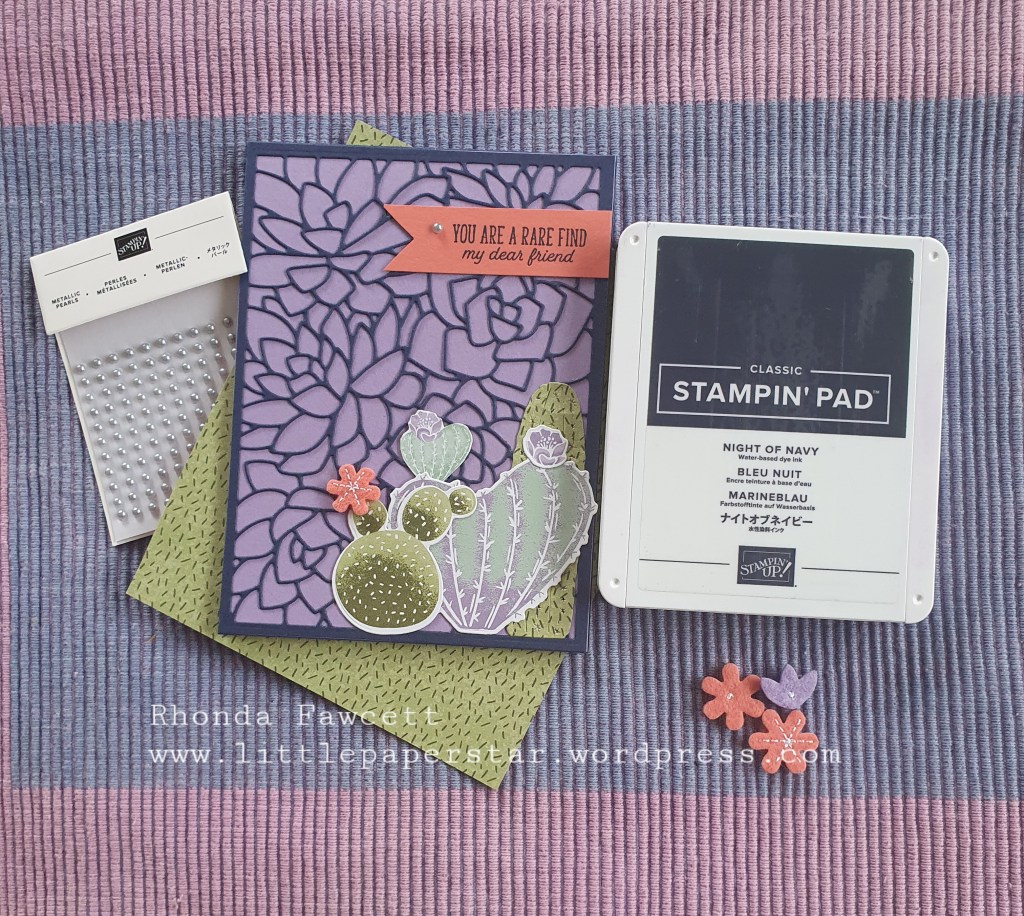
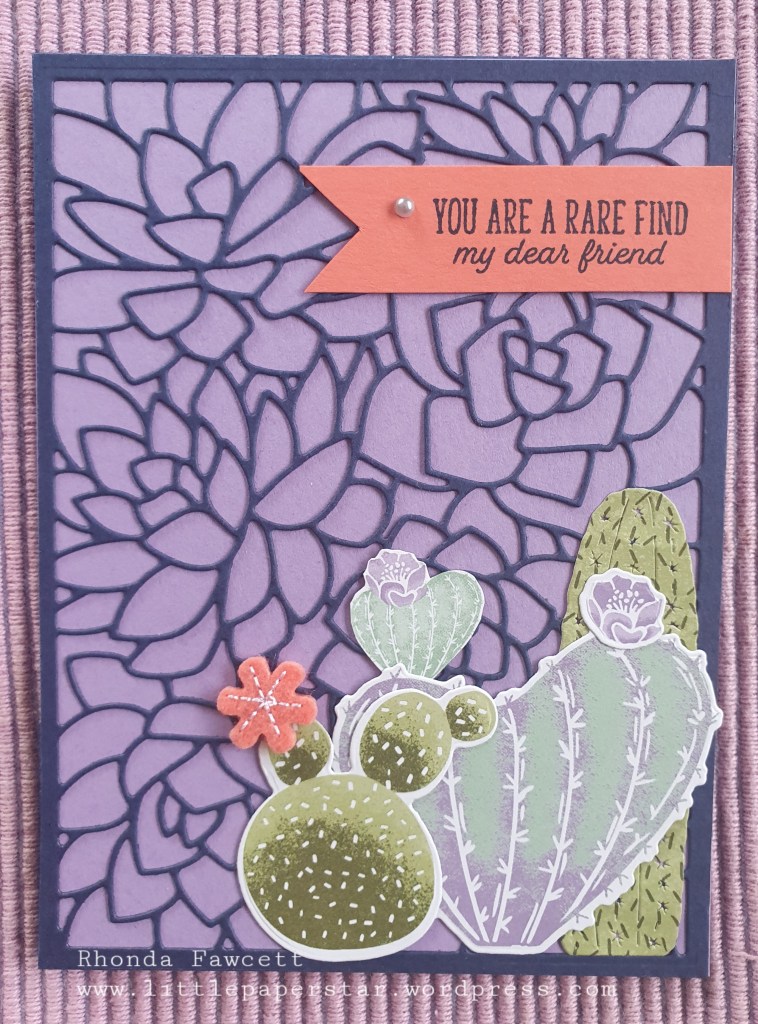
I decided to do something a bit different with my background on this card. I used the die from the Simply Succulents bundle and a bold colour choice with night of navy cardstock.
By pairing this with a subtle colour (Highland Heather), it creates a striking look, don’t you think?
The cactus images on this card are all cut from the DSP that comes in the Flowering Cactus bundle. The cute little felt flowers are also part of the same bundle.
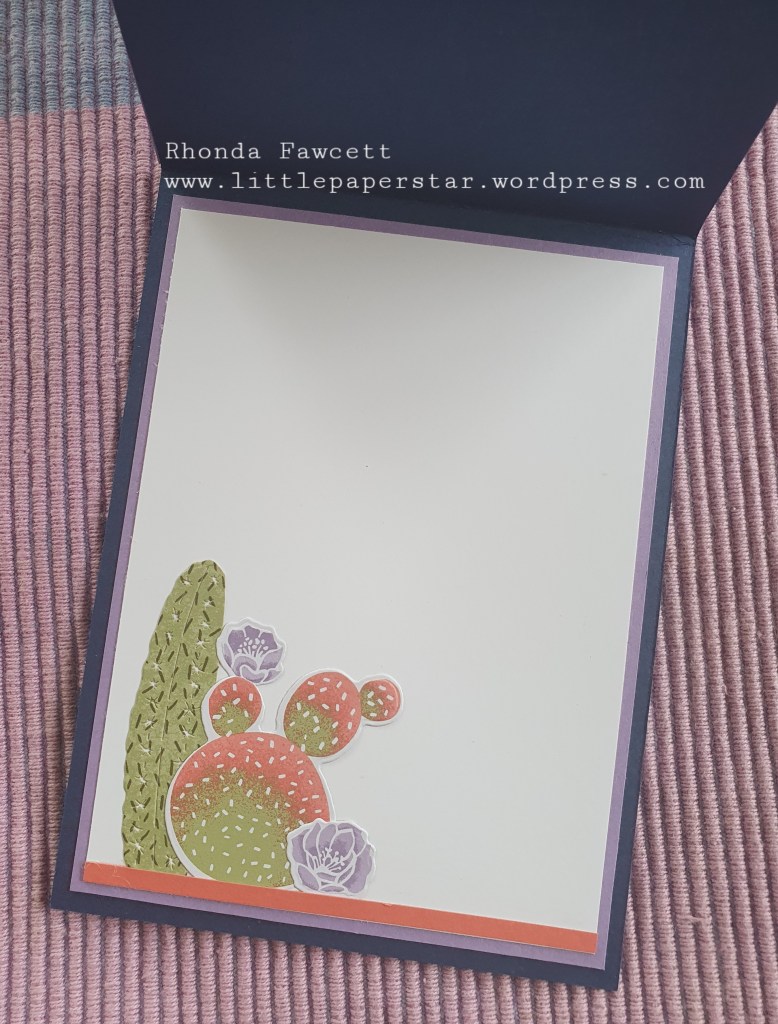
I have left the inside of the card empty of a sentiment as I am not sure yet whether I will use it for a word of encouragement or a thank you or even for a birthday. Regardless of what it ends up as, it can still be made to look pretty!