Unknown's avatar

About littlepaperstar

I am a Stampin' Up! Demonstrator based in Matamata, New Zealand. I love all things paper-craft. This is my platform to share ideas and knowledge with others.

Hello fabulous card

A card for any girl who loves pink and glitter. This card makes me feel happy. It is so pretty and light. My granddaughter thought so too.

She, and her family have been staying with us during lockdown. Her favourite thing to do is dress up like a princess so this card definitely got the tick of approval.

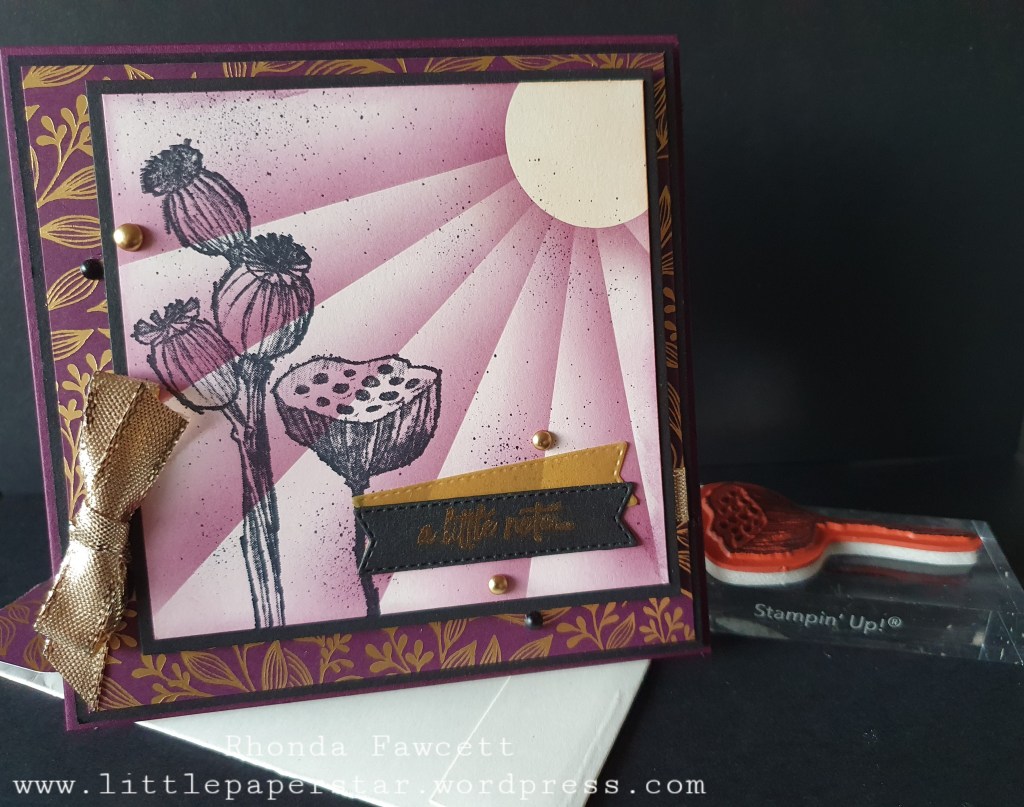
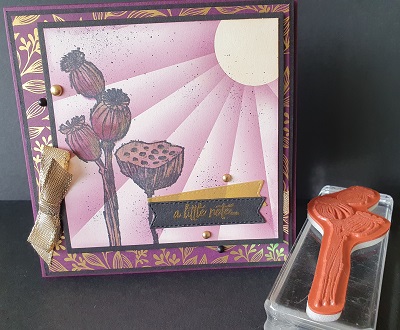
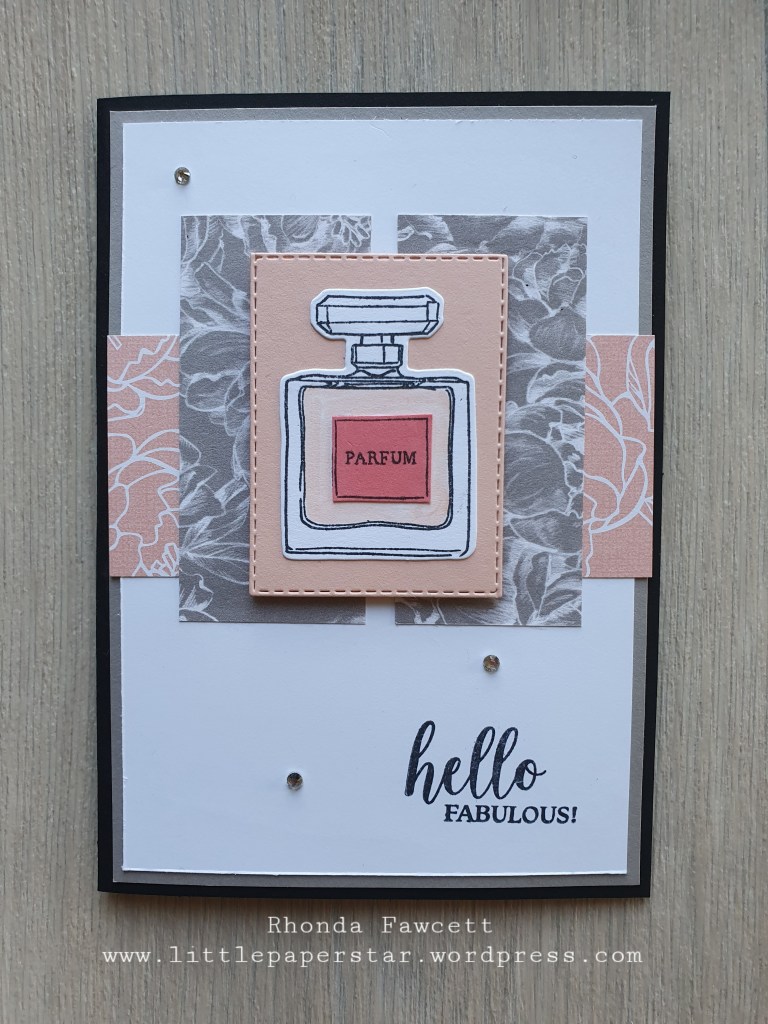
I used the Dressed to impress stamp set and dies. I coloured my Be Dazzling paper with Polished Pink ink. The pretty trim at the bottom is from the Ornate Layers dies.

The perfume bottle is coloured with a light Petal pink blend and then coated with wink of Stella. I stamped the bottle a second time on Petal pink card to just cut out the label. The sequins are from the Expressions in ink ephemera pack and are coloured with a dark Petal pink blend.

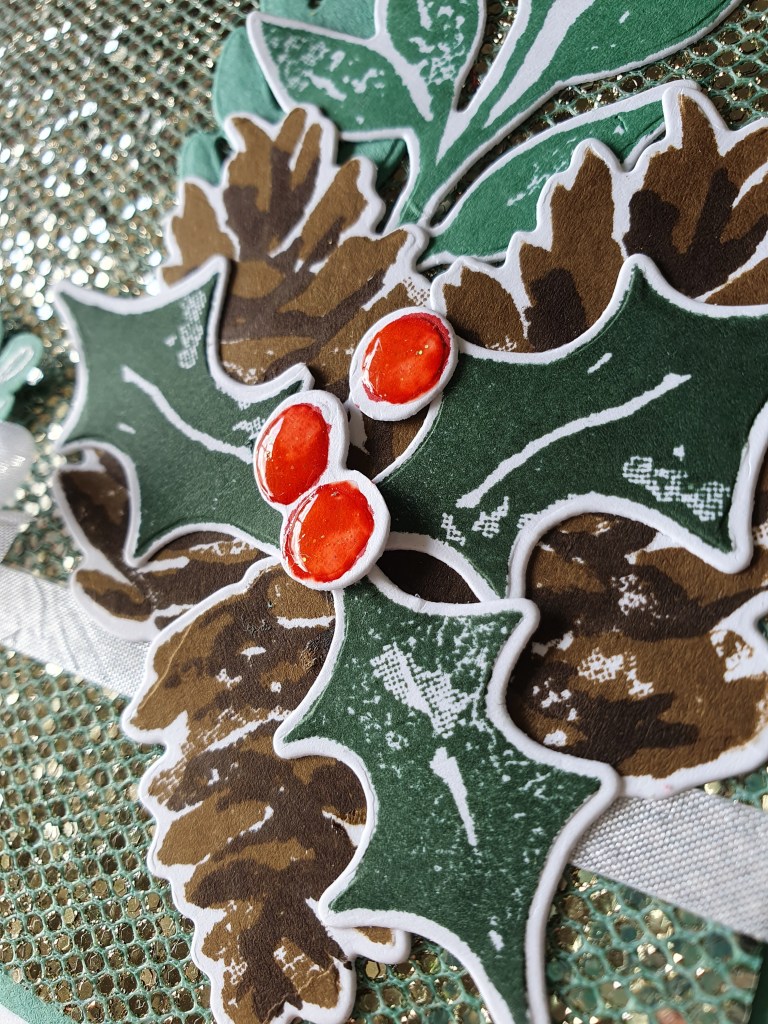
The roses are stamped on shimmery white cardstock and watercoloured with Polished Pink and Granny Apple Green inks. I would have used a Polished Pink blend if I had one. Inside the card I used a blender pen to lightly add some colour to the flowers. It’s not as pretty as watercolour in my opinion but it worked well inside as I didn’t want my card to get too wet.

Christmas Card

I got some lovely glitter paper as a free Sale-a-bration gift and coloured it to use for different projects.

see how I coloured it here: https://youtu.be/2hjy8k87HyQ

This card uses the Just Jade coloured Be Dazzling paper as it’s background and the Christmas Season stamp set.

I added shine to the berries with fine tip glue. You have to start with just a small amount of glue and when it is dry, you can add a second layer. It will change the colour of the ink a little.

The berries at the top are stamped in Real Red ink. The look more like a Poppy Parade colour once the glue has been added.

Enjoy Every Moment

I had such fun today doing a online stamping class. I wasn’t teaching this time, instead I just got to play.

We made a variety of cards and today I will show you this one that has some blending and sponging to make a lovely sunset background. This was taught by Jacque Williams.

I used the Enjoy Every Moment stamp set. The lovely papers are new, and are called Blackberry Beauty Speciality paper. They have gorgeous gold foil accents.

If I was doing this again, I would stamp the images first and mask it before doing the blending as I don’t like the blending lines showing through the image.

I went ahead and coloured the images in. Have I made it better or not?
Here is another attempt. Again I believe the images should have been stamped first, then masked, then sponged but that’s what cardmaking is all about. Learning as you go.

Please leave me a comment if you have tried this technique and let me know how it worked out for you. Cheers!

Joyful Life meets Harry Potter

When I first saw this cute little pig image on the Joyful Life stamp set, I was reminded of Harry Potter. The glasses and the stripy scarf just stood out to me; so I knew that I would have to incorporate it into a card.

This is what I came up with.

Colours for the stripes are Crushed Curry and Cherry Cobbler. The pig is stamped on Petal Pink card and coloured with markers. I stamped the scarf on white card and coloured with Blends:- Cherry Cobbler dark, Daffodil Delight light and Mango Melody light.

I used a Pool Party marker plus Wink of Stella on the glasses for a bit of sparkle.

Happy day Scrapbooking page

This was a fairly simple page to make. I cut some strips of coloured card to 5.8 x 2.6 cm and used the Stamparatus to stamp the word happy, moving it down a hinge each time I stamped. The colours I used were Mint Macaron, Granny Apple Green, Crushed Curry, Pale Papaya, Flirty Flamingo Misty Moonlight and Pool Party.

I used the Biggest Wish stamp set for the word, Happy. The Simply Succulents stamp set for the flowers and the dies are from the Birthday Chick die set.

Counting sheep

This cool new stamp set “Counting sheep” is one of the free items that you can receive when you spend $110 with Stampin’ Up!

I loved the Dancing sheep image and decided to do a whole line up of them all with colourful fleeces. My slimline card measures 19 x 21 cm and is scored in half at 9.5 cm.

The black and white strips is from the hostess rewards at the back of the main catalogue.

I added another party sheep inside.

Joyful Life Card

Here is a quick and easy card using the new Joyful Life stamp set and the Hostess rewards DSP from the annual catalogue.

This stamp set is so cute. I just live the fun animal designs. I think whatever you made using this set it would look good.

Handsomely Suited goes casual

When I first got my hands on the large spiral stamp I knew I had to make a card featuring a tie died tee.

It brings back memories from the late 70’s and early 80’s. Which got me thinking about the show Miami Vice and the white suits and tee shirt combo that Don Johnson’s character was famous for. So I decided to create this look using our well suited dies.

For the inside of the card, I wanted to use a combo of stamps as I liked the word “handsome” but I didn’t want Father’s day. I used a removable tape to cover up the words “Father’s Day” on the rubber stamp. I inked up my stamp in Memento Black. Then removed the tape… very important! This meant there was no ink of the words “Father’s Day”. I stamped it onto my card.

It read (in black), Have a Happy…. Handsome. Next I used the tape to mask off the words “A happy” and “To you” on the second rubber stamp so that only the word birthday was exposed to the ink. I inked it up in Mint Macaron, removed the tape and stamped it in the gap of my previously stamped image.

Perfume Pop Up Card

This classy card uses the Dressed to Impress stamp set and the recently retired Peony garden designer series paper.

Card colours are Basic Black, Basic White, Gray Granite, Petal Pink and Flirty Flamingo.

The perfume bottle is covered with a lovely hint of fine glitter using the Wink of Stella pen. It doesn’t show in the photo but looks lovely in real life.

Inside the card, is two surprise pop up panels. The images are also from the Dressed to Impress stamp set. The Lipstick image has a dusting of Dazzling Diamonds glitter. The pop up panel on the right is mostly left empty so you can write your greeting.

The two Basic White backgrounds are embossed with the Tasteful Textile embossing folder.