Unknown's avatar

About littlepaperstar

I am a Stampin' Up! Demonstrator based in Matamata, New Zealand. I love all things paper-craft. This is my platform to share ideas and knowledge with others.

Memories and More Albums

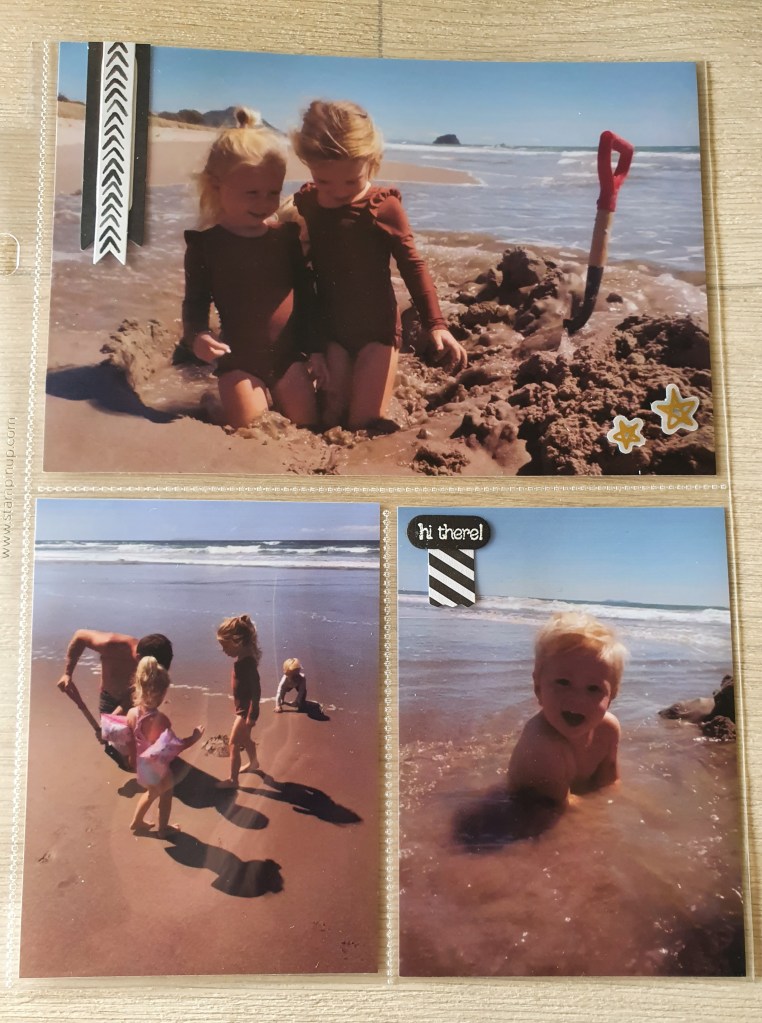
I have been doing some more simple scrapbooking by putting my recent holiday pics in an album. I am loving using the Stampin’ Up! mini 6 x 8 album with the pocket pages as it is super quick to get photos in.

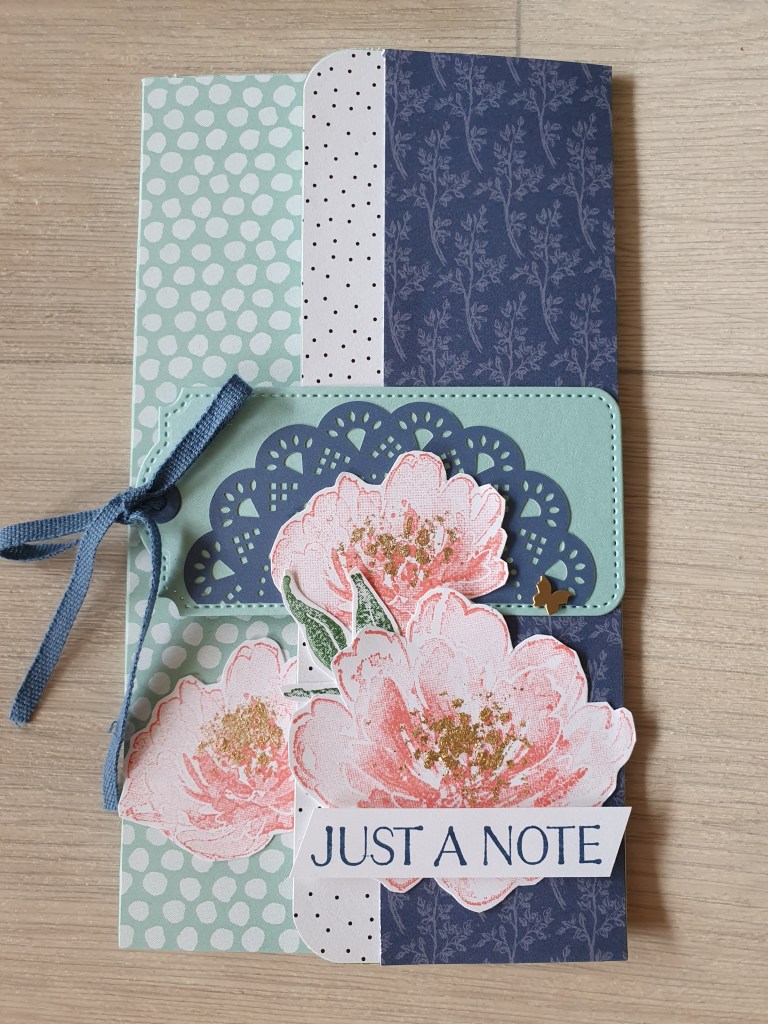
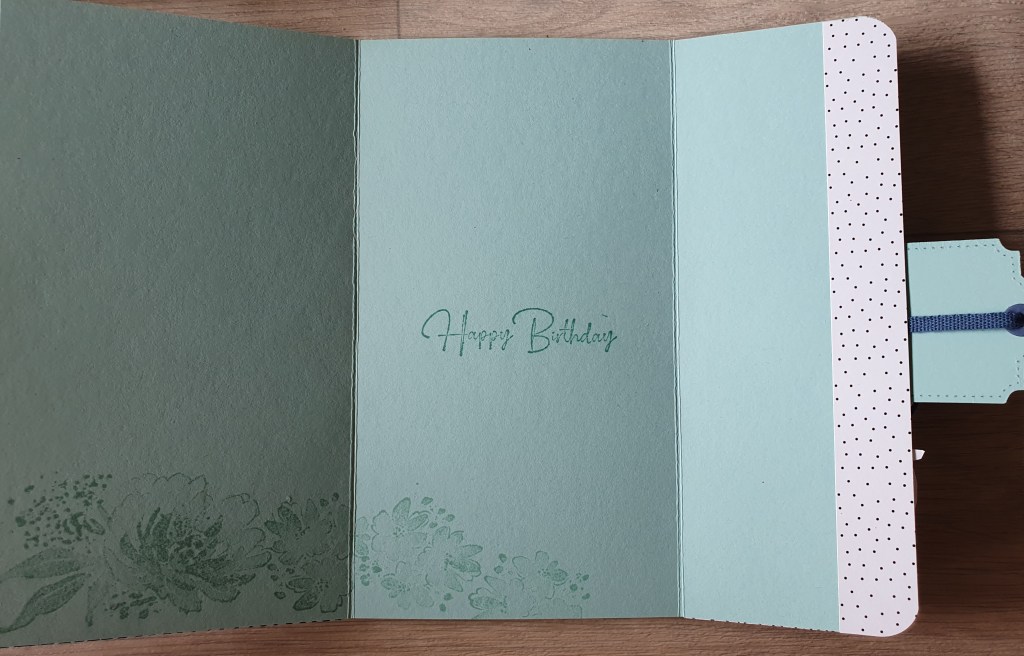
I used the Many Messages bundle to add some wording and new Abstract Beauty Ephemera Pack to add some embellishment.

People have asked me how do I scrapbook the large portrait photos when our 6 x 8 albums don’t have pockets for them.

Well, I used to try and cut them down to fit into a small pocket or just put them in the large pocket sideways but neither of those options were ideal. But good news is that I have found a way to print two portrait size photos together on to one landscape 6 x 4 photo.

Here’s how: I use two apps on my Samsung phone. One is printicular which sends my photos straight to my nearest Warehouse Stationery to get printed. The kind staff at Warehouse Stationery loaded the app on my phone for me. The other app is Canva and this is where I edit my photos.

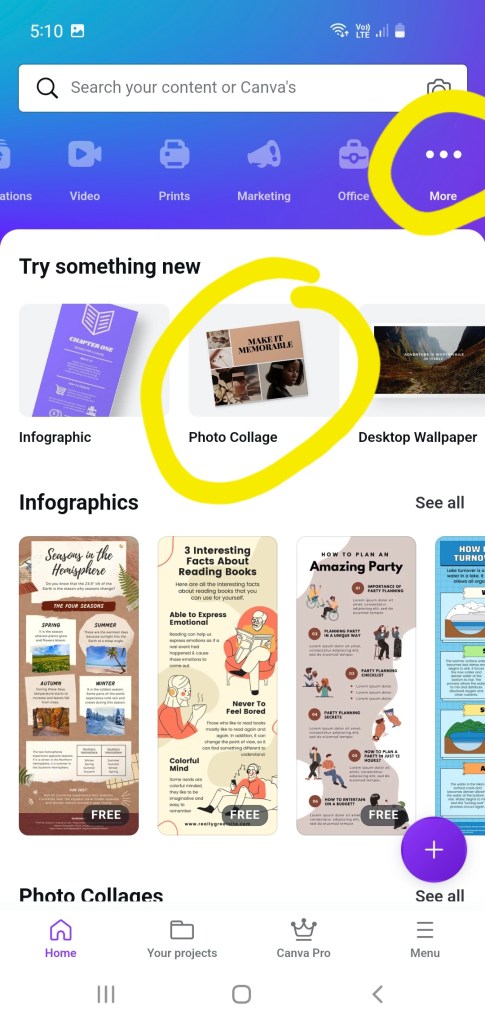
I open canva app. At the top blue banner, I go along until I find the … more button, then select photo collage.

Select a free template that doesn’t have too many elements in it. Click on the photos and words and start deleting them, until you have only two photos left.

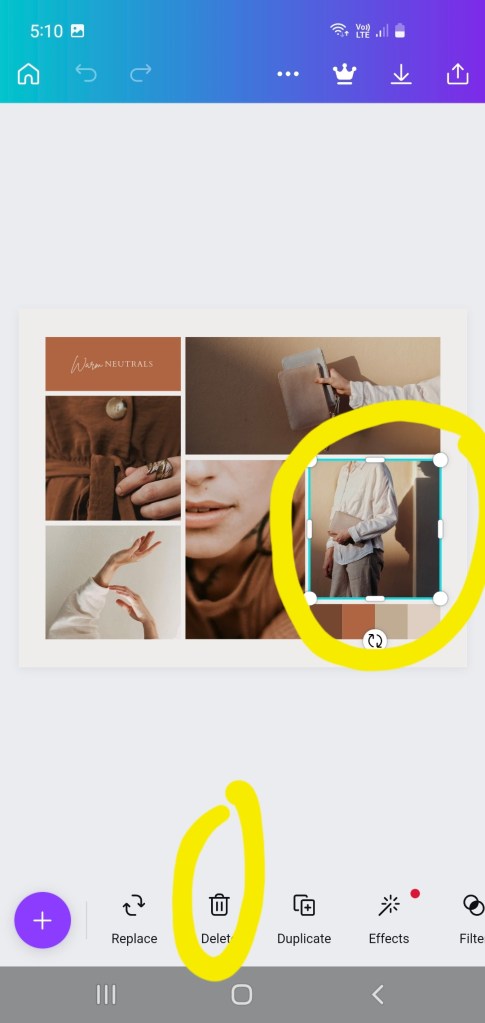
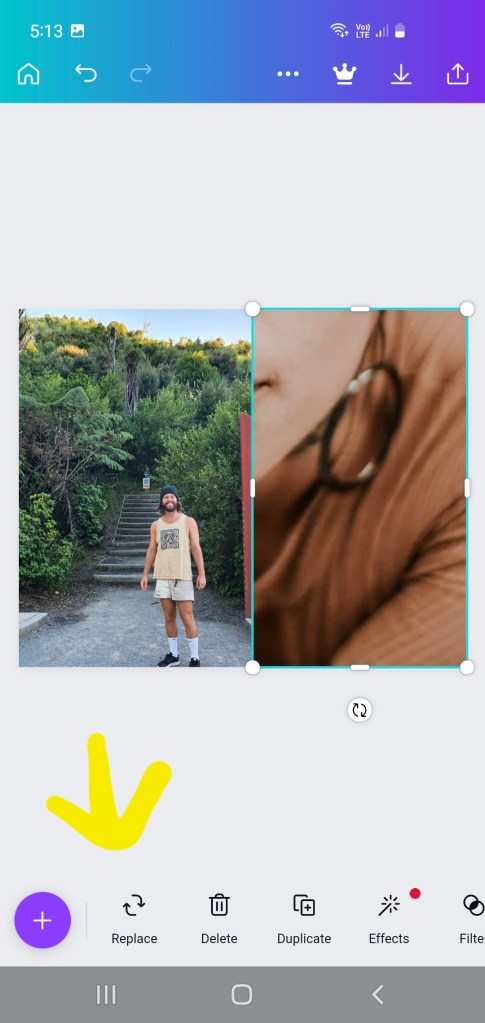
Click on the photos, one photo at a time and use the side bars and corners to move and enlarge both photos until they take up half the template each.

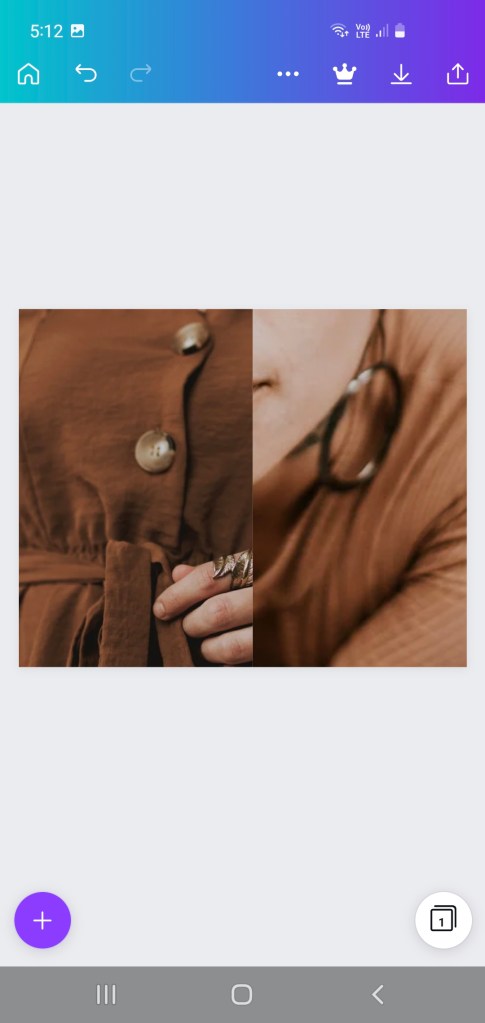
Then click replace, it should bring up photos from your phone’s photo gallery with which you can replace the photos, (one at a time).

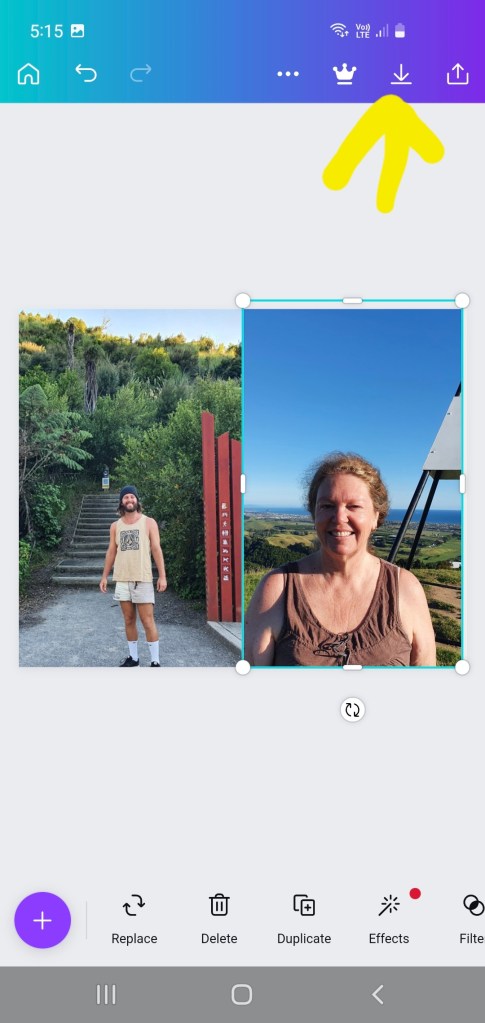
Then click download and save (see photo above).

It will say, preparing your design. Then it will say “saved to gallery”.

You will find it in your photo gallery app under canva category. You can then open your printicular app and select photos to print.

I selected the photo below and once it is printed, I get an email from Warehouse Stationery to go and collect it. I cut it in half to fit in my album pockets and save money as I get two photos for price of one! 😄

Once you have made up this and saved it in Canva, you can next time go directly to your projects and swap out the two photos for two new ones. You won’t need to go through the whole process again.

Hydrangea Haven Flower Box Card

I made this card recently for a team challenge where we had to have a go at making a pop up flower box card. I was pretty happy with how it turned out.

The card folds flat for posting.

Here is a close up of the Hydrangea on the card front. I love the matching dies which add so much detail and allow the petals to lift up for a 3 D effect. I added a drop of shimmery crystal effects in each flower centre.

Wallet Fold Card

Here is a different type of fold that I taught at a recent event. I first saw this fold in a card Jacque Williams had made and I have used it a few times now. This one features the Flowing Flowers stamp set which is in the new mini catalogue.

I have also used cotton ribbon, a brushed brass butterfly embellishment and a doily all from the new mini catalogue as well.

The papers are called Pattern Party and they are a hostess reward paper pack from the Annual catalogue.

Inside card

One technique we used was to apply gold foil leafing which really added a touch of elegance to these pretty flowers.

Mini SCEM (Stampin’ Cut & Emboss Machine)

Stampin’ Up! have two of their own branded die cutting and embossing machines and they are both good value to own.

Not only are they sleek looking, compact and portable but they have some extra benefits which I talk about in my video.

A couple of things to know… The die cutting adapter plate that I show for the mother machine that has the extra height in the middle, is not a cutting surface. You still need to place your die on a clear plate. All the sandwich layer instructions are printed on the plates.

The mini machine doesn’t have this adapter plate because the rollers are much closer together the pressure is more evenly distributed. It is handy on your desktop as the majority of your dies will fit through it as well as a few selected narrow Stampin’ Up! embossing folders.

This mini machine is 20% off during March 2022.

Shop here http://www.rhondafawcett.stampinup.net

Abstract Beauty Ephemera Pack

Stampin’ Up! has brought out this cute little ephemera pack which is perfect for scrapbooking. It has die cut shapes that you can stamp on, or use as frames or embellishments. Some are printed with gold foil. Some are even gold foil on vellum!

This little pack is my fave! AND it is only NZ $13.75 + shipping. It includes 60 diecut pieces.

Here is my finished 6 x 8 page.

I will be doing after school scrapbooking classes for kids, starting on Monday 28th February. Contact me for more information.

Awesome Otters

These cute little Otter stamps have been very popular and are one of the free stamp sets that you can earn when you spend NZ$110 on Stampin’ Up! products.

The background is made by inking up the embossing folder before embossing to highlight the pattern.

Friendly Hello Bundle

I love this time of year when Stampin’ Up! has the Sale-a-bration specials. I have earnt myself some freebies so over the next few days, I will show you what I have made with them.

This is a double panel gate fold card using the Friendly Hello Bundle. It is a beautiful stamp set with pretty, delicate images and coordinating papers in soft colours.

You can earn some freebies too with every NZ $110 spent. Visit my online store at http://www.rhondafawcett.stampinup.net or contact me for more information.

Free as a Bird

I was showing some of my lovely crafting ladies a little while ago how to get the most out of their stamparatus and I showed them this technique called Mirror image stamping.

You do need a stamparatus to achieve it and also a silicon mat. You place the bird stamp on your stamparatus plate and stamp the first bird on a silicon mat. Place your card face down on the silicon mat and press with stamp to transfer image from silicon mat onto your card. Turn card over to see transfered image. You can then stamp the second bird onto your card, next to the transferred mirror image bird.

To watch a short video. Click here…https://youtu.be/bc7eD1dtzMs

I decided to colour these birds to look like common garden sparrows sharing a worm. Only after I had finished the card, did I learn that sparrows don’t normally eat worms!

Summer Sketch Challenge

To get creative juices flowing for 2022, I decided to join a card challenge or two. I entered the TGIF sketch challenge # 351. You can see the sketch below.

I also entered the Just Add Ink challenge which is all about summer. I had in mind before I started, to use the “Nuts About Squirrels” stamp set but it was more geared to autumn than summer. So I played around with it, by using a black marker pen to ink just the parts of the stamp that I wanted and I drew in the rest. Now instead of a squirrel with an acorn, I have a mouse with a strawberry.🐭🍓🌞 That says summer right?

The products used are Nuts About Squirrels stamp set, Sweet Strawberry stamp set, Pattern Party DSP, Pretty Flowers embossing folder, Assorted Blends and a Stampin’ Write Marker.

Here is how I inked up the stamp. I used the wide brush end, the side of the brush tip and inked only the parts I wanted. I huffed on the stamp with my breath to moisten the ink as it dries fast and I wanted a nice black image, then I used the journal end of the marker to draw in the finishing touches after I had stamped the image onto Basic White Card.

Who else has done this technique before? I would love to know what stamps you have altered. Please leave a comment and also visit the challenge groups and see if there is a challenge you would like to do next week
https://just-add-ink.blogspot.com/
https://tgifchallenges.blogspot.com/