Sharing my love of all things paper-craft: Card making, Scrapbooking, Gift Boxes, Invitations, Party Favours, Craft Supplies and more. (Formally Stampin'Fantastic)
I am a Stampin' Up! Demonstrator based in Matamata, New Zealand.
I love all things paper-craft. This is my platform to share ideas and knowledge with others.
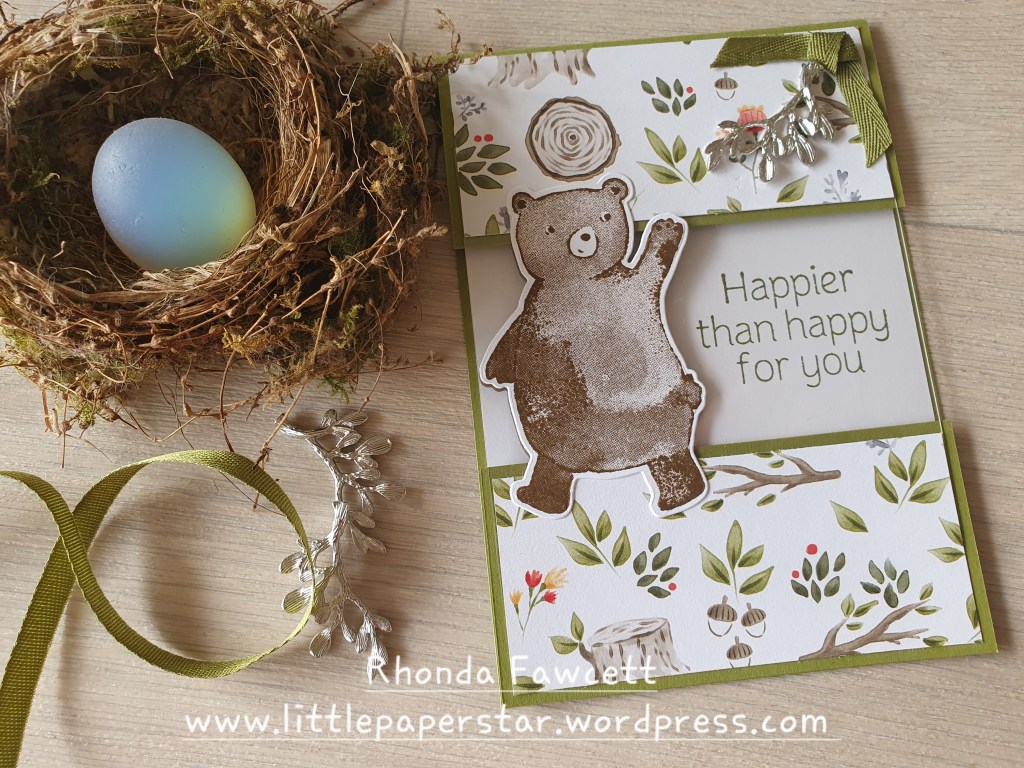
This is an easy fun fold card to make. Just cut a sheet of Old Olive A4 card in half lengthwise and fold in half. Then cut at 4.5 cm from the fold. Trim the cut off piece to measure 5 cm wide and discard the rest. Cut two pieces of DSP (Designer series paper) one at 10 x 4 cm and the other at 10 x 4.5 cm. Also cut a piece of window sheet to 10 x 11 cm. Lay the cut off Olive piece at the bottom of the folded Olive card so the bottom edges line up. There will be a gap in the middle. Glue or tape the window sheet to the Olive card to bridge the gap. Then glue DSP on top
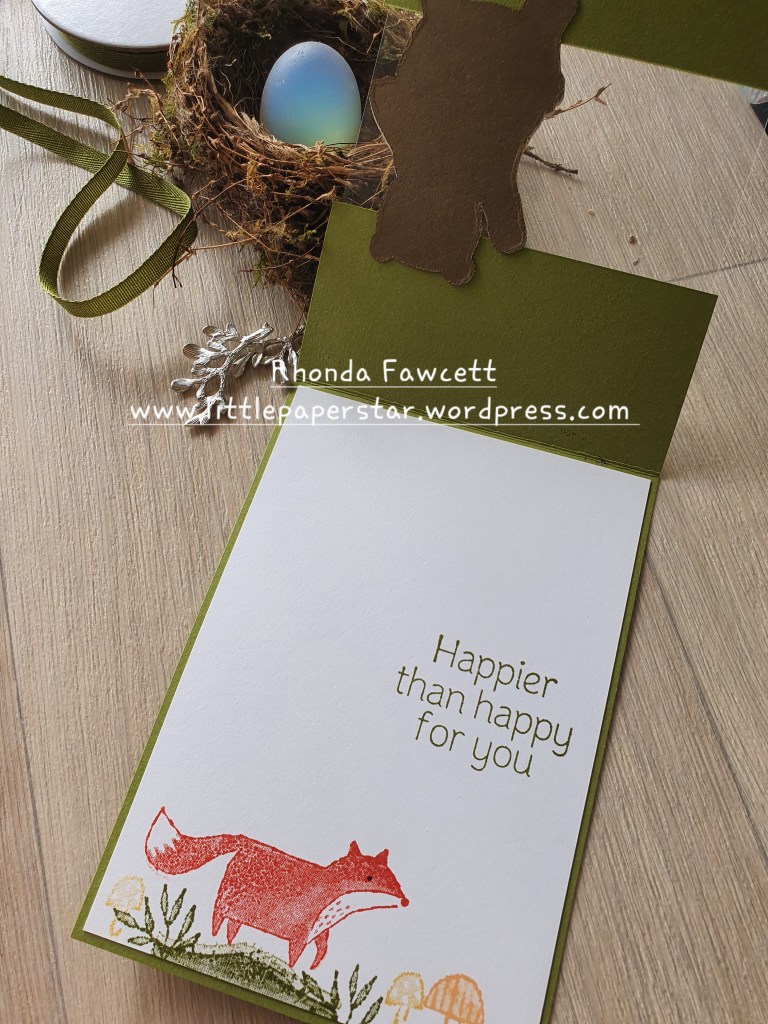
Decorate with the stamps and dies from the Happier than Happy bundle. Glue bear onto window sheet to the left hand side. Die cut a second bear shape from Soft Suede card and glue it on the underneath side of the window sheet to line up with the bear on the front. When you stamp the greeting inside, take care to position it so that it shows through the window at the side of the bear.
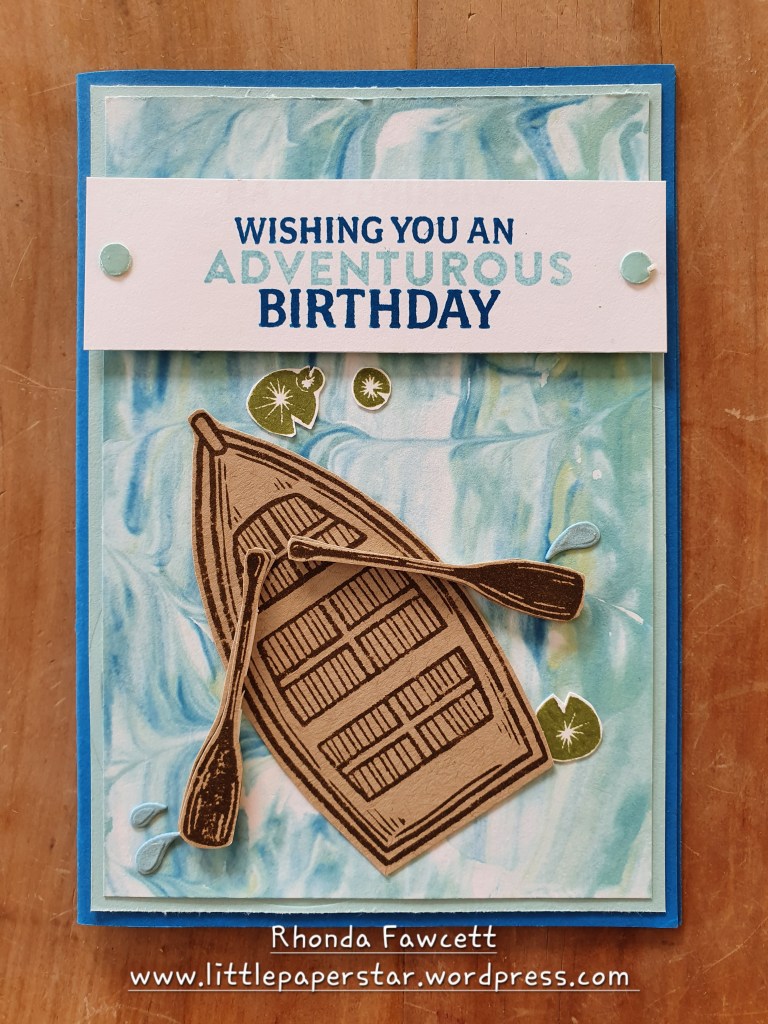
For this second card using the Adventurous Journey stamp set, I wanted to use the big rowboat image. 🚣♀️ Because the boat itself is very plain, I wanted to make a feature of the background. I used the shaving foam technique to do it.
To do this technique, squirt some shaving foam onto a piece of tinfoil. Use a knife to smooth it into a flat area slightly larger than your piece of card that you want to “marble “. Drop in ink. About 4 drops of each colour. I used Pacific Point, Balmy Blue and Soft Seafoam. Swirl lightly with a toothpick to mix the colours. Press in your card.
Lift card out of foam. Scrap off excess foam and smooth excess back into the rest of the foam to reuse a second time. Pat card dry on a paper towel.
Image 1. was my first result. Image 2. was my second and Image 3 was my third. You get a different result every time you mix and smooth out your foam. After about 4 goes, you could add some more drops of ink to keep doing this technique. Rinse the foam off and throw tinfoil away once you have finished. It is a little messy but it is super fun.
This was a fun card to make by layering up the pieces to make the kayaker stand put even more.
I stamped the kayak on Calypso Coral card first and cut out. Then I stamped the kayaker on thick white card and coloured him with Blends and mounted him on top of the kayak. Finally I stamped the hat in Old Olive card and mounted it on top with a dimensional.
For a bit of shine, I added Wink of Stella to the whirlpools and fine tip glue to my three punched dots. I used a regular office hole punch to create my dots from Old Olive card.
This was a fairly simple card layout, made by using a strip of Balmy Blue card across the page. The impact it has is all due to the big bold images of the Adventurous Journey stamp set.
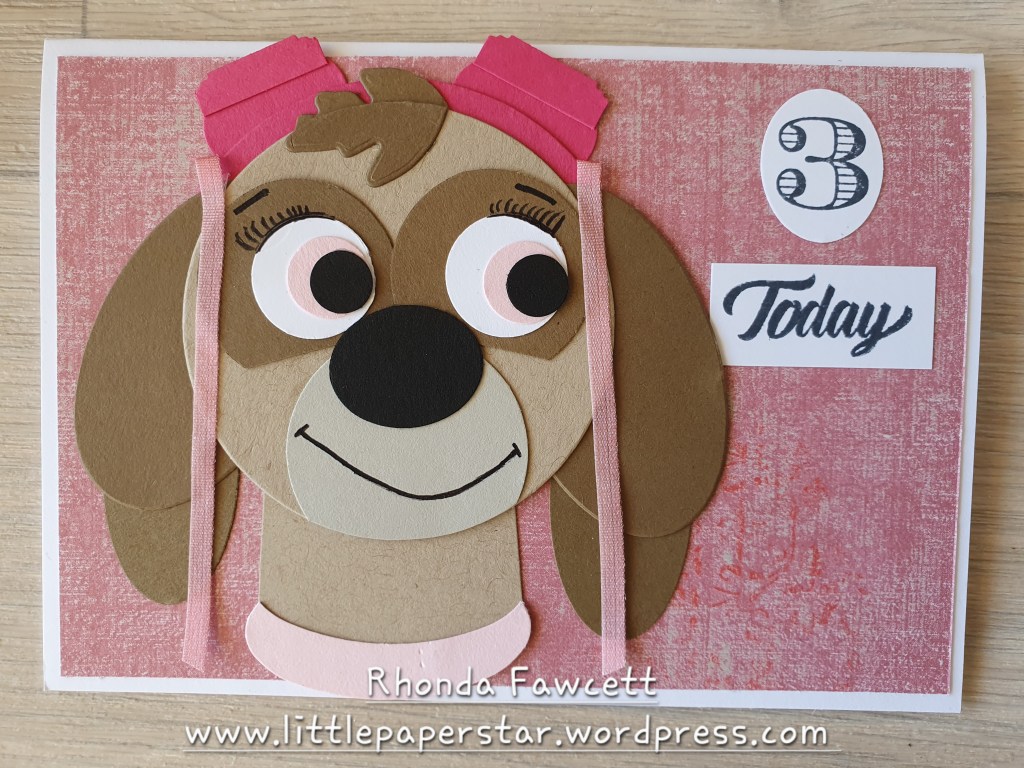
I went back to one of my favourite way of making cards and did some more punch art. I used a lot of retired circle and oval punches for this card. I have listed them all below.
Flynn loves Paw Patrol so making one of the dogs by using punches worked well for her.
I used woven threads DSP for the background paper. Head was the 2nd to largest layering circle die in Crumb Cake card. Muzzle was 1 1/2″ circle punch in Sahara Sand card. I glued the muzzle on with a small amount overlapping the edge and trimmed off the overlap. I drew in the mouth. Neck was hand cut from a piece of card 1 3/4″ wide. I tapered it slightly at the sides. Collar was large oval punch (retired). I also used this for the ears as well as a smaller oval from the retired layering oval dies. Nose was small retired oval punch 3/4″ size.
Eyes in soft suede card 1 1/4″ punch and cut across the bottom of circle. White 3/4″ punch. Pink pirouette 1/2″ punch. Black Itty bitty circle shape punch. Goggles were made using Melon Mambo card and largest layering circle die for head piece. Small ovals the same as the nose for eye piece with a best label punch cut in half and laid on top.
Finally hair pieces were die cut from a forever flourishing leaf die.
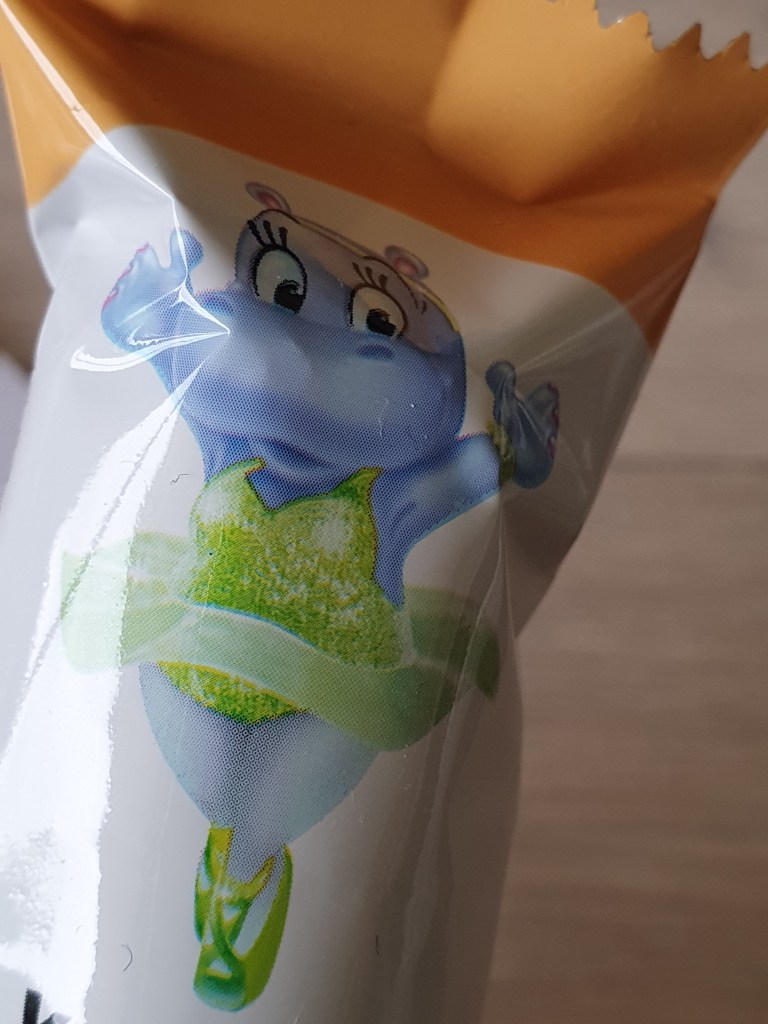
I found these little hippo chocolates and just had to buy them to create a tag to match.
I used Parakeet Party Blends and a retired light seaside spray blend to colour in the hippo. I added a vellum frill and drew her eyelashes a little longer.
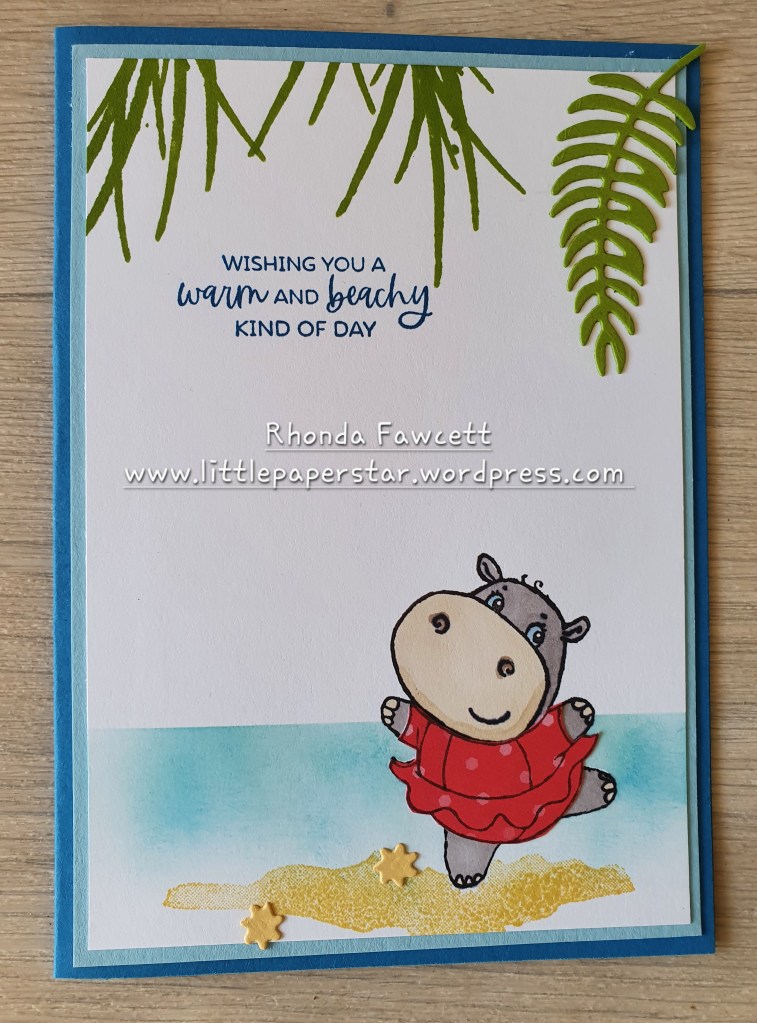
I am having so much fun playing with the “Hippest Hippos” stamp set. I used the paper piecing technique to create this poka dot swim suit for this little hippo.
I used the Oceanfront stamp set to create sand and palm leaves. The sentiment is from the Paradise Palms stamp set. The little starfish dies are a free SAB (sale-a-bration) item with a qualifying purchase. It is part of the Hippo dies which contain 19 dies and not only cut out the hippo stamps but also have interesting shapes like sunglasses, water drops, snorkels, boat etc.
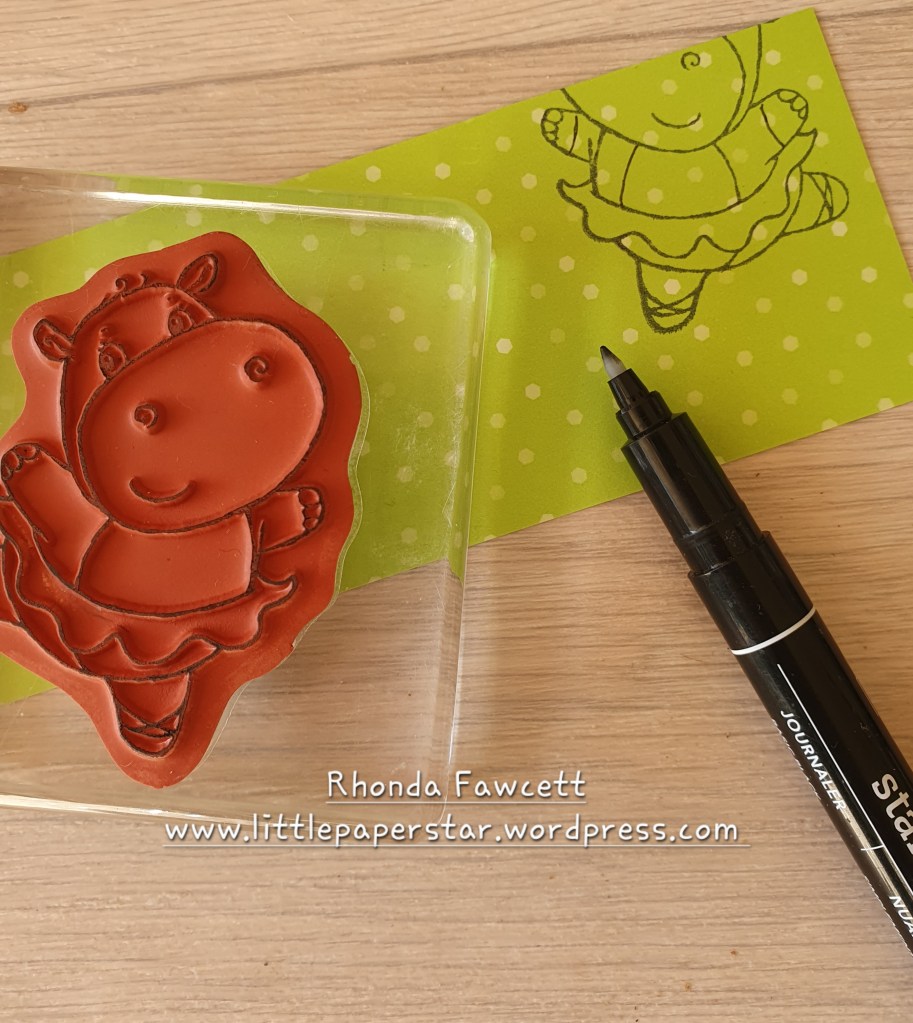
To make the swimsuit I stamped the hippo again on in colour paper and used a marker to draw in the sleeves and a extra panel down the tummy. I then fussy cut the swum suit out and glued it on top of the original stamped image on the card front.
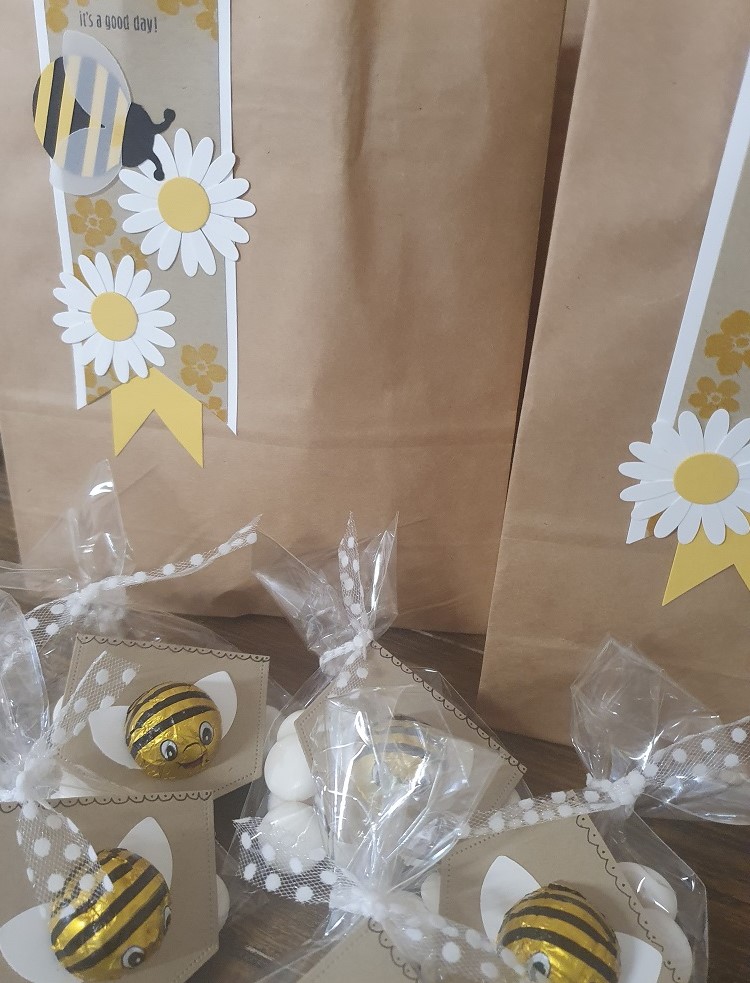
I used the ladybug punch and the daisy punch to create these gift bag tags for the people attending my Auckland cardmaking event. I was excited to discover some little bee chocolates and thought they would make a good addition to go inside the bags.
You may think that the Designer series paper (DSP) called “He’s the man”, is just for men, right?
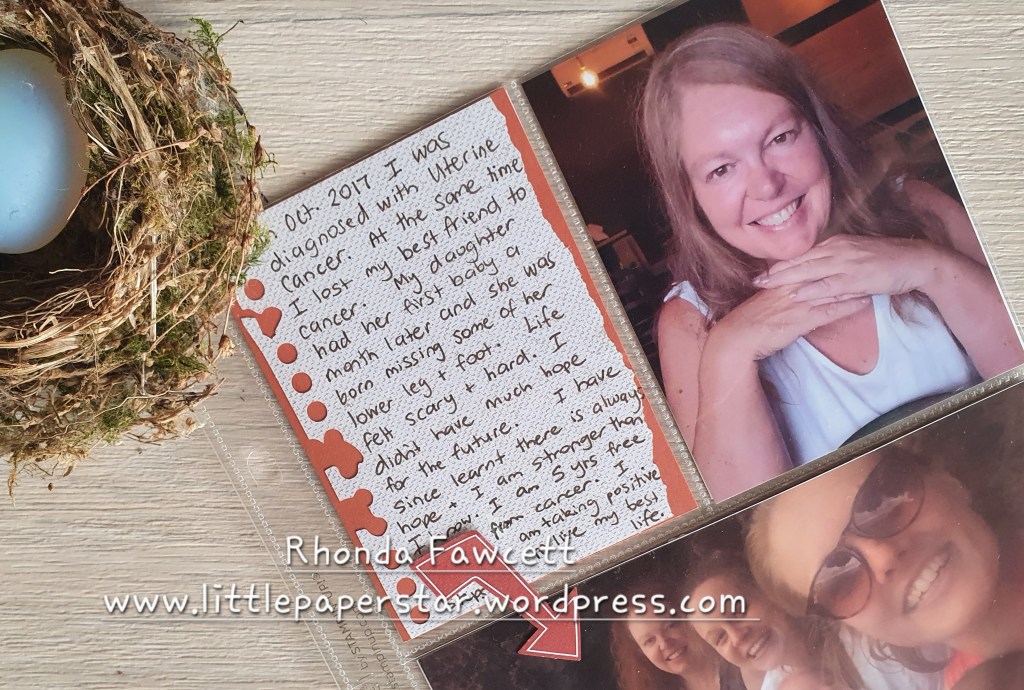
Wrong. It is good for many projects and I want to show you some more scrapbooking ideas that I have used these papers and die-cuts for. The die-cuts are great because there are so many affirmative sayings that you can use on a scrapbooking page. There is also a caravan that would be perfect on a holiday page. The papers are all in browns and rust colours and while one side does have a masculine print on it, the other side is good for any autumn pages.
This first page features 3 die-cut elements. One of which is a journal box the perfect size for our Stampin’ Up! 6 x 8 albums.
Here is a page that I did for my champion of a granddaughter, Duskie.
The stars, photo corners, banner, oval sentiment, journal piece and background paper are all from “He’s the man” paper pack. Here is some more dies below.
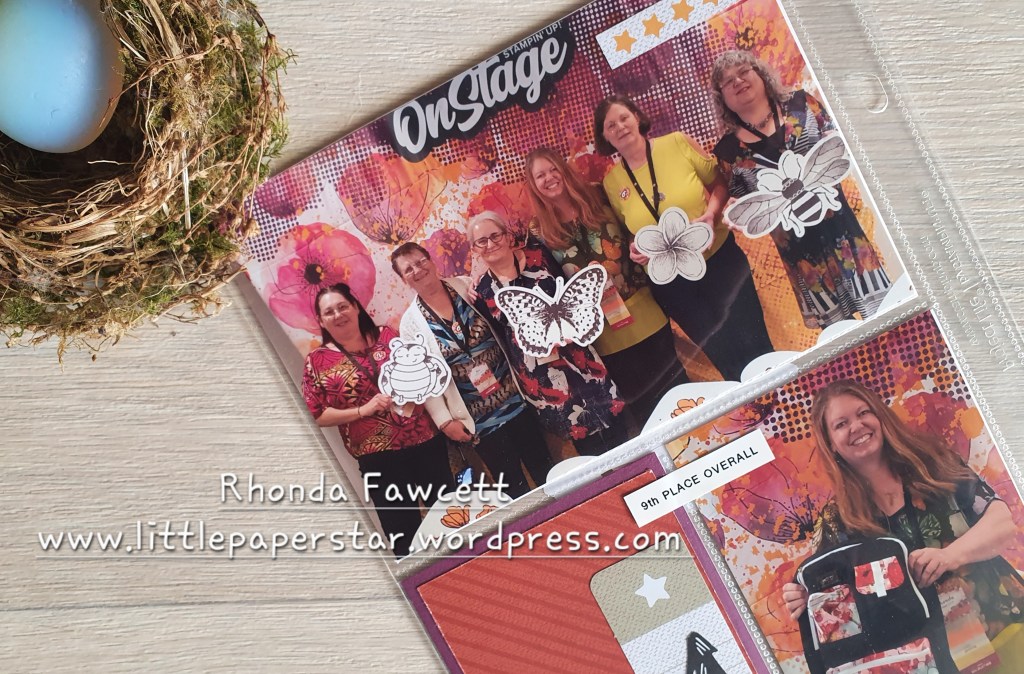
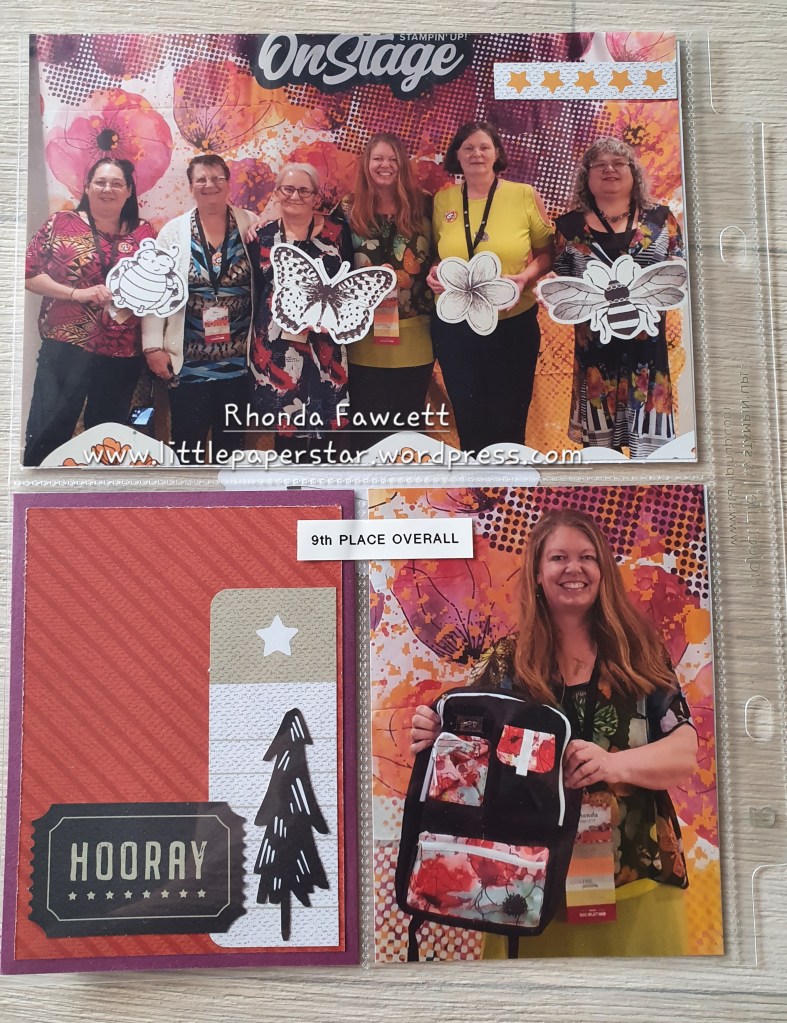
This next page is very special to me because it was one of the last times that some of my team members were all together. Two very special ladies have passed away since this photo was taken.
Another reason why this page is special, is because this year, I got into the top 10 demonstrators for our country.
I was given a 14 karat gold necklace amongst other things. I did feel very spoilt.
I hope these few pages from my album, inspire you to give the “He’s the man” paper a second look. It is in the current annual catalogue and is available for purchase until June next year.
It’s Sale-a-bration time again which means for every NZ$110 you spend, you get to choose a free product from the Sale-a-bration catalogue. I am joining with my fellow South Pacific Demonstrator Council members from last year to showcase one of the Sale-a-bration products.
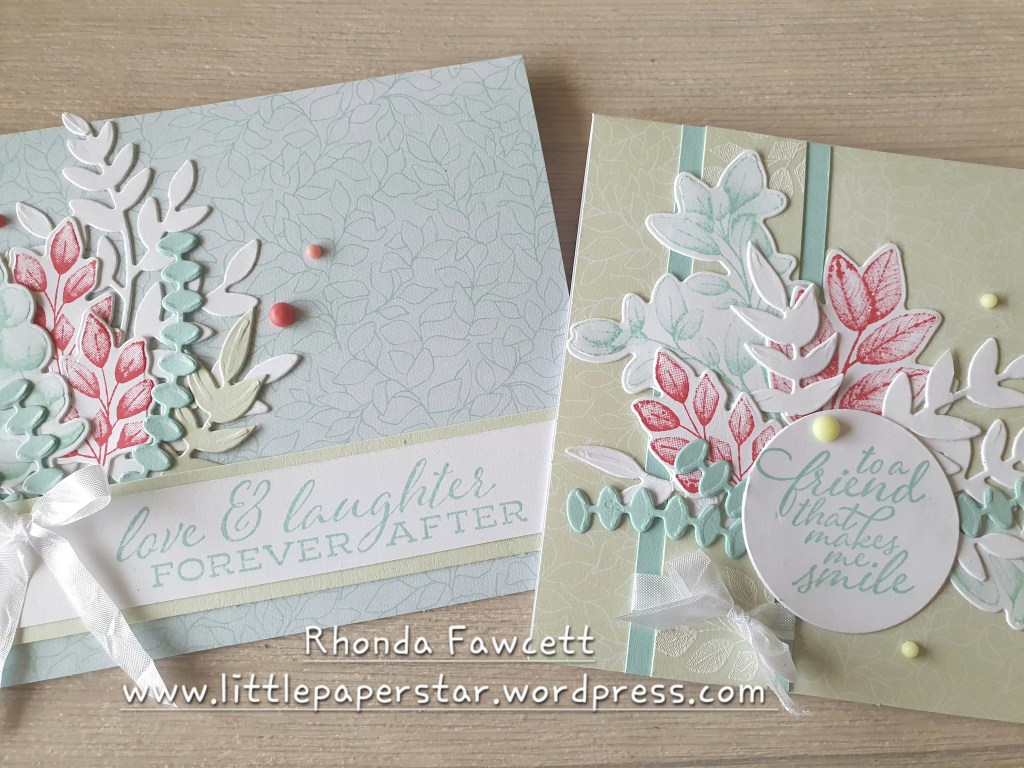
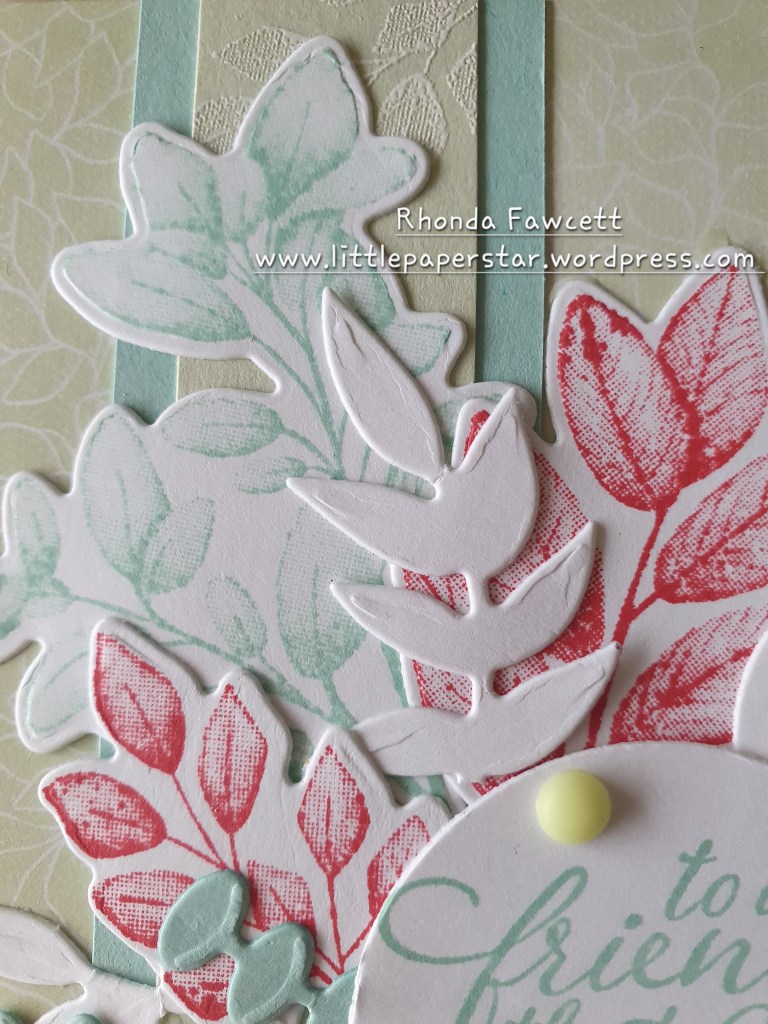
I have decided to show you the free notecard and envelope pack. They are gorgeous! I feel that the notecards are often overlooked and I want to persuade you as to why they are a good choice. They are called notecards but they are actually an American full sized card. Which means they are slightly higher than our South Pacific sized cards and not quite as wide. Here is a comparison photo…
The cards measure 14 x 10.8 cm when folded in half.
There are 20 cards and 20 envelopes. The envelopes are all the same, in Soft Seafoam with lovely subtle white printing on the front bottom corner and on the envelope flap. Inside the flap is a scattering of pool party small leaf images. There are two different card designs. 10 cards in pool party with a darker pool party leaf background and 10 cards in soft seafoam with a white leaf background. The leaf images coordinate perfectly with the Splendid Day Suite in the annual catalogue.
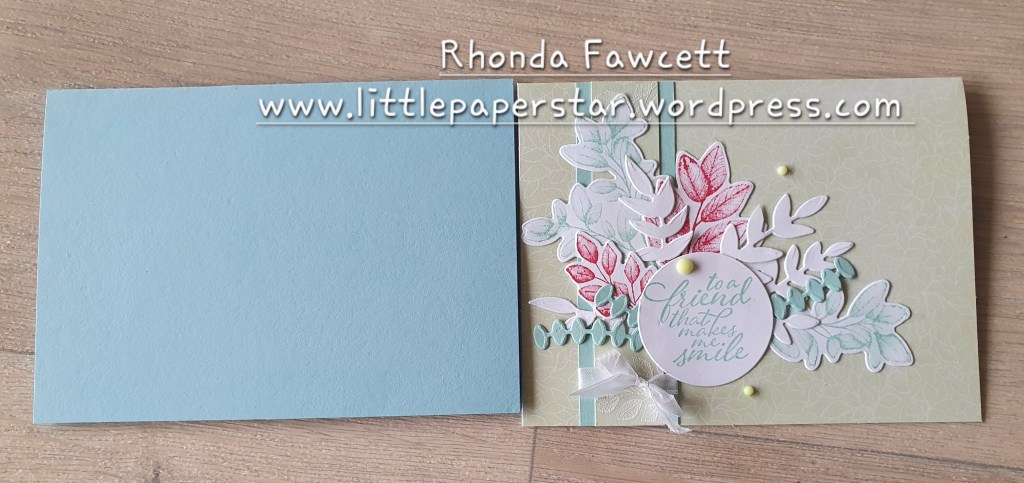
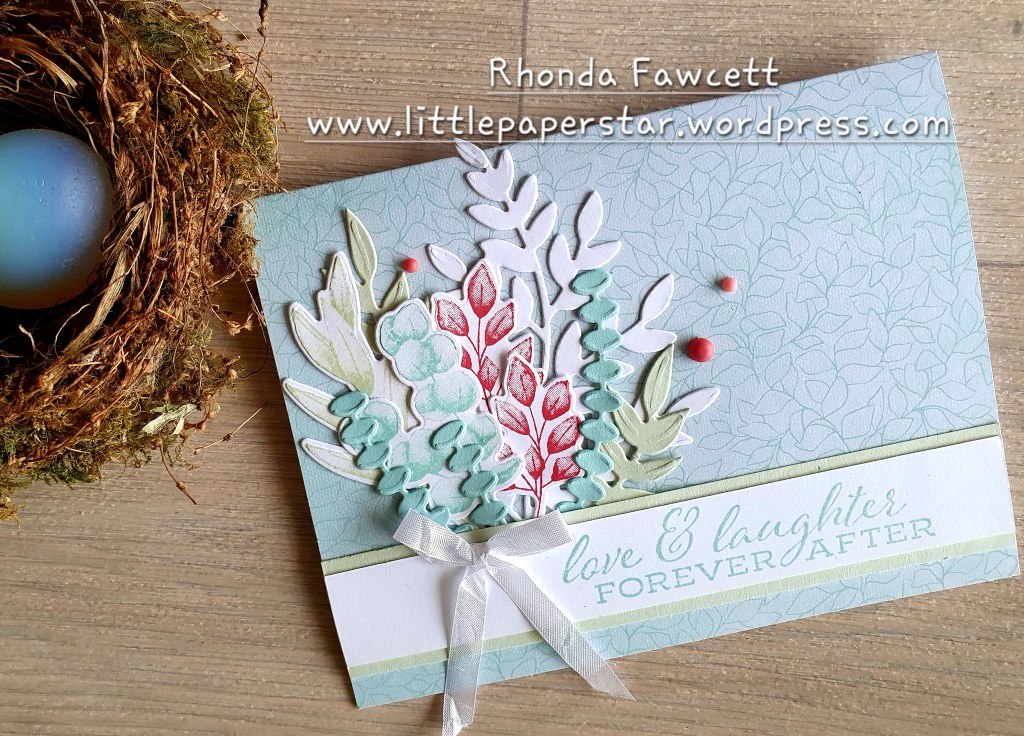
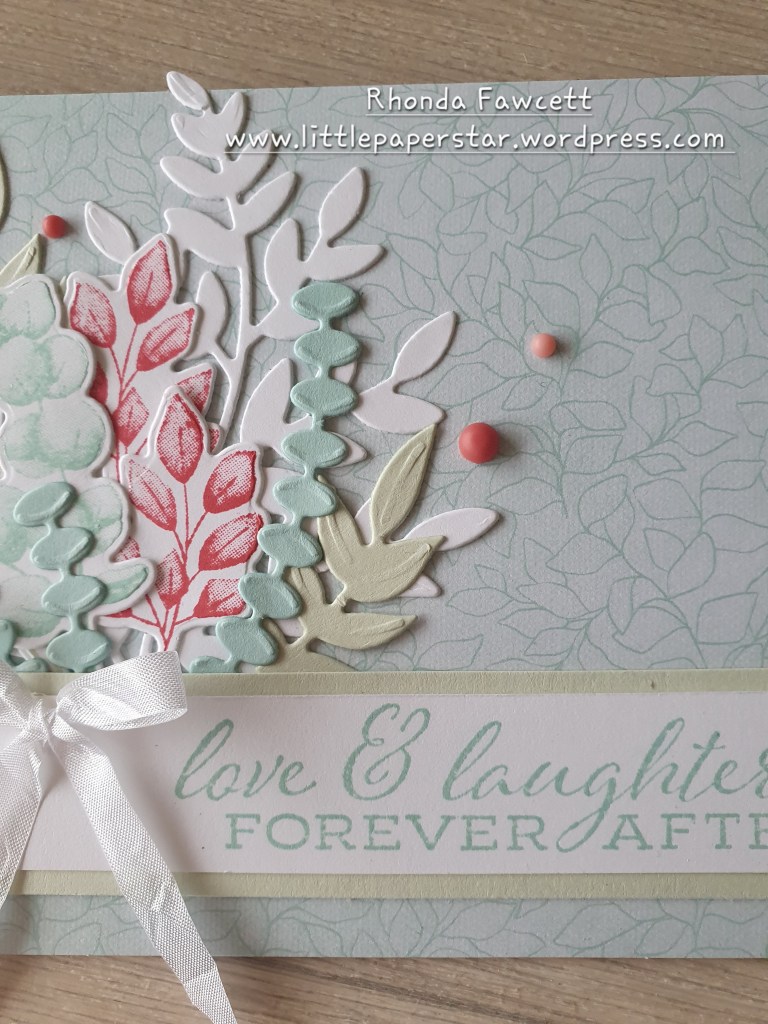
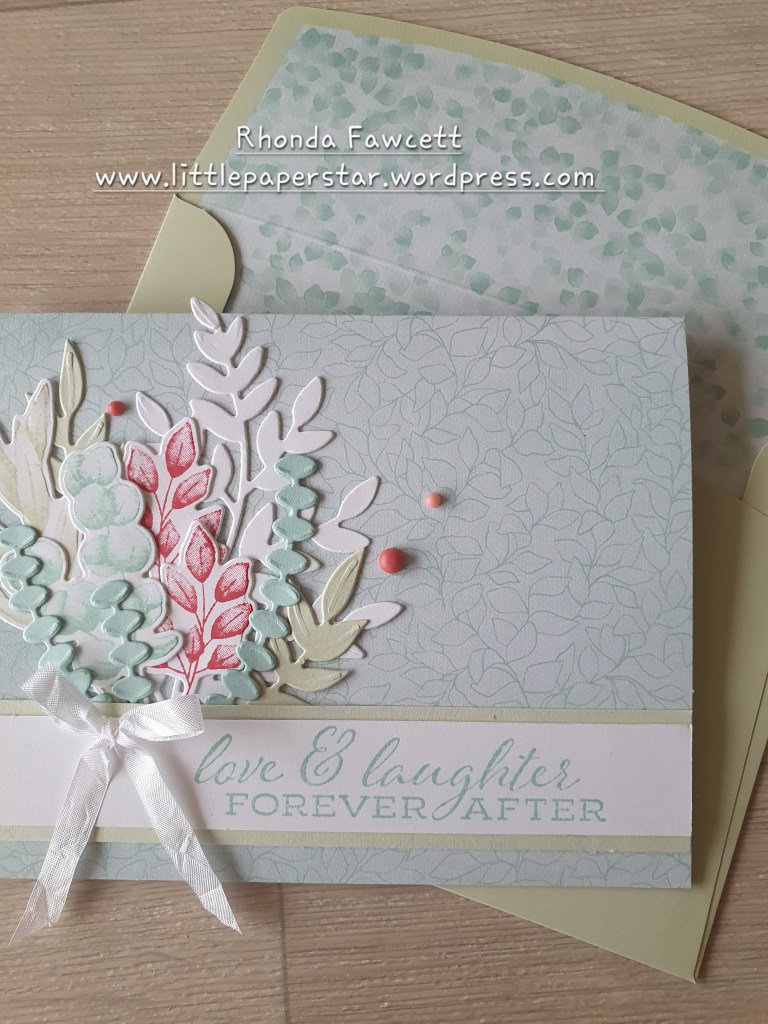
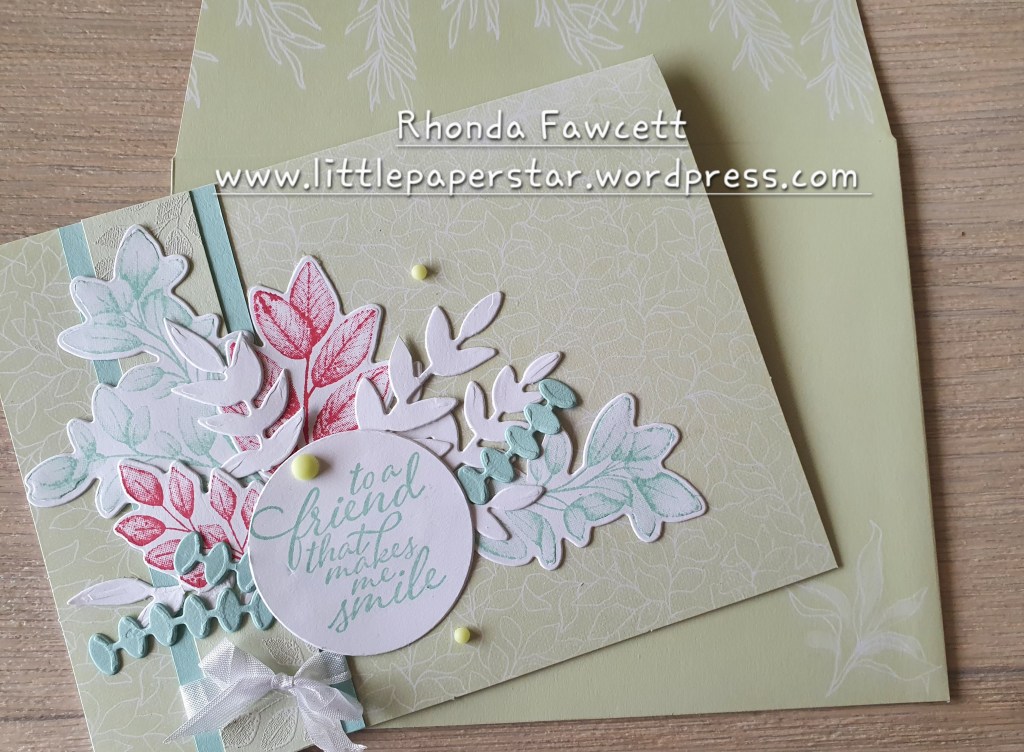
Because I didn’t have the Splendid Day Suite, I decided to use the Forever Ferns bundle. The colours and patterns were delicate and it needed a stamp set that also had delicate leaf designs. I think this bundle worked perfectly. I kept to the colours in the cards but added in Sweet Sorbet to give it a little lift. I used the white seambinding ribbon as it is also soft and delicate.
On the soft seafoam card, I added a little bit of white embossing, just to carry through the white on soft seafoam look.
The embellishments I used were the in colour matte decorative dots. All the green dots are technically Parakeet Party in colour but because they are ombre dots, I was able to use the lightest green and it toned in well with the soft seafoam background.
I hope these projects inspired you to give this card and matching envelope set a go. I am certainly happy with how these wedding and thank you cards turned out.
Please click on the links below to see what other sale-a-bration products have been used by the other ladies in our blog hop and don’t forget to leave a comment if you like what you see.
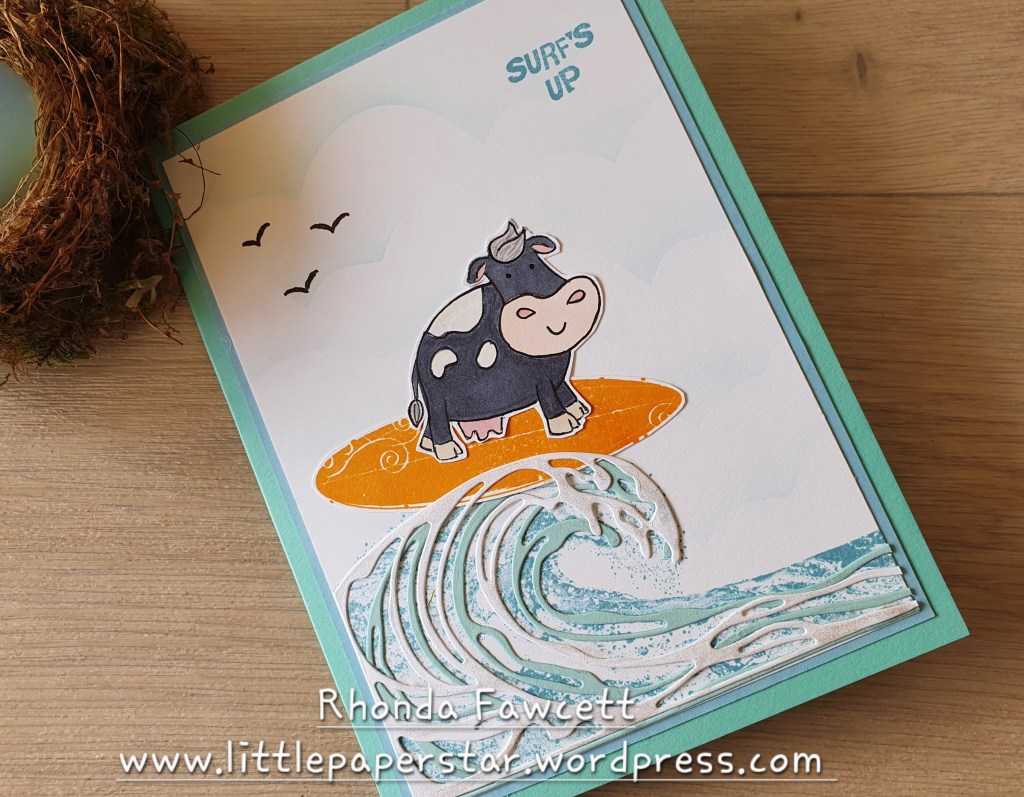
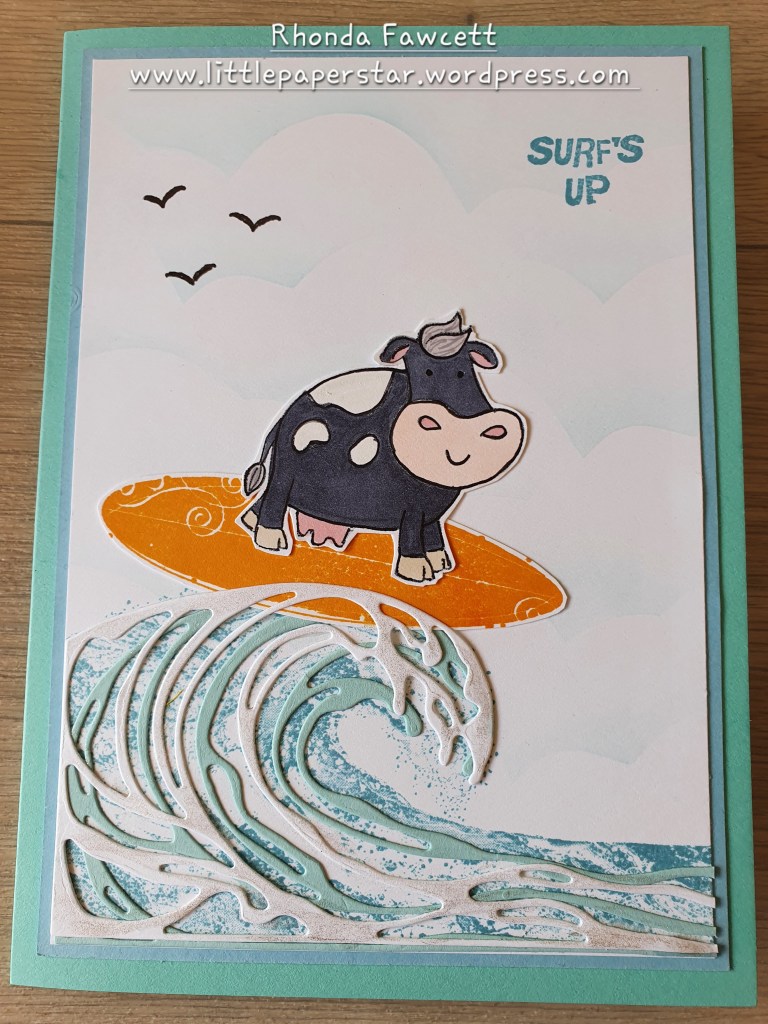
It was my son’s girlfriend’s birthday this week and she likes cows and surfing. I pulled out a couple of old stamp sets called Over the moon and Surf’s up and combined them with Waves of Inspiration and Oceanfront stamp sets to create this card.
It was a fun project. The waves on the front were brushed with Wink of Stella so they had quite a sparkle.
Inside the card, I carried on the surfing cow theme using the recently retired Oceanfront stamp set. I had to mask the cow stamp in a couple of places to remove the gumboots and the horns but I think it worked out well.
Haha… Just seeing this photo below now, I realised that I forgot to colour in the cow’s top hoof. 😳